


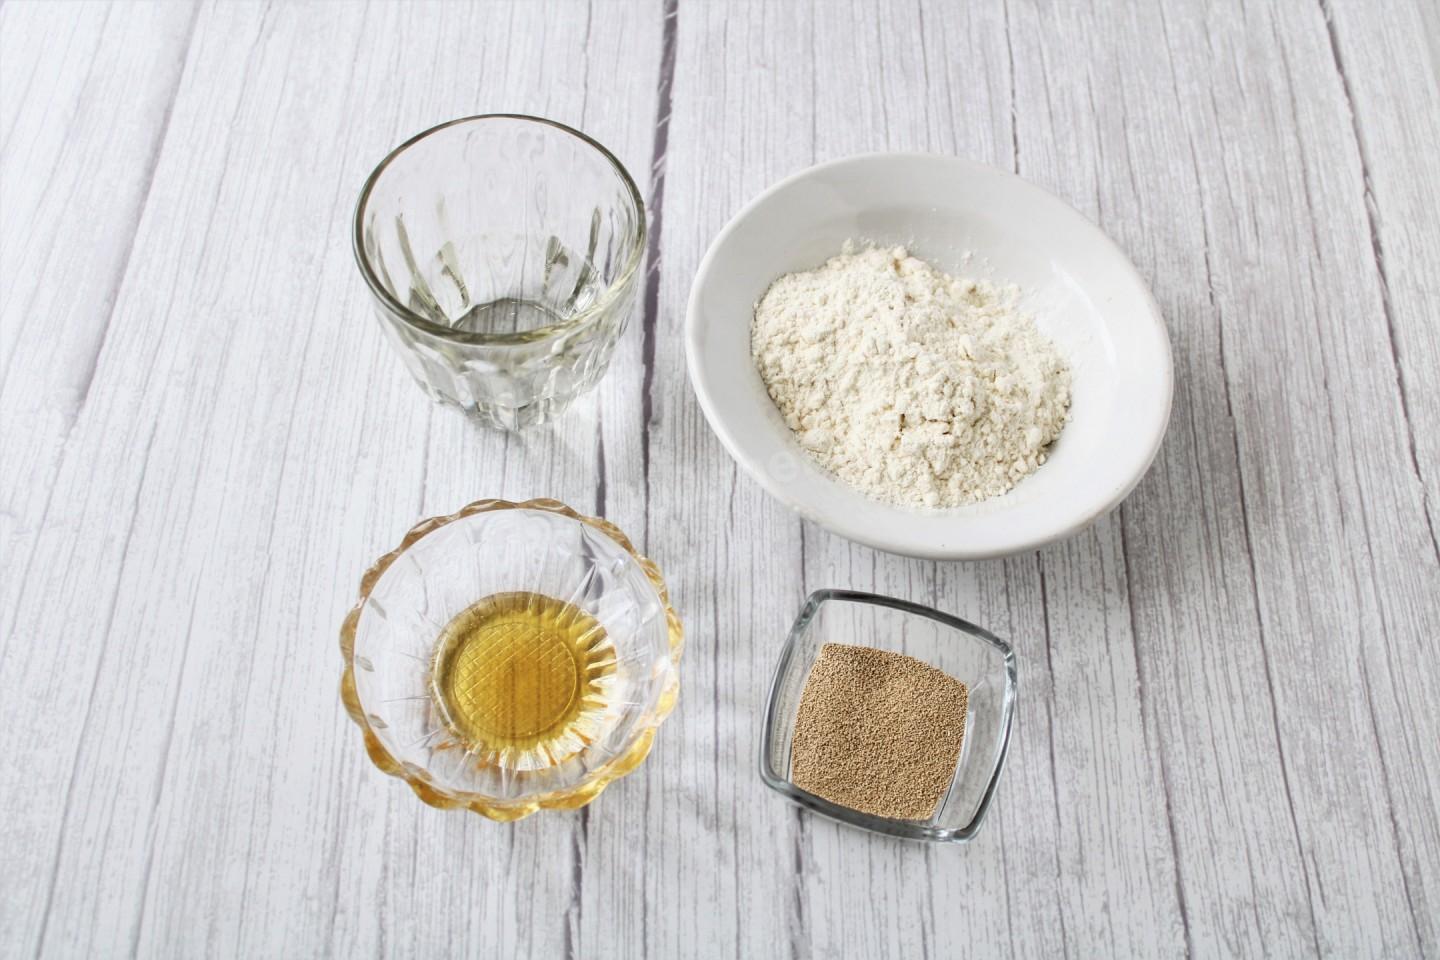
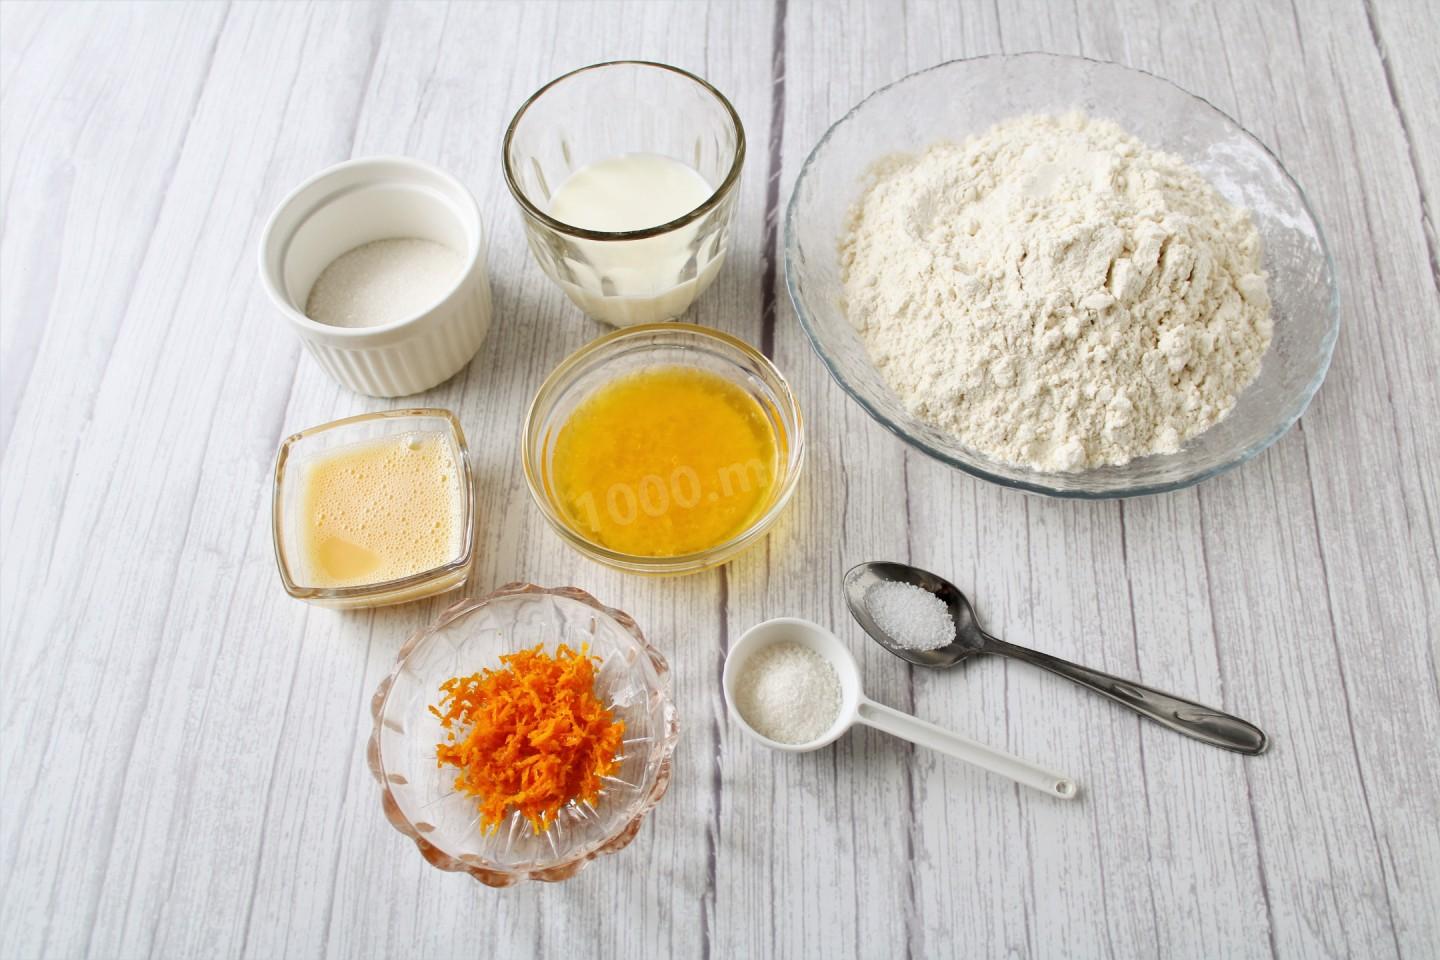
Composition / ingredients
Step-by-step cooking
Step 1:

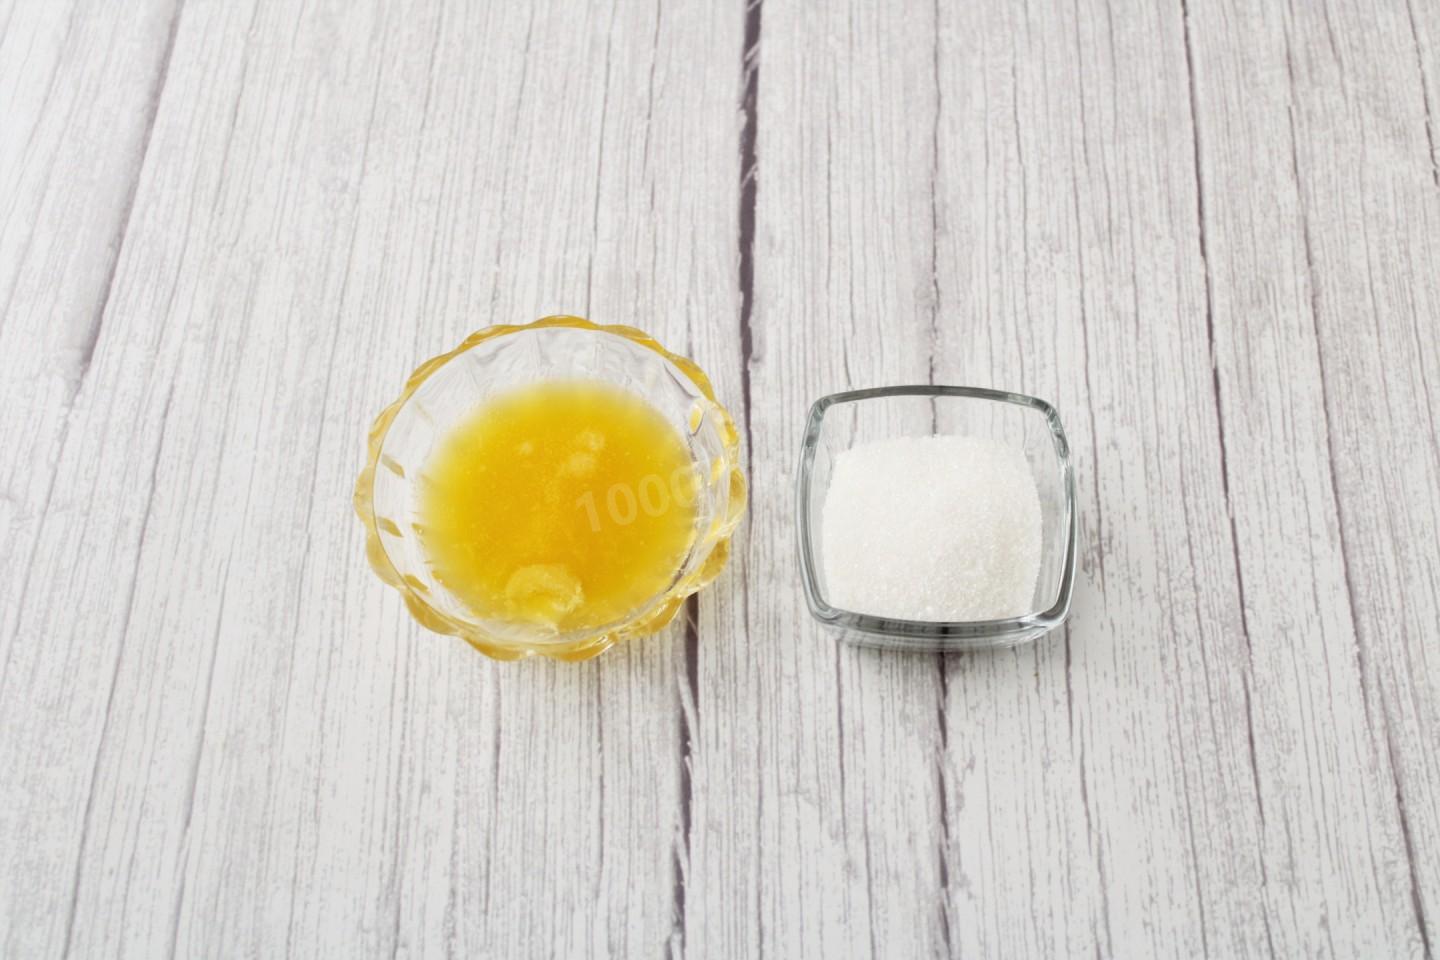
How to make buns from puff pastry? Measure out the necessary ingredients for making sourdough. Take the flour of the highest grade. If the honey is thick, melt it in a water bath. Instead of honey, you can take an equal amount of sugar. Heat the water slightly.
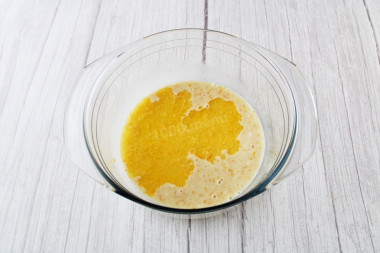
Step 2:
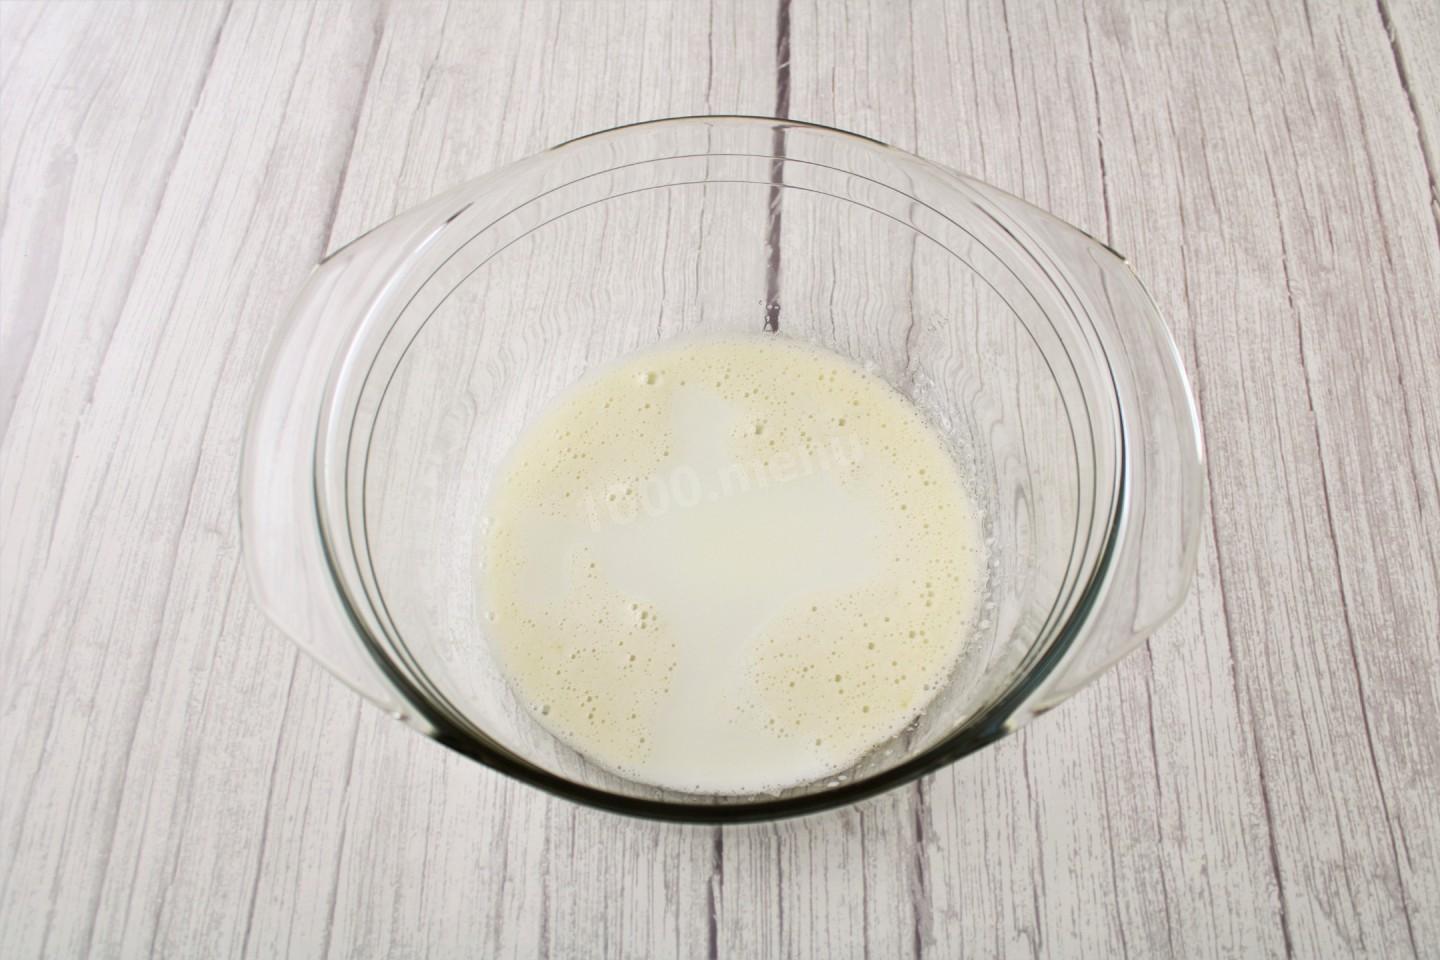
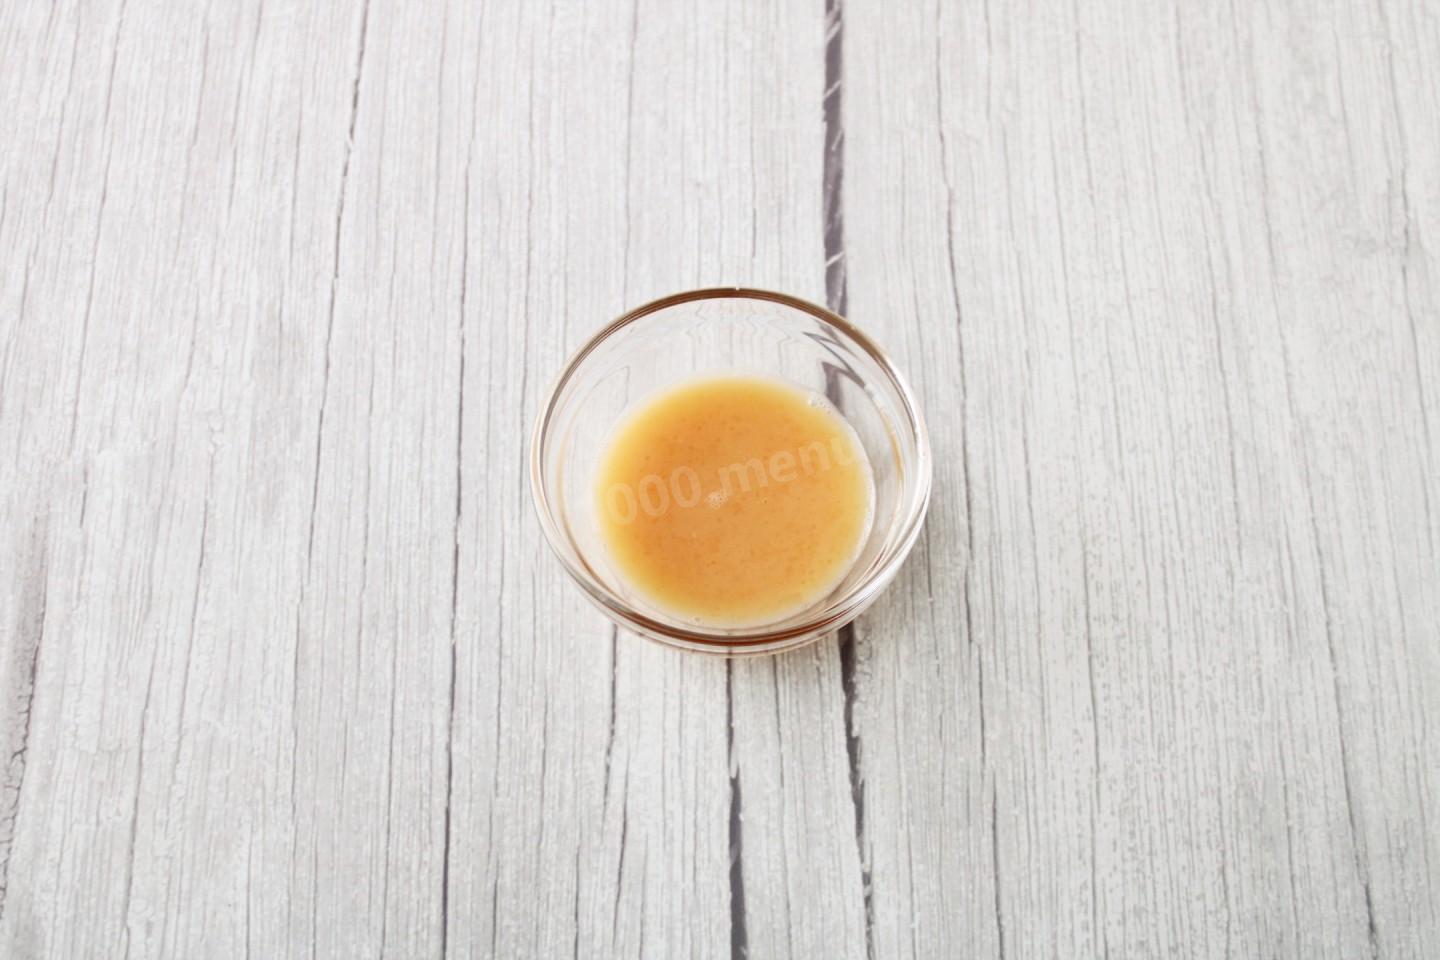
Dissolve honey in warm water. It will make the dough more fragrant.
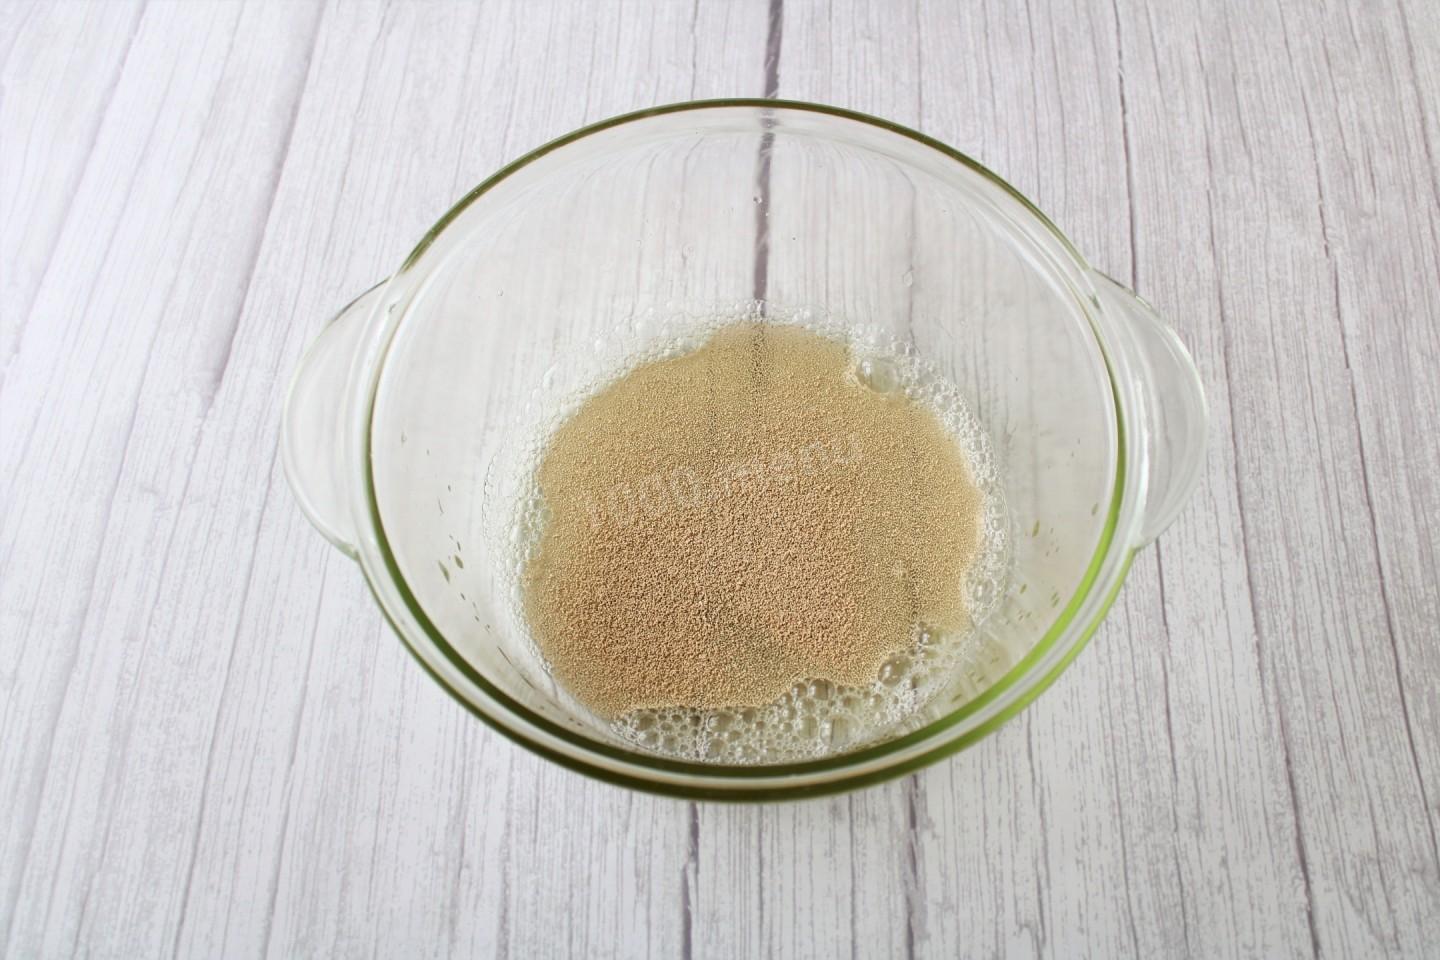
Step 3:
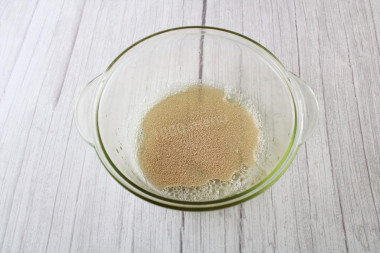
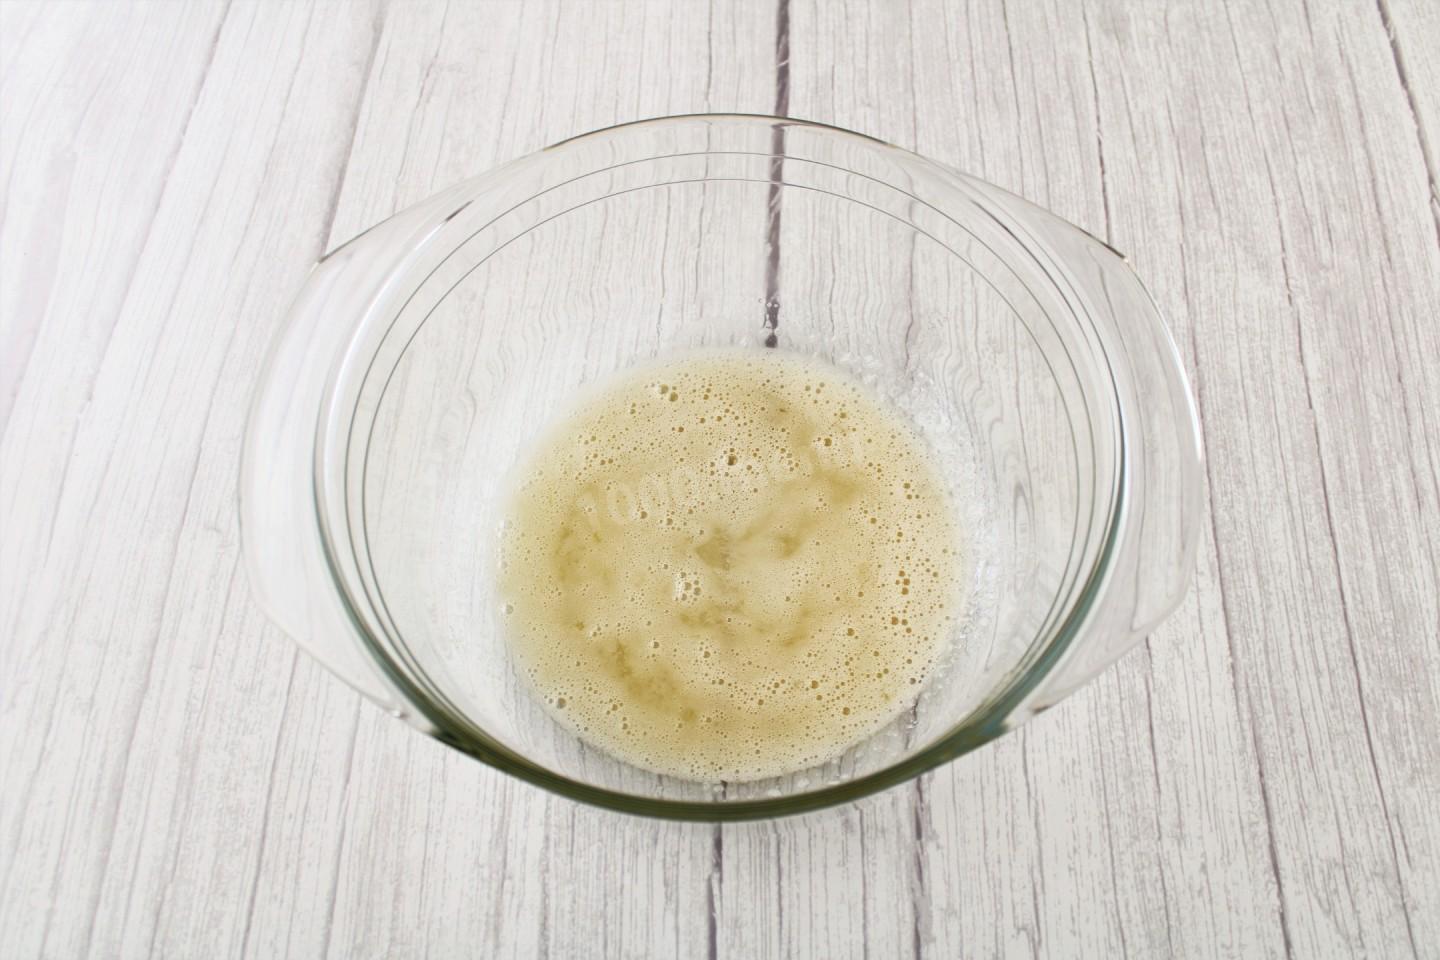
Add yeast, stir.
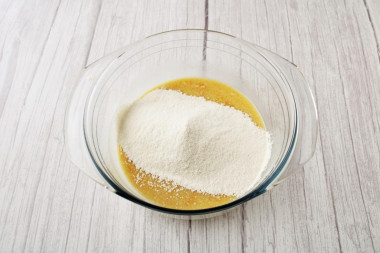
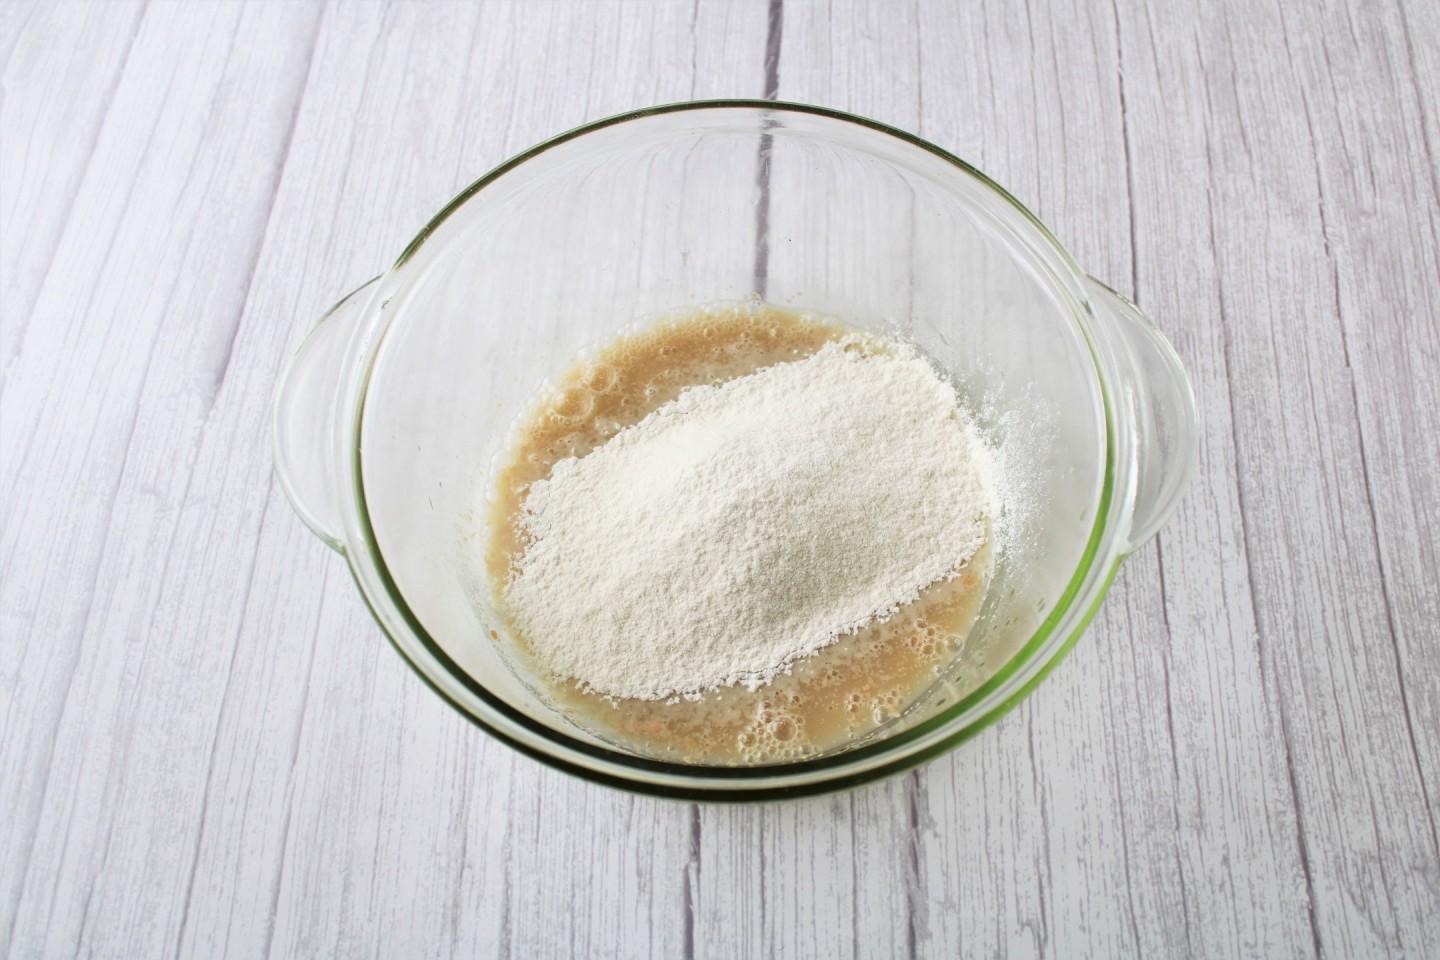
Step 4:

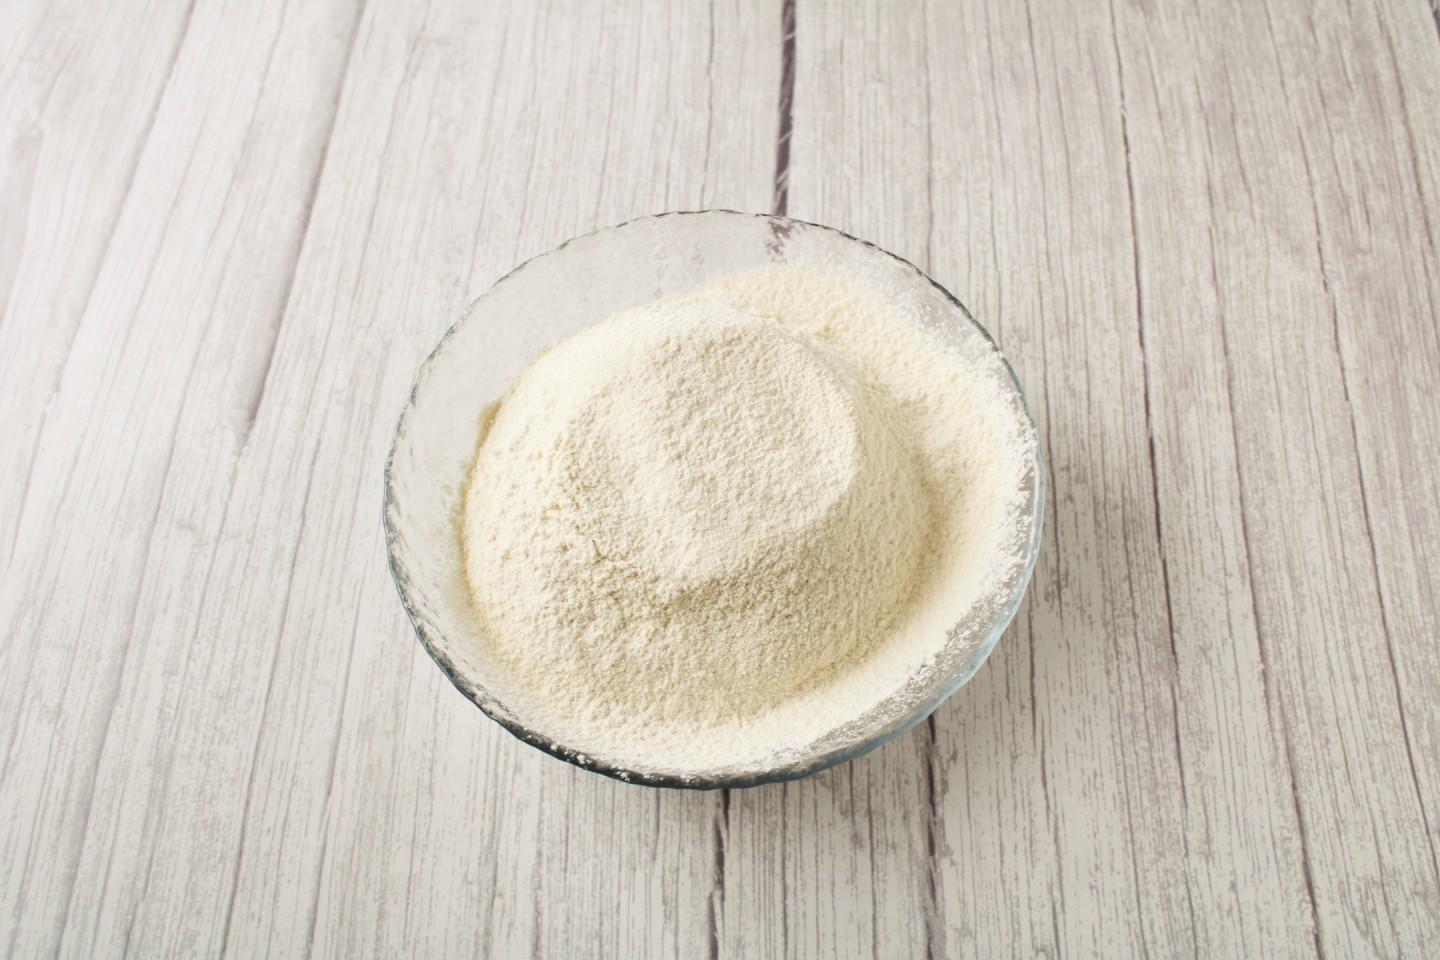
Sift the flour into the yeast mixture.
Step 5:

Mix the resulting mass with a whisk until the lumps of flour disappear. Put the sourdough in a warm place to rise for 0.5 hours.
Step 6:

Prepare the ingredients for kneading the dough. Melt the butter over low heat. Heat the milk slightly.
Step 7:
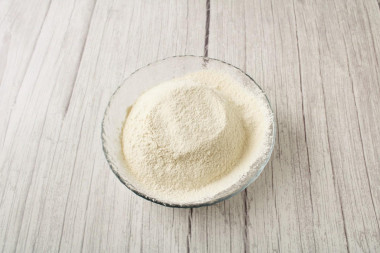
Sift the flour. Why is it necessary to do this? During sifting, the flour is saturated with oxygen, thanks to this, the baking will turn out to be airy and will rise well during baking.
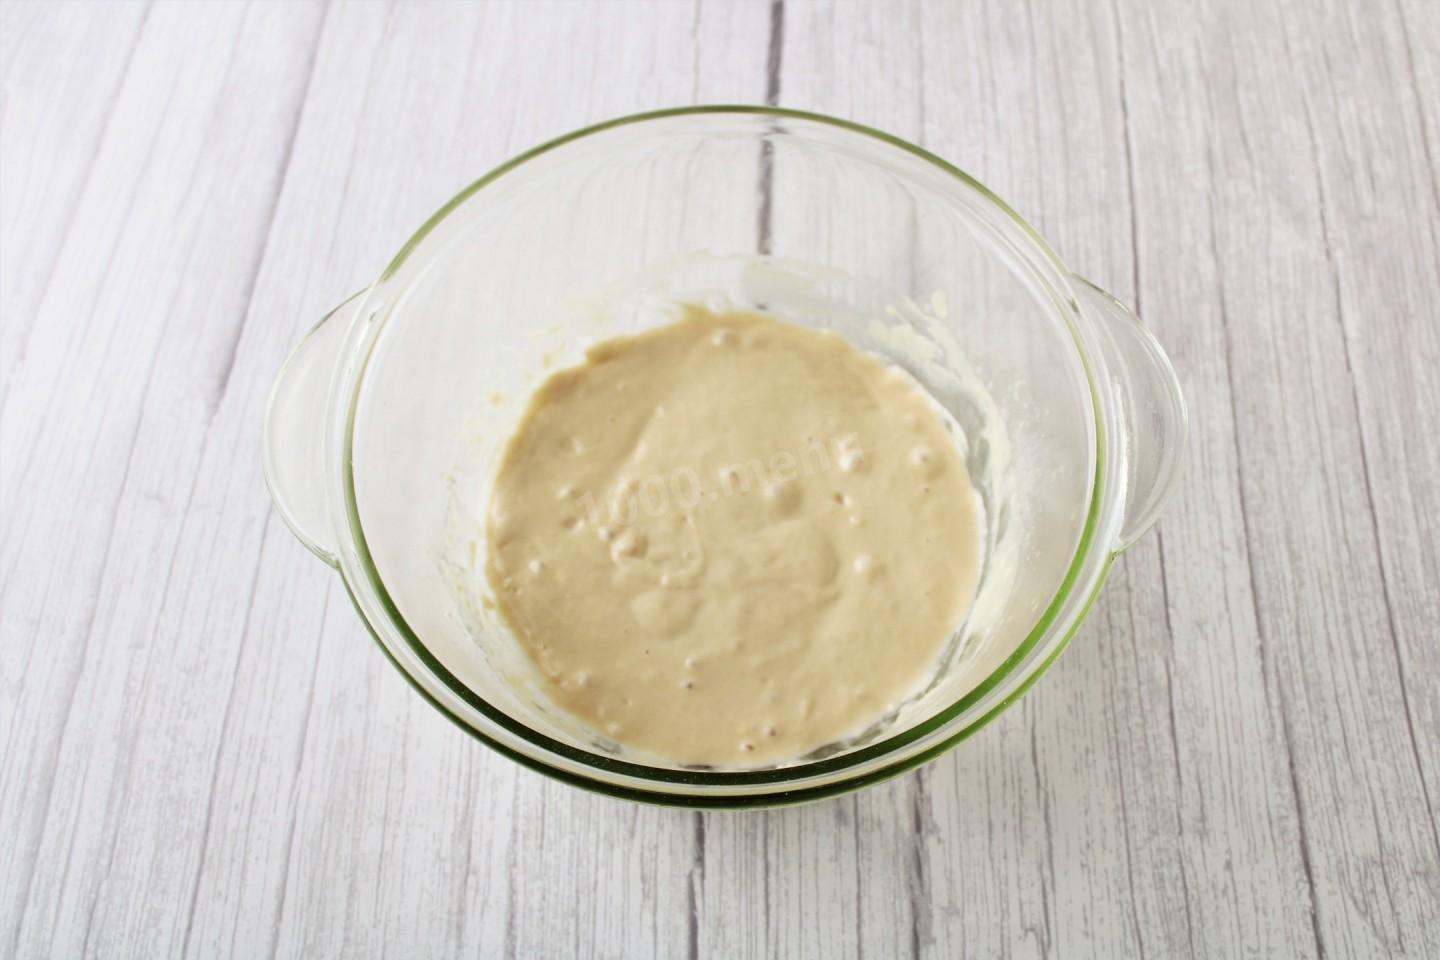
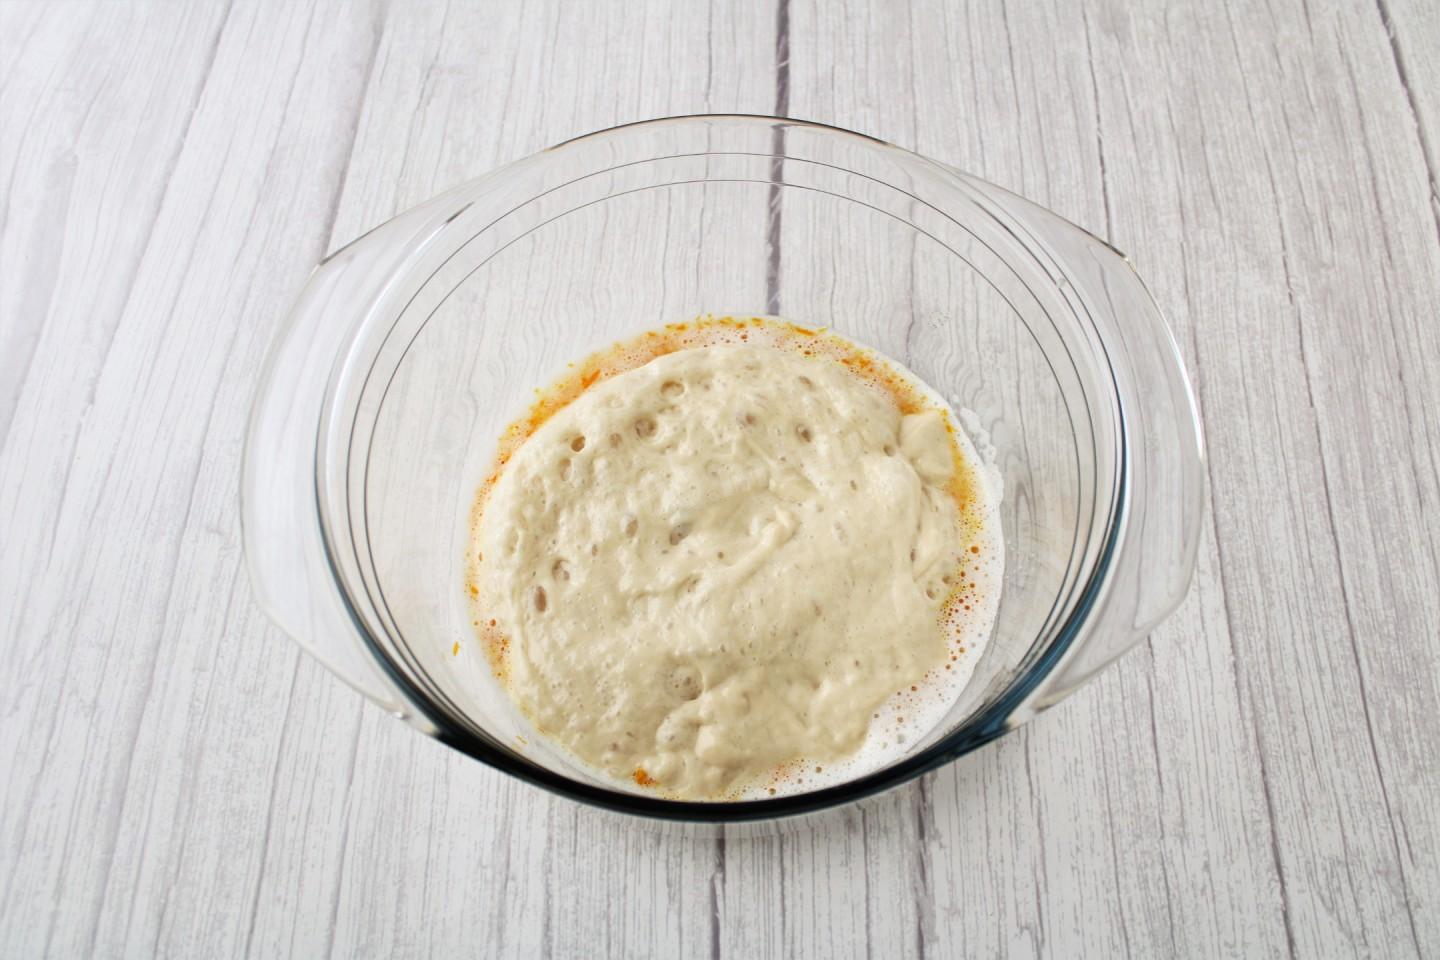
Step 8:
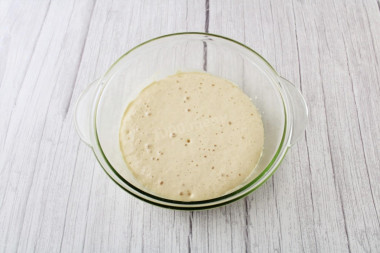
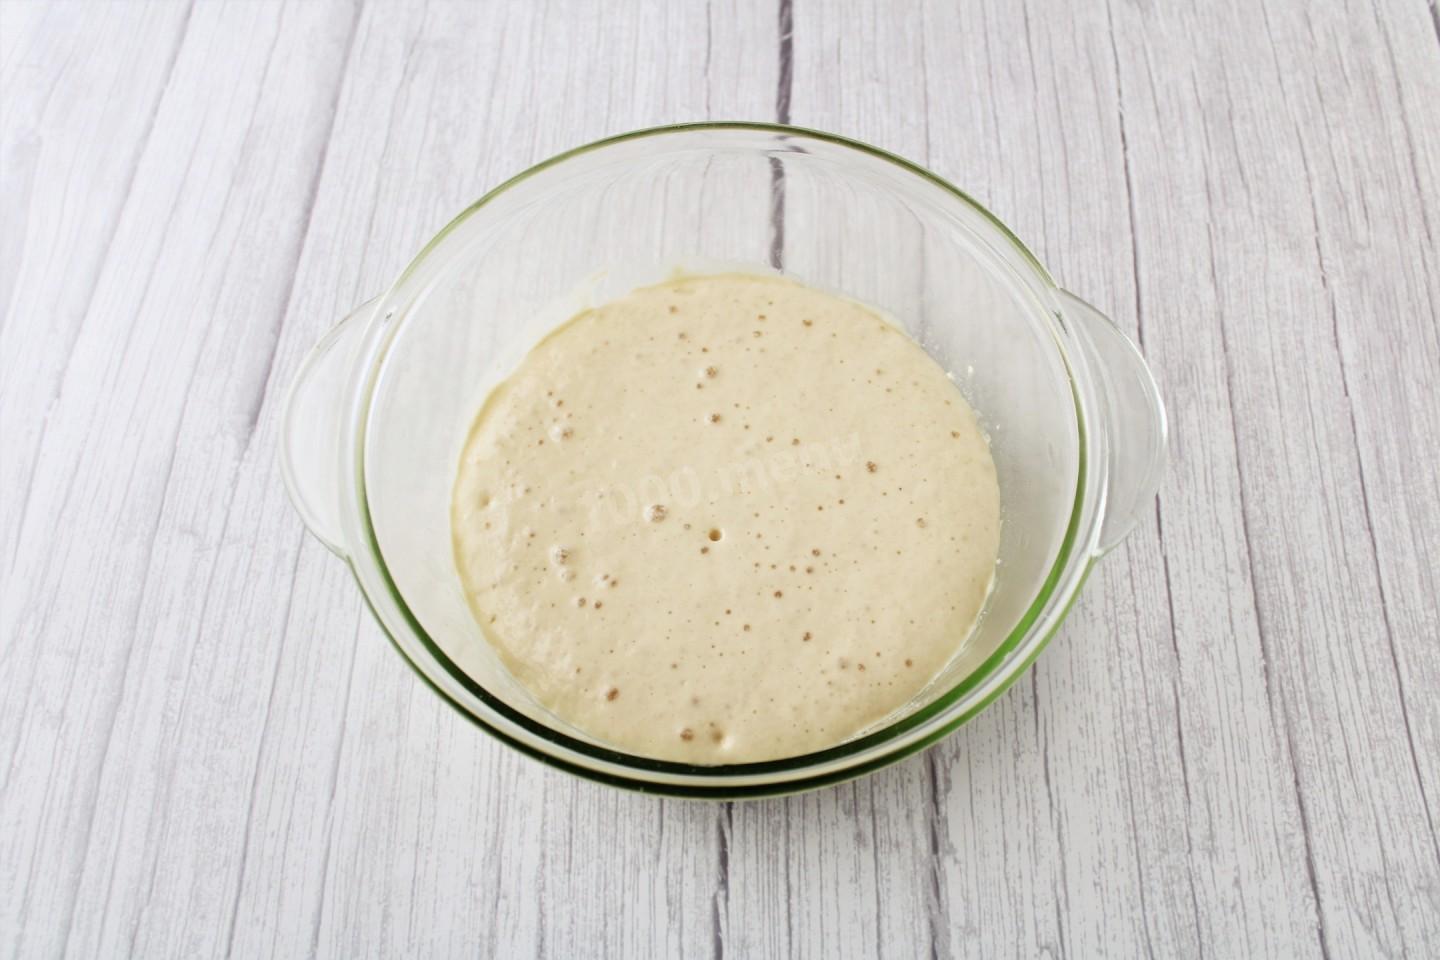
Sourdough came up, increasing in volume by 2 times.
Step 9:

To knead the dough, take a spacious, high bowl. Beat the egg with a whisk with salt, sugar and vanilla sugar until smooth.
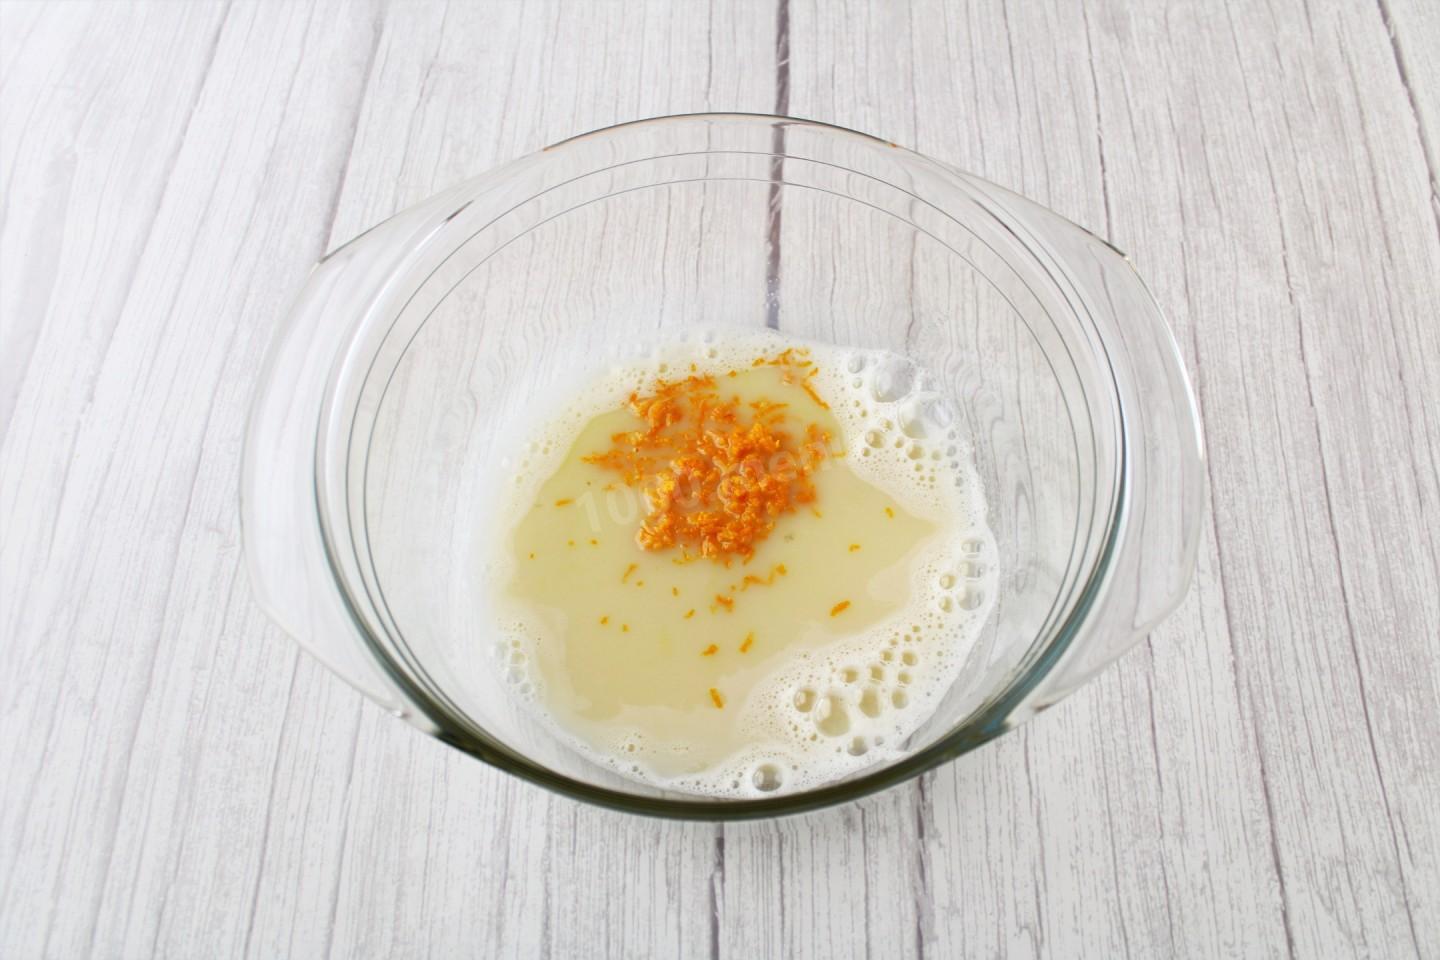
Step 10:

Pour in warm milk, mix.
Step 11:
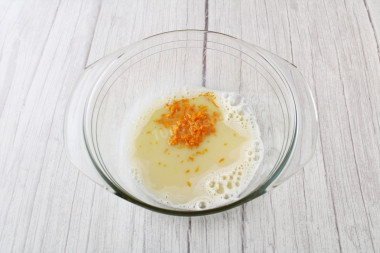
Add the orange zest, mix lightly.
Step 12:

Put the approaching sourdough into the resulting mass, mix well.
Step 13:
Pour in the non-hot butter, mix.
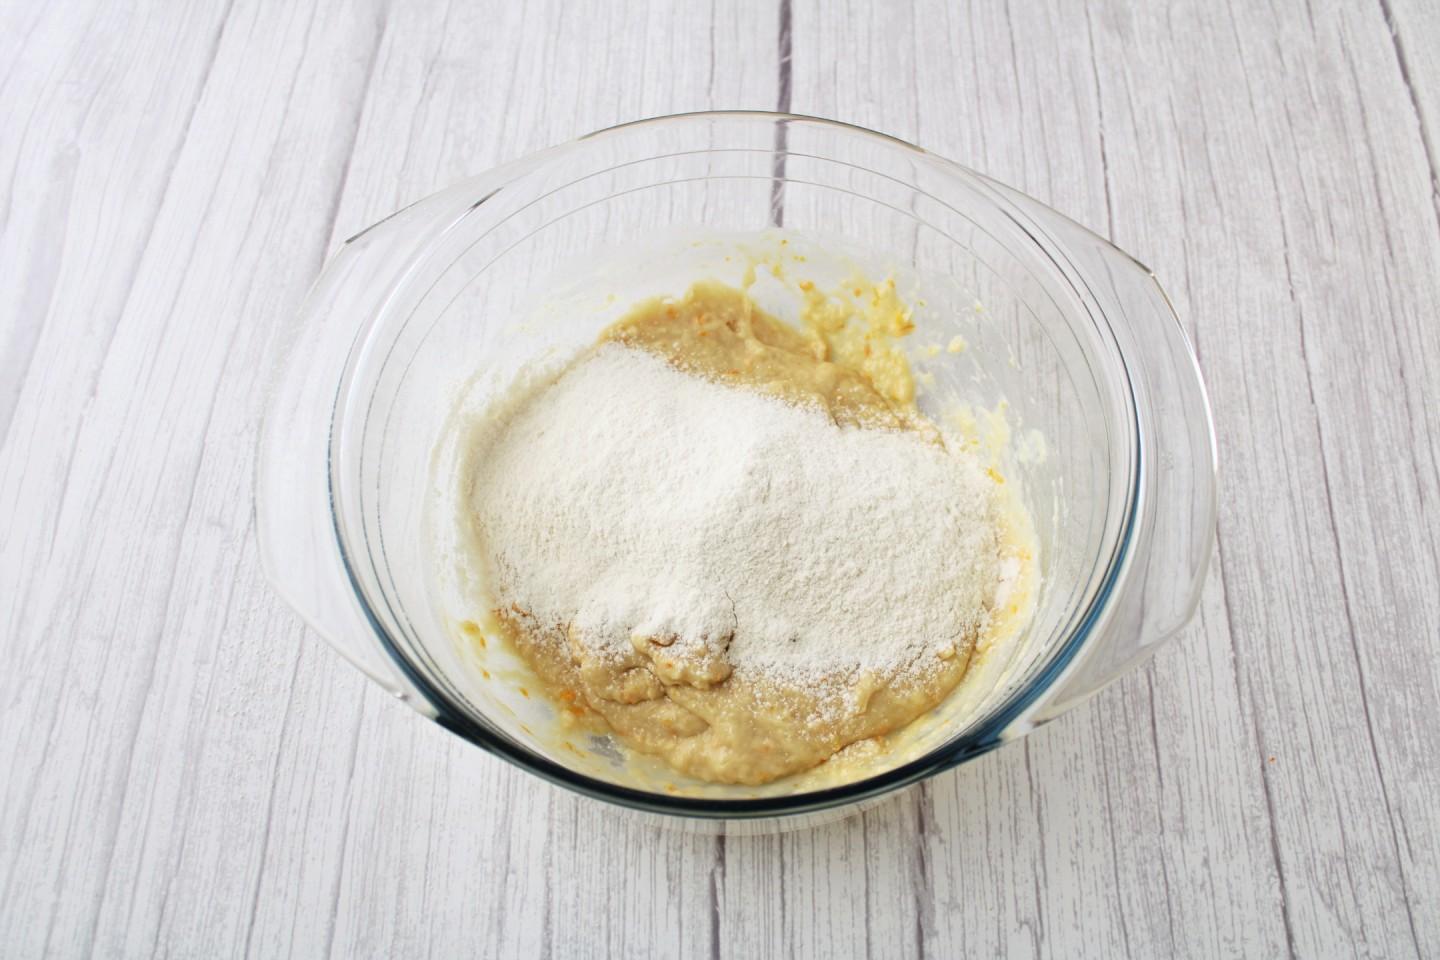
Step 14:
Pour in a little more than half of the sifted flour, mix the mass with a spoon. I add flour to the dough through a sieve, thereby sifting it twice.
Step 15:

Add the rest of the flour in parts, stirring the dough at the same time.
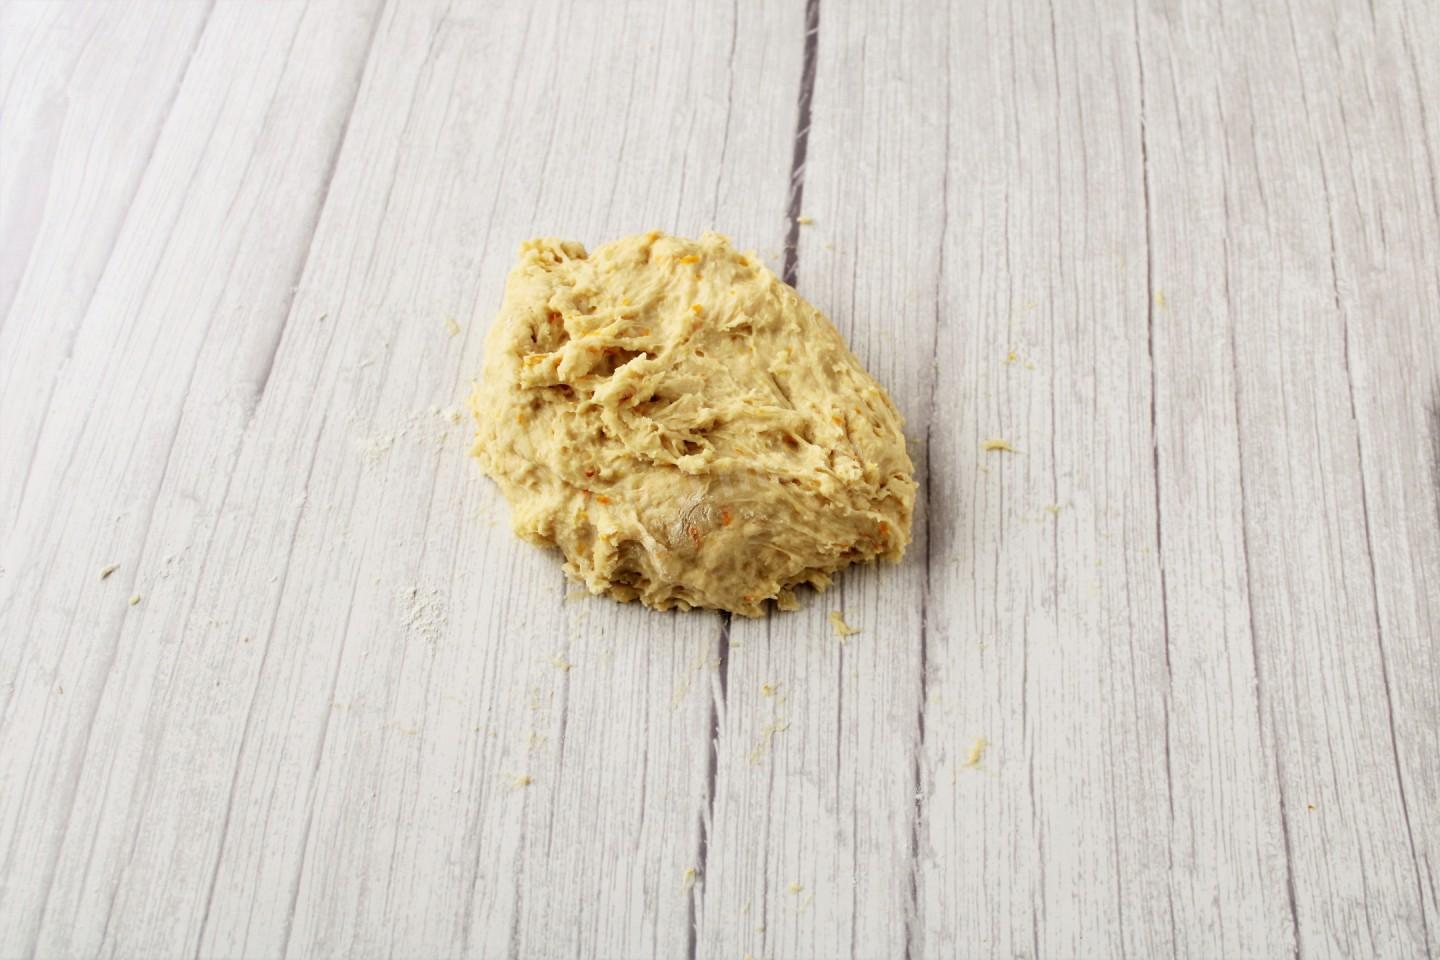
Step 16:

The dough turns out to be still quite sticky and viscous. An important moment! I strongly advise you not to add more flour so that the dough does not turn out tight. Put the dough on the table and start kneading it. The dough will stick noticeably to the hands and the table. At the same time, you can help yourself with a spatula. Despite this, continue kneading (without flour!). After 2-3 minutes, the dough will become more homogeneous and less viscous. Knead the dough for about 10 minutes.
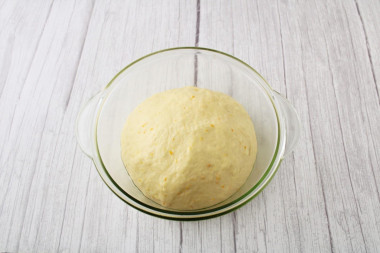
Step 17:

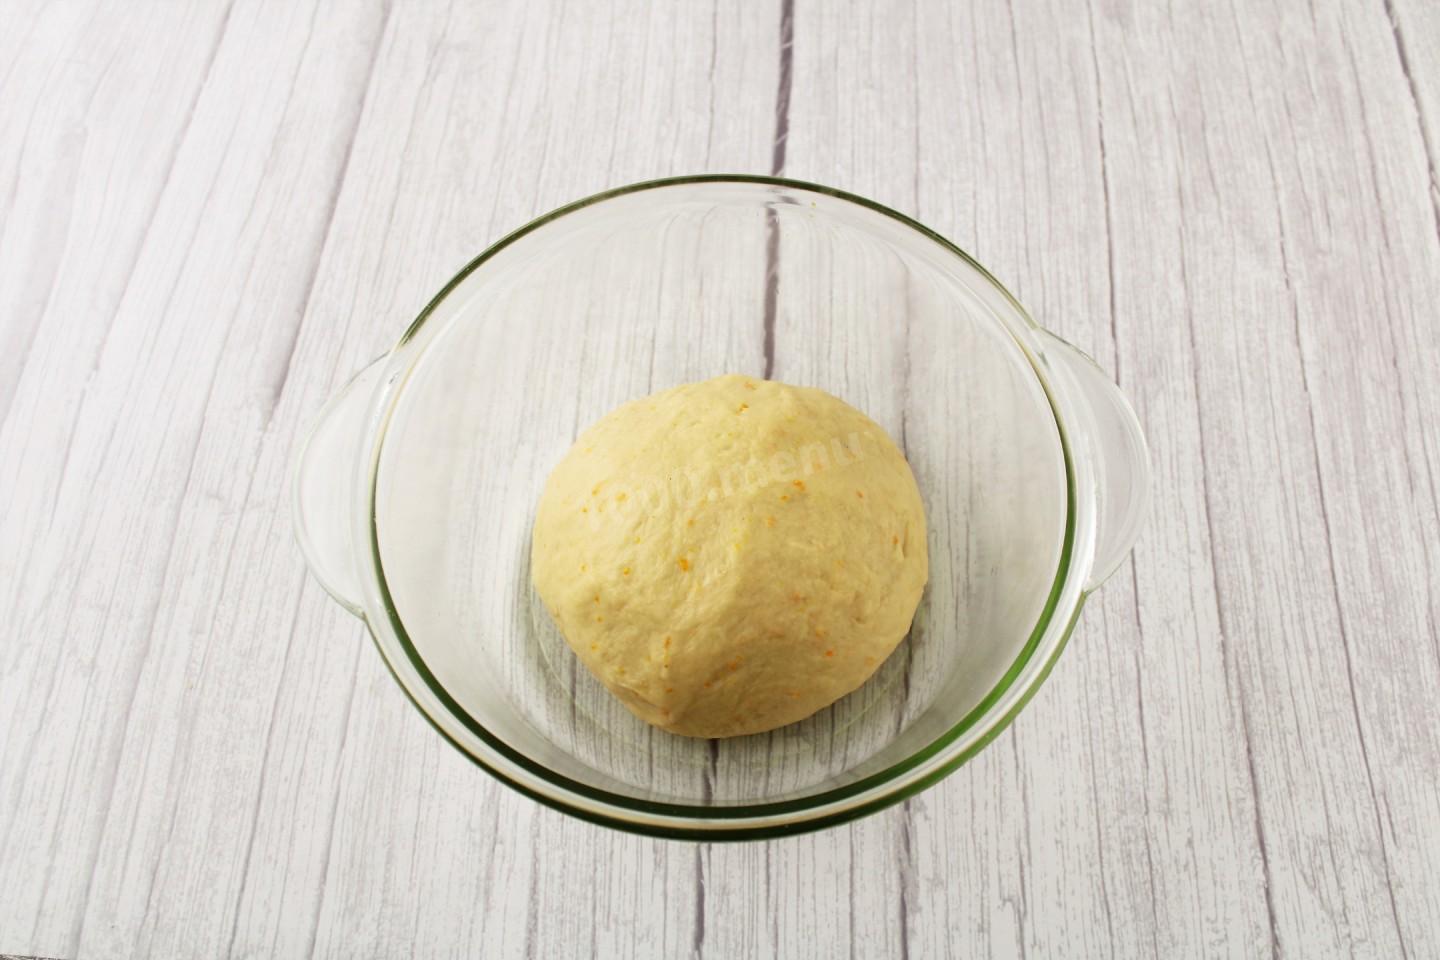
As a result, the dough turns out soft, pliable, not at all sticky to the hands. Brush the bowl with a small amount of vegetable oil, lay out the dough. Cover the bowl with plastic wrap and leave in a warm place for 0.5 hours.
Step 18:
The volume of the test increased by about 2 times.
Step 19:

To layer the dough, melt the butter, let it cool down a little.
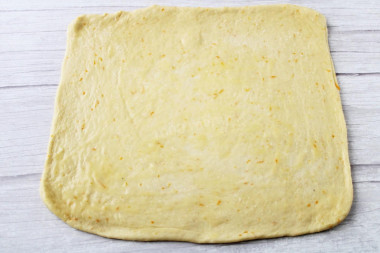
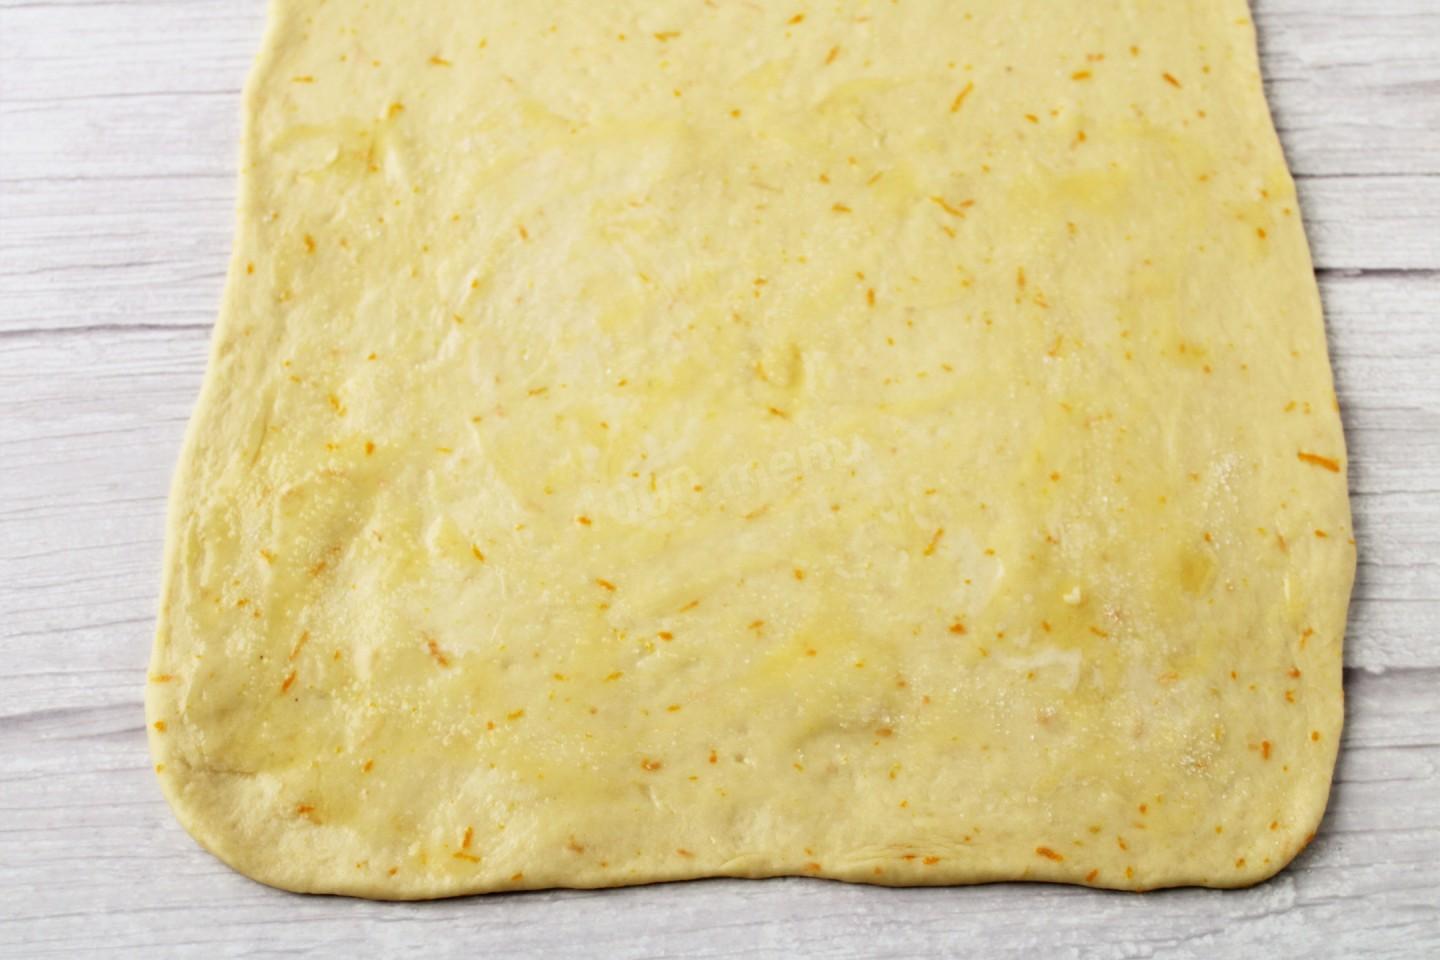
Step 20:

Sprinkle the table well with flour, lay out the dough, knead a little. Roll out the dough into a rectangular layer about 5-7 mm thick. Brush half of the rolled dough with melted butter and sprinkle evenly with sugar.
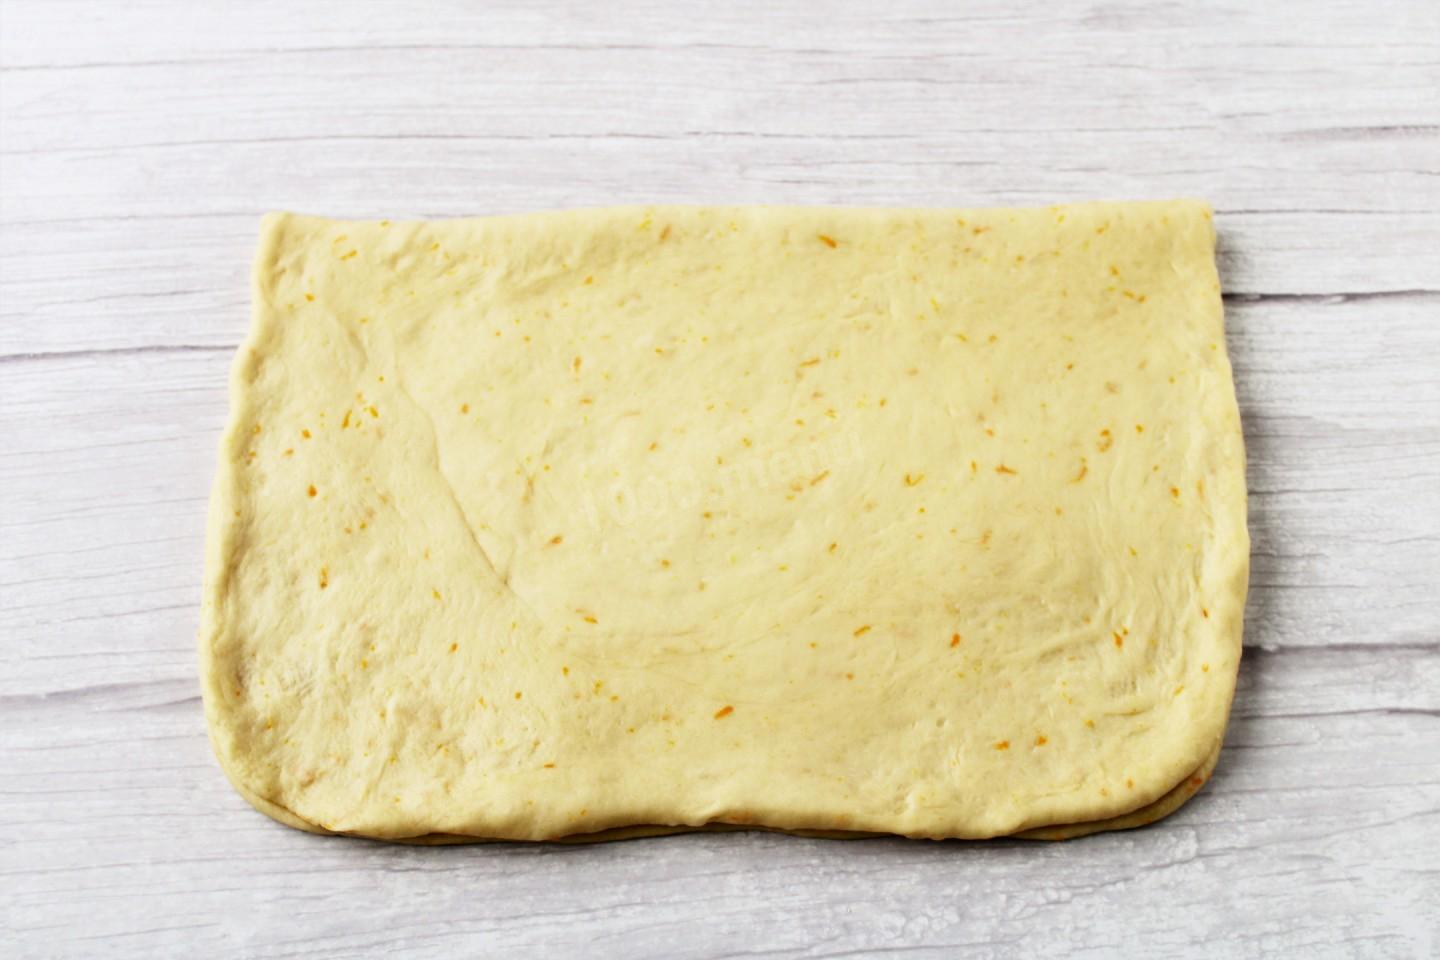
Step 21:

Close the greased part of the dough with the second half. Align the edges, if necessary, gently pull them so that the oil is not visible.
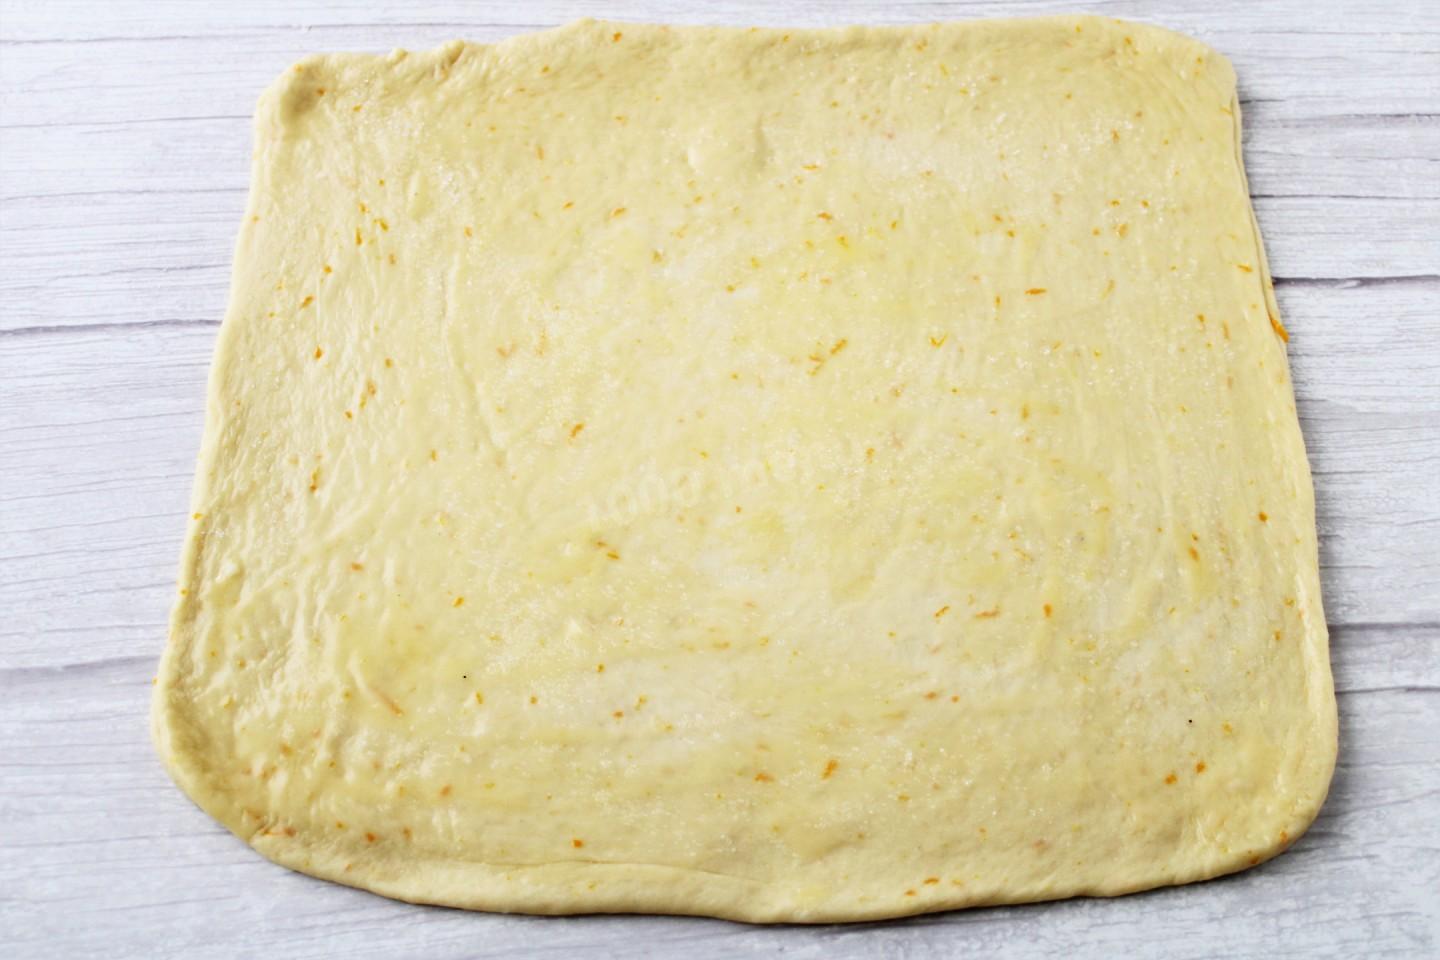
Step 22:
Roll out the dough again with smooth movements into a thin square layer. Brush it with the remaining butter and sprinkle with sugar. Leave a little sugar for the top of the buns.
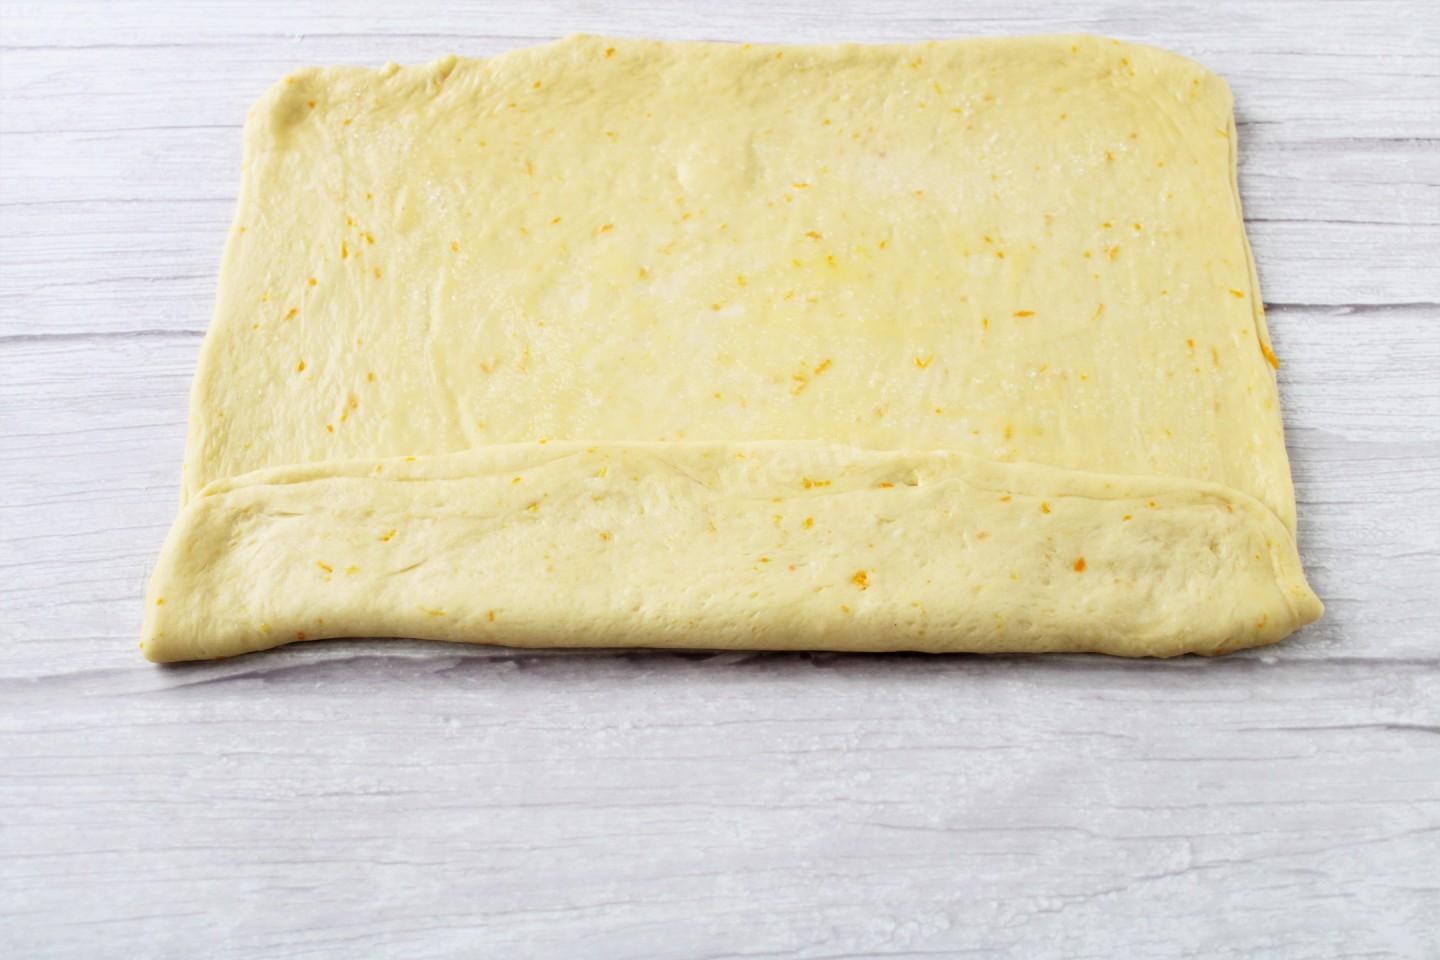
Step 23:
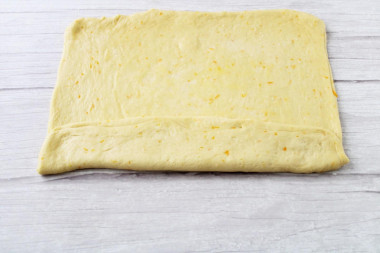
Roll the dough into a roll. Sweep away excess flour gently with a brush.
Step 24:
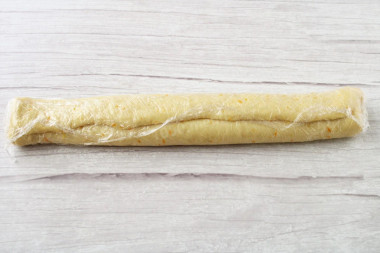
Wrap the dough in plastic wrap and put it in the freezer for 20-25 minutes. The dough does not need to be frozen, just slightly cooled to make it easier to work with.
Step 25:
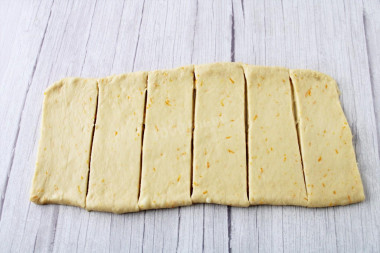
Roll out the cooled dough into a layer no more than 1 cm thick. I got it with an approximate size of 36x11 cm. Cut the dough into 6 equal parts.
Step 26:
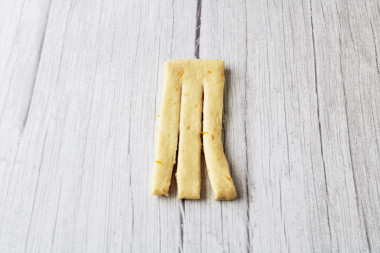
How to form puff buns? Cut each piece of dough lengthwise into 3 equal parts without cutting to the end.
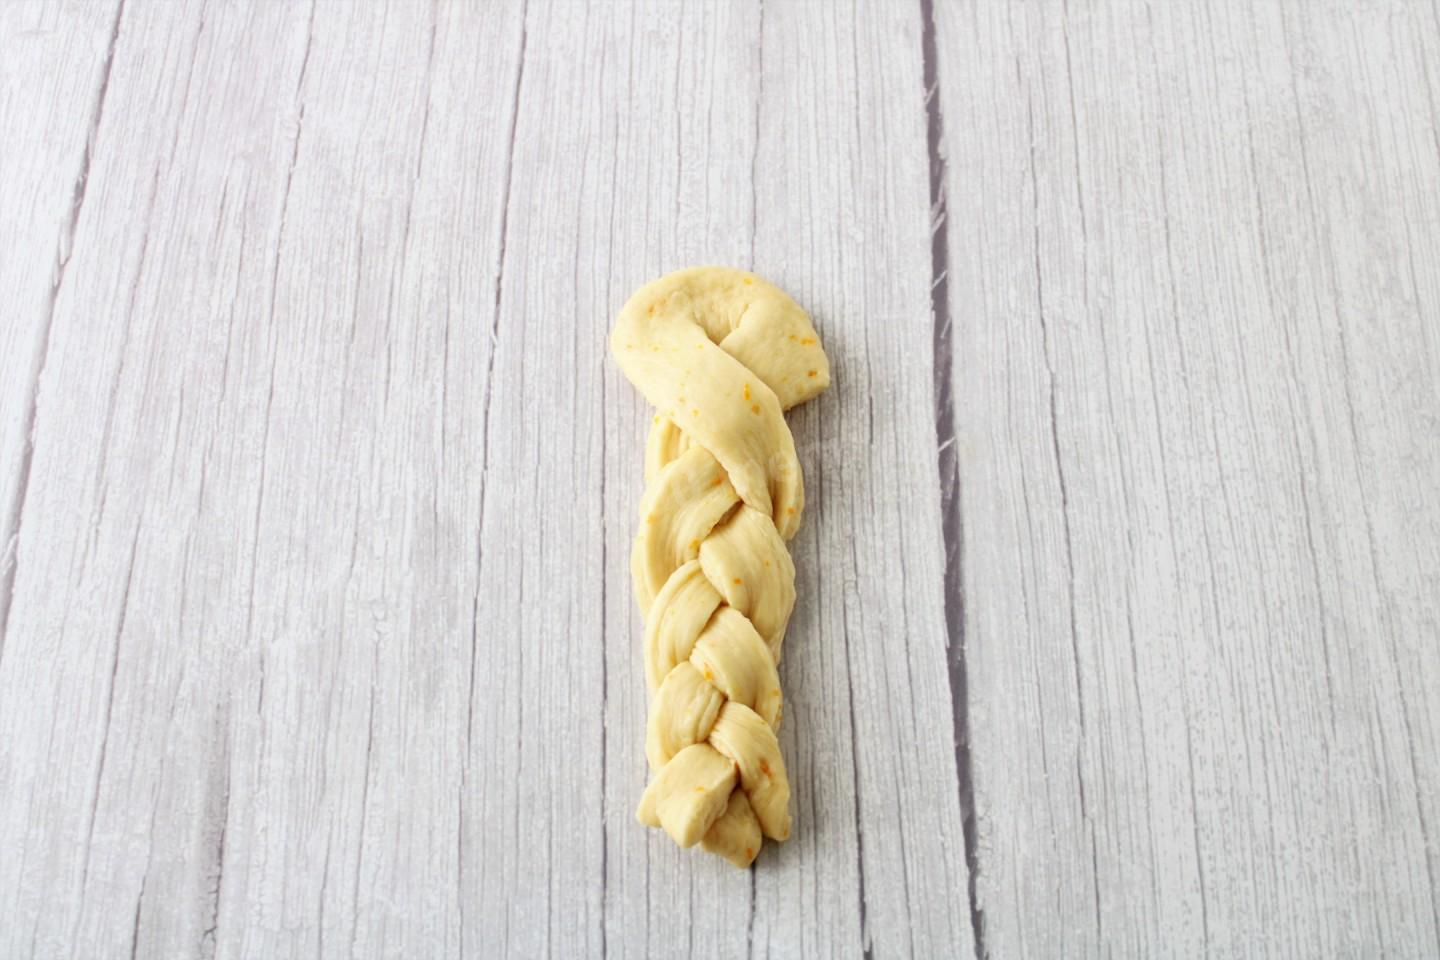
Step 27:
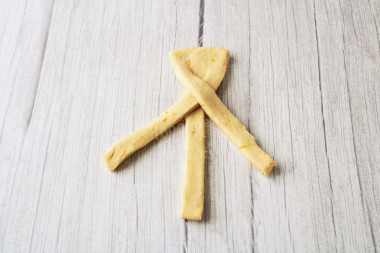
Start braiding the dough into a pigtail. At the same time, make sure that the strips lie flat and the dough layers do not twist.
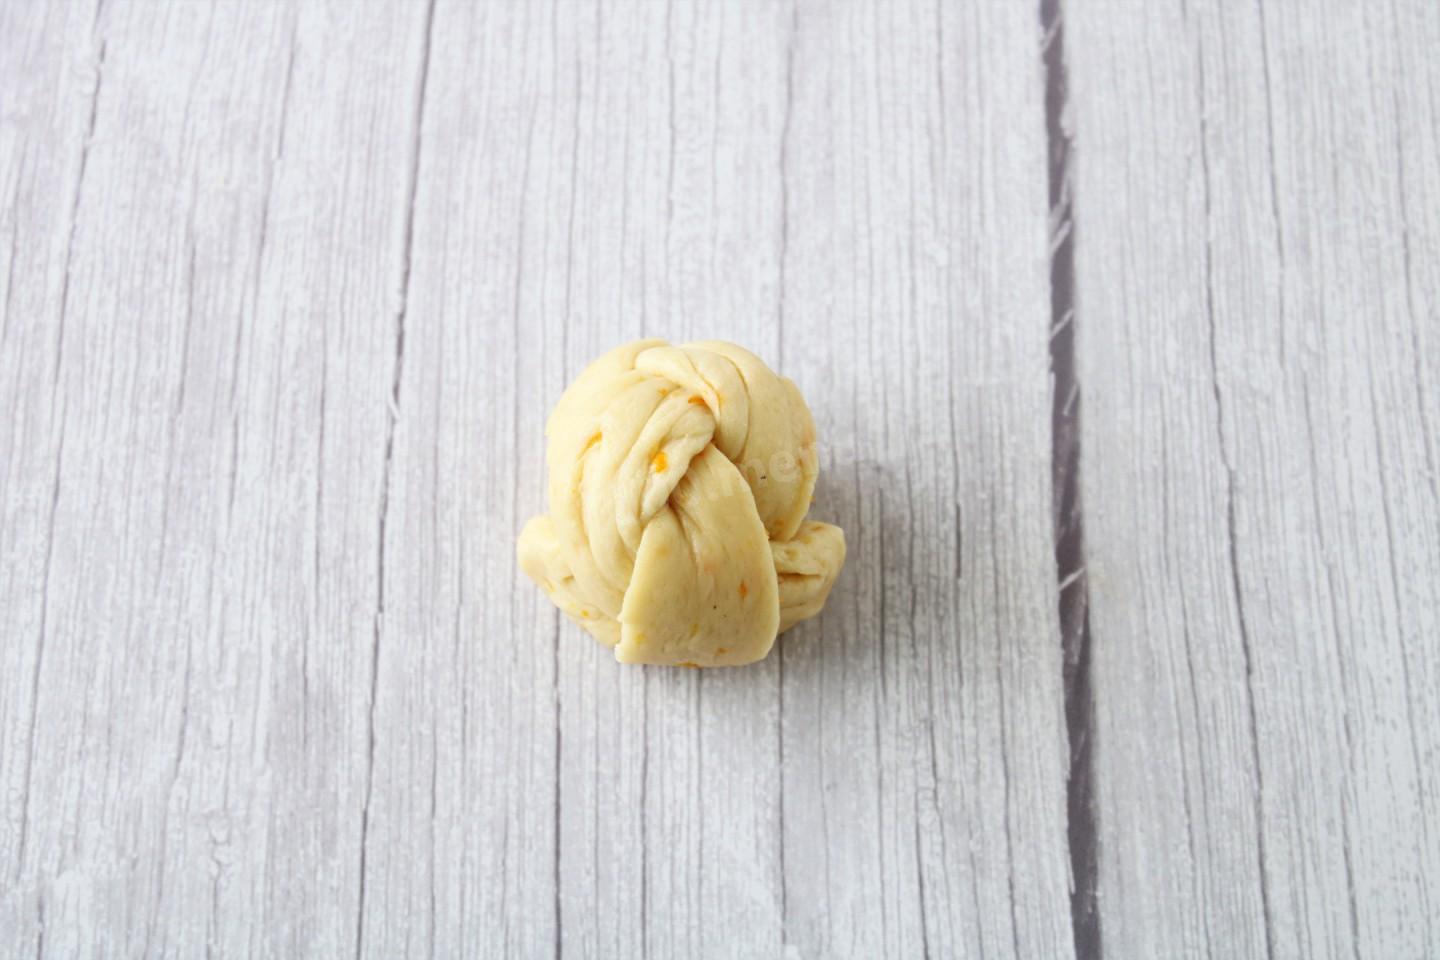
Step 28:
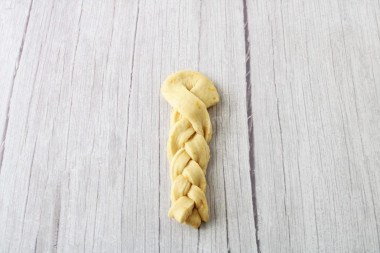
Pinch the lower edges of the pigtail a little so that they do not diverge.
Step 29:
Roll the pigtail into a roll, starting from the lower end in the direction from yourself.
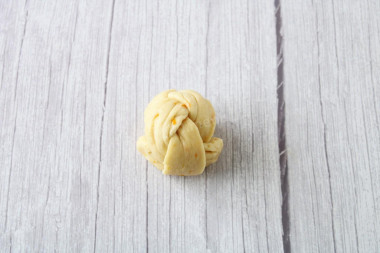
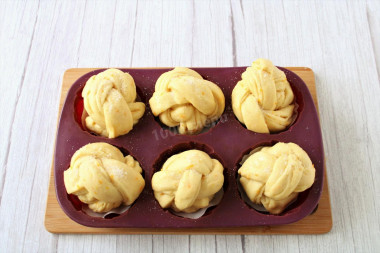
Step 30:

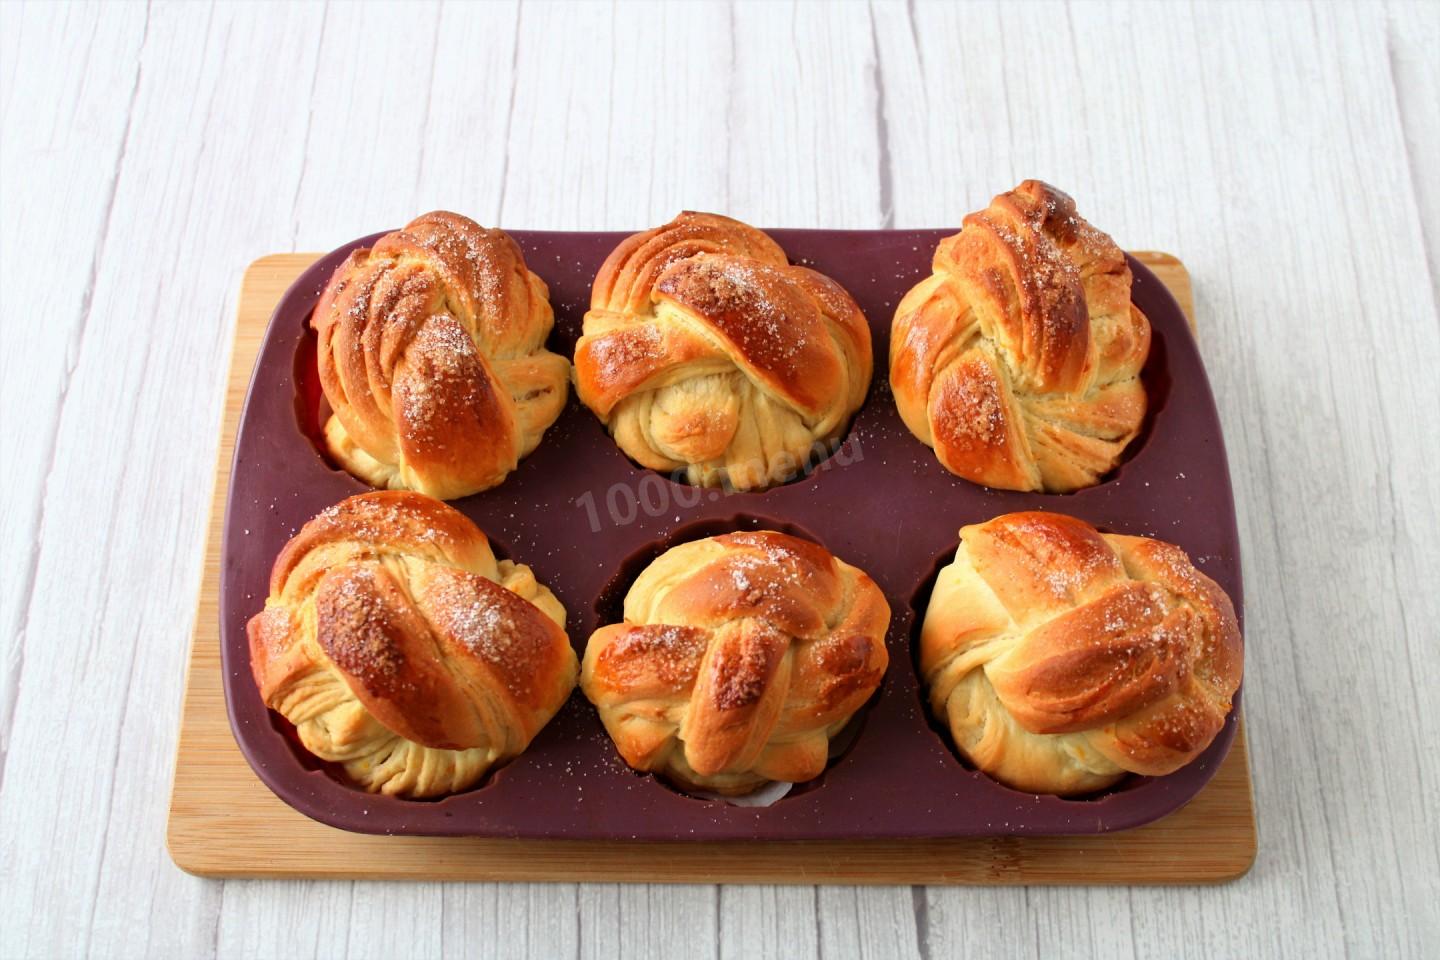
I was afraid that during baking the buns might not keep their shape, so I baked them in cupcake molds. I put circles of parchment on the bottoms. But I think the buns wouldn't have turned around without it. You can put them on a parchment-lined sheet. Cover the formed buns with a light layer of food film on top and leave for proofing for 30 minutes.
Step 31:

In a small bowl, mix an egg with a spoonful of milk.
Step 32:
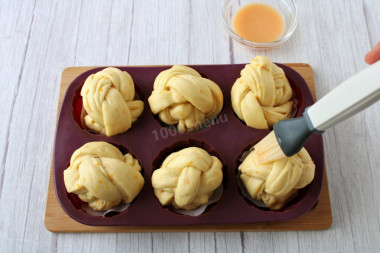
Lubricate the buns that have come up with the egg mixture only from above, without falling on the layers.
Step 33:
Sprinkle the buns with the remaining sugar.
Step 34:
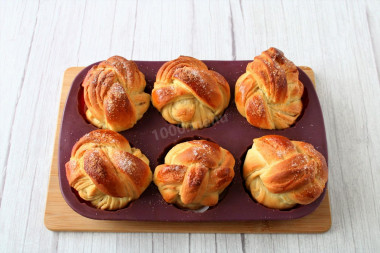
Bake the buns in a preheated 180C oven for 25 minutes until golden brown. This dough begins to blush very quickly. After 15 minutes of baking, I covered the buns with foil.
Step 35:
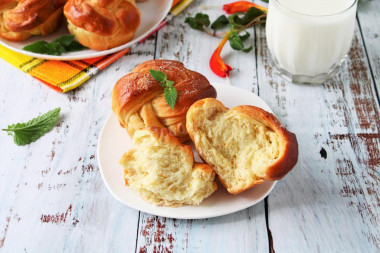
Cool the finished buns and serve. Bon appetit!


Be prepared for the fact that you may need more or less flour than indicated in the recipe. Focus not on the amount of flour, but on the desired consistency of the dough. To avoid mistakes, read about flour and its properties!
Keep in mind that everyone's ovens are different. The temperature and cooking time may differ from those specified in the recipe. To make any baked dish successful, use useful information about the features of ovens !
Caloric content of the products possible in the composition of the dish
- Whole cow's milk - 68 kcal/100g
- Milk 3.5% fat content - 64 kcal/100g
- Milk 3.2% fat content - 60 kcal/100g
- Milk 1.5% fat content - 47 kcal/100g
- Concentrated milk 7.5% fat content - 140 kcal/100g
- Milk 2.5% fat content - 54 kcal/100g
- Chicken egg - 157 kcal/100g
- Egg white - 45 kcal/100g
- Egg powder - 542 kcal/100g
- Egg yolk - 352 kcal/100g
- Ostrich egg - 118 kcal/100g
- Honey - 400 kcal/100g
- Granulated sugar - 398 kcal/100g
- Sugar - 398 kcal/100g
- Butter 82% - 734 kcal/100g
- Amateur unsalted butter - 709 kcal/100g
- Unsalted peasant butter - 661 kcal/100g
- Peasant salted butter - 652 kcal/100g
- Melted butter - 869 kcal/100g
- Salt - 0 kcal/100g
- Water - 0 kcal/100g
- Wheat flour - 325 kcal/100g
- Orange peel - 97 kcal/100g
- Vanilla sugar - 379 kcal/100g
- Dry yeast - 410 kcal/100g