

Composition / ingredients
Step-by-step cooking
Step 1:
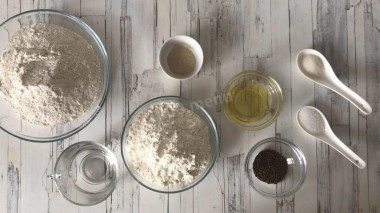
Measure out all the necessary ingredients.
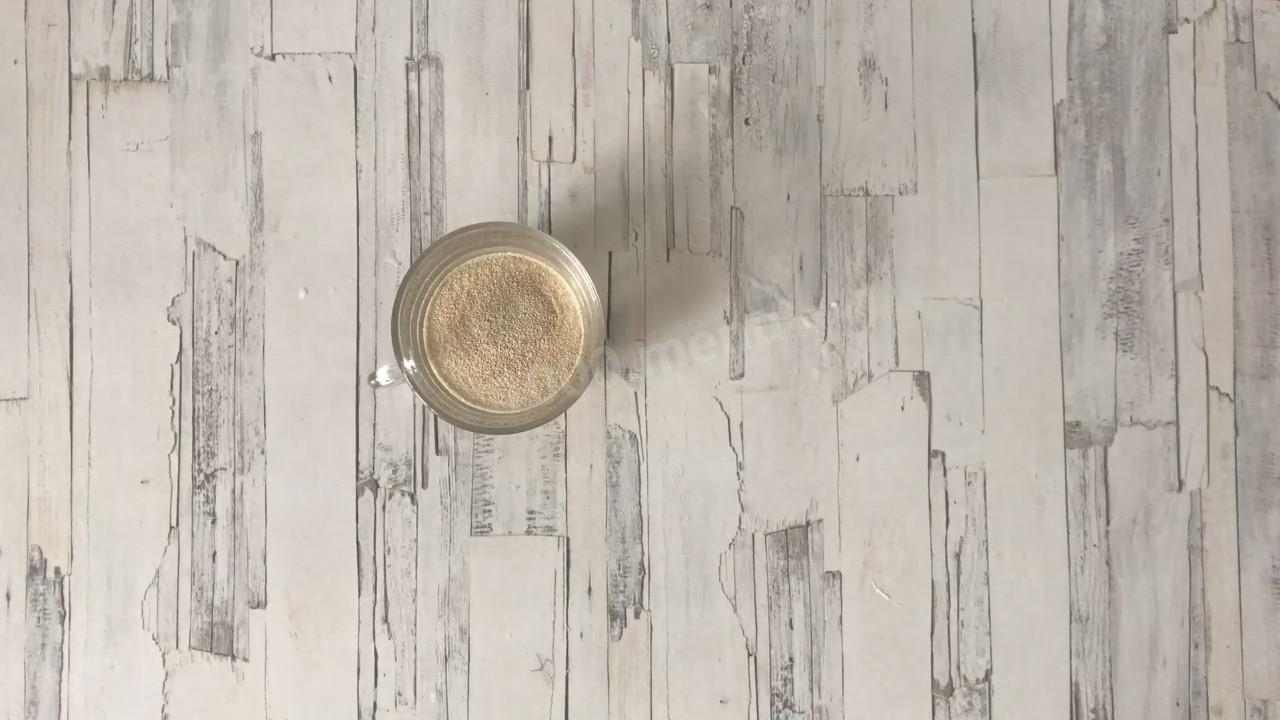
Step 2:

In a small container, mix dry yeast with sugar and pour them with 30 ml of warm water (37-40 degrees). Leave it on for 15 minutes. During this time, a foam cap should appear on the surface of the sponge.
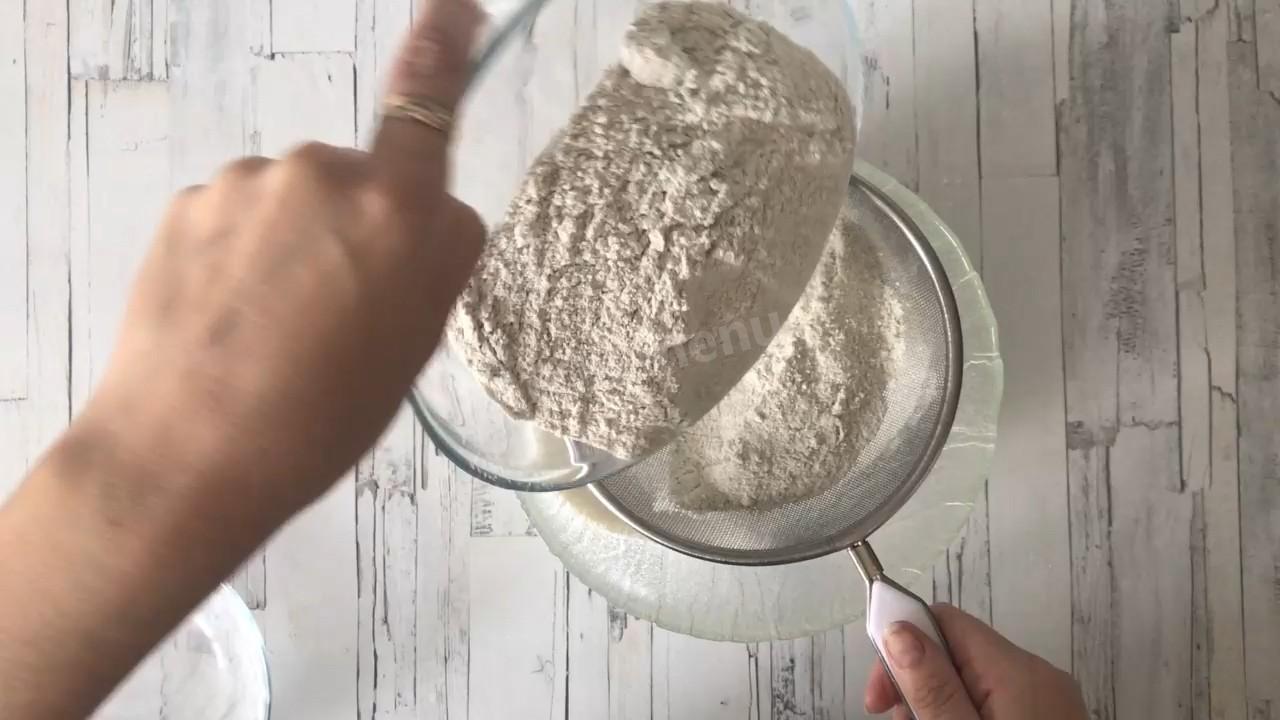
Step 3:

Sift both types of flour (wheat and rye), mix them.
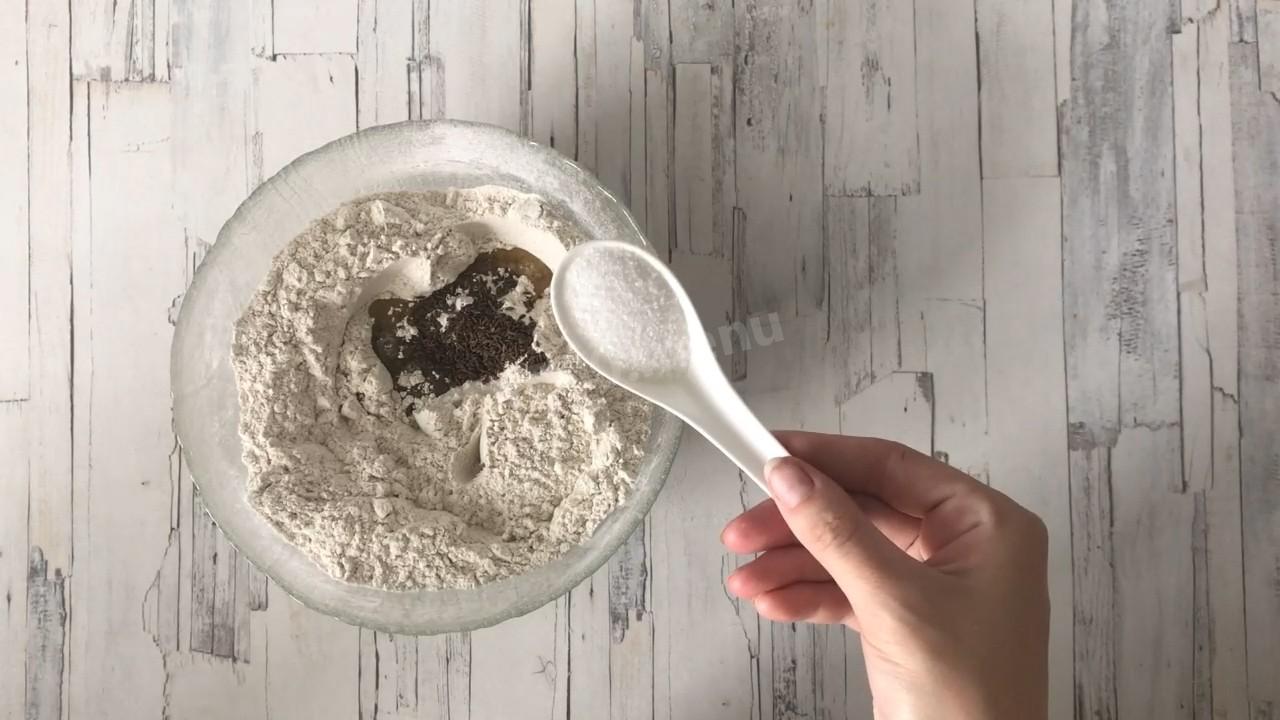
Step 4:

Add refined vegetable oil, salt and cumin to flour.
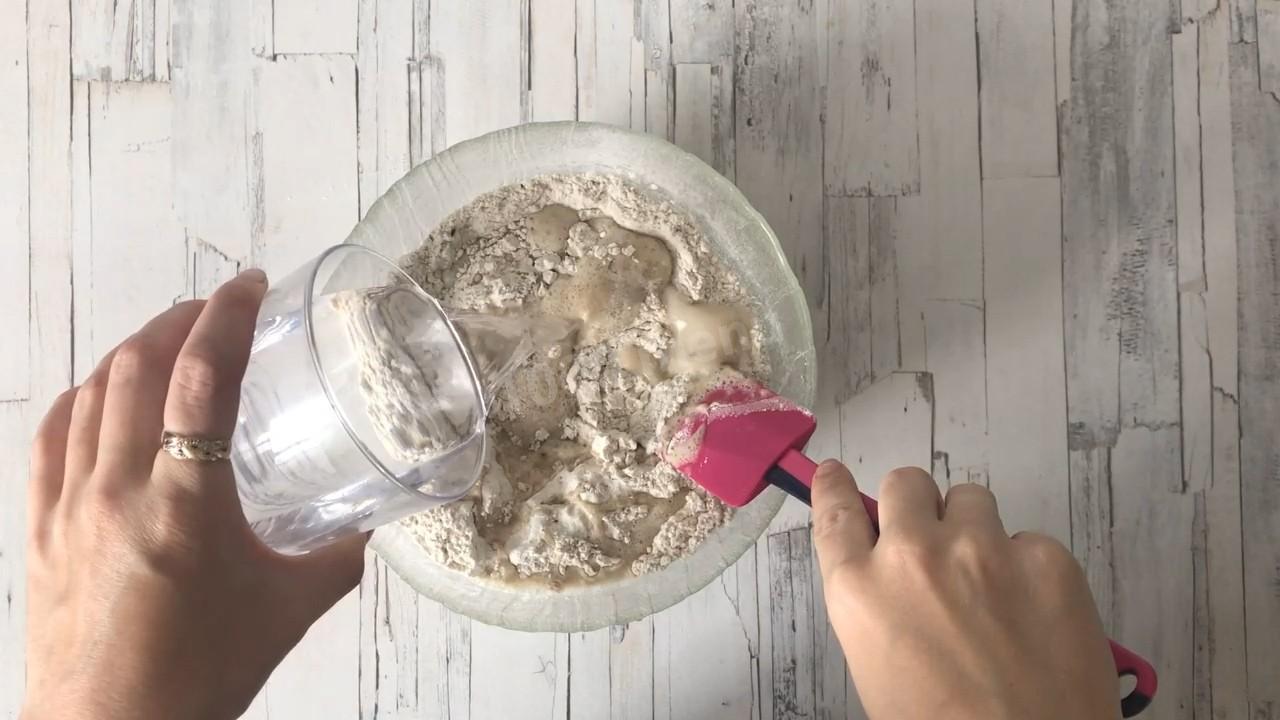
Step 5:
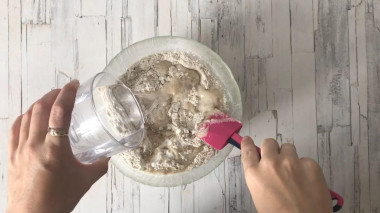
Pour in warm water (300 ml) and sourdough. Knead everything well until smooth
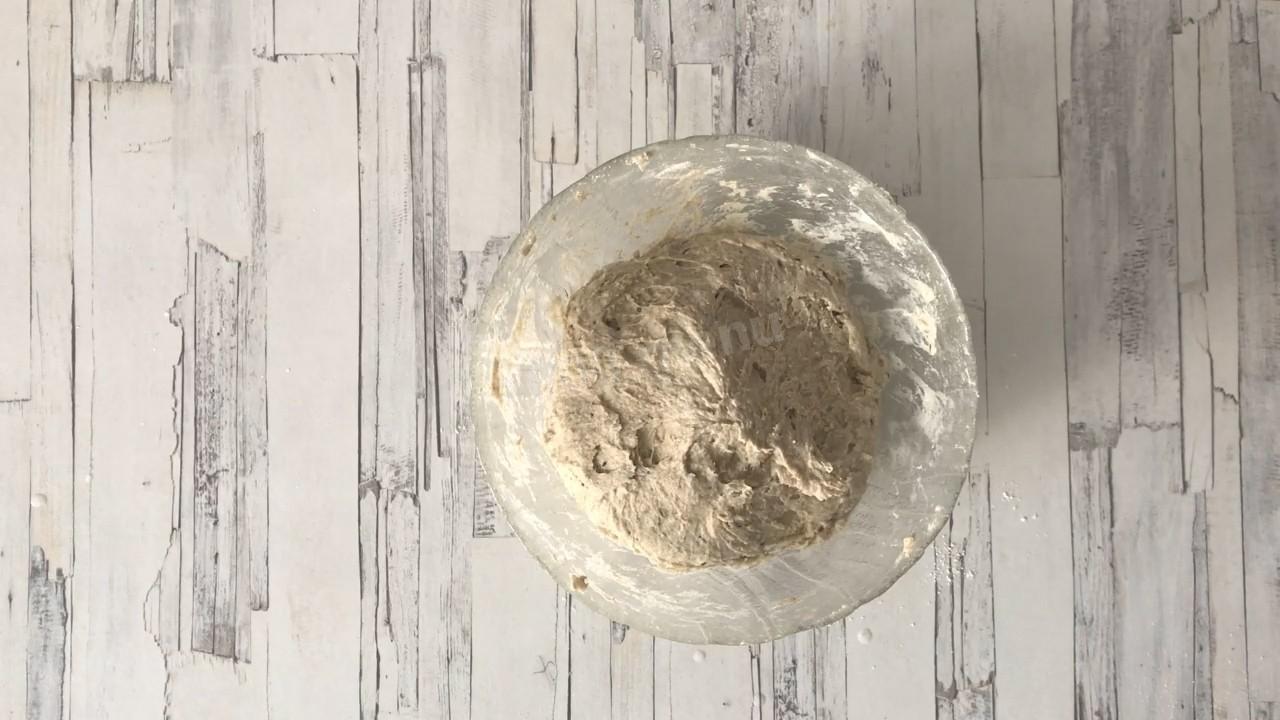
Step 6:
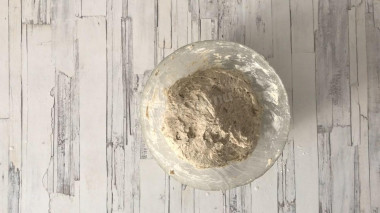
If necessary, add flour, focusing on the desired consistency of the dough. It should get pretty sticky.
Step 7:

Cover the dough bowl with a kitchen towel and leave it warm for 1 hour. For this purpose, you can use an oven preheated to 30-40 degrees. During this time, the dough should rise noticeably and increase in volume.
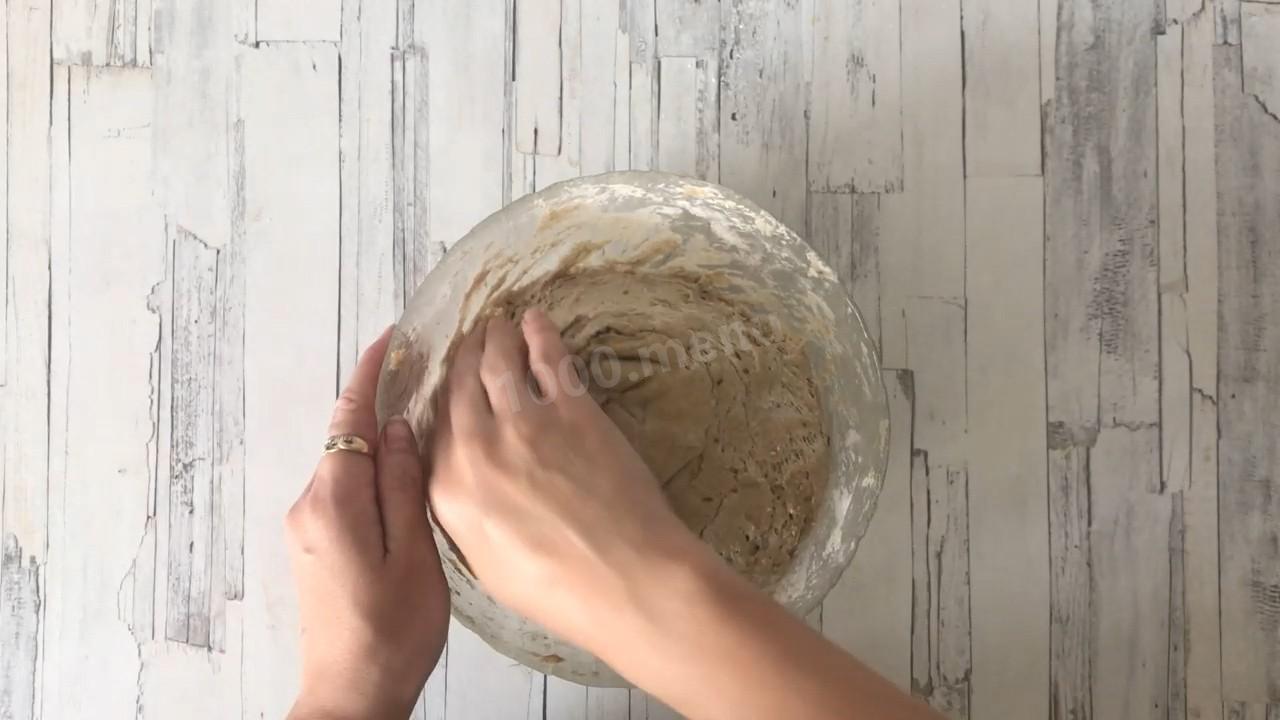
Step 8:

After an hour, knead the dough with your hands to expel carbon dioxide, which prevents the fermentation process. To prevent the dough from sticking strongly, moisten your hands in water.
Step 9:
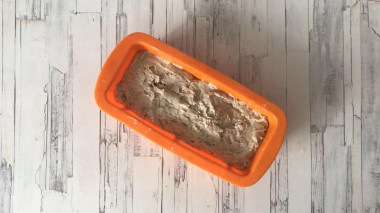
Put the dough into a bread pan, level the surface. I have a silicone rectangular shape, so I didn't lubricate it. If you have another heat-resistant mold (ceramic, metal), lightly lubricate it with refined vegetable oil with a high smoking temperature. If desired, the surface of the loaf can be sprinkled with cumin.
Step 10:

Cover the mold with a towel and leave it again for 40 minutes.
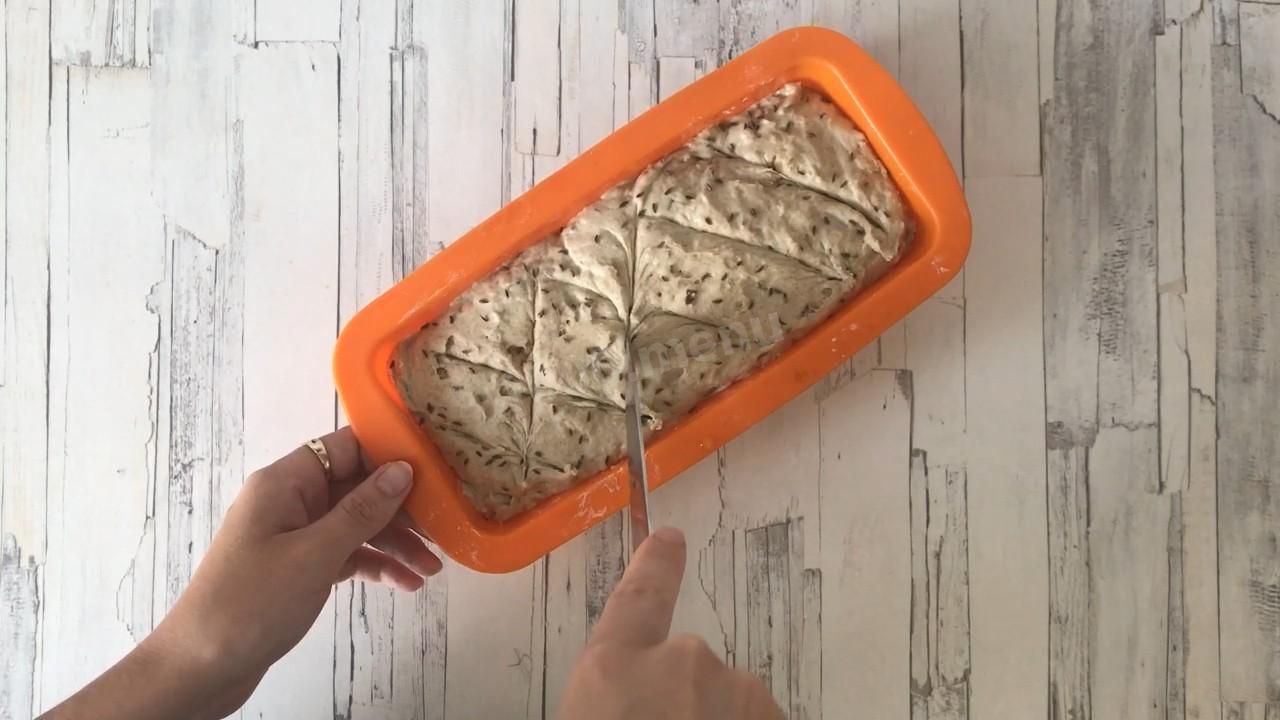
Step 11:

Shallow diamond-shaped incisions can be made on the surface of the workpiece.
Step 12:
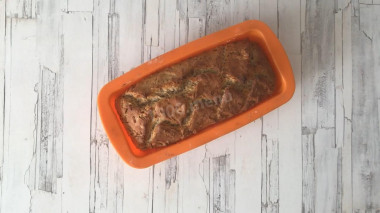
Preheat the oven to 190 degrees in advance. Bake the bread for about 40 minutes. Focus on the specifics of your technique. I advise you to put a baking tray with water on the bottom of the oven. When the top of the bread is browned, take the mold out of the oven. Transfer the bread to a plate. Cover it with a slightly damp towel and leave it for 15 minutes.


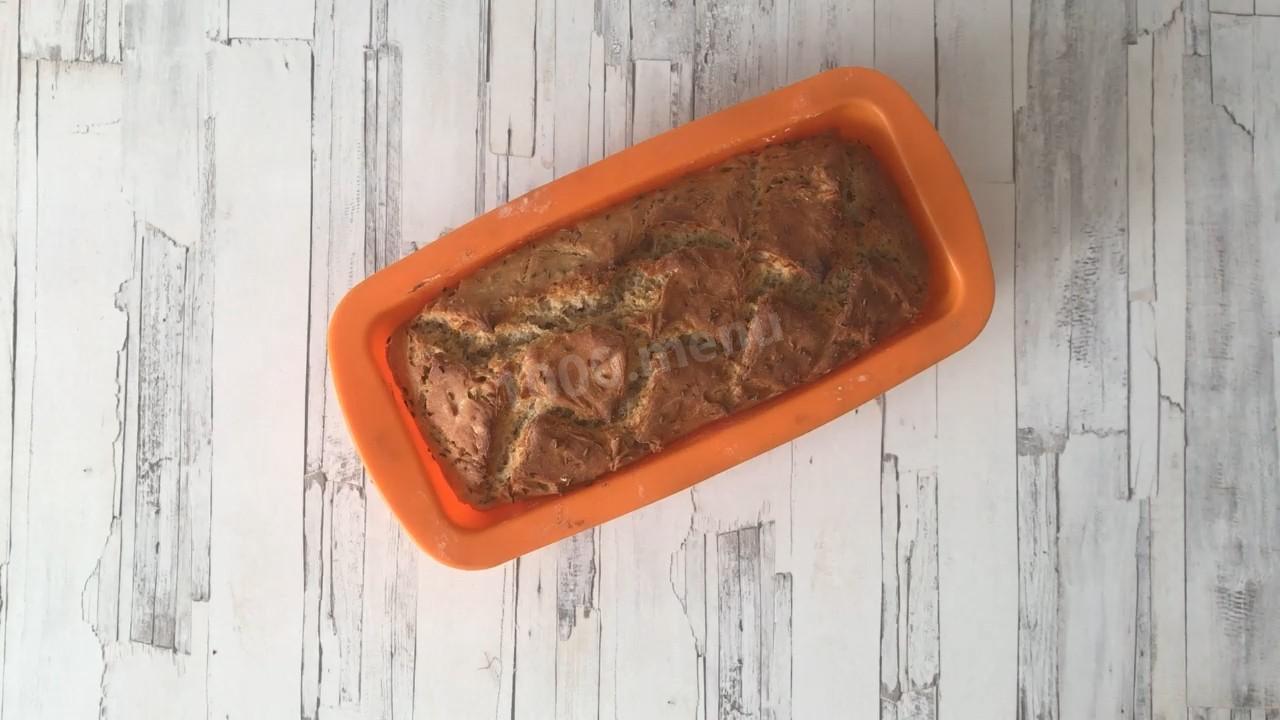
When the top layer of baking is slightly browned, check it for readiness: pierce it with a wooden skewer in several places, if the skewer comes out dry, then the mold (or baking sheet) can be taken out of the oven.
The liquid in which yeast is bred should be pleasant to the touch, no higher than 40 degrees. Why is this important? In a warm environment, yeast is well activated, in a hot one it will die, and in a cold one it simply will not work. To avoid unpleasant surprises, check the yeast before mixing with the rest of the ingredients. Pour a little warm milk into a bowl, stir in the yeast. Cover the bowl with a kitchen towel and put it in a warm place without drafts for 10-15 minutes. During this time, a foam yeast cap should appear on the surface of the sponge. If this did not happen, then the fermentation process has not started (the yeast is overdue or spoiled). In this case, it is worth taking other yeast, otherwise baking will not work.
Be prepared for the fact that flour may need more or less than indicated in the recipe. Focus not on the amount of flour, but on the desired consistency of the dough. Read a lot of useful information about flour and its properties in this article!
It is important to sift the flour to saturate it with oxygen. Then the baking will turn out to be airy and will rise well when baking.
Keep in mind that everyone's ovens are different. The temperature and cooking time may differ from those specified in the recipe. To make any baked dish successful, use useful information in this article !
In order for the oven to have time to heat up to the desired temperature, turn it on in advance (10-20 minutes before cooking).
For cooking, it is better to use filtered or bottled water that is neutral to taste. If you use tap water, keep in mind that it can give the dish an unpleasant characteristic taste.
Important! Using dry yeast, it should be borne in mind that they occur in two forms: active and instant (read the instructions carefully before use!).
Active dry yeast looks like beads or small balls. Before applying them, they must be brought out of the "sleep mode". To do this, the active yeast is diluted in warm sweet water, milk or whey. The resulting bubbles, foam or "cap" indicate that the yeast is ready for further use. Active dry yeast must be brought to complete dissolution in the liquid, otherwise, due to the remaining grains, the dough may not rise and the baking will be spoiled (yeast grains that have not dissolved in the liquid and got into the dough will not disperse on their own, which means they will not work).
Instant dry yeast is easier to use. They do not need to be activated before use. Such yeast, along with other ingredients, is simply added to the dough. As a result, the baking time is reduced.
It should also be remembered that both types of dry yeast may differ in their activity from different manufacturers.
Caloric content of the products possible in the composition of the dish
- Granulated sugar - 398 kcal/100g
- Sugar - 398 kcal/100g
- Cumin - 333 kcal/100g
- Vegetable oil - 873 kcal/100g
- Salt - 0 kcal/100g
- Water - 0 kcal/100g
- Wheat flour - 325 kcal/100g
- Rye flour - 305 kcal/100g
- Dry yeast - 410 kcal/100g