


Composition / ingredients
Step-by-step cooking
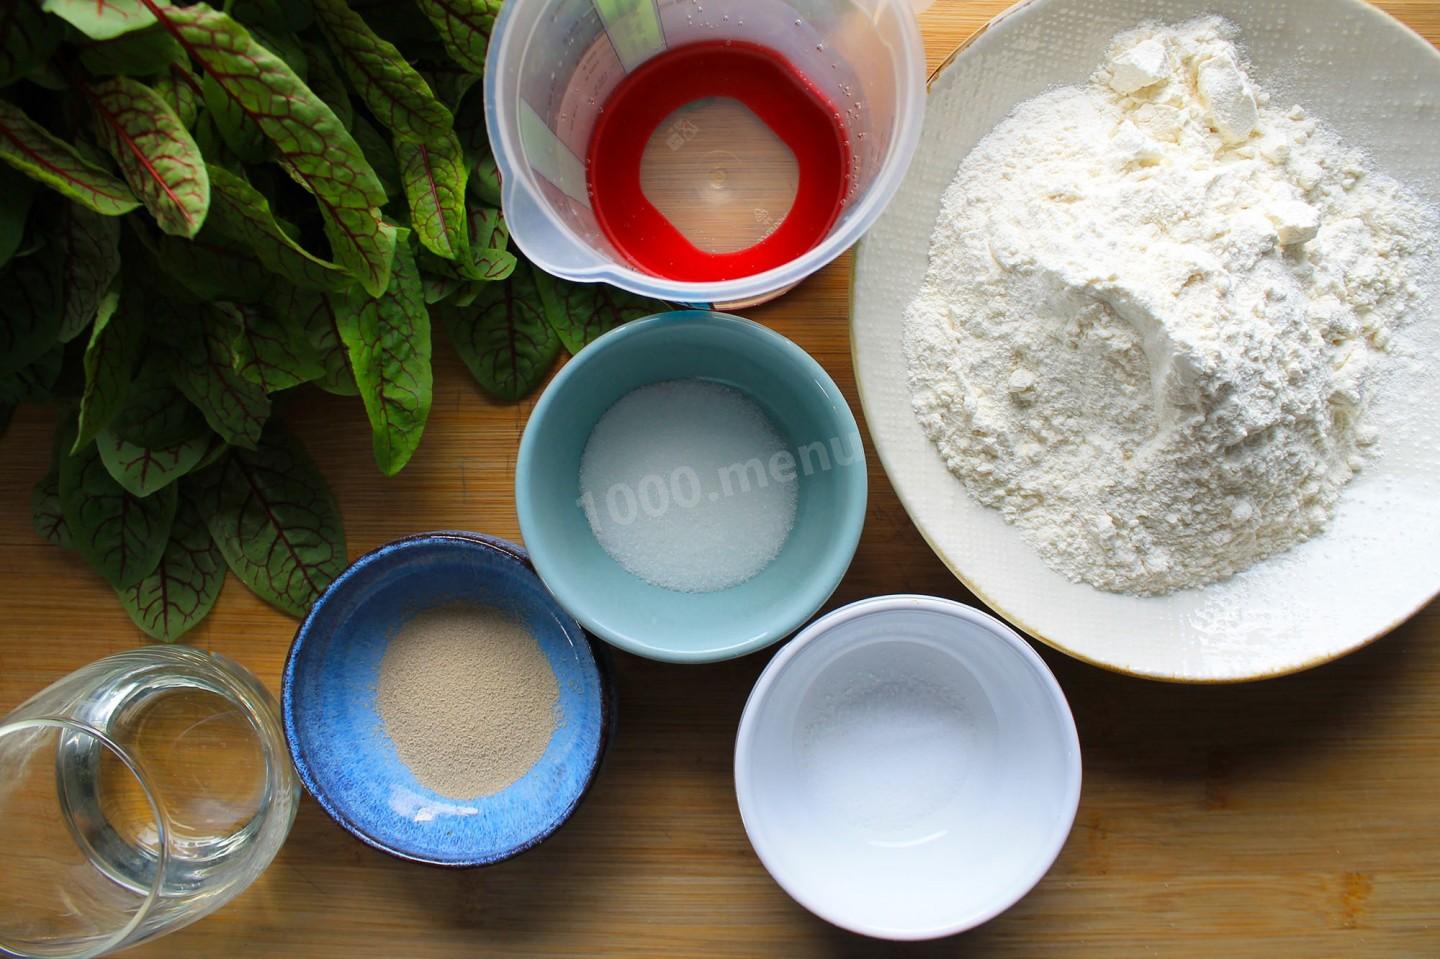
Step 1:

How to bake bread in a tandoor? First of all, prepare the dough. To do this, measure the required amount of products specified in the recipe. Flour may need a little more or vice versa less than indicated in the recipe. Milk can be used instead of water if desired.
Step 2:
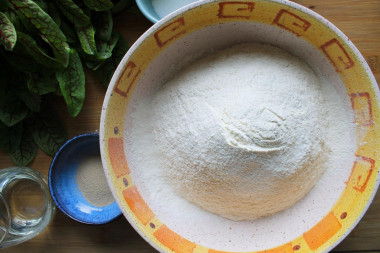
Sift the flour through a sieve. This will allow you to saturate it with oxygen and your pastries will turn out airy and soft. Send the flour to a deep bowl or any other container.
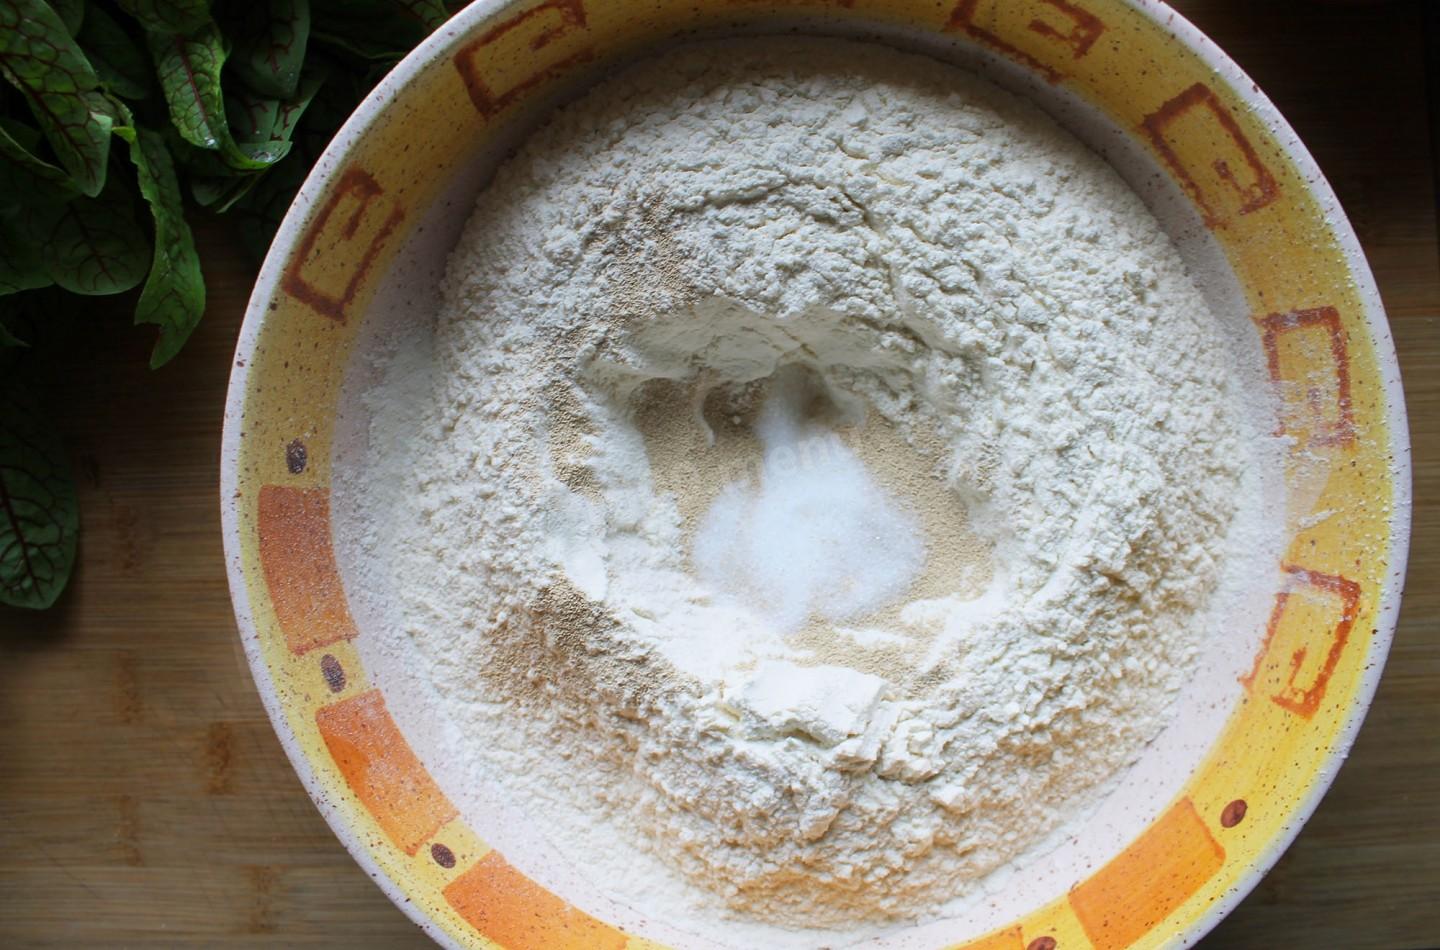
Step 3:
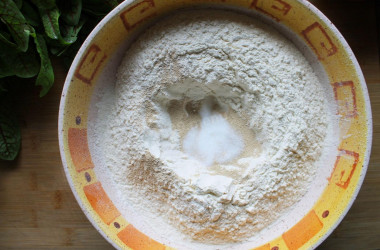
Make a recess in the middle. Add yeast and sugar. Stir lightly.
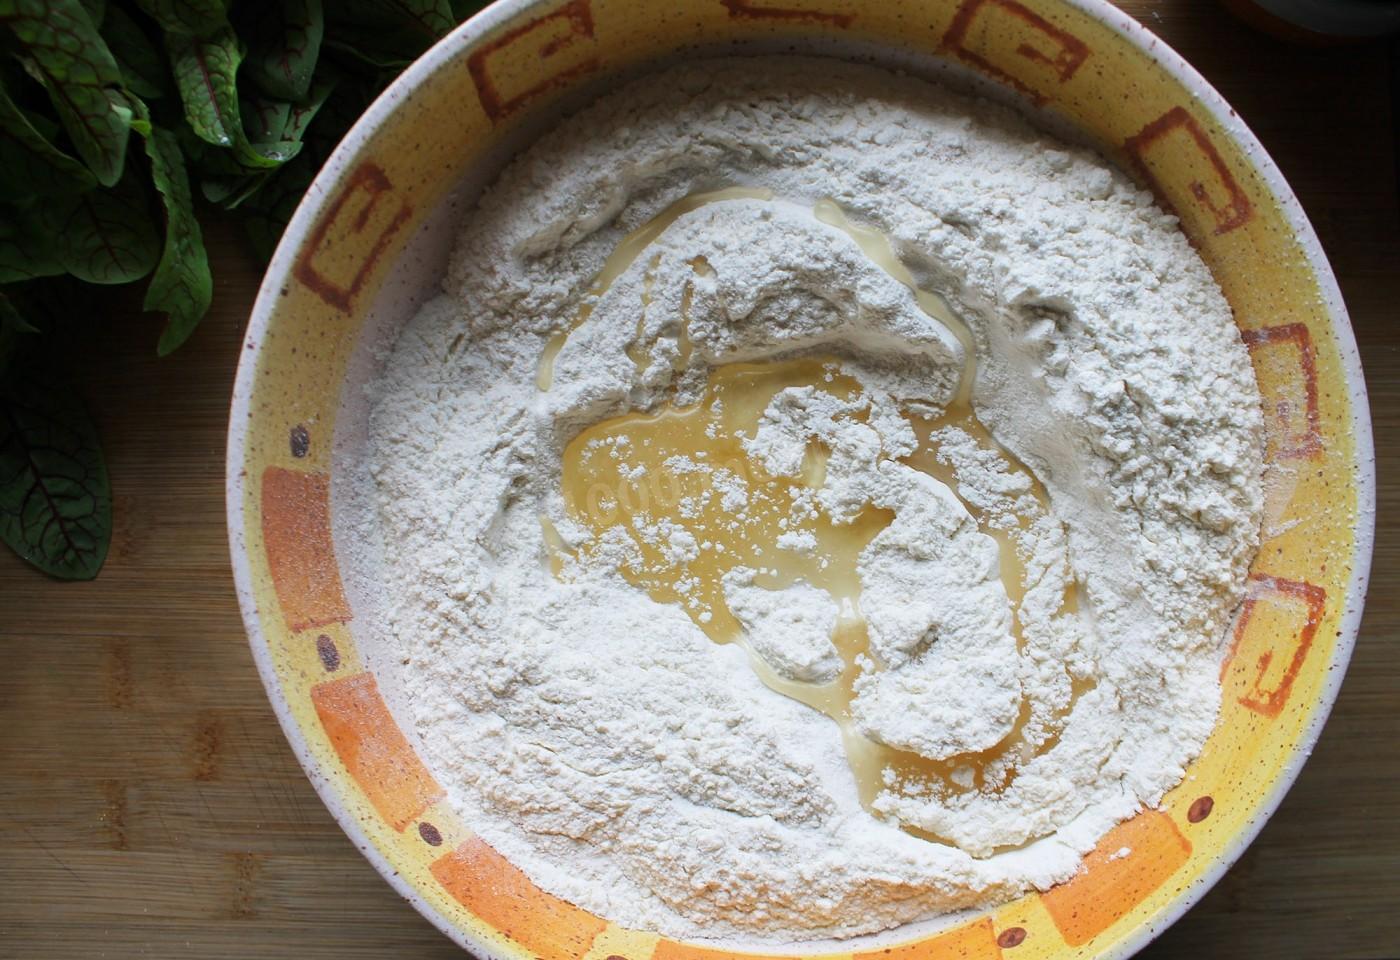
Step 4:

Next, add salt and vegetable oil. Stir again a little.
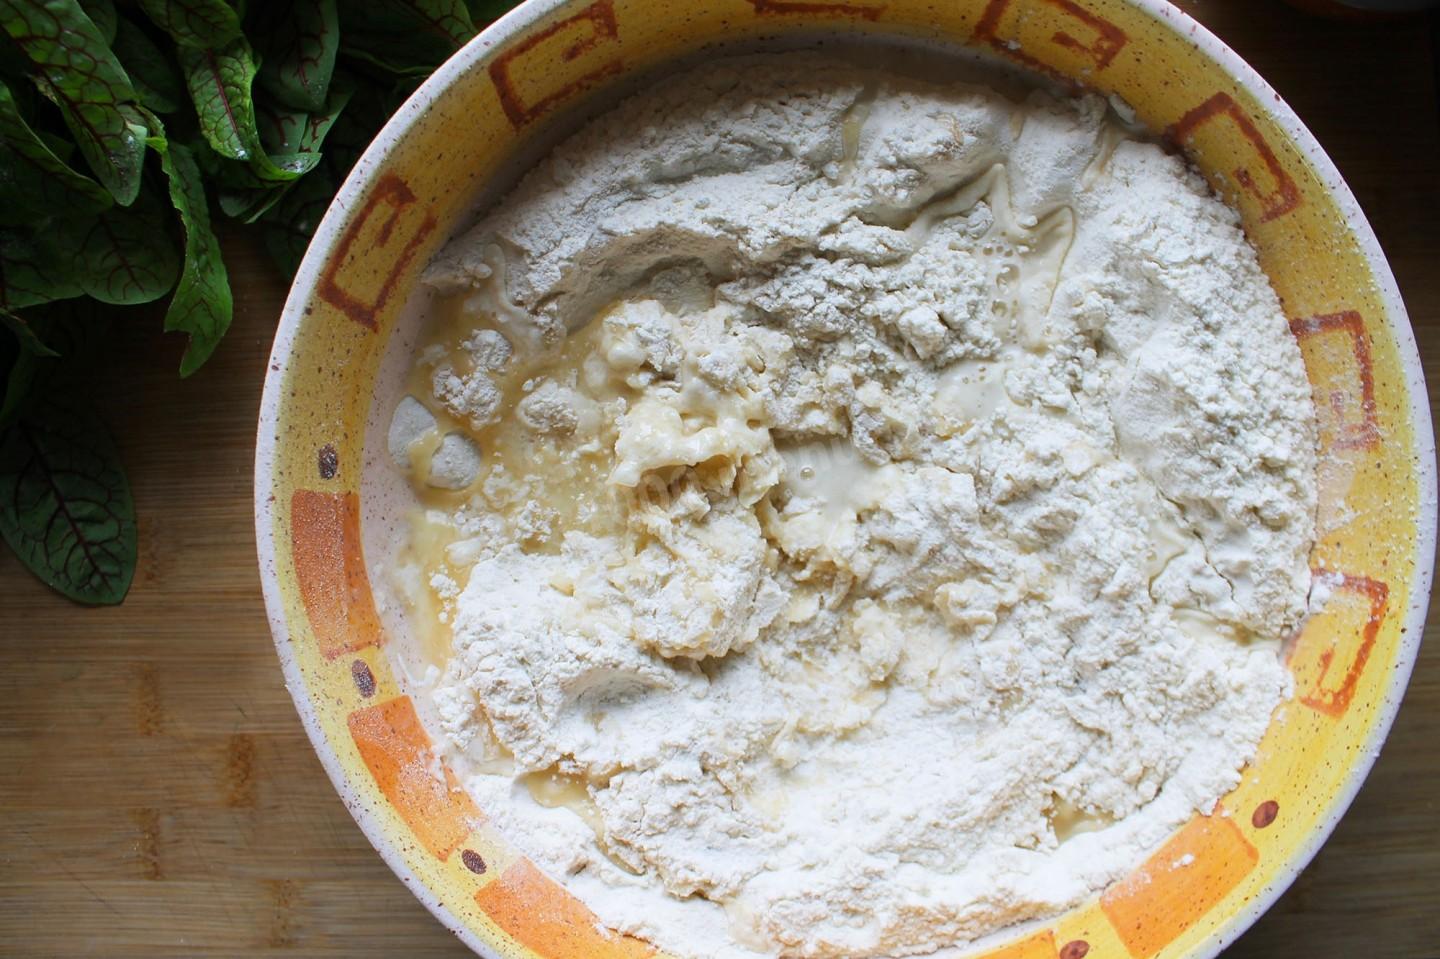
Step 5:

Start gradually pouring in warm water and knead the dough. The amount of water or flour may differ from what is indicated in the recipe.
Step 6:

Focus on the consistency of the dough. It should be tight, but at the same time not too tight. Knead the dough for 10 minutes.
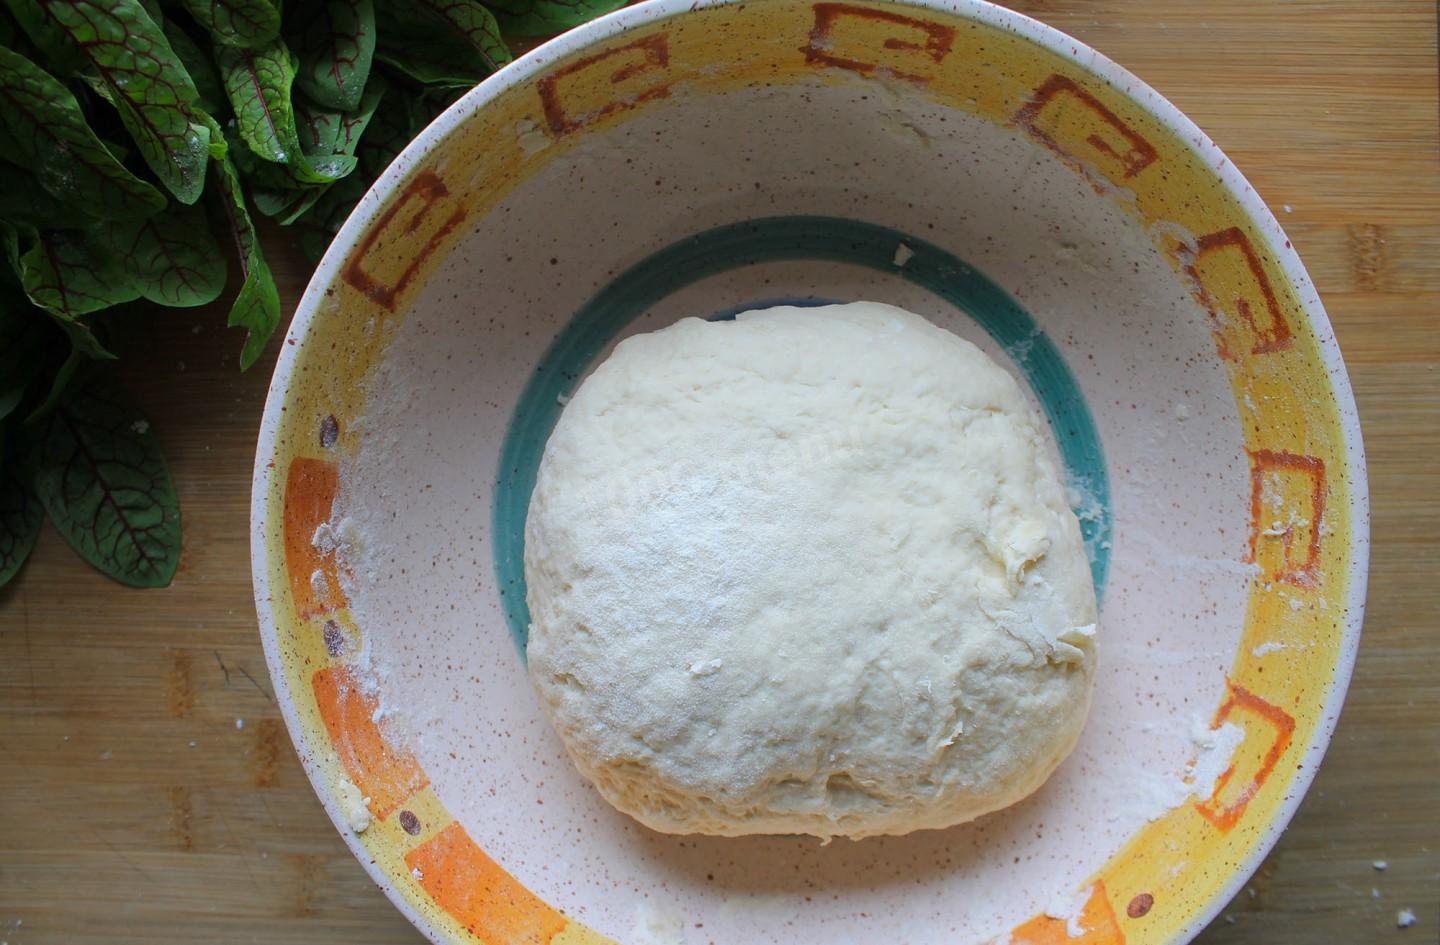
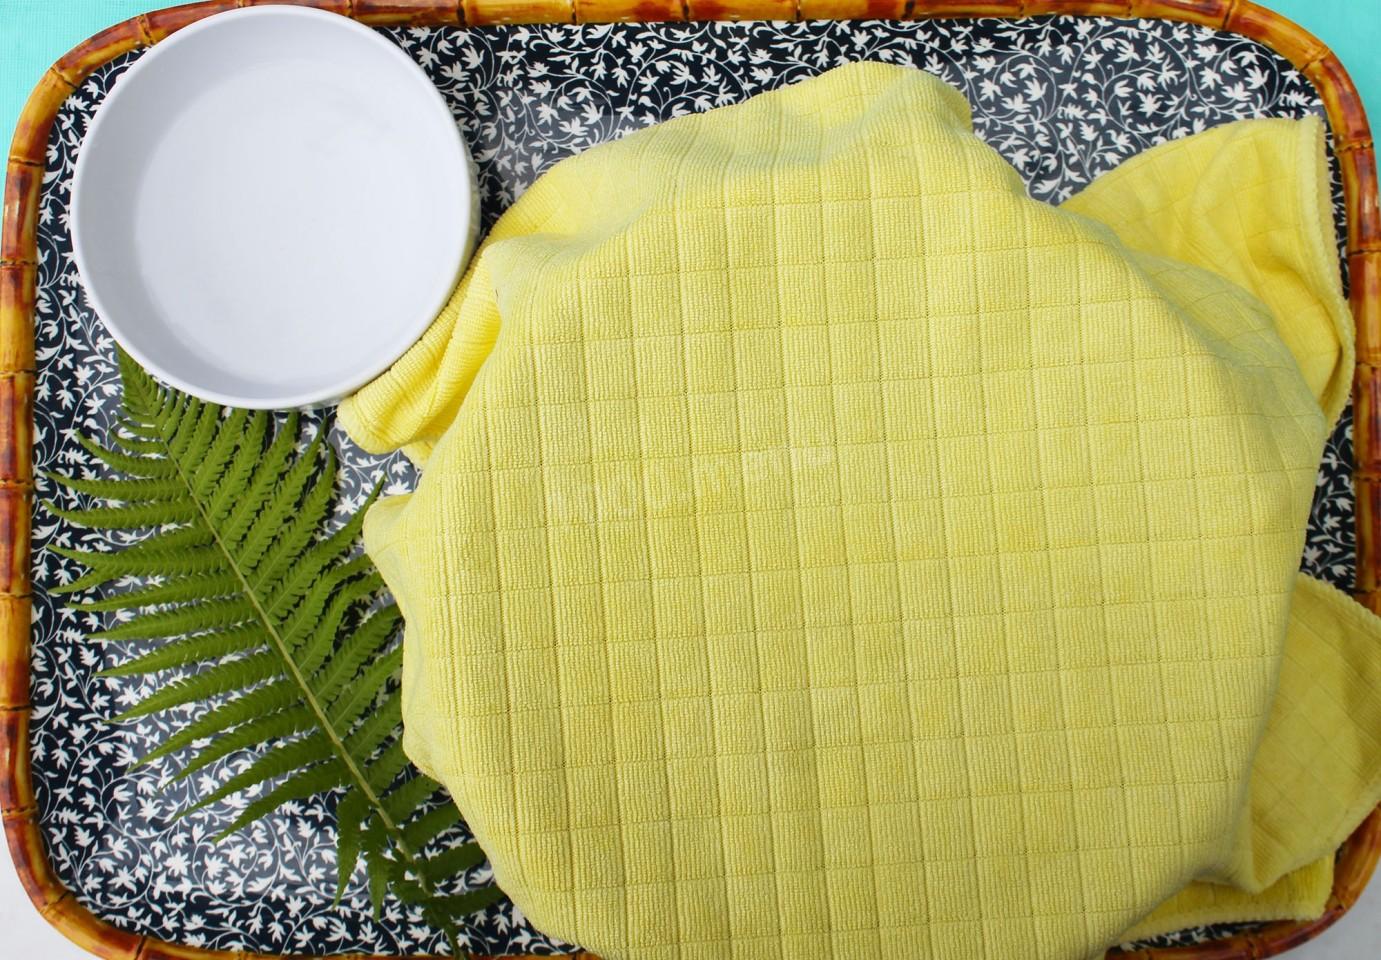
Step 7:
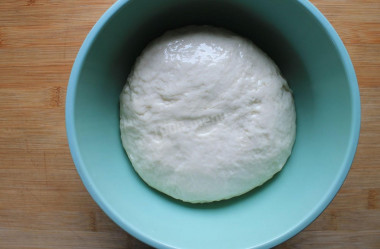
Lubricate the bowl with vegetable oil, lay out a ball of dough and lubricate it with oil on top as well. To lift the dough, I often use a plastic cup, as it seems to me that the dough fits in it faster than in glass or metal dishes.
Step 8:
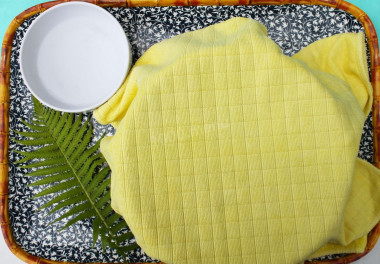
Cover the dough with a towel and leave it this way for 30-40 minutes.
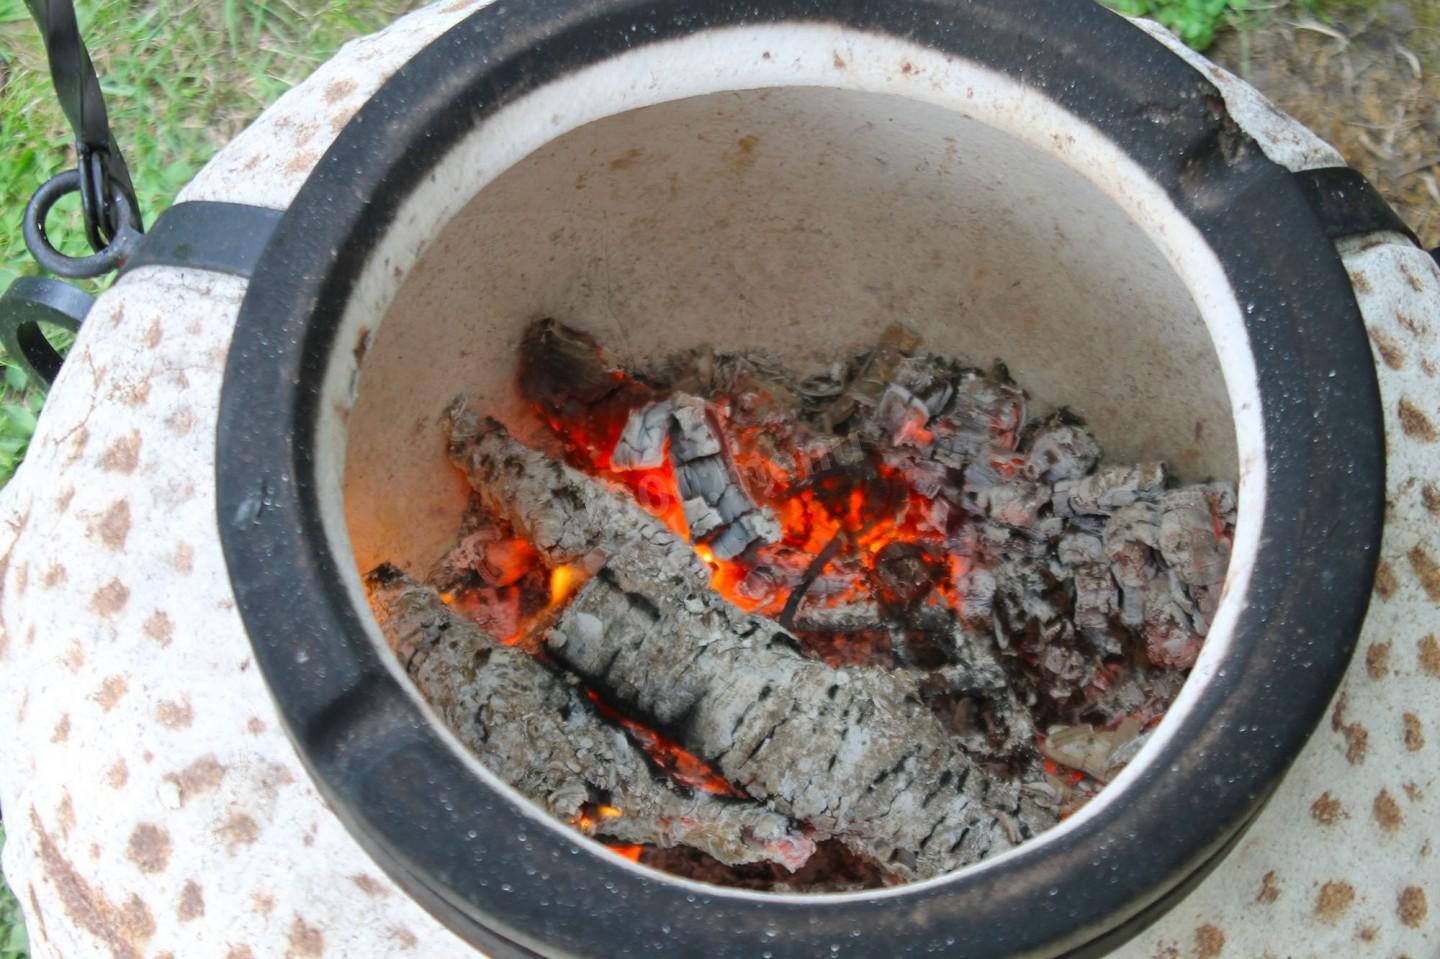
Step 9:
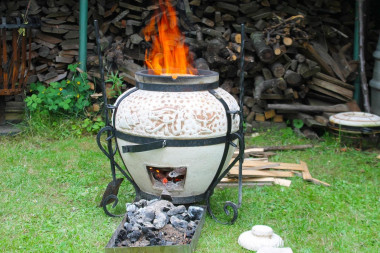
At this time, light up the tandoor.
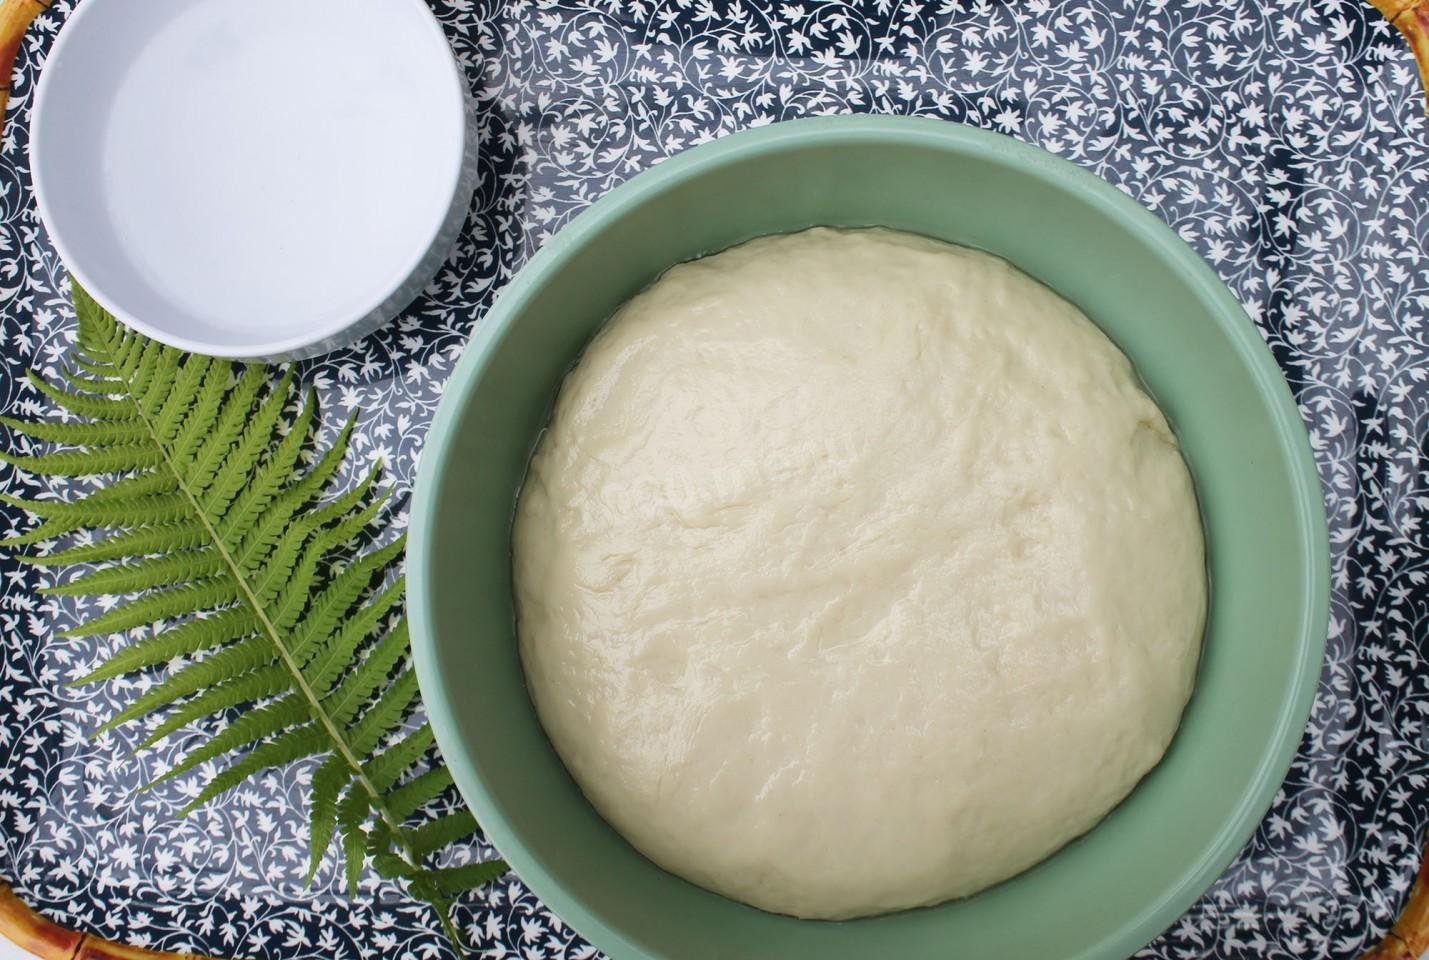
Step 10:

While the firewood is burning, our dough will usually be ready for further use.
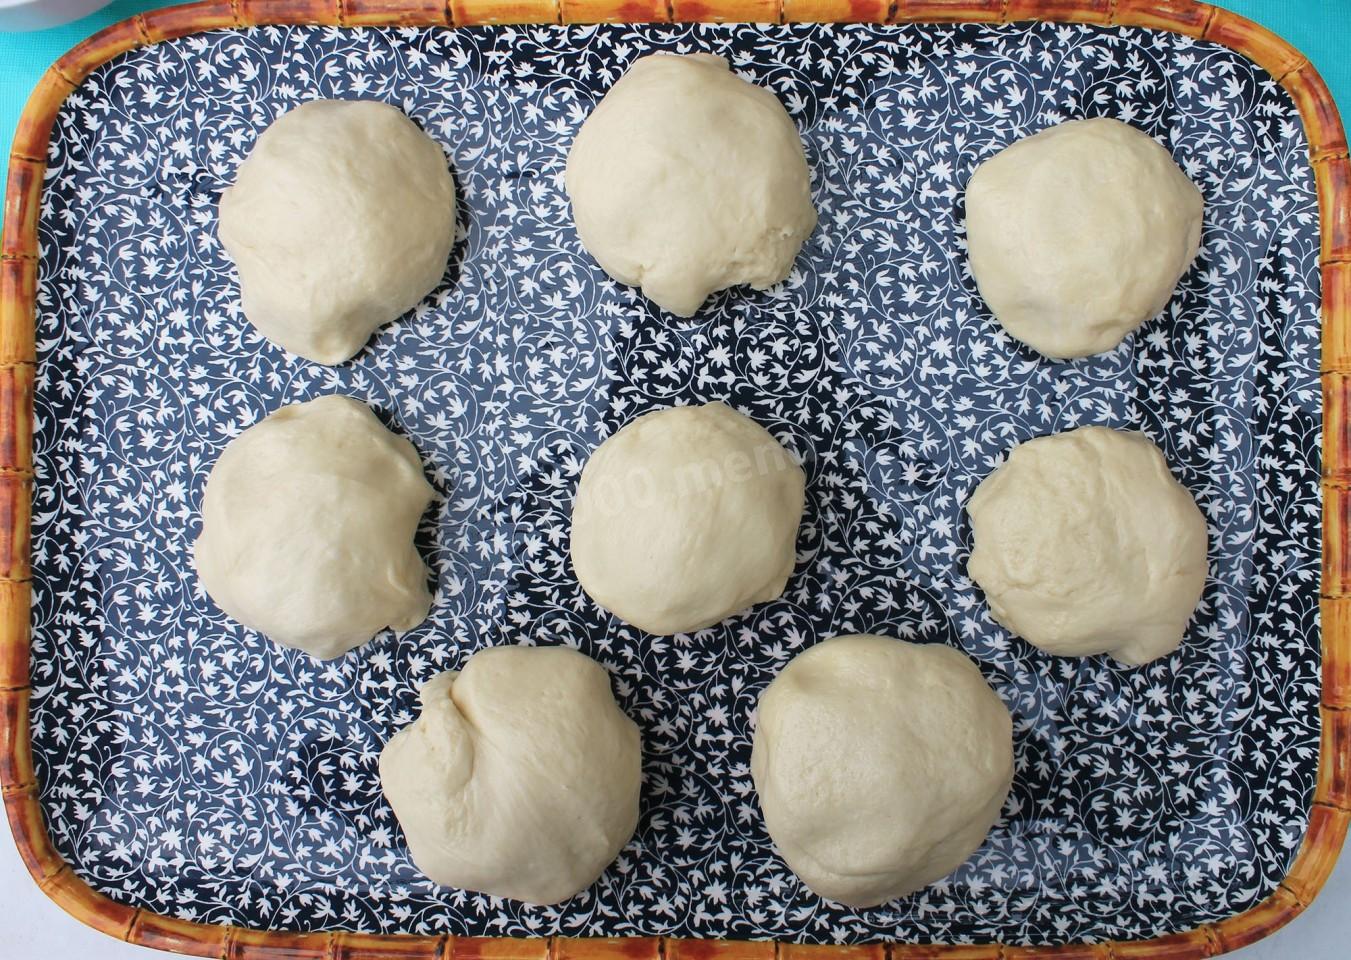
Step 11:
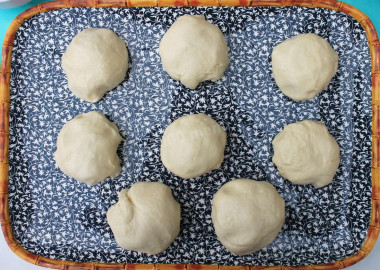
Slightly knead the risen dough with your hands. Form balls of approximately the same size. Cover with a towel and leave for another 10-15 minutes. During this time, the kolobochki will rise a little again.
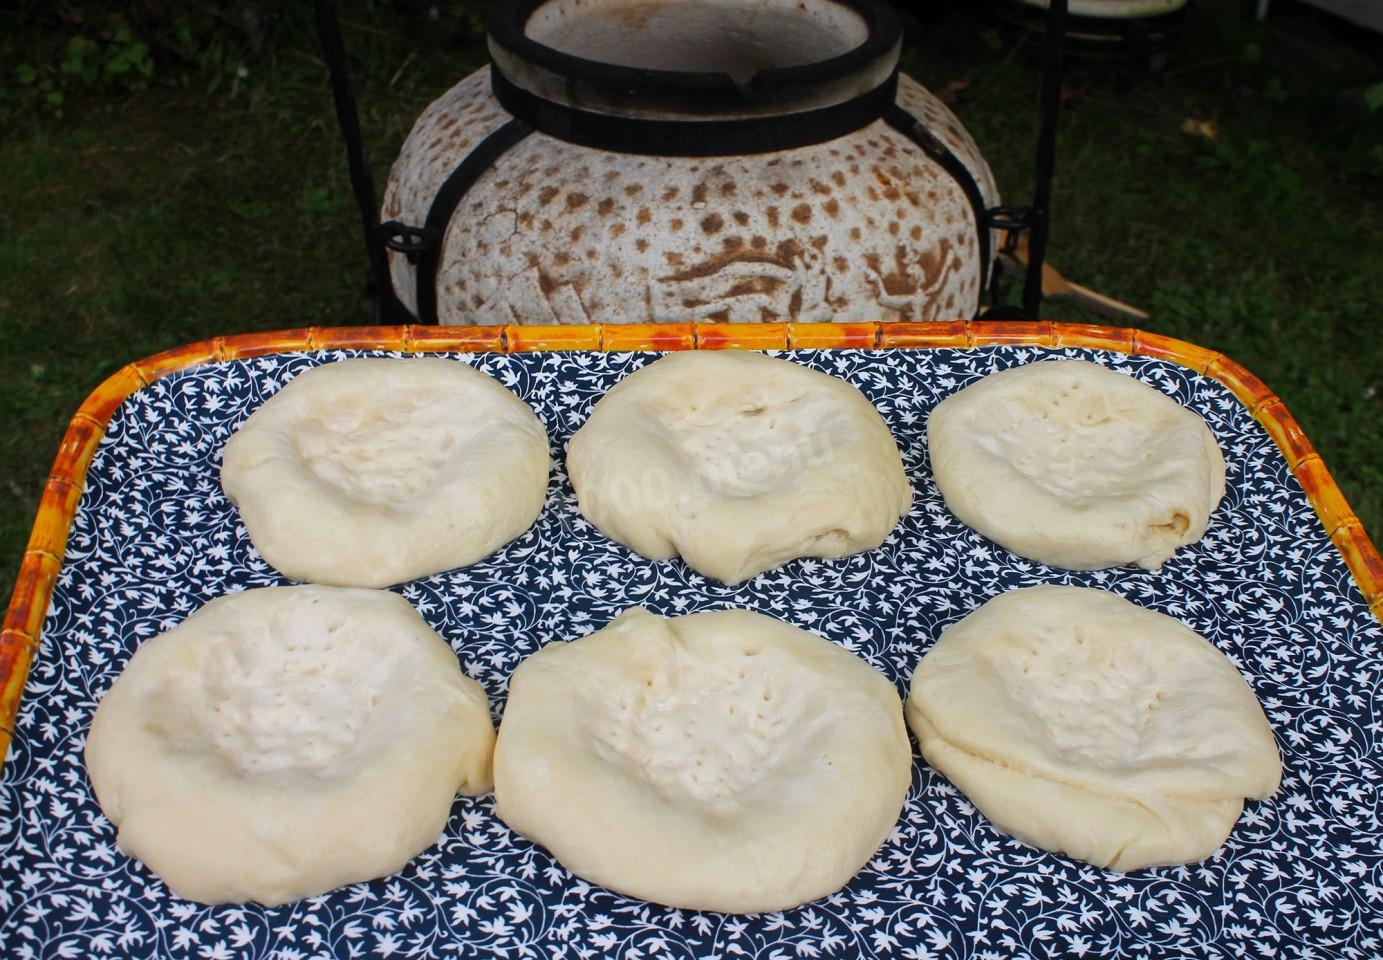
Step 12:

Make depressions in the middle of each ball with your fingers soaked in water, forming cakes. Inside the recesses, make several punctures with a fork.
Step 13:
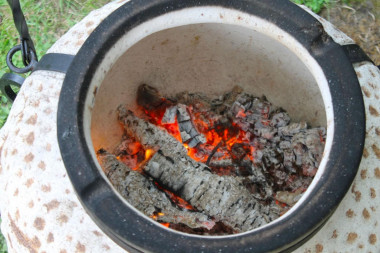
When the firewood burns out in the tandoor and the walls of the oven turn white again, you can proceed to the final stage of cooking.
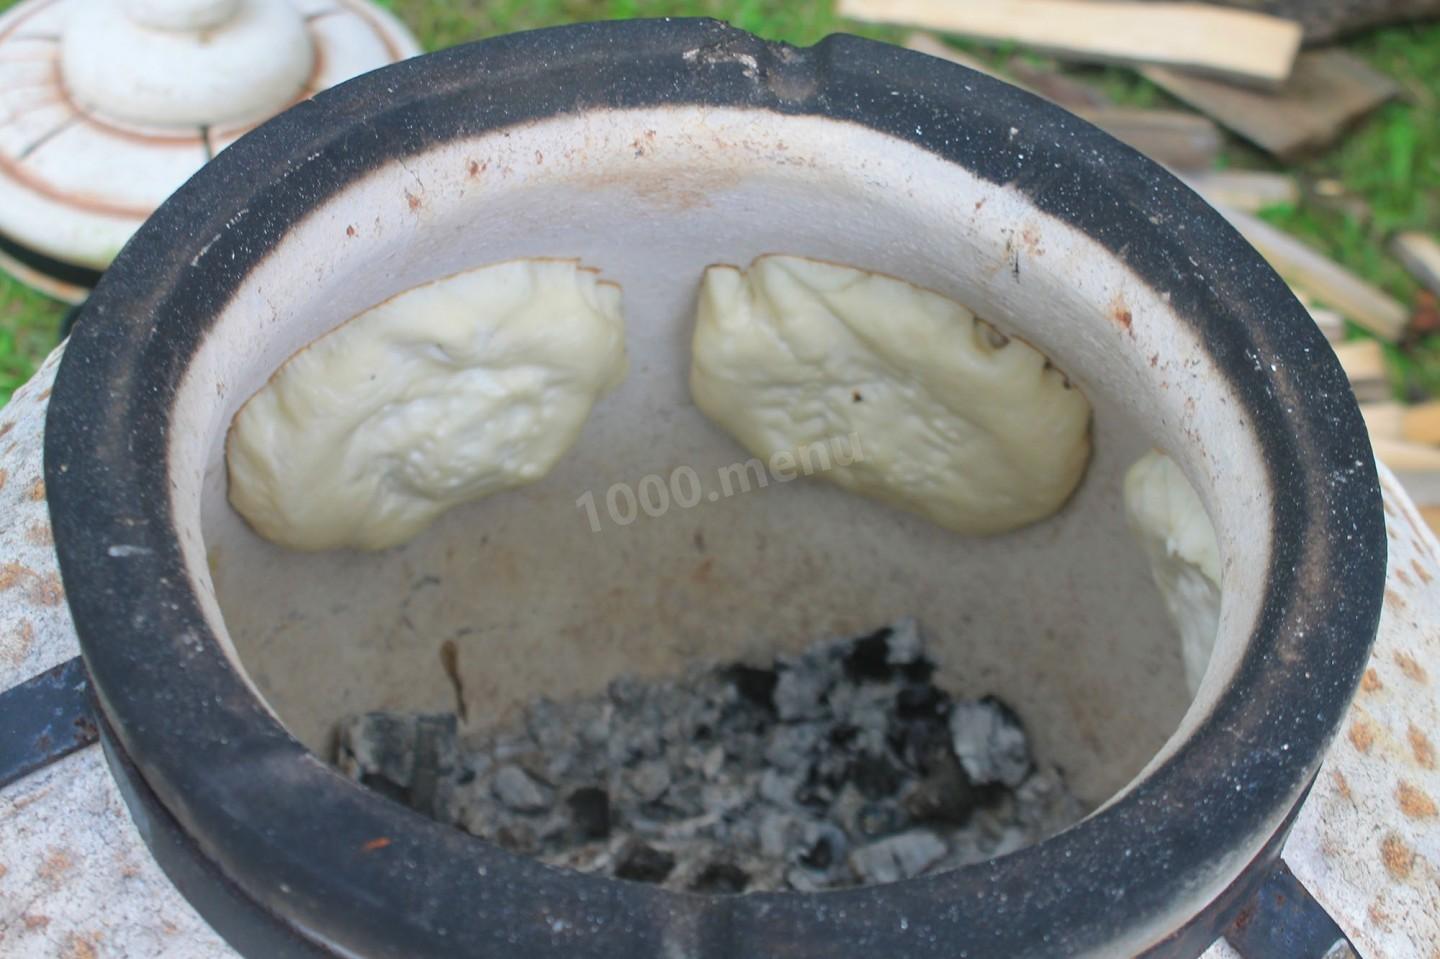
Step 14:

Lubricate the bottom of each tortilla with salted cold water. Send the tortillas to the walls of the tandoor. Be extremely careful not to get burned and use special heat-resistant mittens. Close the bottom of the blower and cover the oven with a lid on top.
Step 15:
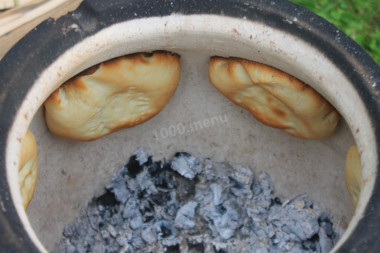
The cakes in the tandoor are cooked very quickly, the time depends on the degree of heat and the size of the bread products. This is how my tortillas looked after 2 minutes of cooking.
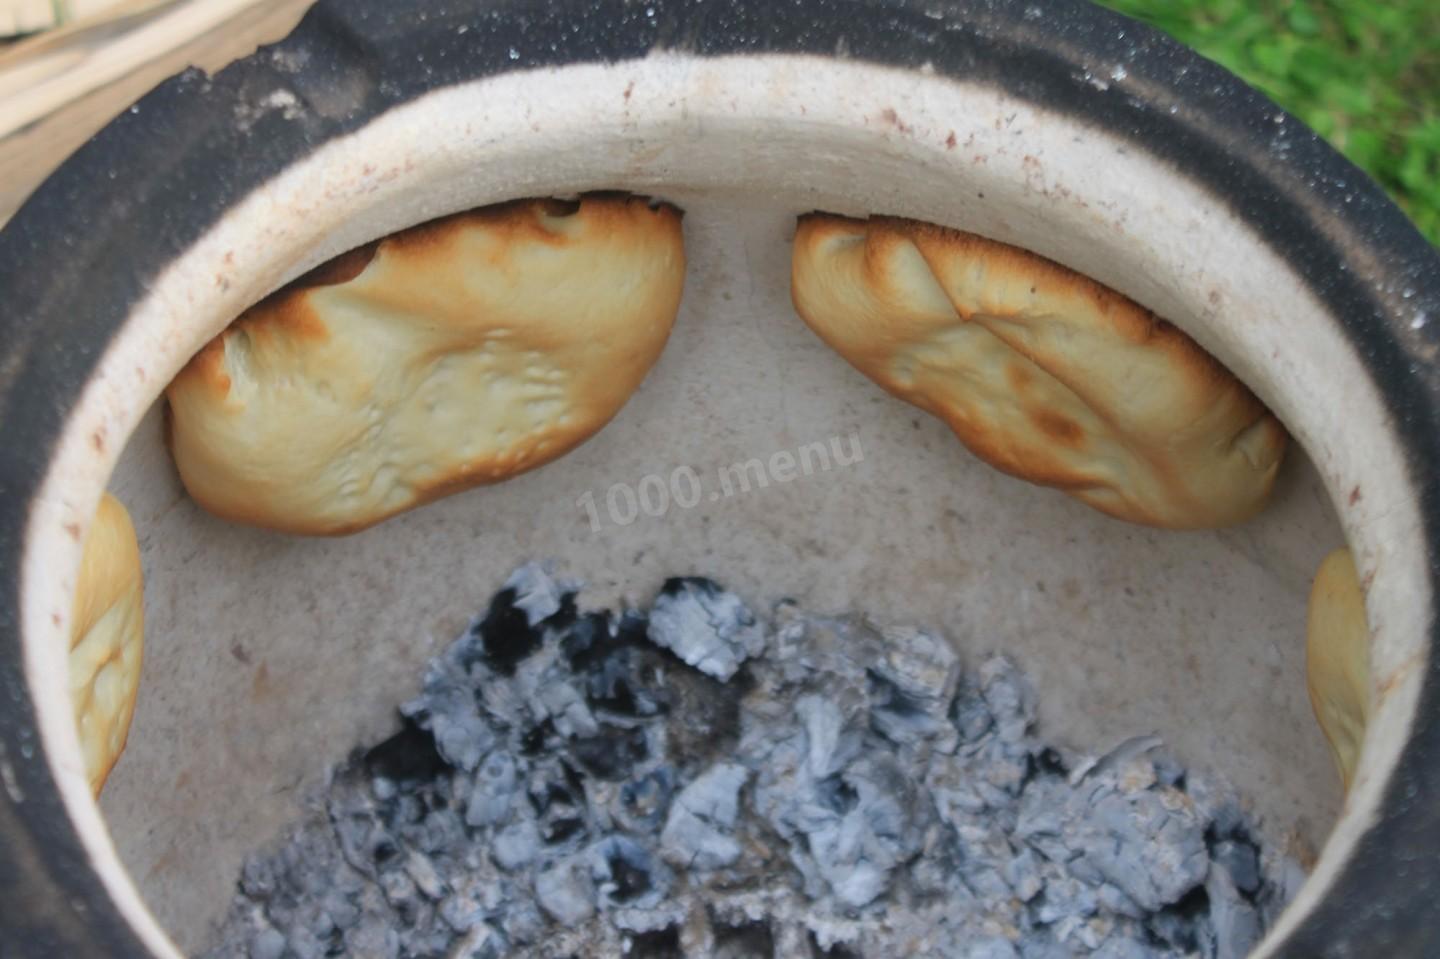
Step 16:
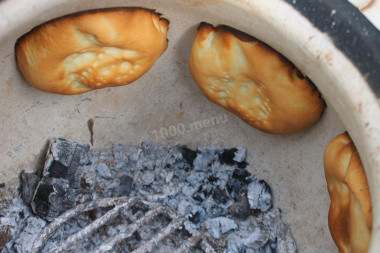
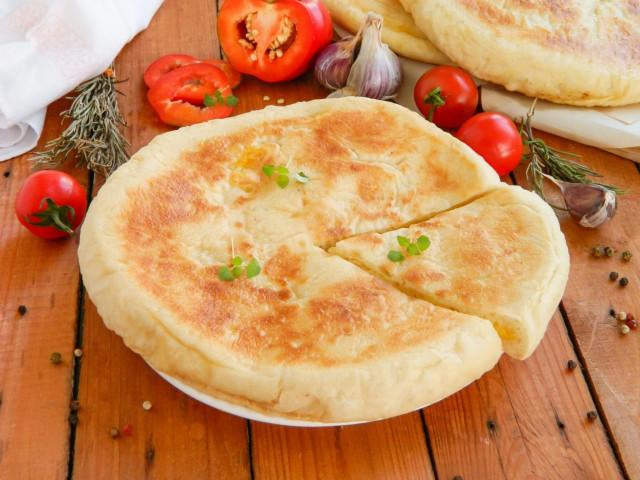
And this is how the finished bread looked after 5 minutes of baking in the oven. On average, the cooking time varies from 4 to 10 minutes. Carefully remove the finished bread from the tandoor.
Step 17:

View of tandoor cakes from the reverse side.
Step 18:

Very soft and fragrant, by all means try it!


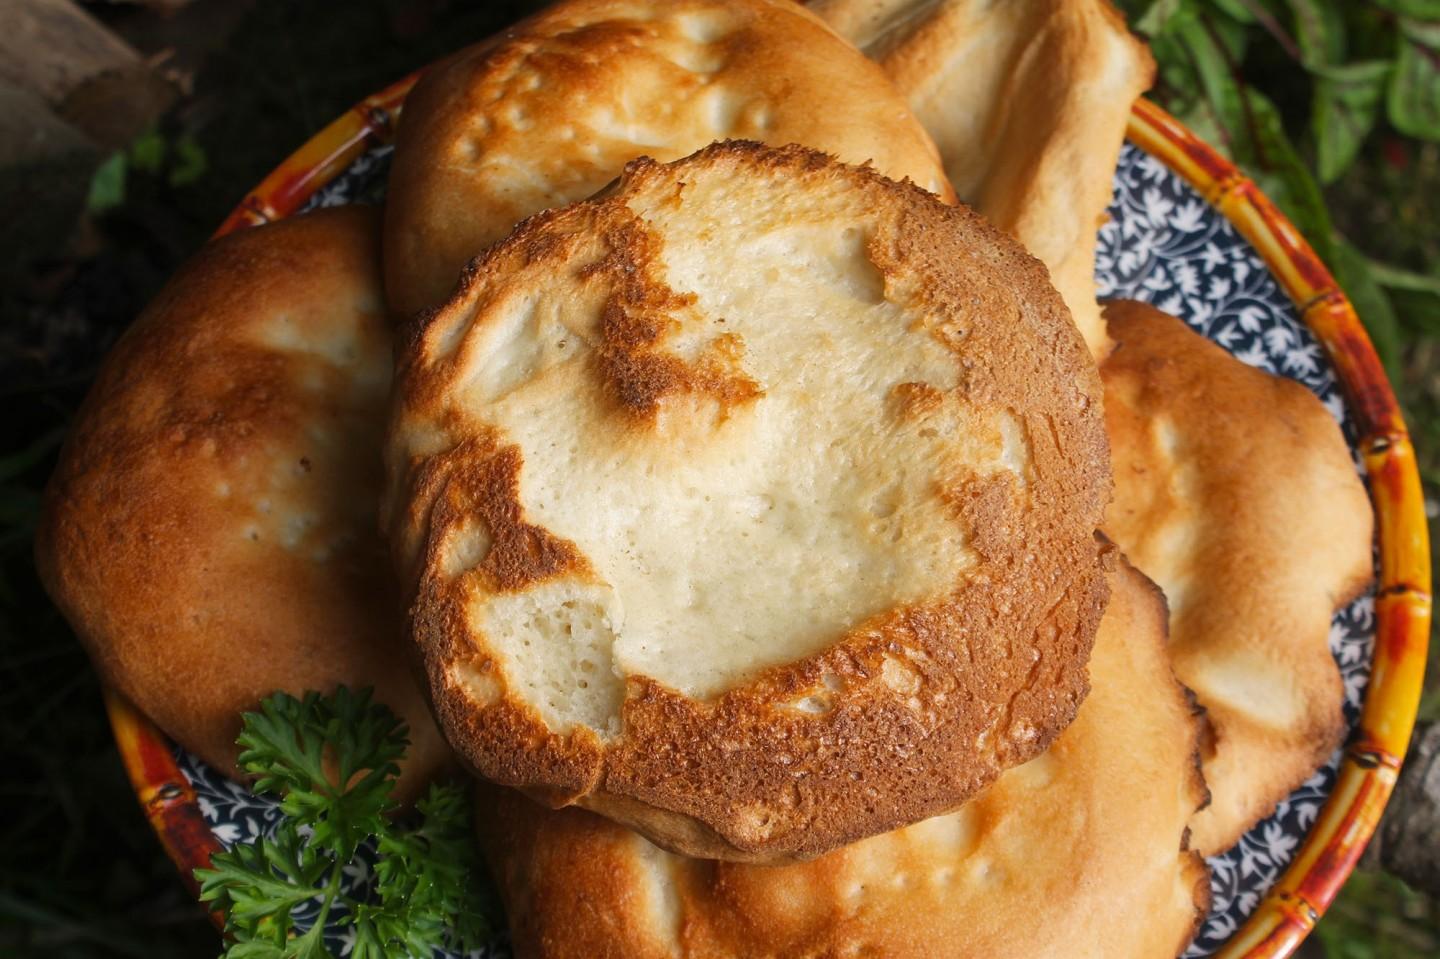
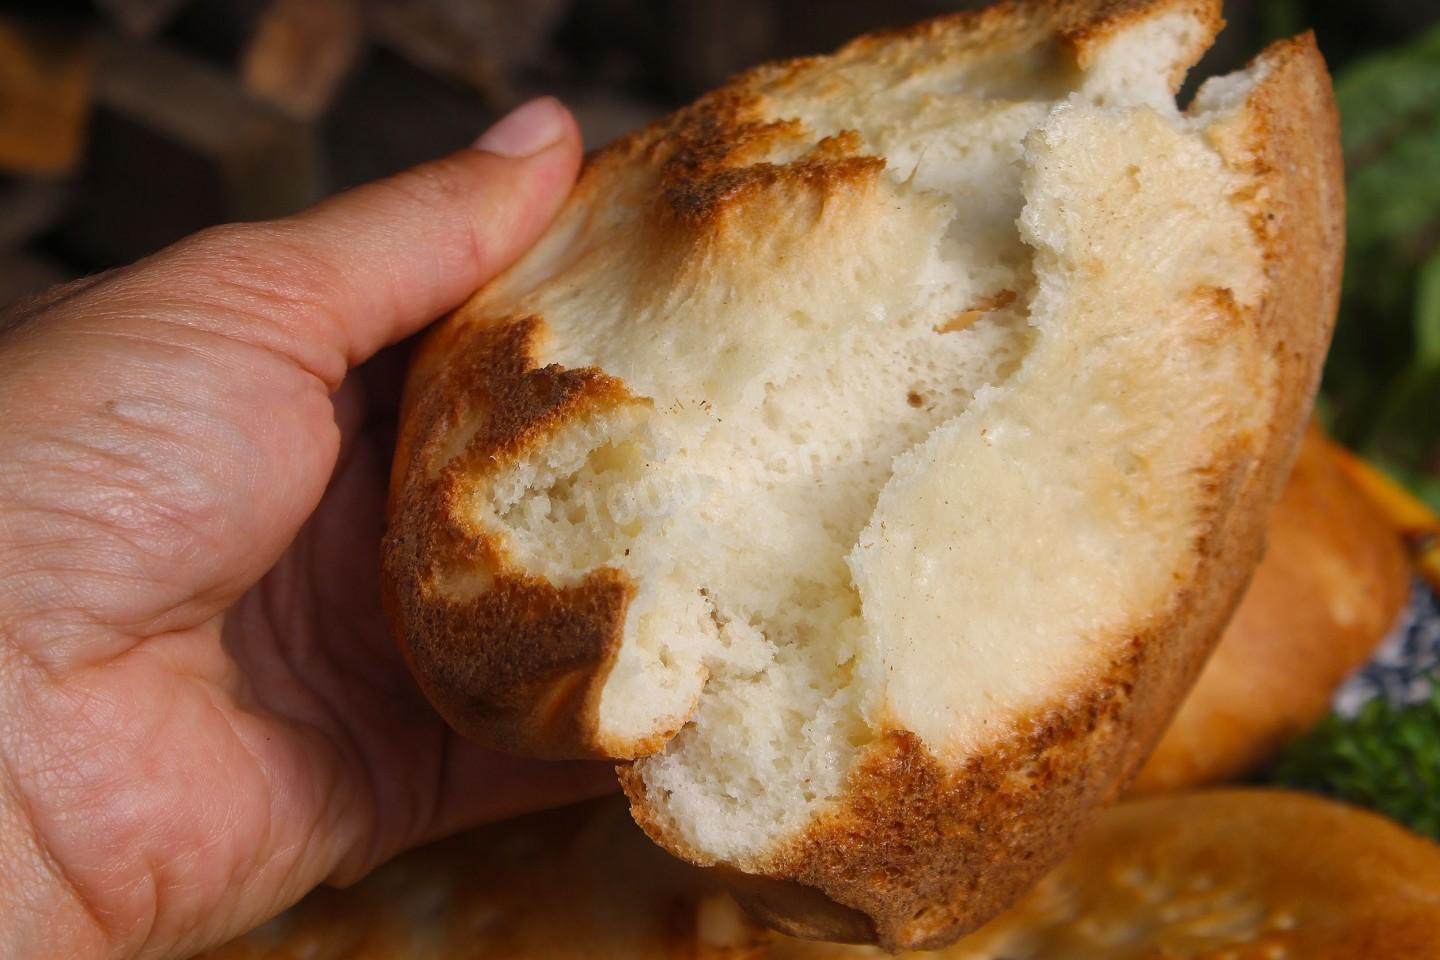
Bon appetit!
Important! Using dry yeast, it should be borne in mind that they occur in two forms: active and instant (read the instructions carefully before use!).
Active dry yeast looks like beads or small balls. Before applying them, they must be brought out of the "sleep mode". To do this, the active yeast is diluted in warm sweet water, milk or whey. The formed bubbles, foam or "cap" indicate that the yeast is ready for further use. Active dry yeast must be brought to complete dissolution in the liquid, otherwise, due to the remaining grains, the dough may not rise and the baking will be spoiled (yeast grains that have not dissolved in the liquid and got into the dough will not disperse on their own, which means they will not work).
Instant dry yeast is easier to use. They do not need to be activated before use. Such yeast, along with other ingredients, is simply added to the dough. As a result, the baking time is reduced.
It should also be remembered that both types of dry yeast may differ in their activity from different manufacturers.
Caloric content of the products possible in the composition of the dish
- Whole durum wheat flour fortified - 333 kcal/100g
- Whole durum wheat flour, universal - 364 kcal/100g
- Flour krupchatka - 348 kcal/100g
- Flour - 325 kcal/100g
- Granulated sugar - 398 kcal/100g
- Sugar - 398 kcal/100g
- Vegetable oil - 873 kcal/100g
- Salt - 0 kcal/100g
- Water - 0 kcal/100g
- Dry yeast - 410 kcal/100g