


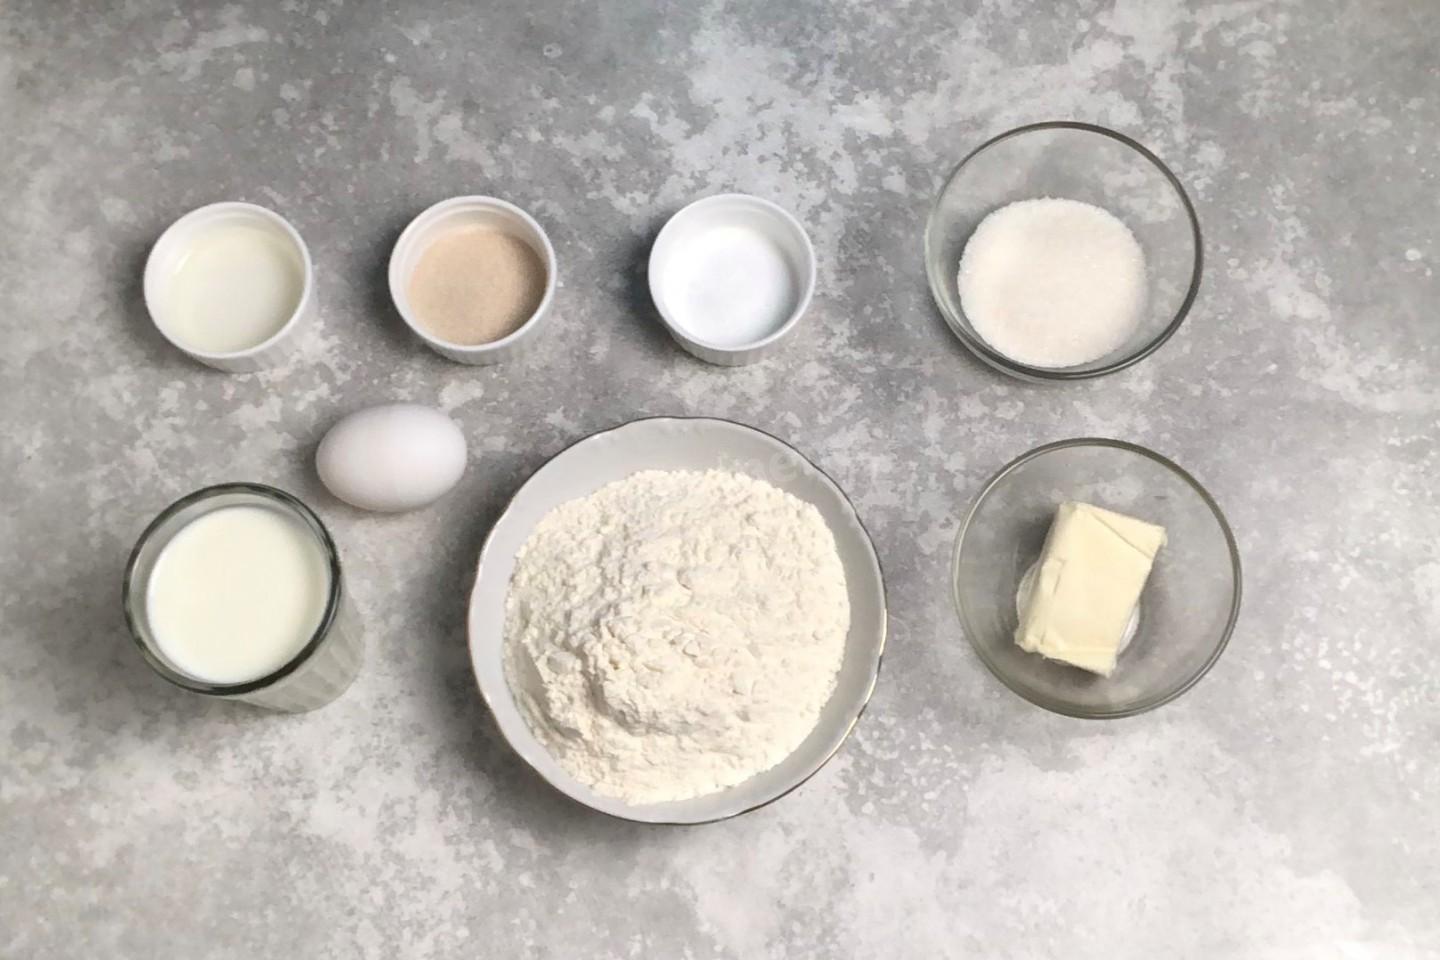
Composition / ingredients
Step-by-step cooking
Step 1:
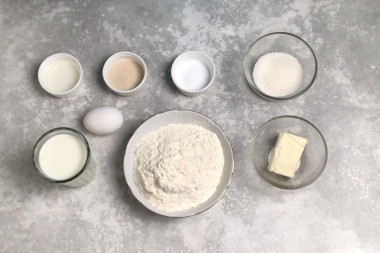
How to make the most tender buns? Prepare the products according to the list. It is desirable that you have all the products at the same room temperature. Wash the egg and dry it with napkins. Take milk of any fat content. You can change the amount of sugar to your liking.
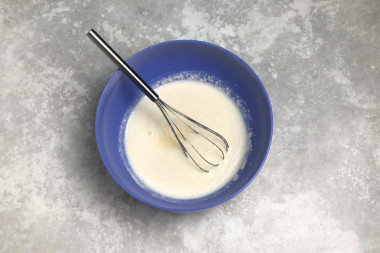
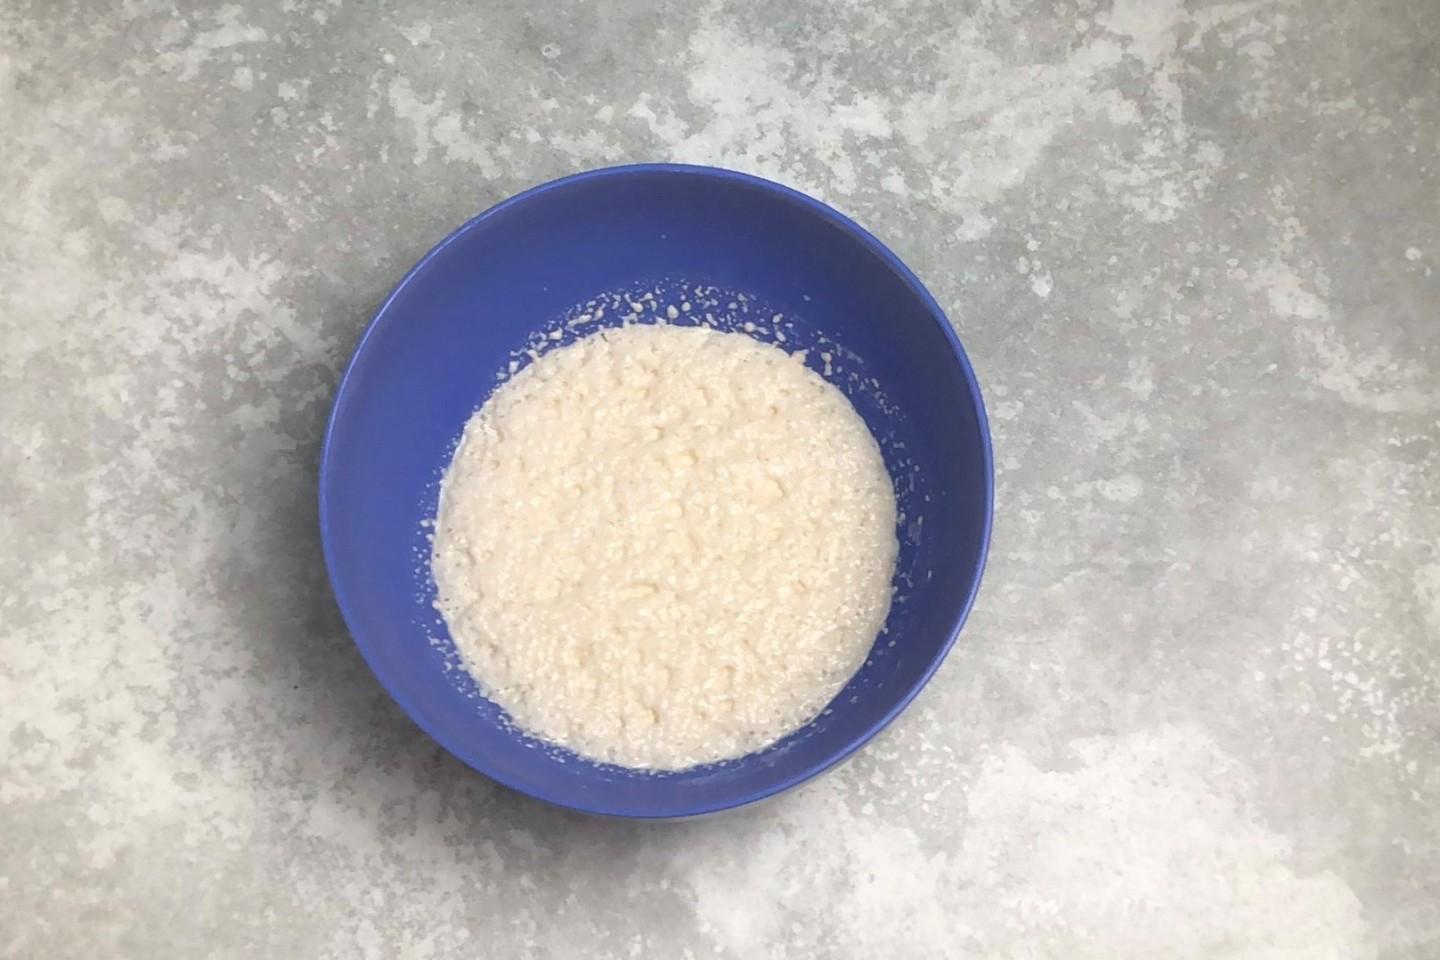
Step 2:
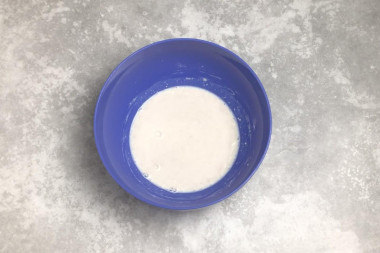
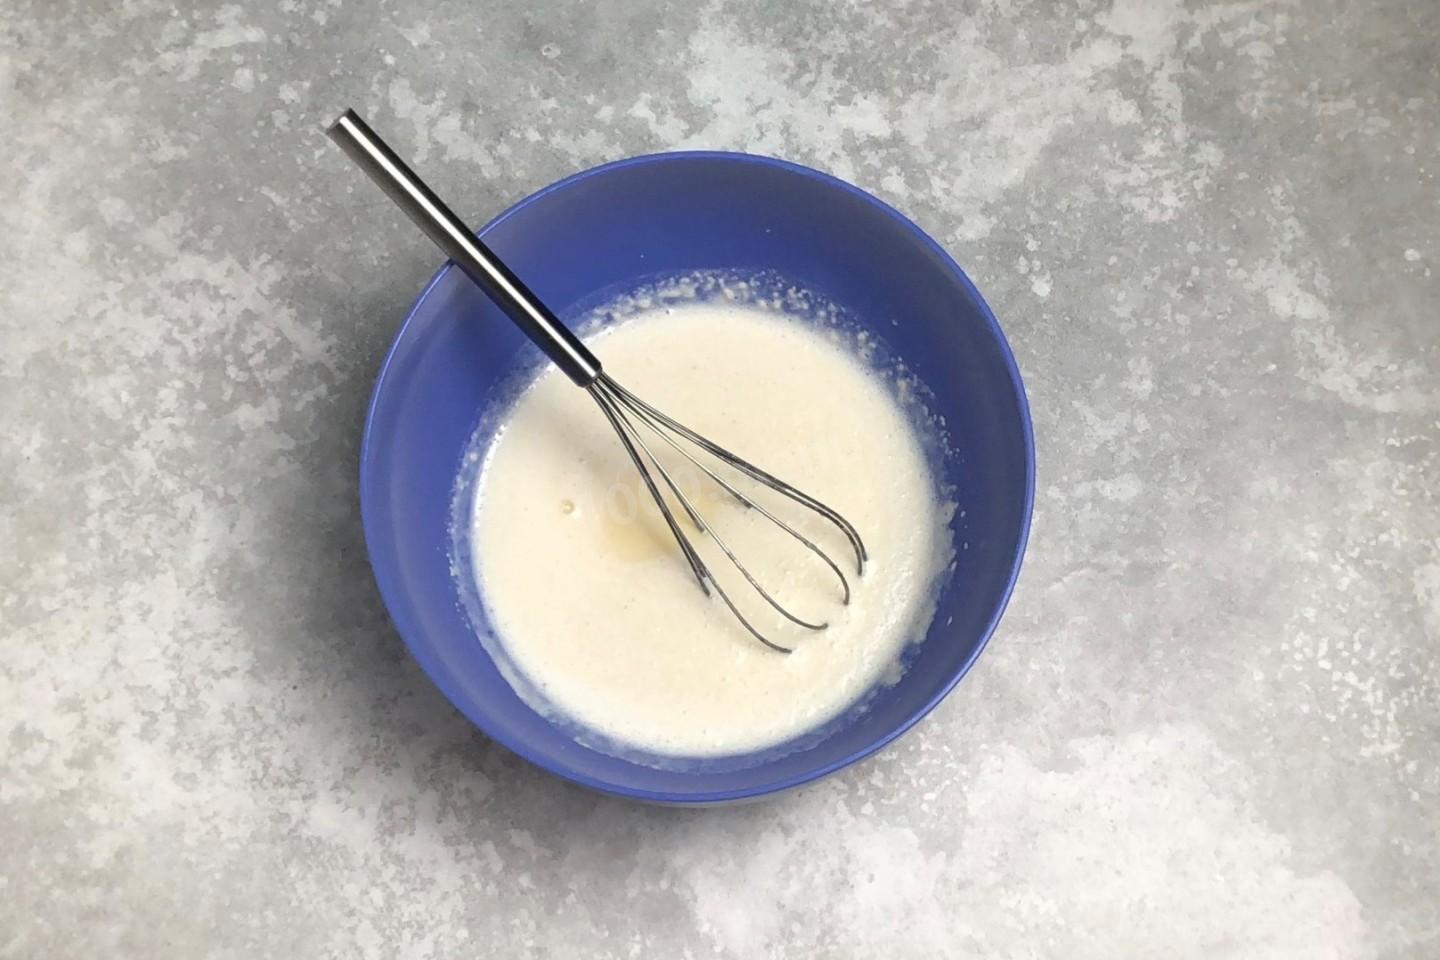
First prepare the sourdough. Warm up the milk to a warm state, pour it into a bowl. Put one spoonful of sugar and dry yeast, stir. Add two tablespoons of flour. Stir with a whisk until smooth. Cover the bowl with a towel and put it away for 20 minutes in a warm place without drafts.
Step 3:

After 20 minutes, the sourdough should boil well - this means that the yeast is fresh and good. If this did not happen, then the yeast died, you will have to start all over again with other yeast.
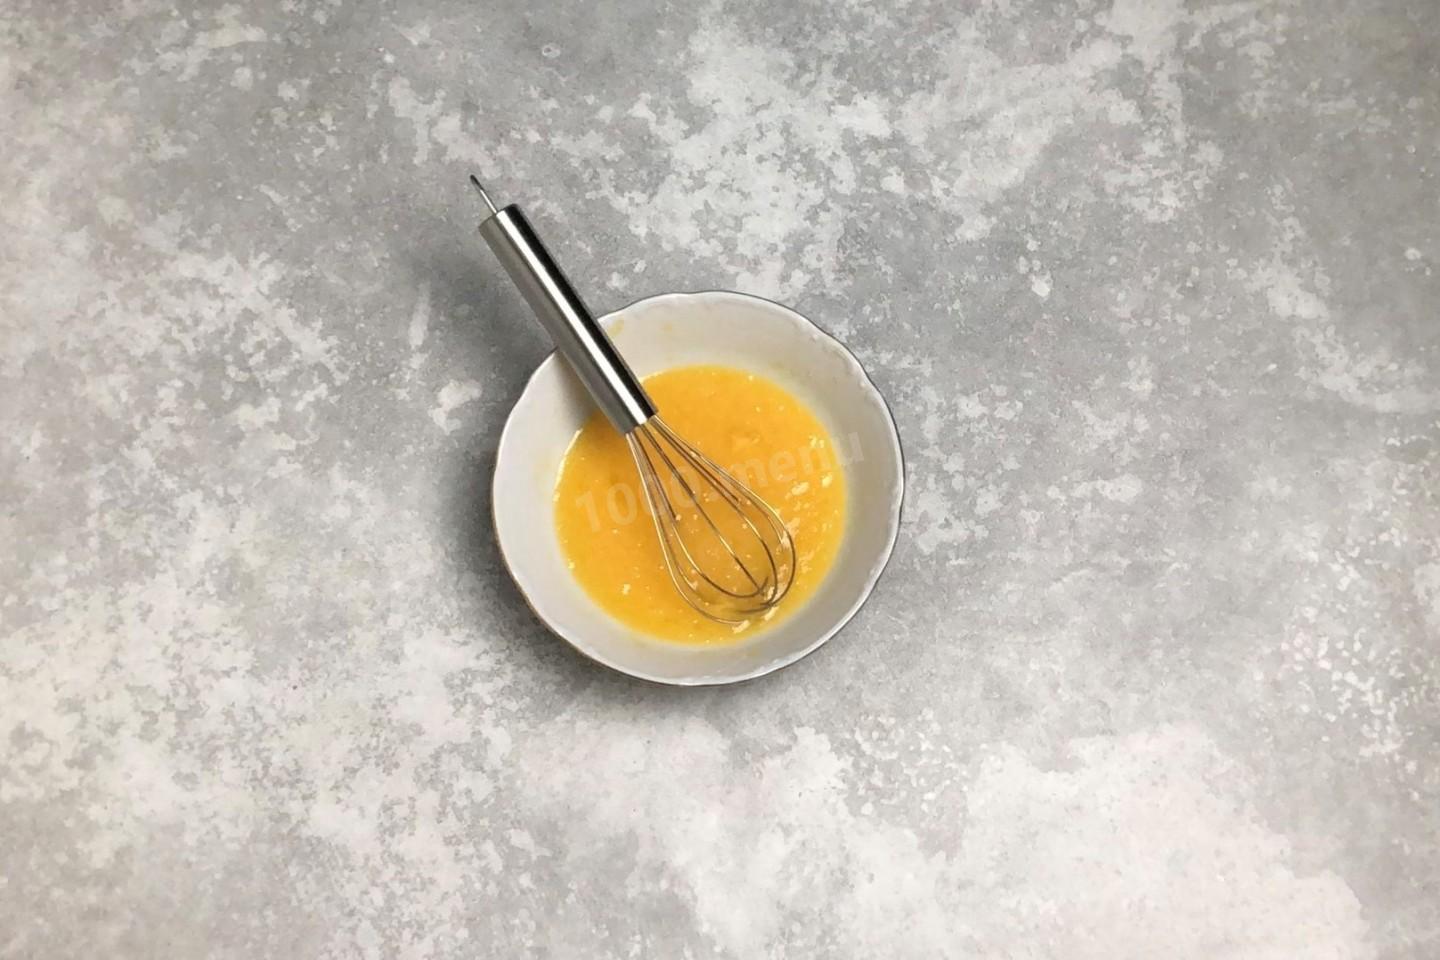
Step 4:
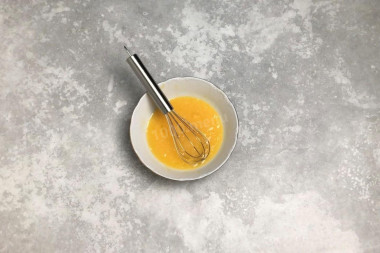
Beat the raw egg lightly with the remaining sugar. Melt the butter in any way convenient for you. Cool it to a warm state.
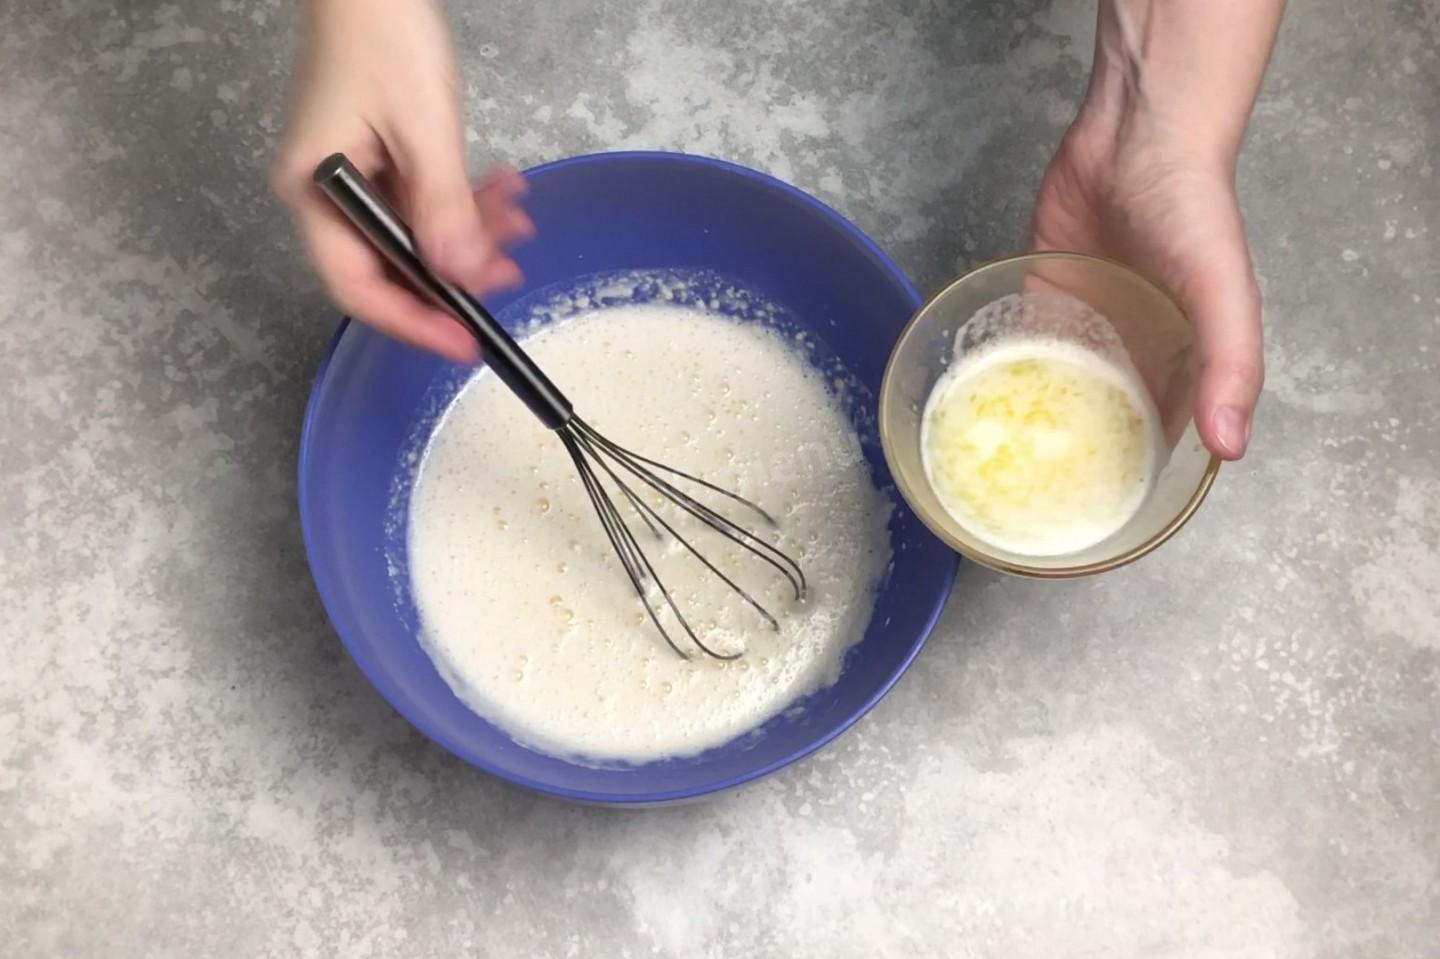
Step 5:

Add the beaten egg and melted butter to the sourdough. Add salt.
Step 6:
Mix the egg-butter mixture well.
Step 7:

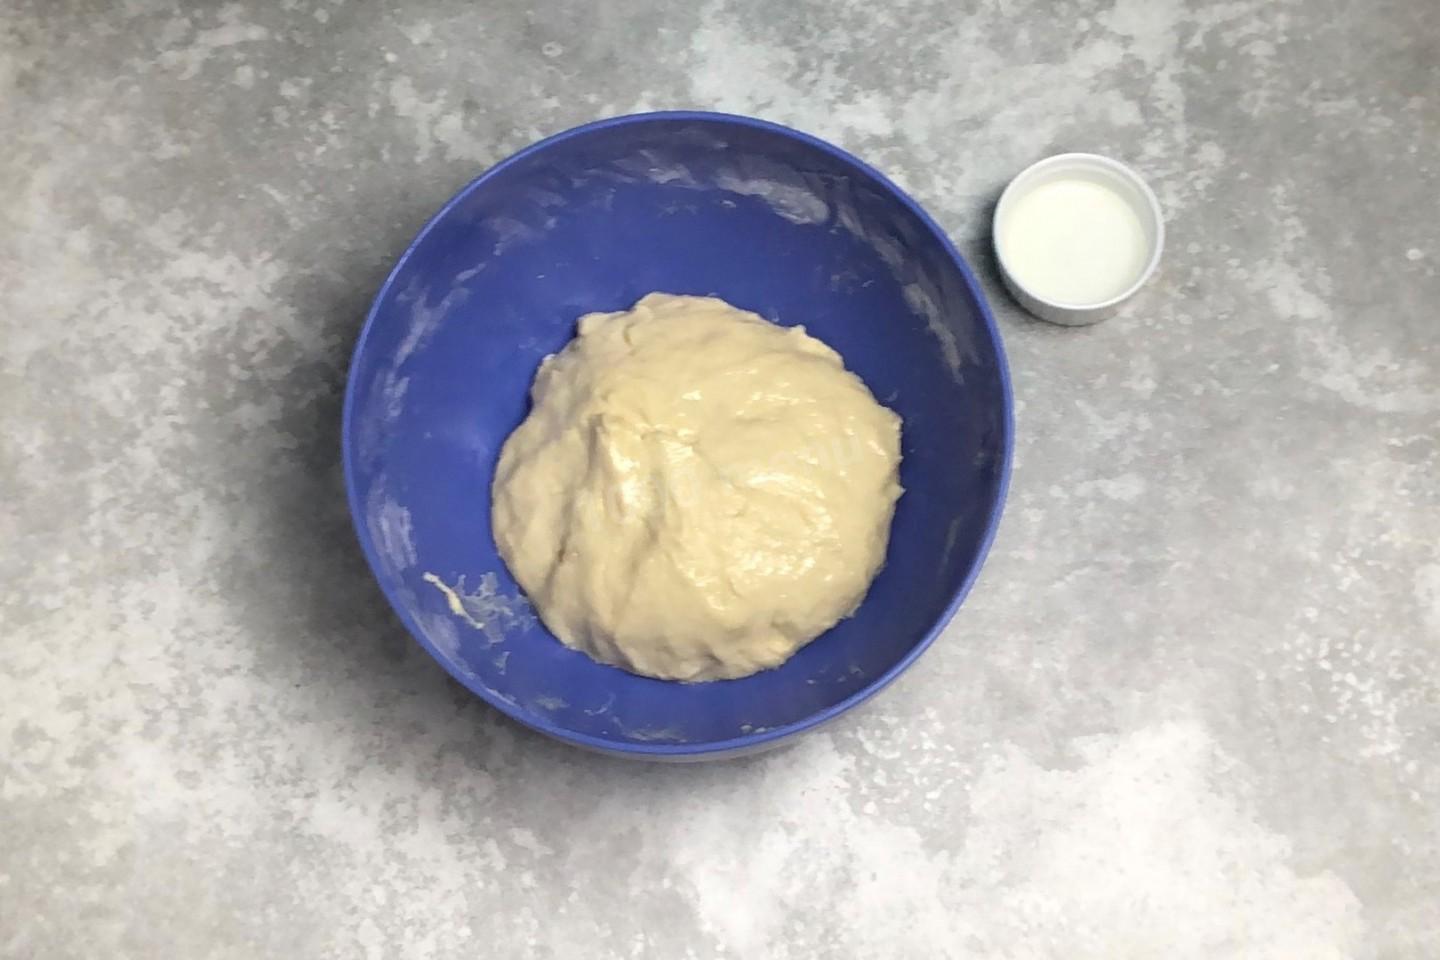
Start adding flour in parts by sifting it through a sieve. Between the additions, stir the dough with a whisk, it will first be liquid. Flour may take a little more or less. Do not add all the flour at once - it is easy to score the dough with flour, and the buns will turn out stiff. Be guided by the consistency of the dough.
Step 8:
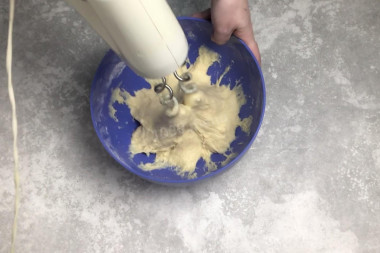
When the dough starts to thicken, the whisk will no longer cope. I took a mixer, but you can also knead with your hands. Knead the dough until medium thick, it will remain a little sticky.
Step 9:
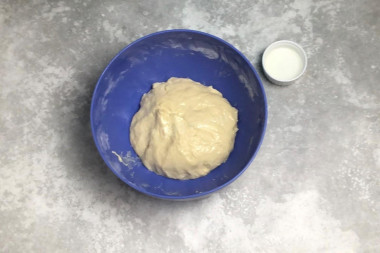
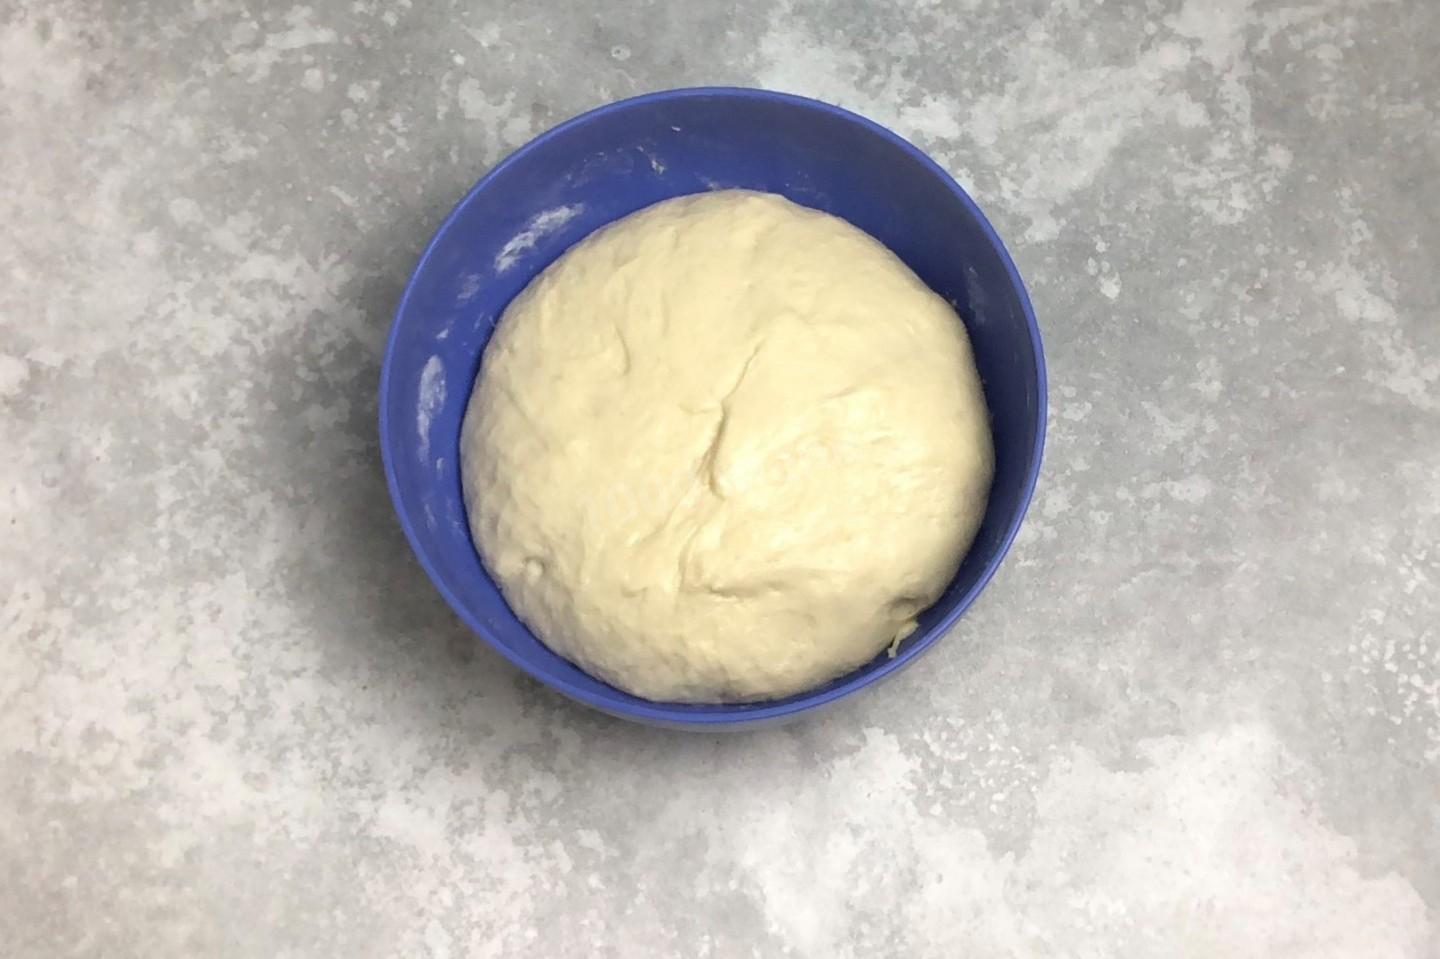
Assemble the dough into a ball. Brush it with vegetable oil on top. Cover the bowl with the dough with a towel and put it in a warm place for 30-40 minutes to rise.
Step 10:
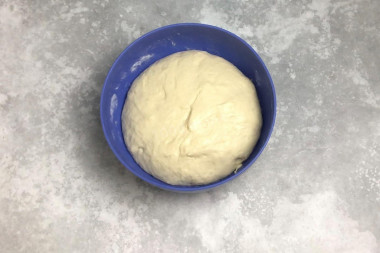
The dough will have to double in size.
Step 11:

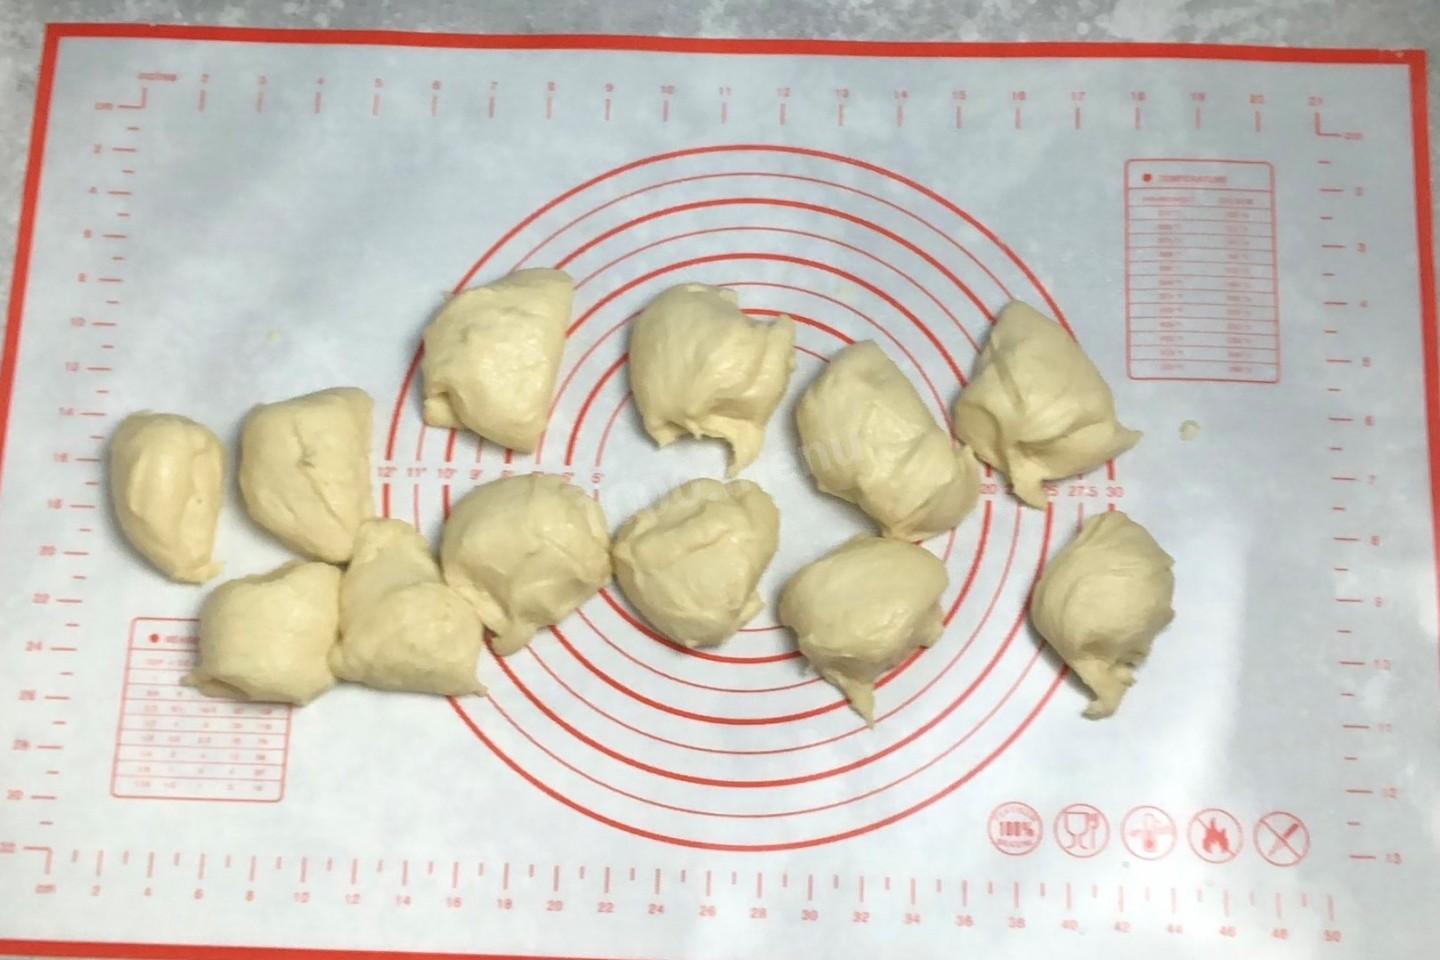
Put the dough on the work surface. Do not sprinkle with flour, it will almost not stick. Divide the dough into the same number of parts. I got 12.
Step 12:
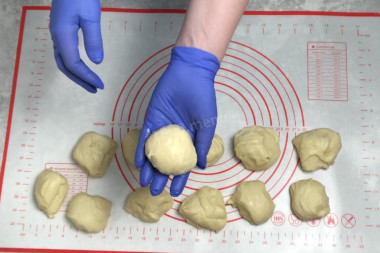
Roll each piece into a ball. These are buns blanks.
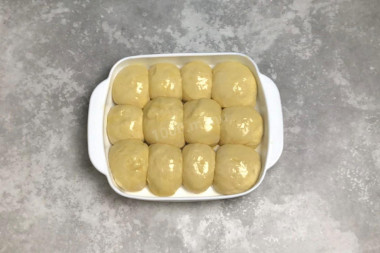
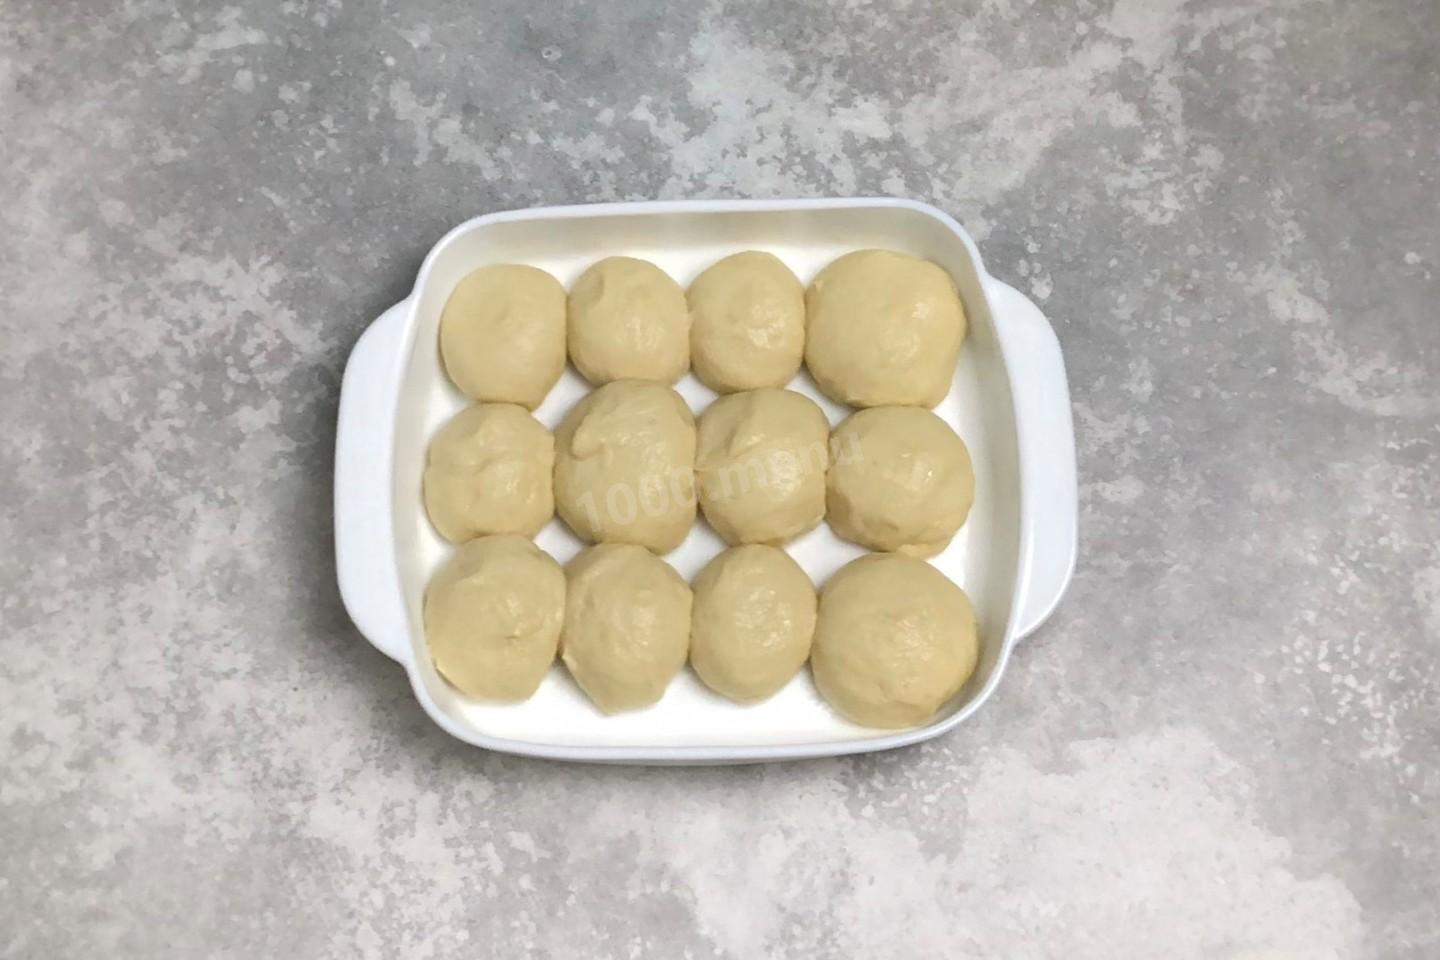
Step 13:

Grease the baking dish with vegetable oil. Lay out the buns blanks. cover the mold with a towel and leave for 15 minutes.
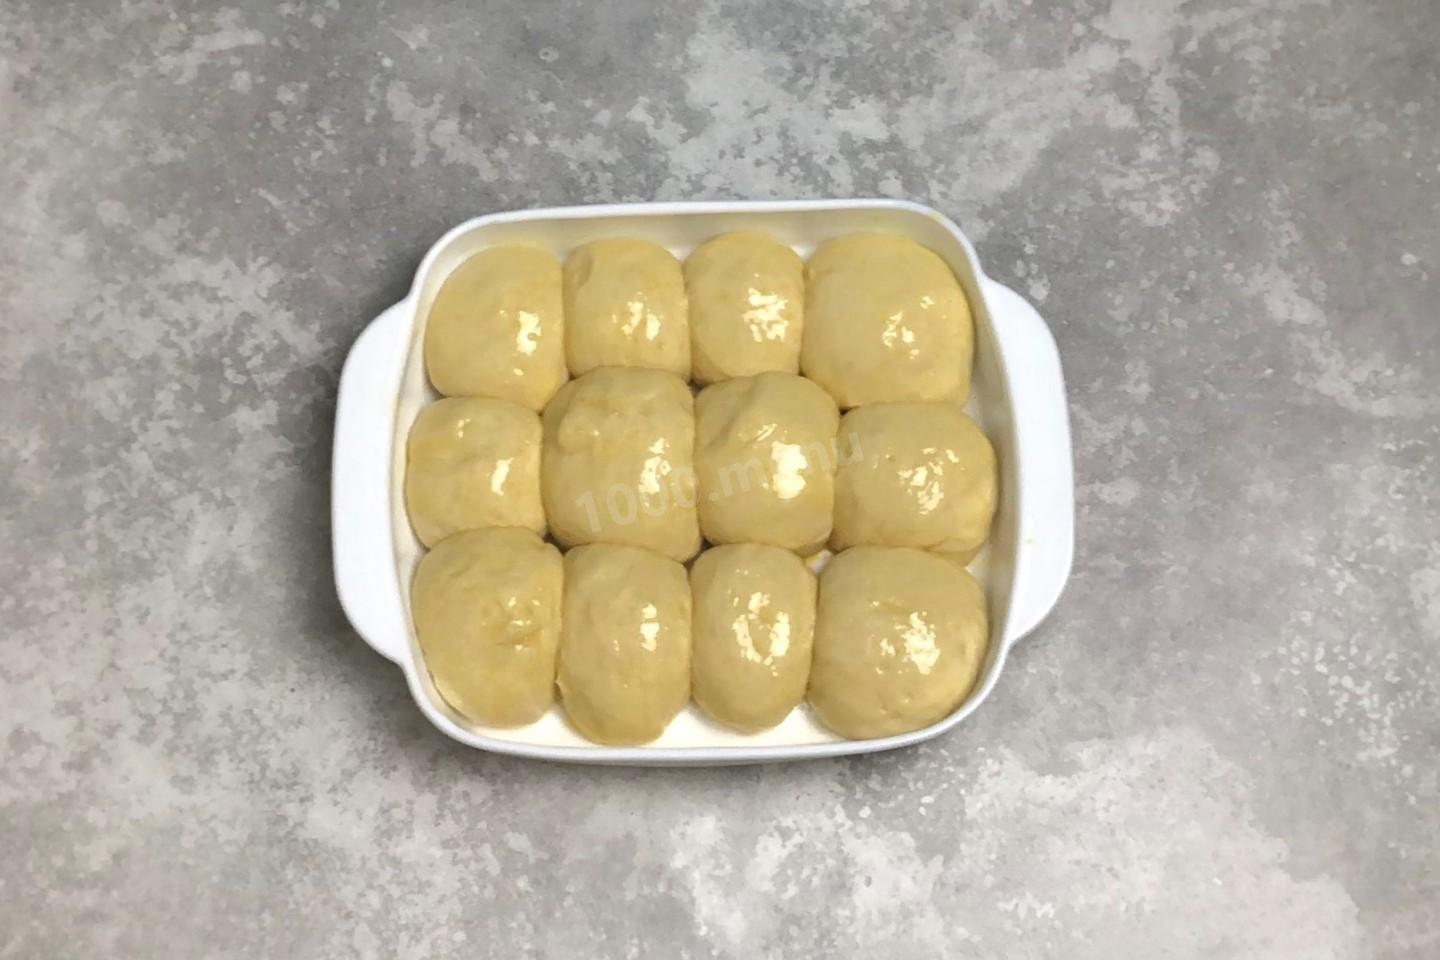
Step 14:
Grease the buns that have come up with beaten raw egg.
Step 15:
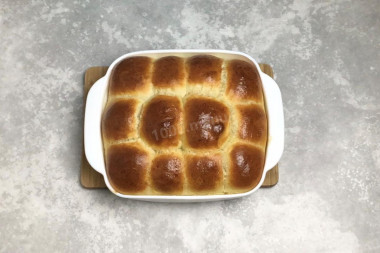
Bake the buns for about 20 minutes in the oven at 180 ° C until golden brown. Determine the exact time and temperature of baking according to your oven.


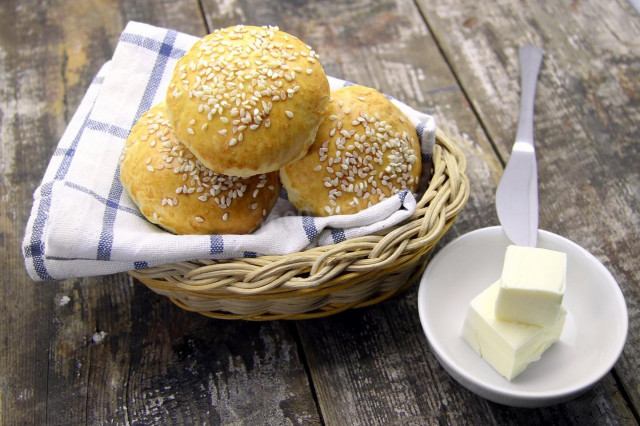
The buns really turned out to be very airy. And cooking them is simple and not long.
I specially made them in shape so that they stick together and look like buns that used to be sold in the store.
But you can make them of any shape.
Be prepared for the fact that flour may need more or less than indicated in the recipe. Focus not on the amount of flour, but on the desired consistency of the dough. To avoid mistakes, read about flour and its properties!
The liquid in which yeast is bred should be pleasant to the touch, no higher than 40 degrees. Why is this important? In a warm environment, yeast is well activated, in a hot one it will die, and in a cold one it simply will not work. To avoid unpleasant surprises, check the yeast before mixing with the rest of the ingredients. Pour a little warm milk into a bowl, stir in the yeast. Cover the bowl with a kitchen towel and put it in a warm place without drafts for 10-15 minutes. During this time, a foam yeast cap should appear on the surface of the sponge. If this did not happen, then the fermentation process has not started (the yeast is overdue or spoiled). In this case, it is worth taking other yeast, otherwise baking will not work.
Keep in mind that everyone's ovens are different. The temperature and cooking time may differ from those specified in the recipe. To make any baked dish successful, use useful information about the features of ovens !
Caloric content of the products possible in the composition of the dish
- Whole cow's milk - 68 kcal/100g
- Milk 3.5% fat content - 64 kcal/100g
- Milk 3.2% fat content - 60 kcal/100g
- Milk 1.5% fat content - 47 kcal/100g
- Concentrated milk 7.5% fat content - 140 kcal/100g
- Milk 2.5% fat content - 54 kcal/100g
- Chicken egg - 157 kcal/100g
- Egg white - 45 kcal/100g
- Egg powder - 542 kcal/100g
- Egg yolk - 352 kcal/100g
- Ostrich egg - 118 kcal/100g
- Whole durum wheat flour fortified - 333 kcal/100g
- Whole durum wheat flour, universal - 364 kcal/100g
- Flour krupchatka - 348 kcal/100g
- Flour - 325 kcal/100g
- Granulated sugar - 398 kcal/100g
- Sugar - 398 kcal/100g
- Butter 82% - 734 kcal/100g
- Amateur unsalted butter - 709 kcal/100g
- Unsalted peasant butter - 661 kcal/100g
- Peasant salted butter - 652 kcal/100g
- Melted butter - 869 kcal/100g
- Vegetable oil - 873 kcal/100g
- Salt - 0 kcal/100g
- Dry yeast - 410 kcal/100g