


Composition / ingredients
Step-by-step cooking
Step 1:
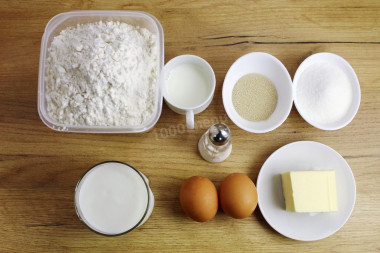
How to make yeast buns on kefir in the oven? Start by making the dough. Take the flour of the highest grade, eggs - C1 or C0. Eggs and kefir 1-1.5 hours before the start of cooking, remove from the refrigerator. In order for the dough to be successful, they must be at room temperature.
Step 2:

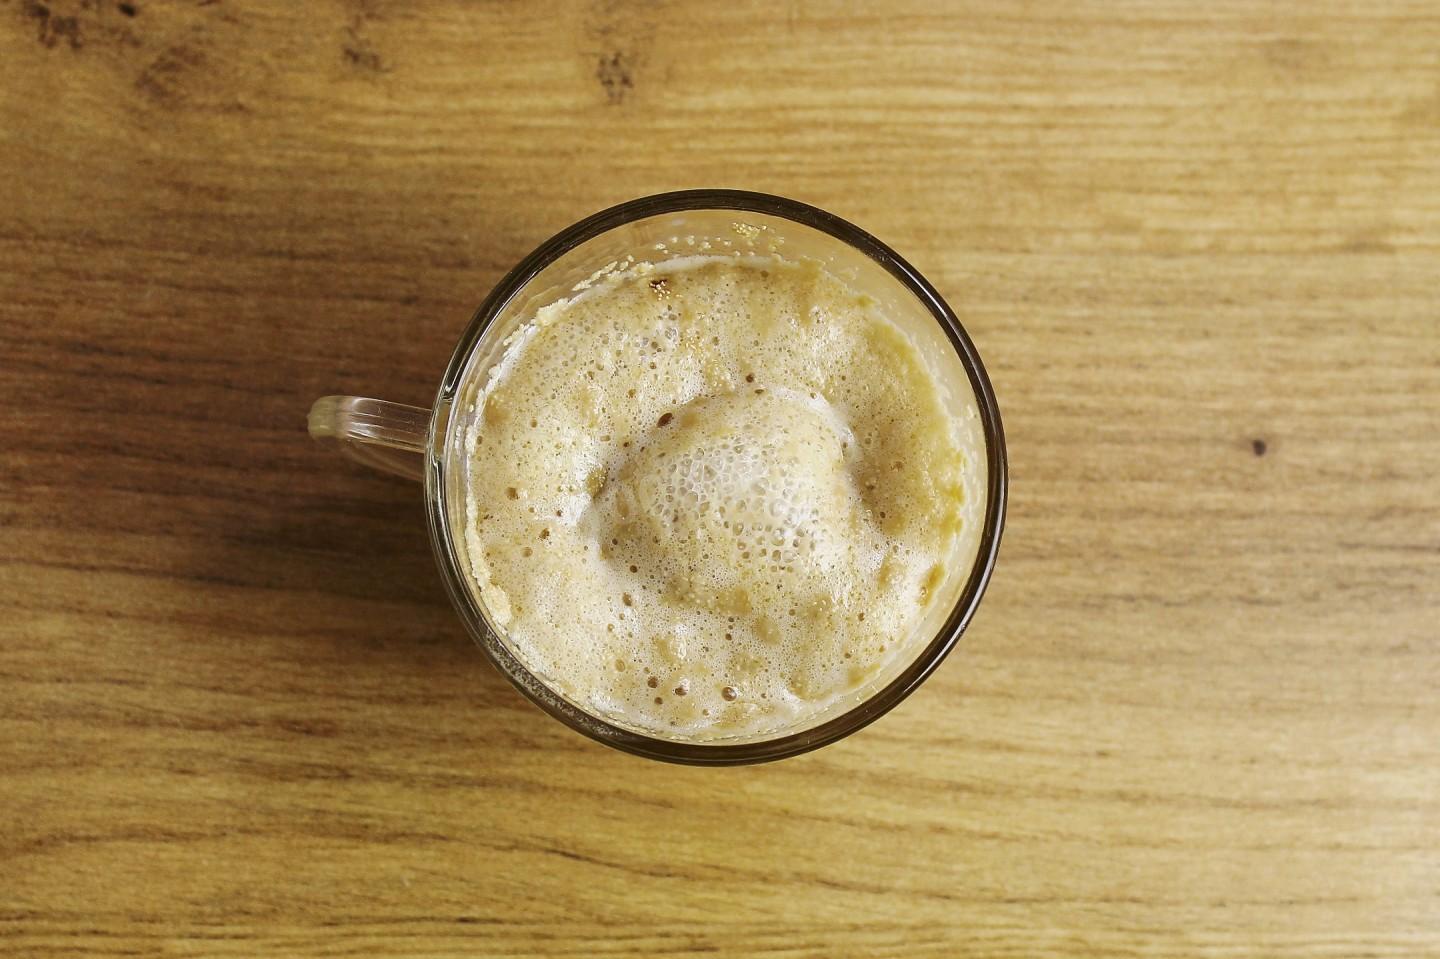
Heat the milk to a temperature of 37-40 degrees. Dissolve a teaspoon of sugar in it and add yeast. If there is no cooking thermometer, determine the temperature in the following way: drop a drop of milk on the inside of the wrist. If the feeling is neutral, then the temperature is correct. When a lush cap appeared on the surface, the yeast became active and you can work with them.
Step 3:
Melt the butter and cool to room temperature.
Step 4:

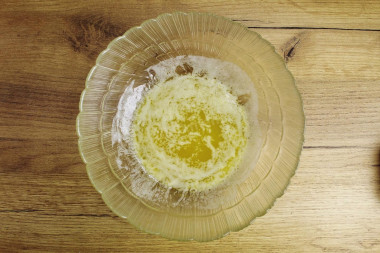
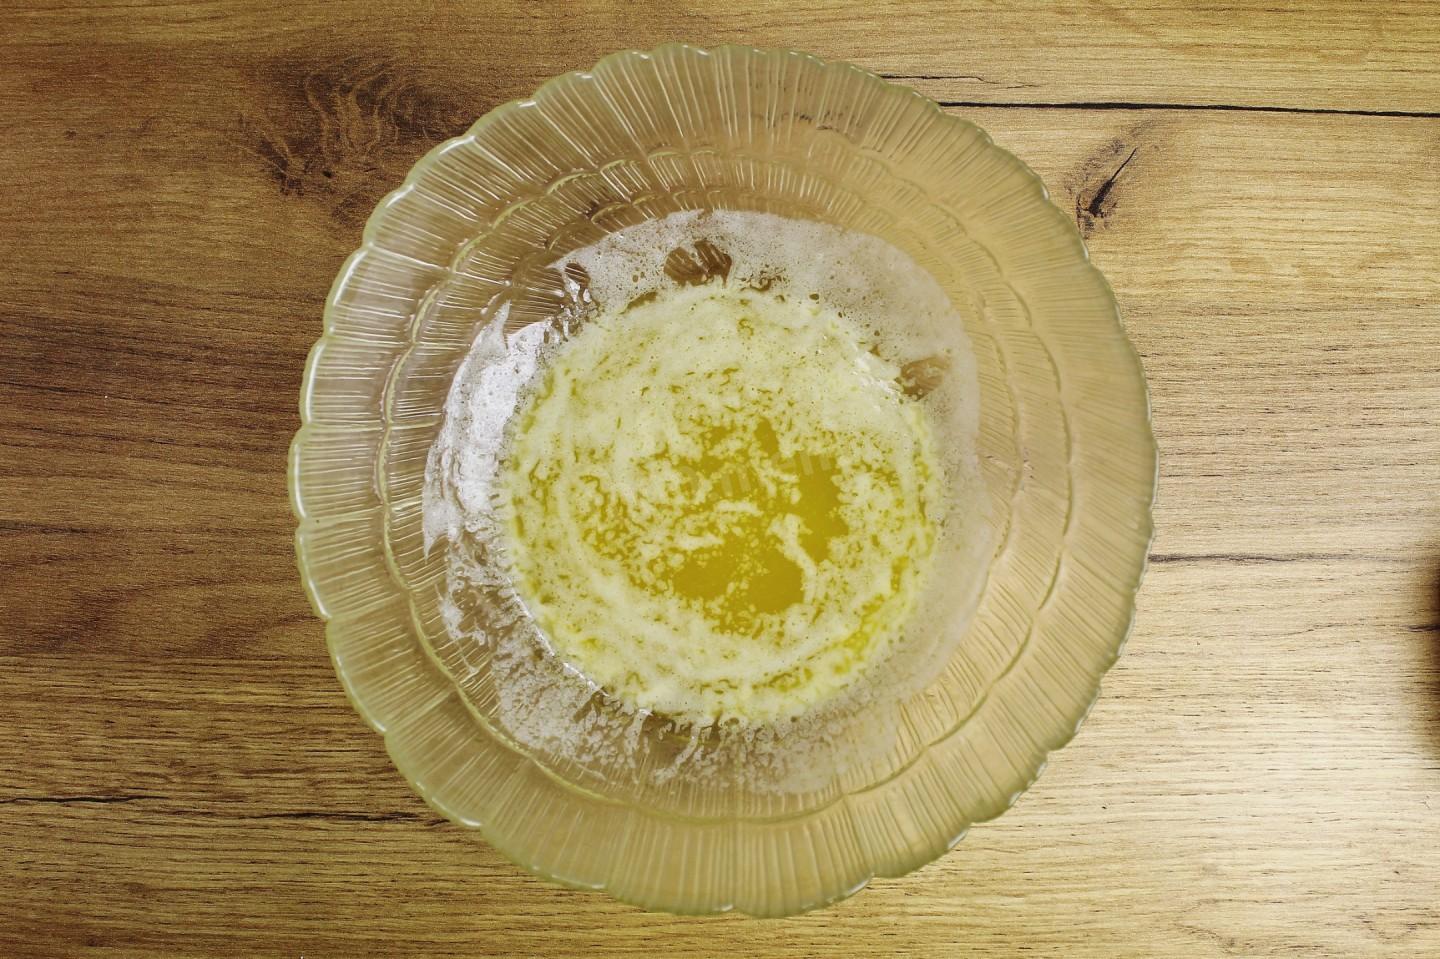
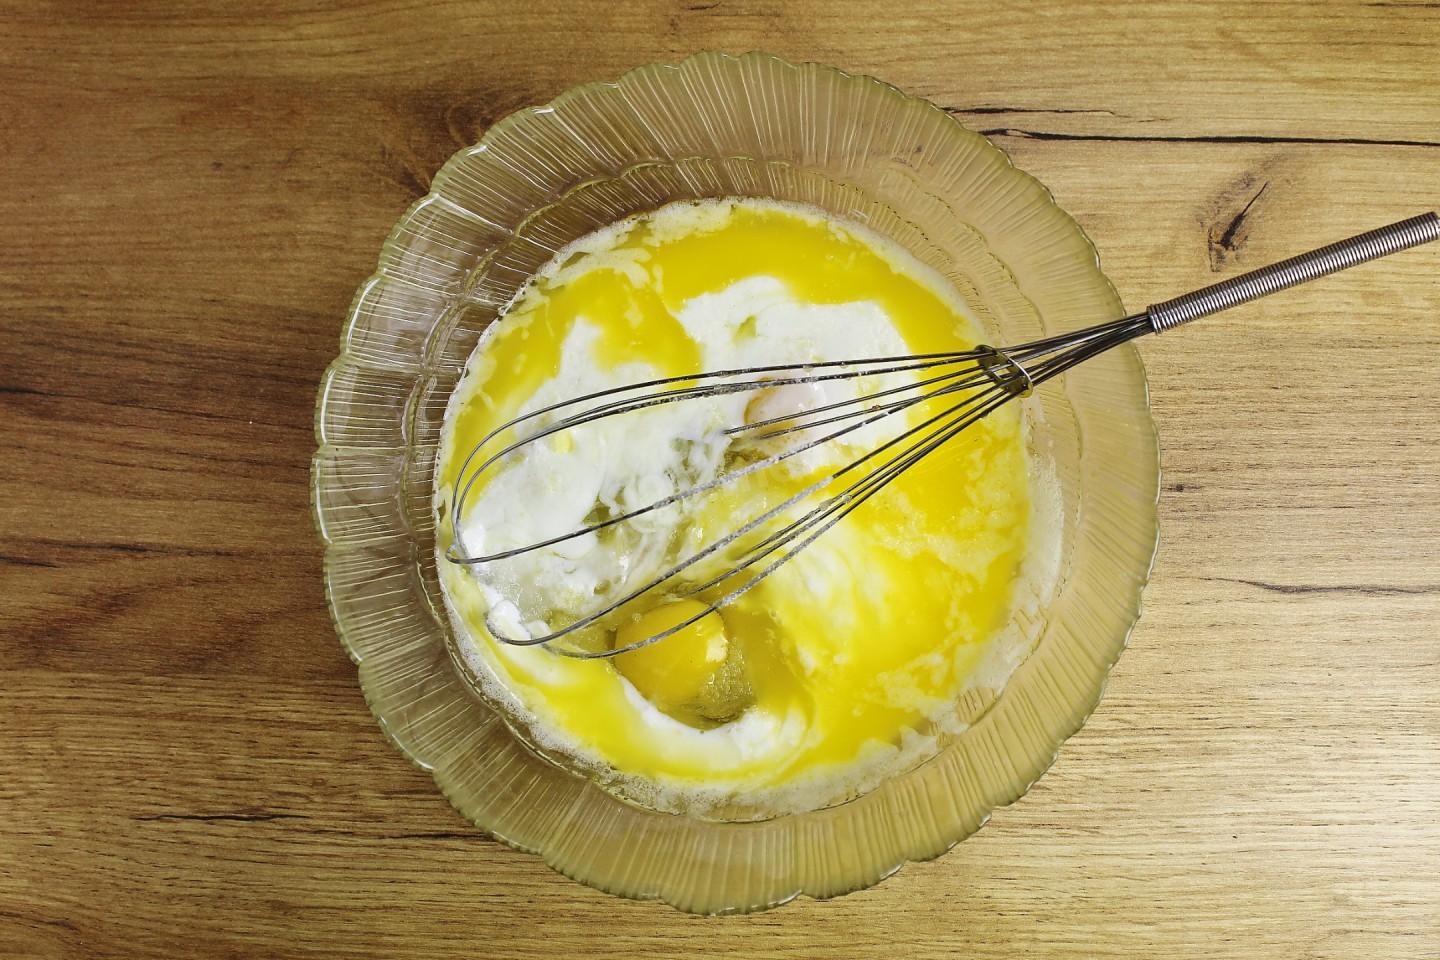
Take a deep bowl that will hold all the liquid ingredients for the dough. Pour kefir, butter and eggs into it, add salt.
Step 5:

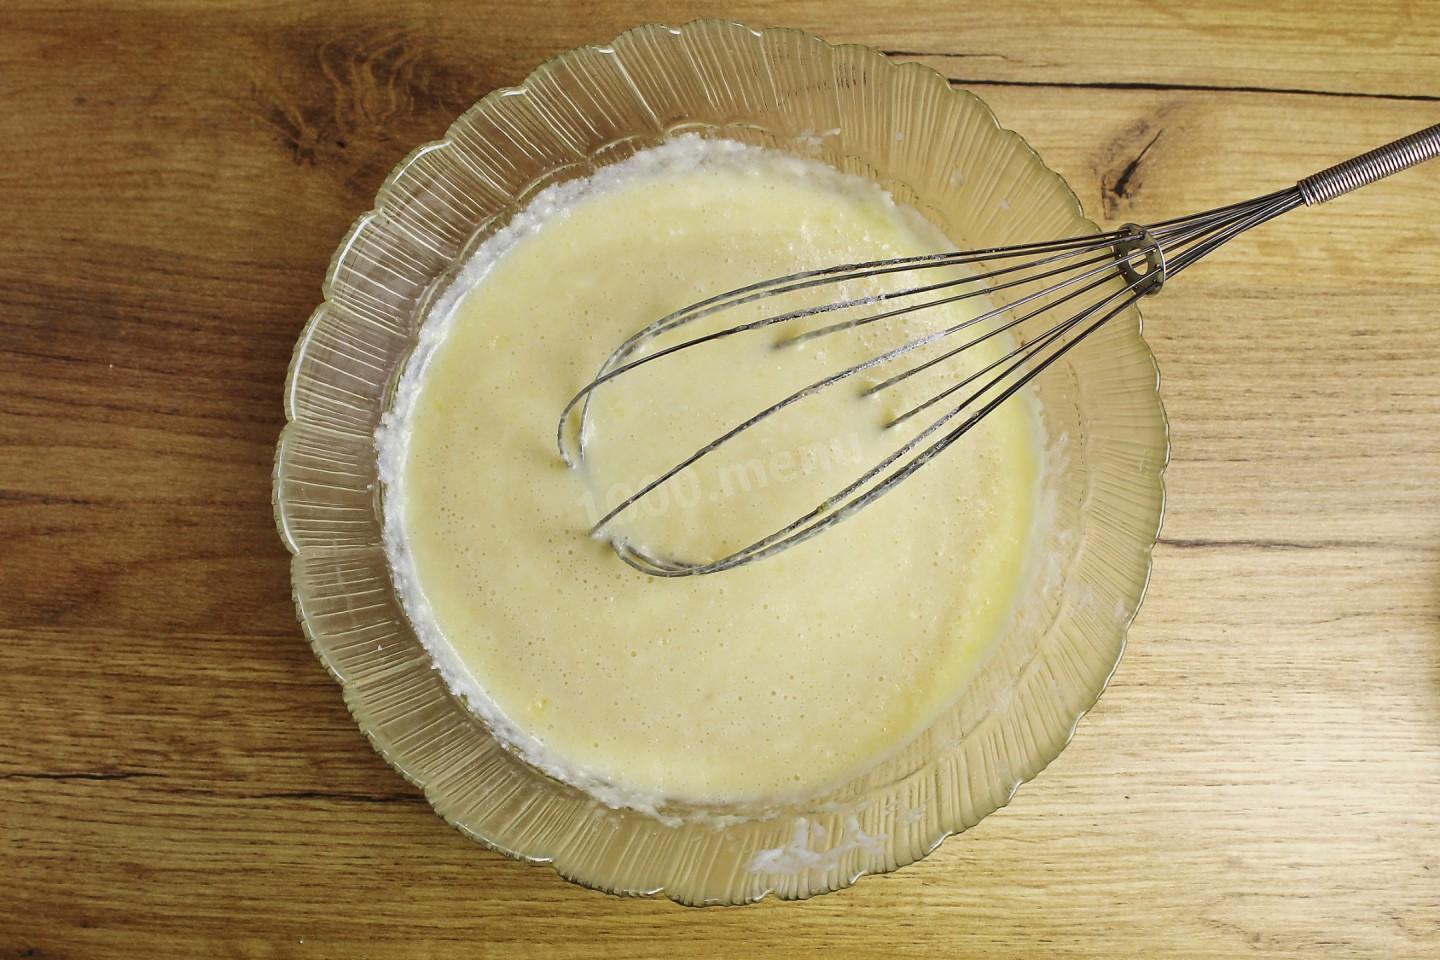
Mix until smooth. Then add the activated yeast mixture and stir.
Step 6:
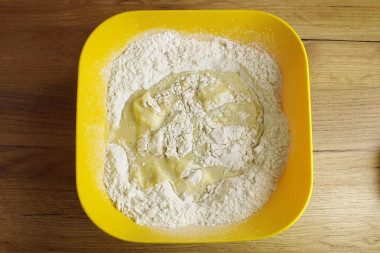
Take a deep bowl with a rounded bottom. Sift half of the required amount of flour into it and make a recess in the middle. Flour should be sifted to separate small debris and saturate the dough with oxygen and it was airy. Pour the liquid component of the dough into the recess and start kneading. The properties of flour of the same grade, but different manufacturers may differ. Therefore, to get the desired consistency, add flour in small portions.
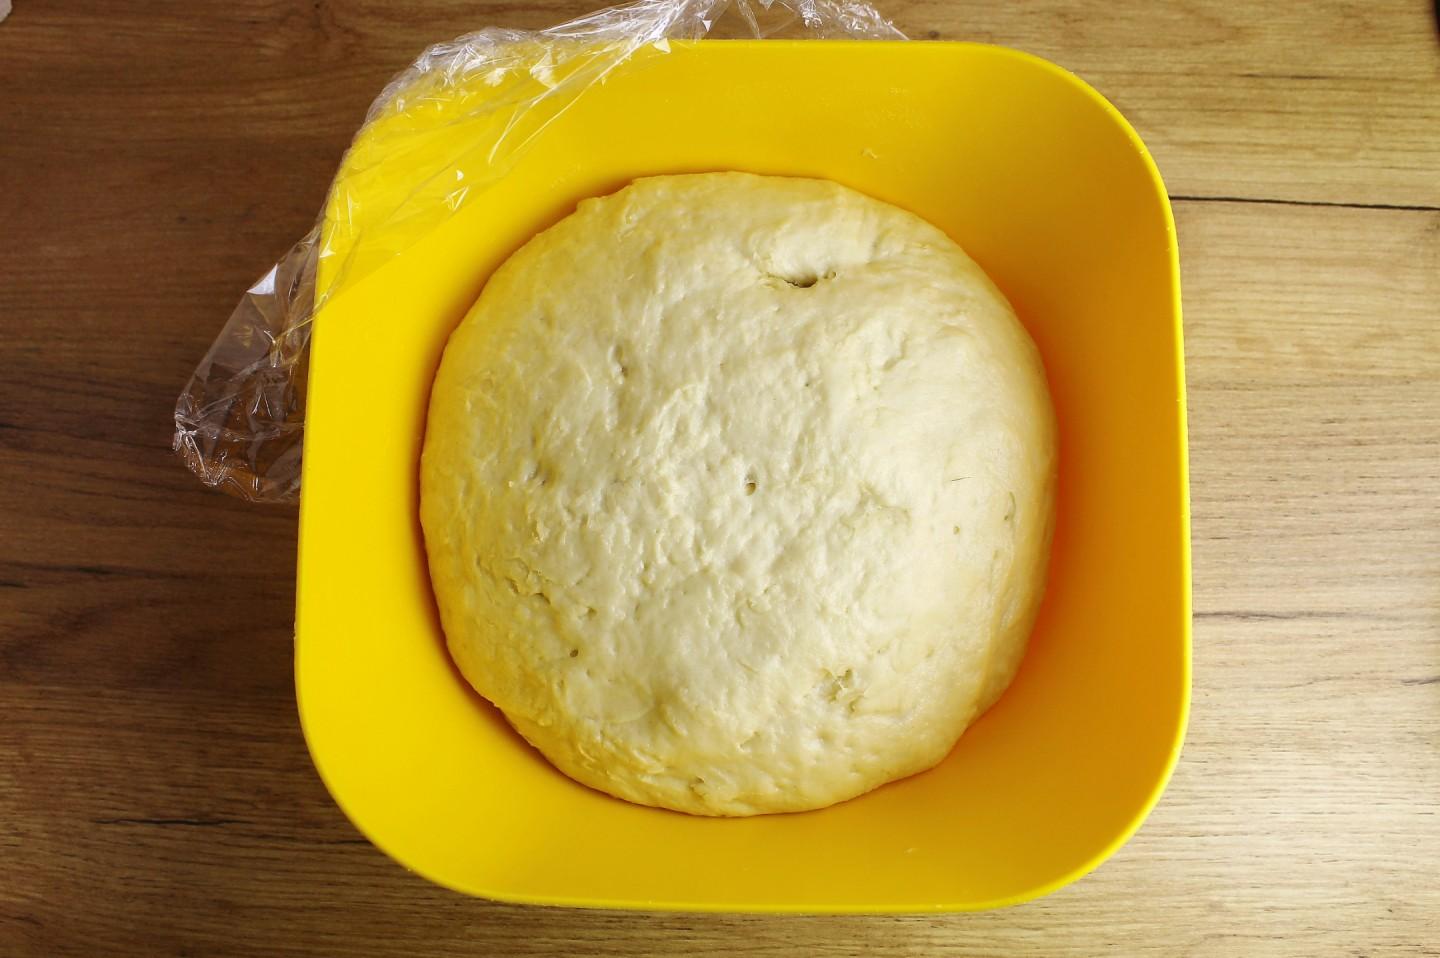
Step 7:

When it becomes difficult to knead with a spoon, start doing it with your hands. The dough should be soft, tender and slightly stick to your hands. If you are in doubt whether to add more flour or not, do not add it. Form a ball of dough. Cover the bowl with a napkin or towel so that the dough does not dry and rises well. Leave in a warm place for about 1-1.5 hours.
Step 8:
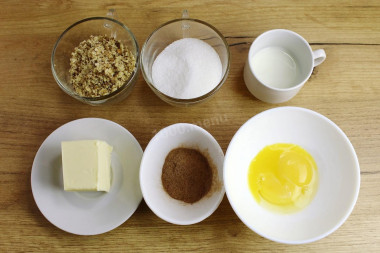
Prepare everything you need for the filling. Instead of walnuts, you can take others that you like better.
Step 9:
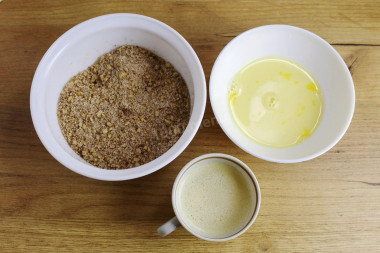
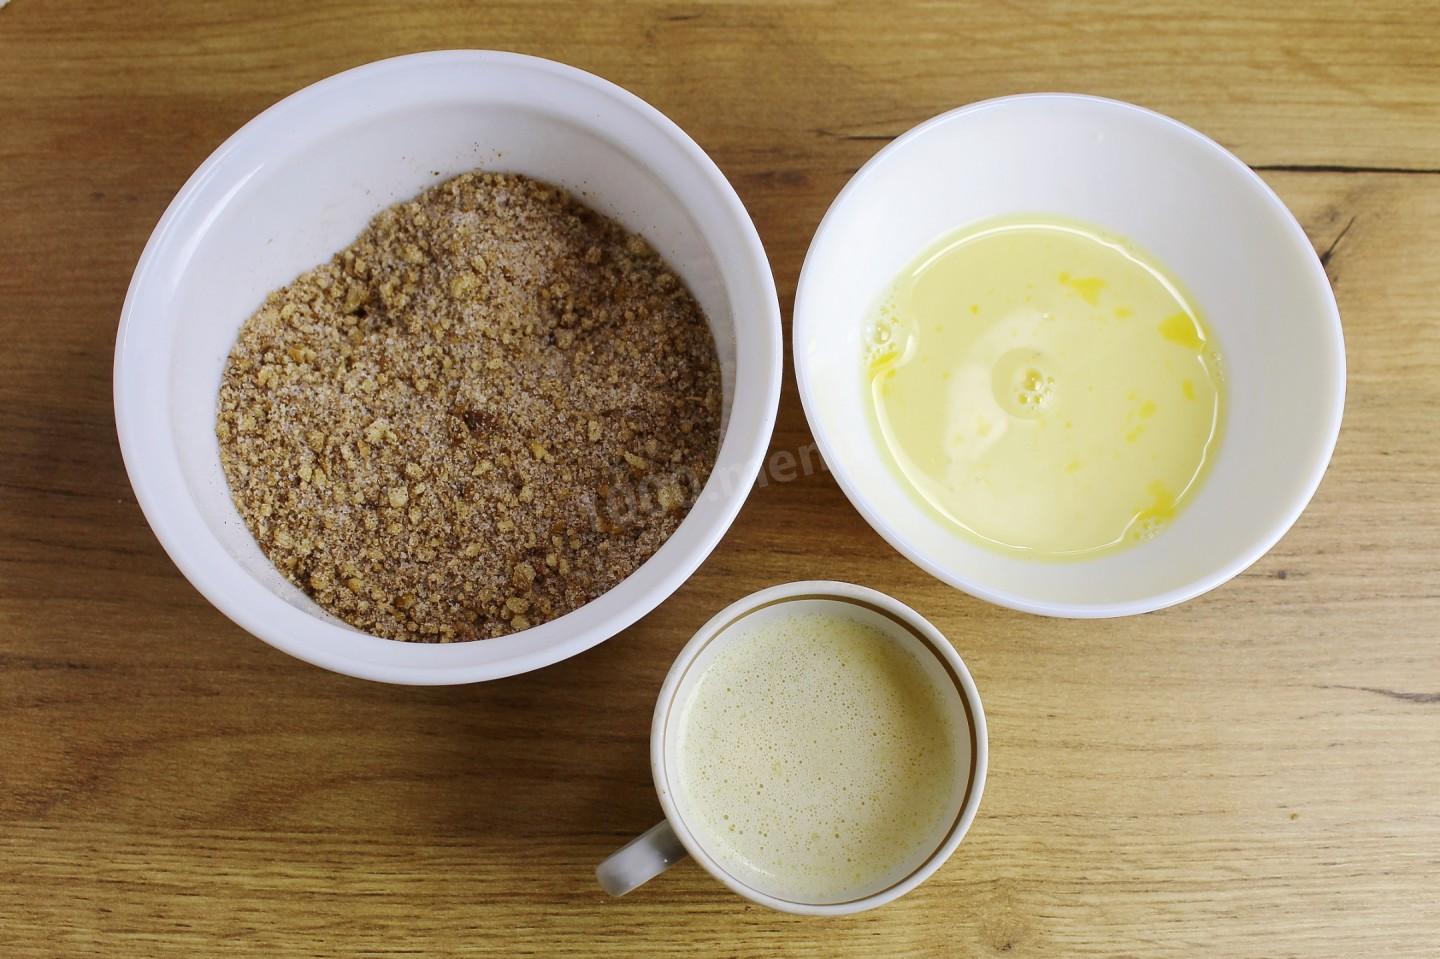
In a separate container, mix sugar, cinnamon and walnut. Melt the butter. And whisk the yolks with milk until smooth.
Step 10:
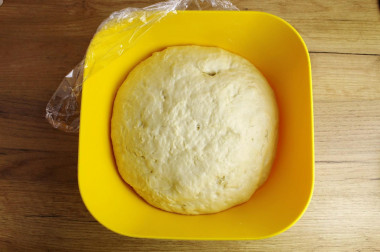
When the dough has increased 1.5-2 times in volume, it is ready and you can start working with it.
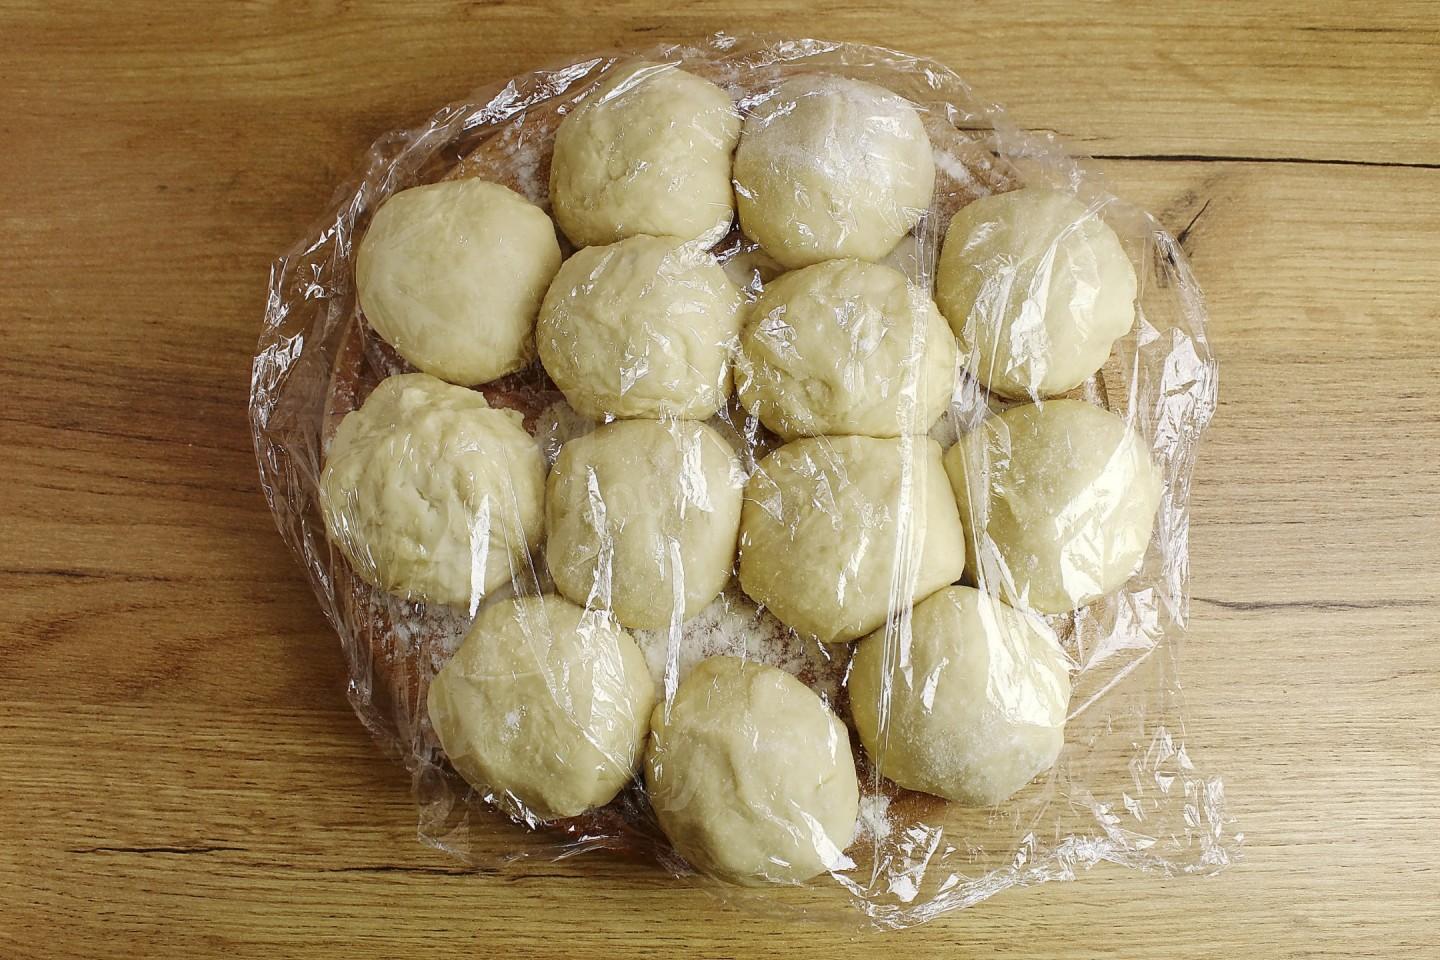
Step 11:

Divide the dough into equal parts (I made each weighing about 80 grams) and roll them into balls. Place on a horizontal work surface, sprinkled with flour, cover with cling film so that they do not chafe. Leave the dough for 10-15 minutes to make it more manageable.
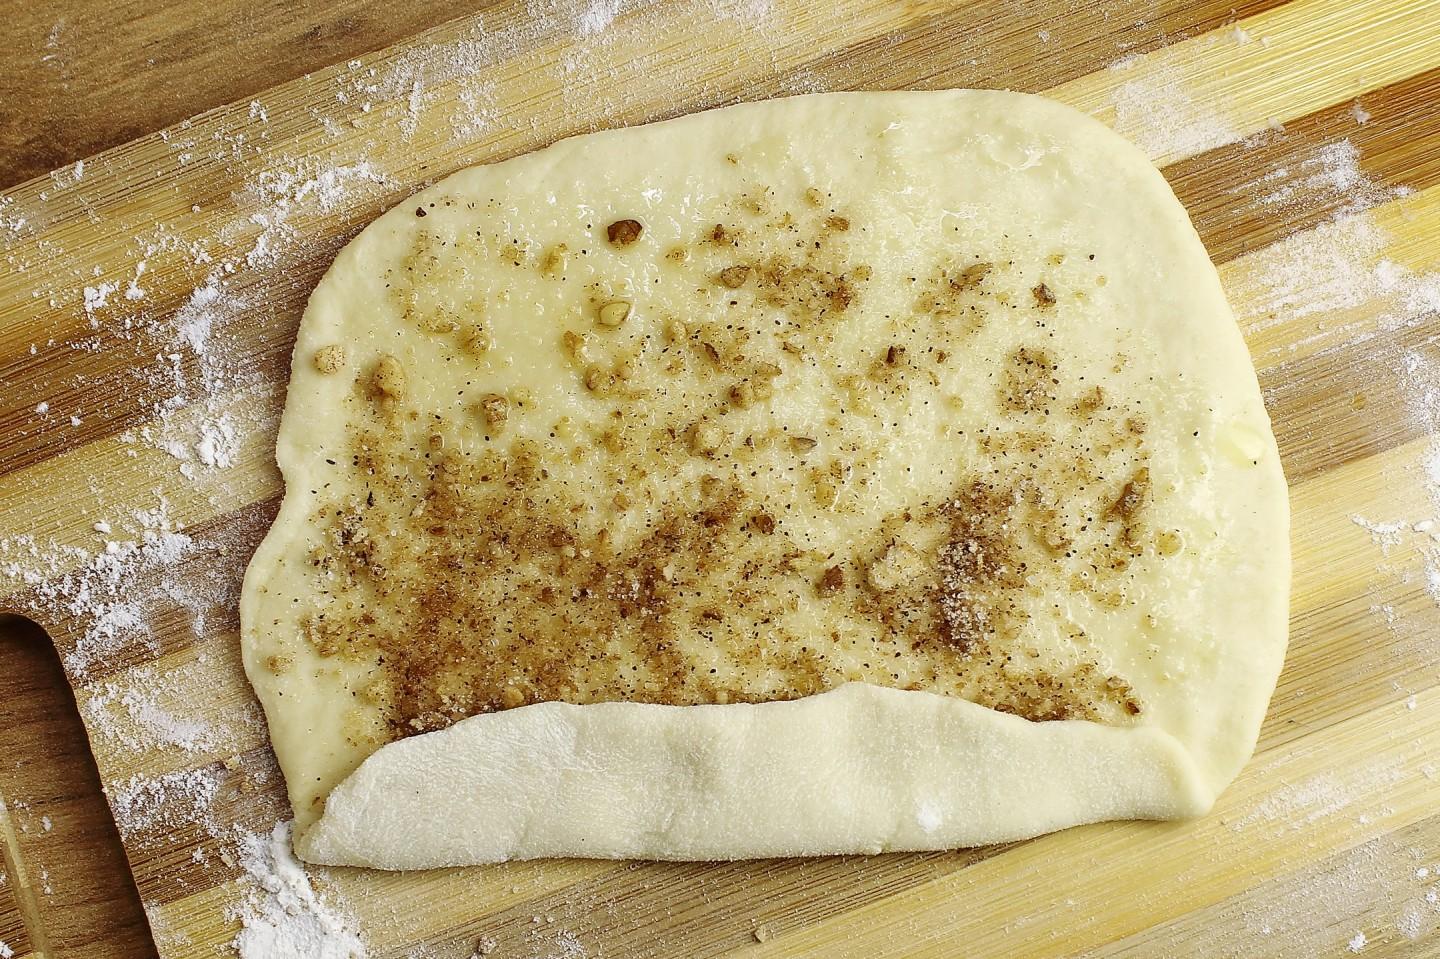
Step 12:

Roll out each ball into a rectangular layer 3-5 mm thick. Lubricate it with a silicone brush with melted butter and sprinkle with filling.
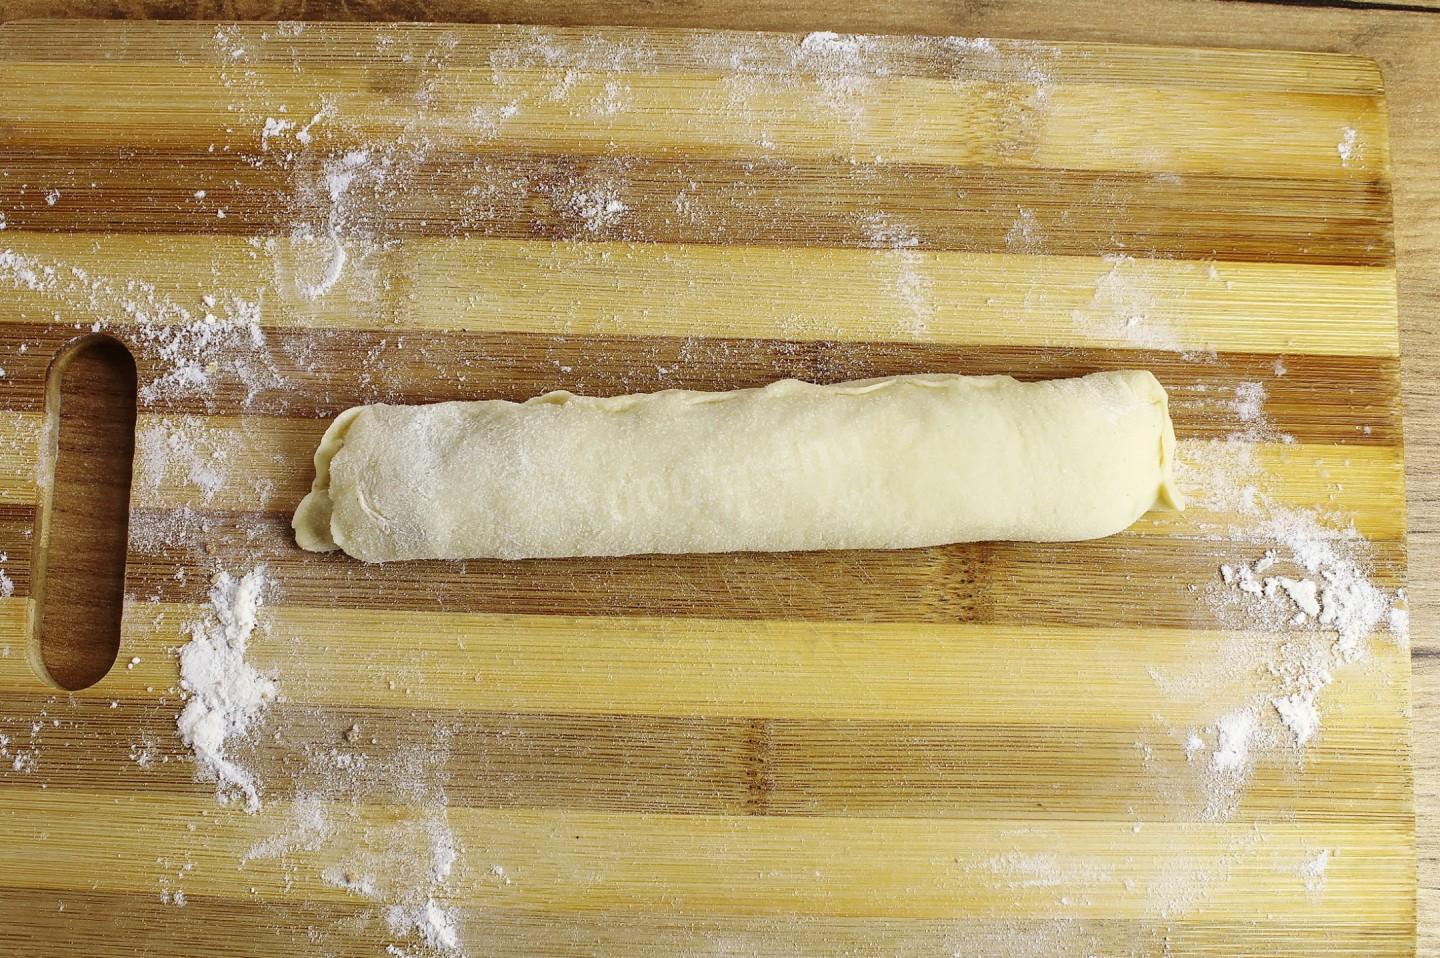
Step 13:

Roll the dough so that you get a roll, only not round, but flatter.
Step 14:
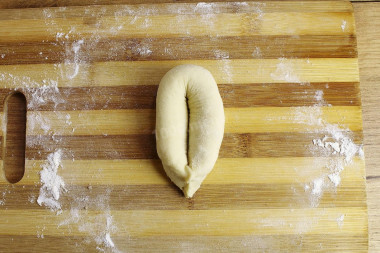
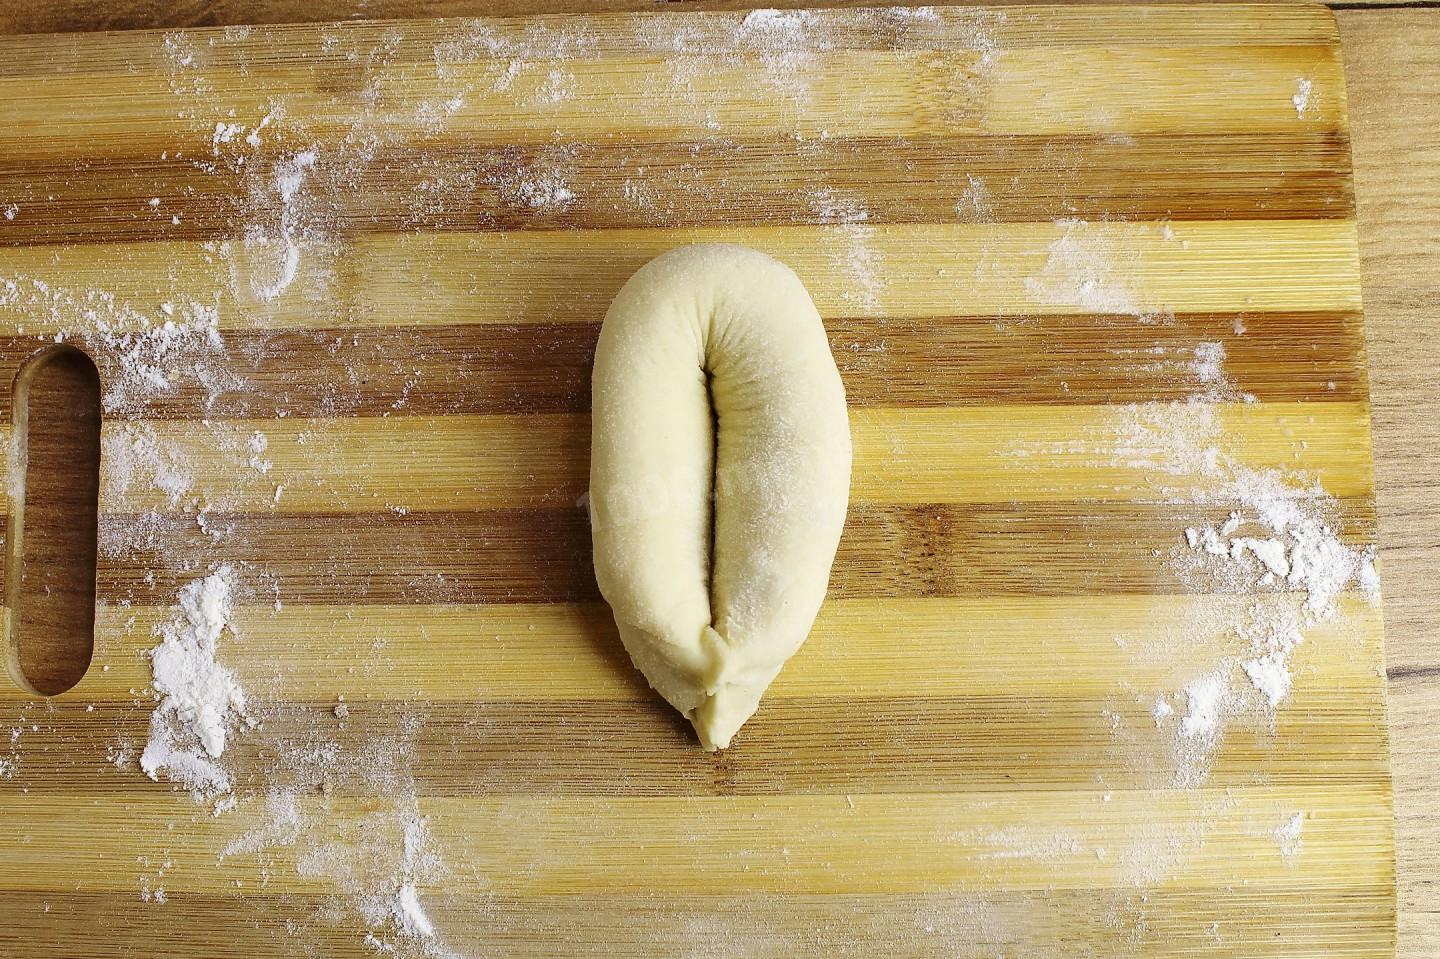
Fold it in half, connect the edges and pinch.
Step 15:

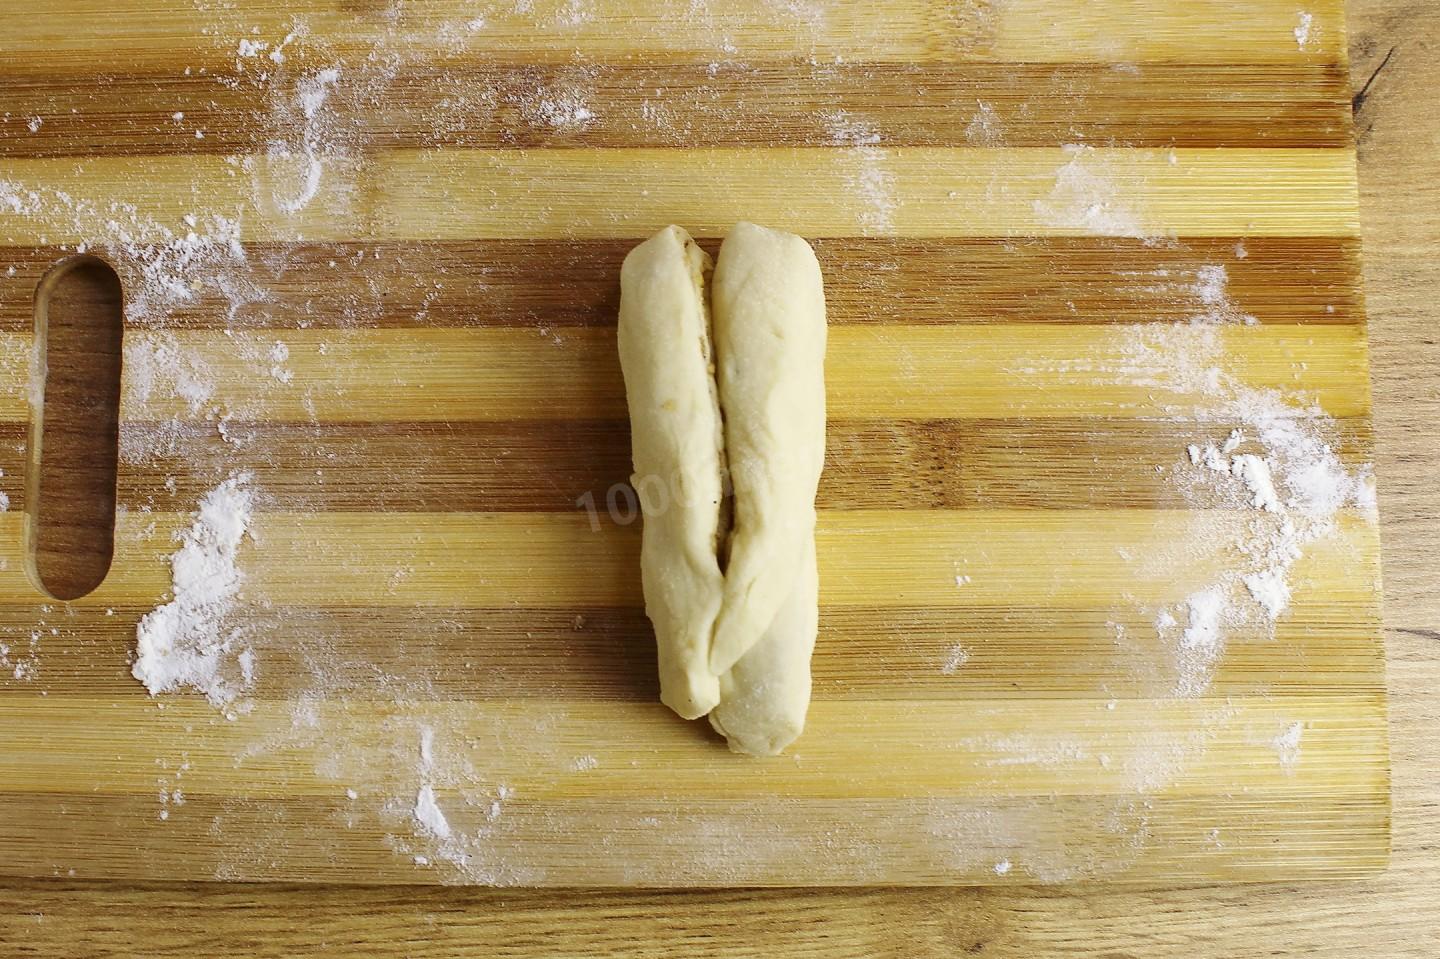
Turn the roll over and make a cut with a knife before reaching the end.
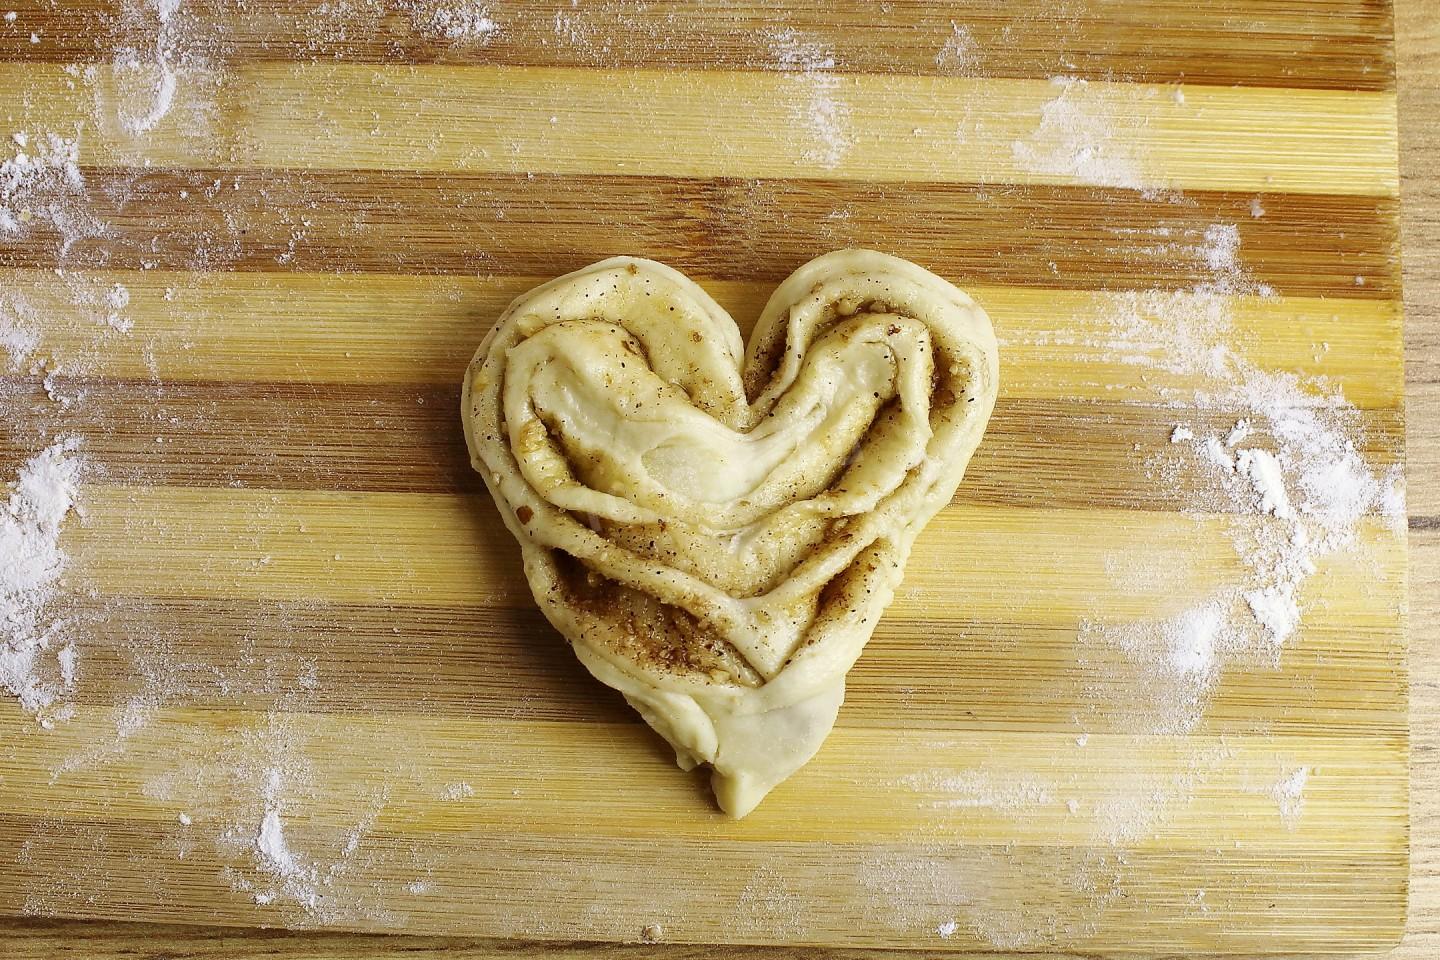
Step 16:
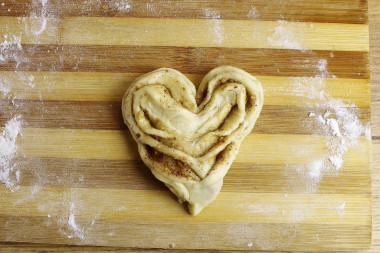
Expand the blank, as if opening it. You should get a bun that looks like a heart. In this way, form all the buns.
Step 17:
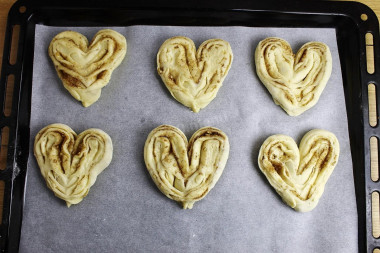
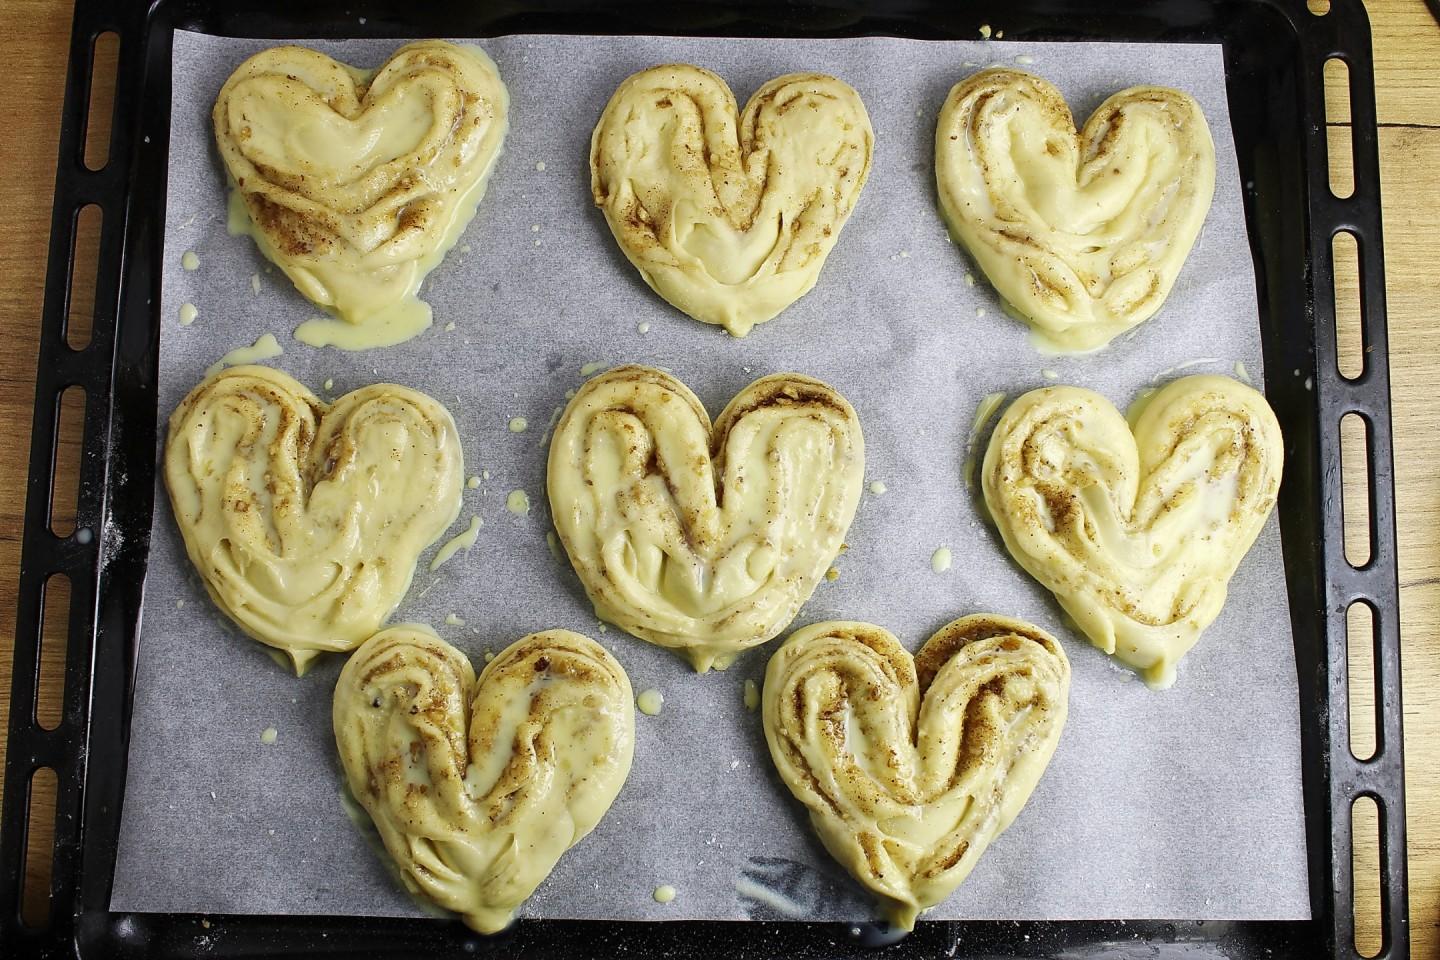
Line the baking sheet with non-stick parchment and place the buns on it. Leave space between them, as they will increase in volume when baking. Cover the baking sheet with a towel or cling film and leave in a warm place for 20-40 minutes. It's time to turn on the oven at 180 degrees with the "top-bottom" mode so that it has time to warm up.
Step 18:

When the buns increase in volume, lubricate them with a mixture of yolks and milk. If you have any filling left, sprinkle it on top of the buns. Bake for 20 minutes on the middle shelf of a preheated 180 degree oven in the "top-bottom" mode. Determine the exact time and temperature by your oven. The finished buns will still rise and turn red well.


From the specified number of products, approximately 12 medium-sized buns are obtained.
Buns are lush, airy and fragrant. I like them both warm, fresh from the stove, and cold the next day.
Butter can be melted in the microwave in the appropriate mode (read the instructions for your device) or in a water bath. How to melt butter in a water bath? You will need two containers of different diameters. Pour water into a large one and put it on the stove. Place the smaller container on top so that it is submerged in water by about half. Put the sliced butter into it. Under the influence of boiling water, the oil will begin to melt. Stir the oil slightly to speed up the process. As soon as the pieces of oil are completely dissolved, remove the container from the stove.
Keep in mind that everyone's ovens are different. The temperature and cooking time may differ from those specified in the recipe. To make any baked dish successful, use useful information about the features of ovens !
Important! Using dry yeast, it should be borne in mind that they occur in two forms: active and instant (read the instructions carefully before use!).
Active dry yeast looks like beads or small balls. Before applying them, they must be brought out of "sleep mode". To do this, the active yeast is diluted in warm sweet water, milk or whey. The resulting bubbles, foam or "cap" indicate that the yeast is ready for further use. Active dry yeast must be brought to complete dissolution in the liquid, otherwise, due to the remaining grains, the dough may not rise and the baking will be spoiled (yeast grains that have not dissolved in the liquid and got into the dough will no longer disperse on their own, which means they will not work).
Instant dry yeast is easier to use. They do not need to be activated before use. Such yeast, along with other ingredients, is simply added to the dough. As a result, the baking time is reduced.
It should also be remembered that both types of dry yeast may differ in their activity from different manufacturers.
Caloric content of the products possible in the composition of the dish
- Whole cow's milk - 68 kcal/100g
- Milk 3.5% fat content - 64 kcal/100g
- Milk 3.2% fat content - 60 kcal/100g
- Milk 1.5% fat content - 47 kcal/100g
- Concentrated milk 7.5% fat content - 140 kcal/100g
- Milk 2.5% fat content - 54 kcal/100g
- Walnuts - 650 kcal/100g
- Black Walnut English Walnut - 628 kcal/100g
- Black Persian Walnut - 651 kcal/100g
- Walnut oil - 925 kcal/100g
- Granulated sugar - 398 kcal/100g
- Sugar - 398 kcal/100g
- Kefir fat - 62 kcal/100g
- Kefir of 1% fat content - 38 kcal/100g
- Low-fat kefir - 30 kcal/100g
- Kefir "doctor beefy" 1,8% fat content - 45 kcal/100g
- Kefir 2.5% fat content - 53 kcal/100g
- Butter 82% - 734 kcal/100g
- Amateur unsalted butter - 709 kcal/100g
- Unsalted peasant butter - 661 kcal/100g
- Peasant salted butter - 652 kcal/100g
- Melted butter - 869 kcal/100g
- Salt - 0 kcal/100g
- Wheat flour - 325 kcal/100g
- Egg yolks - 352 kcal/100g
- Chicken egg - 80 kcal/100g
- Dry yeast - 410 kcal/100g
- Ground cinnamon - 247 kcal/100g