

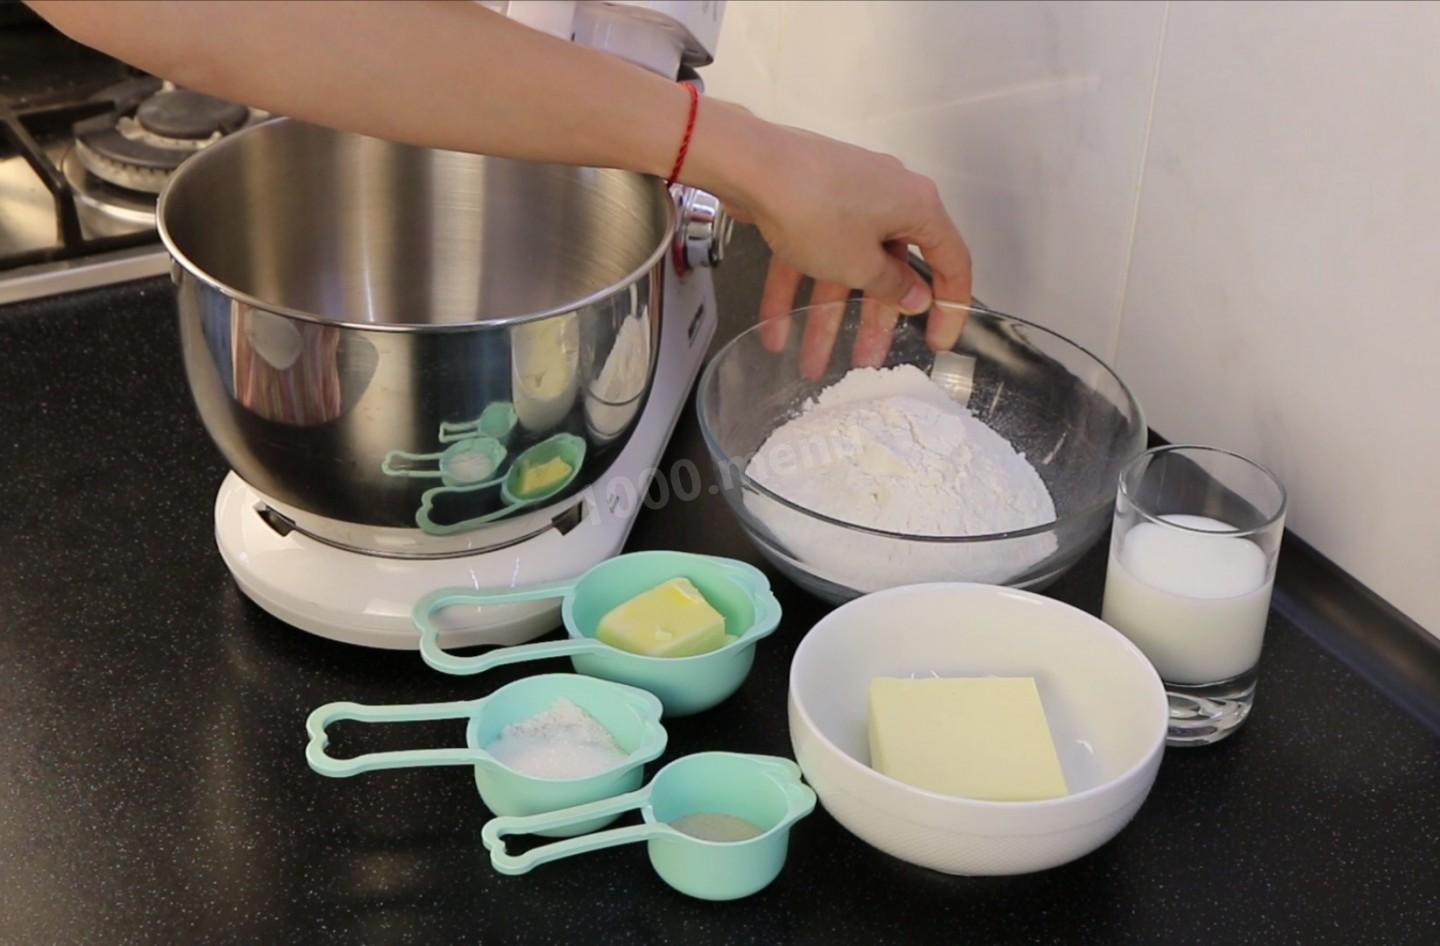
Composition / ingredients
Step-by-step cooking
Step 1:

Ingredient requirements: * flour must be strong- with a high protein content, from 13% per 100 g and above. Sifted! * butter 82.5% fat, high-quality, proven !!! * yeast can be both dry and fresh. They will need 13 g . In the bowl of the combine combine all the dry ingredients. Literally 30 seconds I mix and add water with milk (room temperature).
Step 2:

When the dough begins to gather into a lump, I begin to add butter (50 g) in parts (3-4) And I also knead for 3-5 minutes. It is desirable to knead the dough at a small speed, not for a long time, just until it is homogeneous. If you knead with your hands, use cold milk and water.
Step 3:

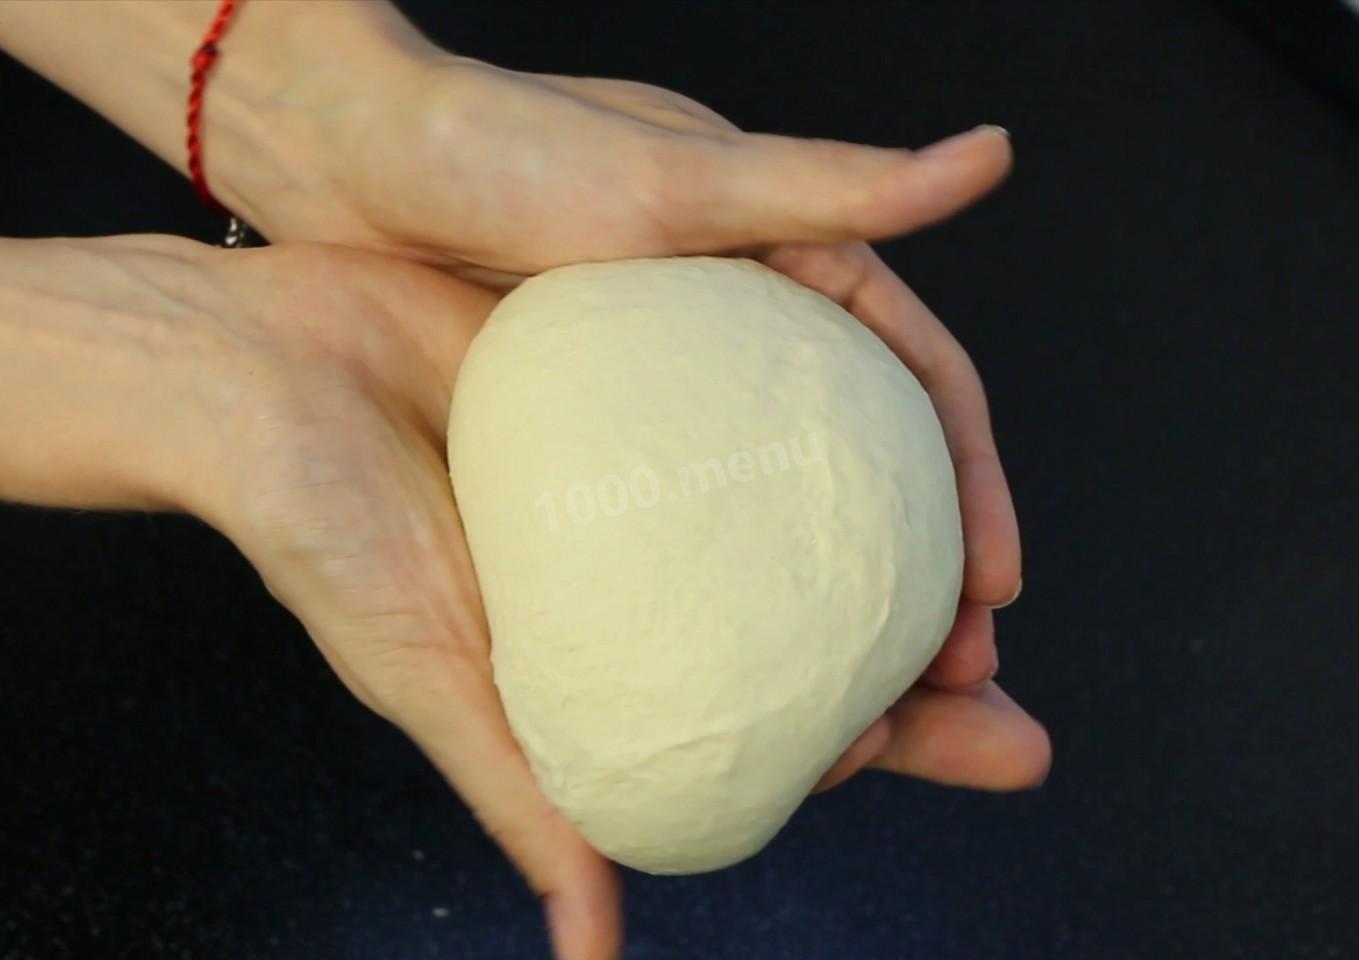
This is how the dough should turn out. Soft, homogeneous.
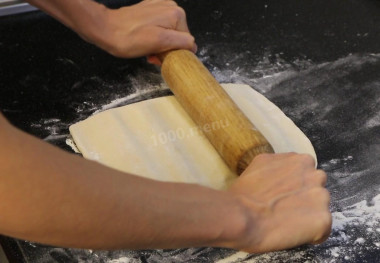
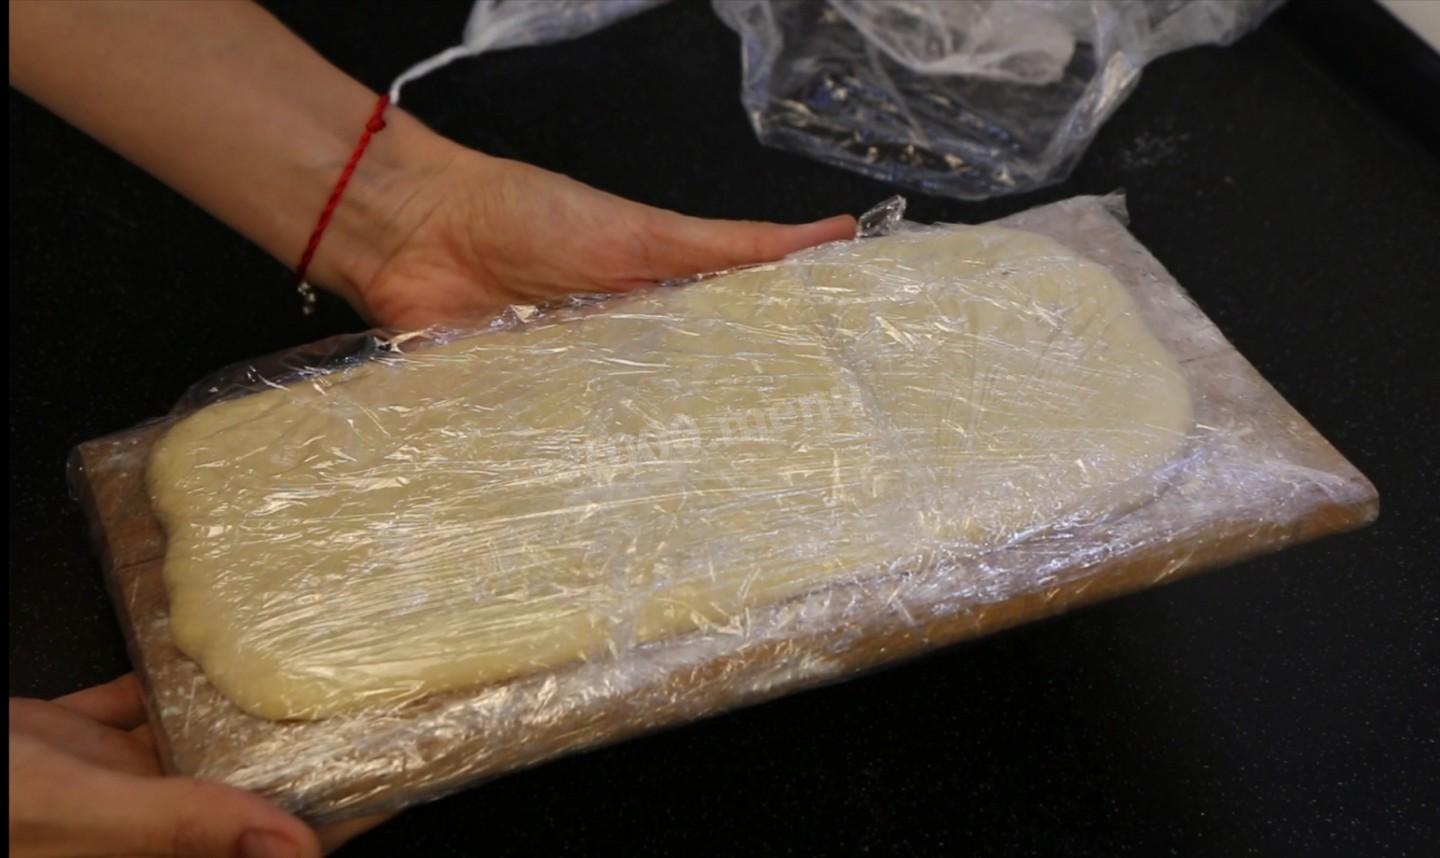
Step 4:
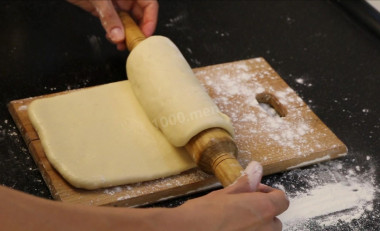
I roll out into a rectangular layer of 15 * 30, for convenience I transfer it to a board dusted with flour, cover it with cling film and leave it at room temperature for 30 minutes.
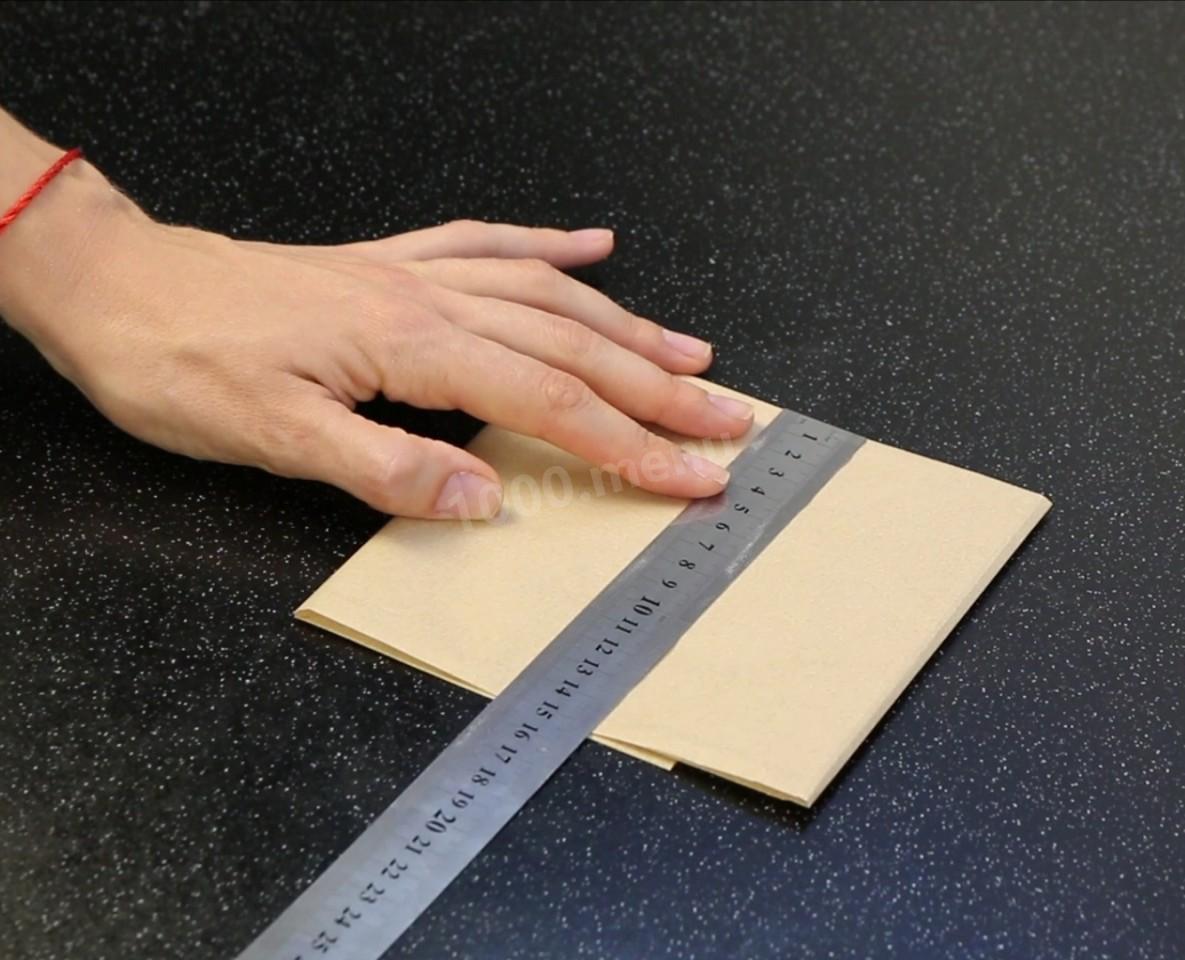
Step 5:

Meanwhile, I will prepare the oil for the interlayer. From parchment I construct an envelope with dimensions of 15 * 15.
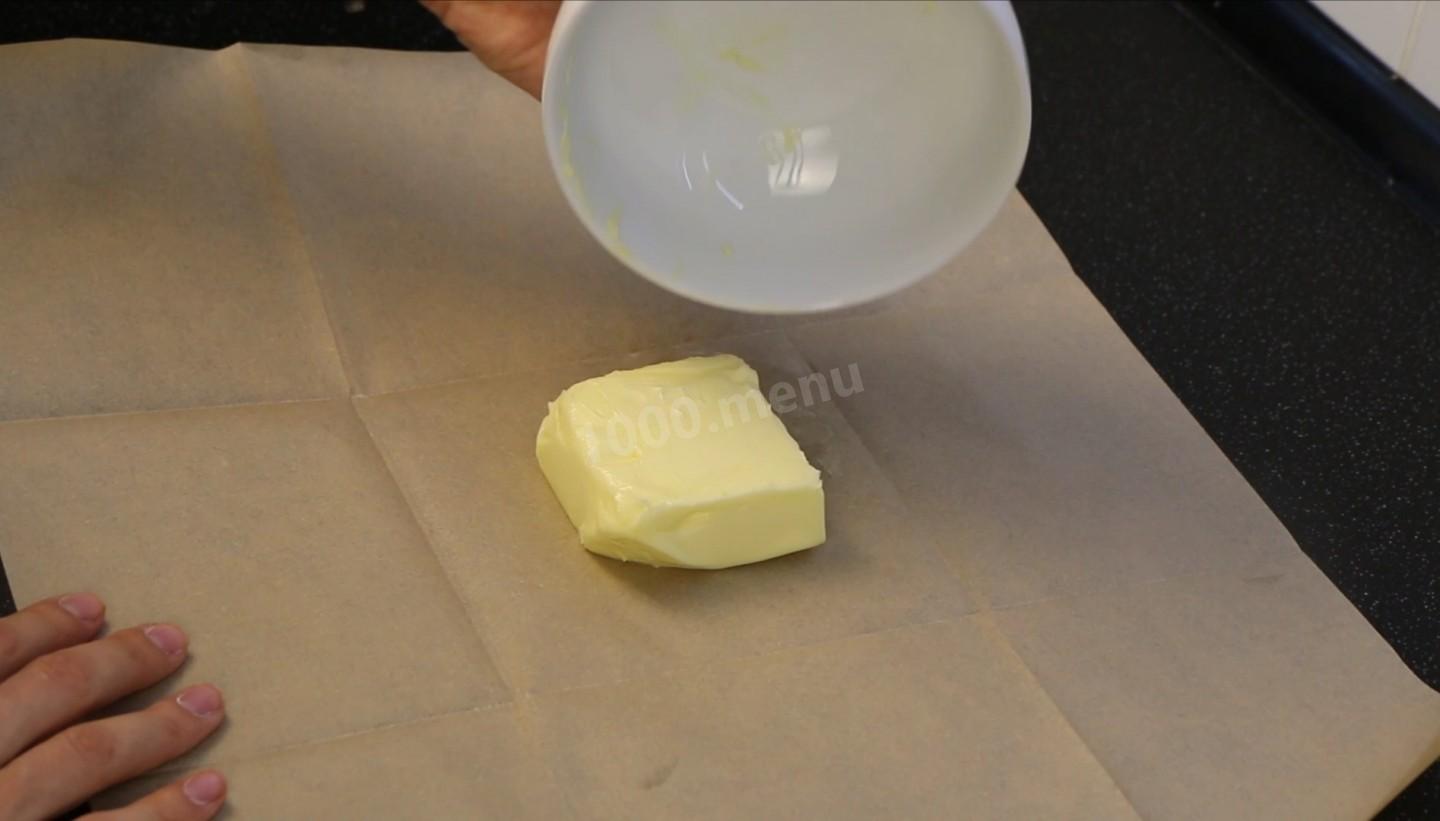
Step 6:

I put oil at room temperature in the center
Step 7:
And distribute it evenly around the perimeter of the square.
Step 8:

That's how it should turn out.
Step 9:
Almost a perfect square :) And put it in the refrigerator. We will need it already together with the test.
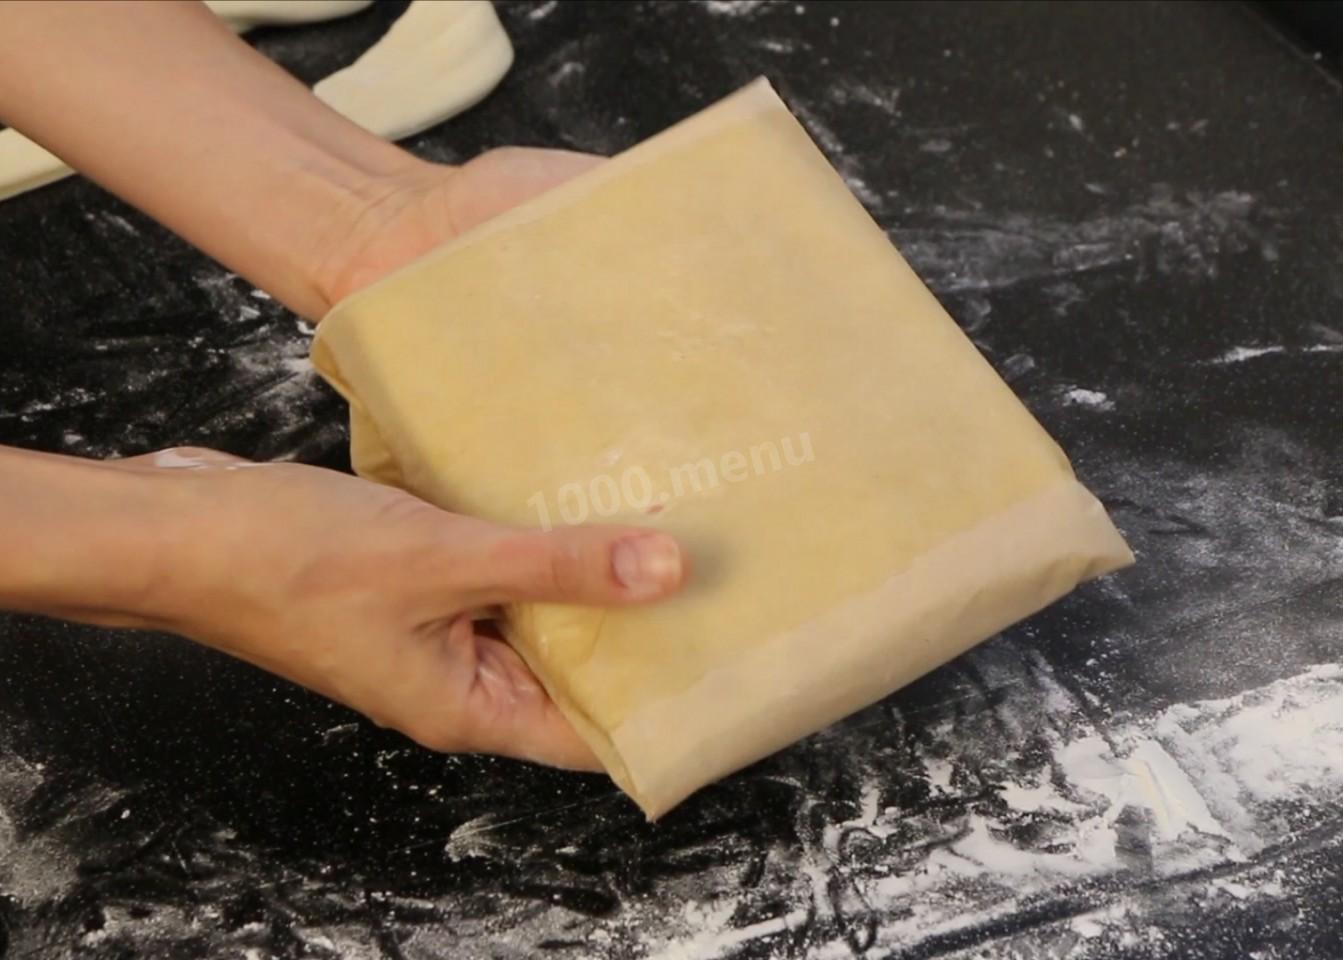
Step 10:

30 minutes have passed, the dough has slightly increased in size. I wrap it well with cling film and put it in the refrigerator for 5-6 hours, preferably overnight. It is possible for a day.
Step 11:

My dough spent 12 hours in the refrigerator. It has grown slightly and increased.
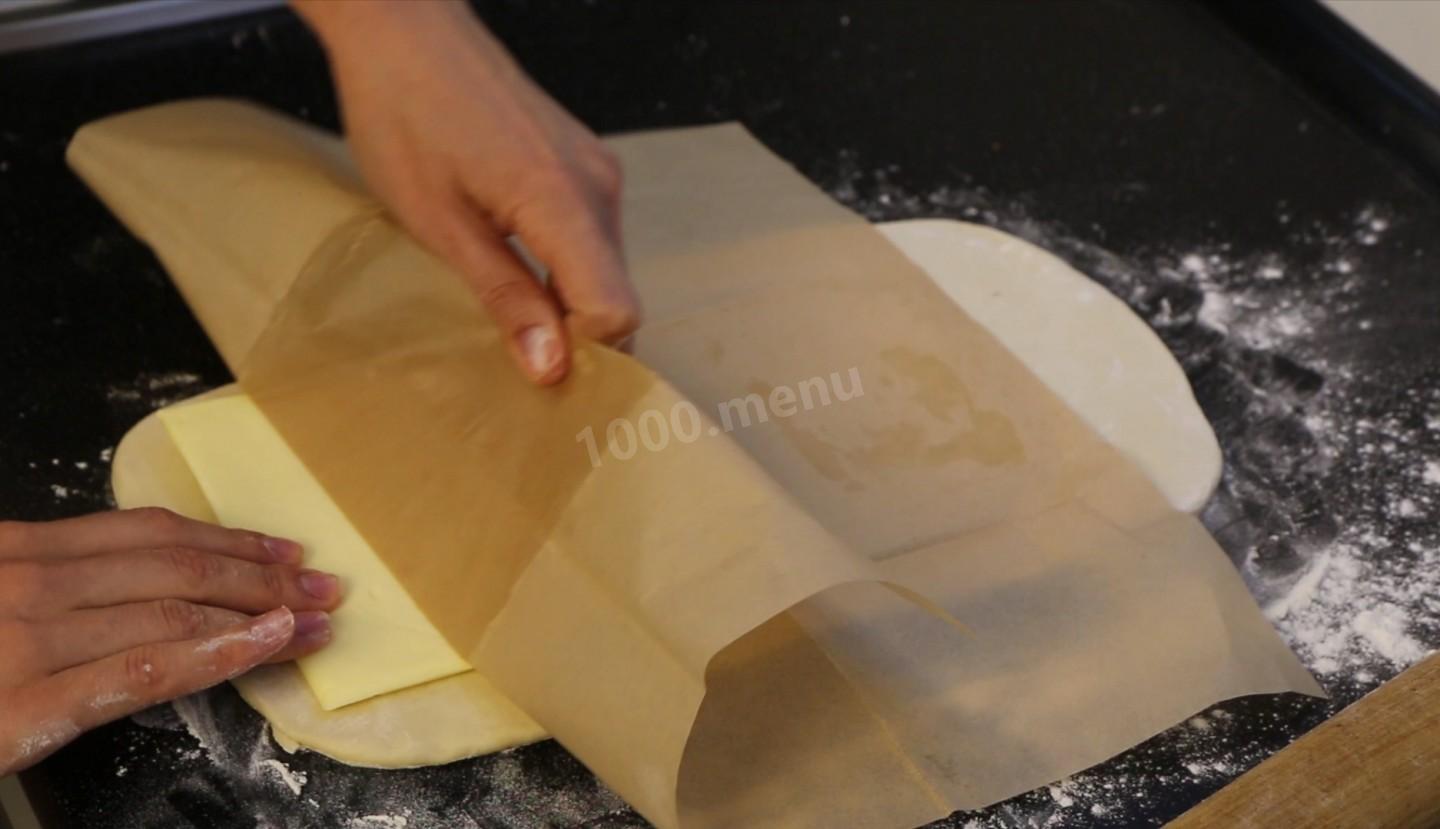
Step 12:

I roll it out about 2 times more than a layer of oil. I spread the butter on one half of the dough.
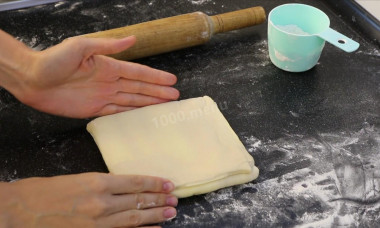
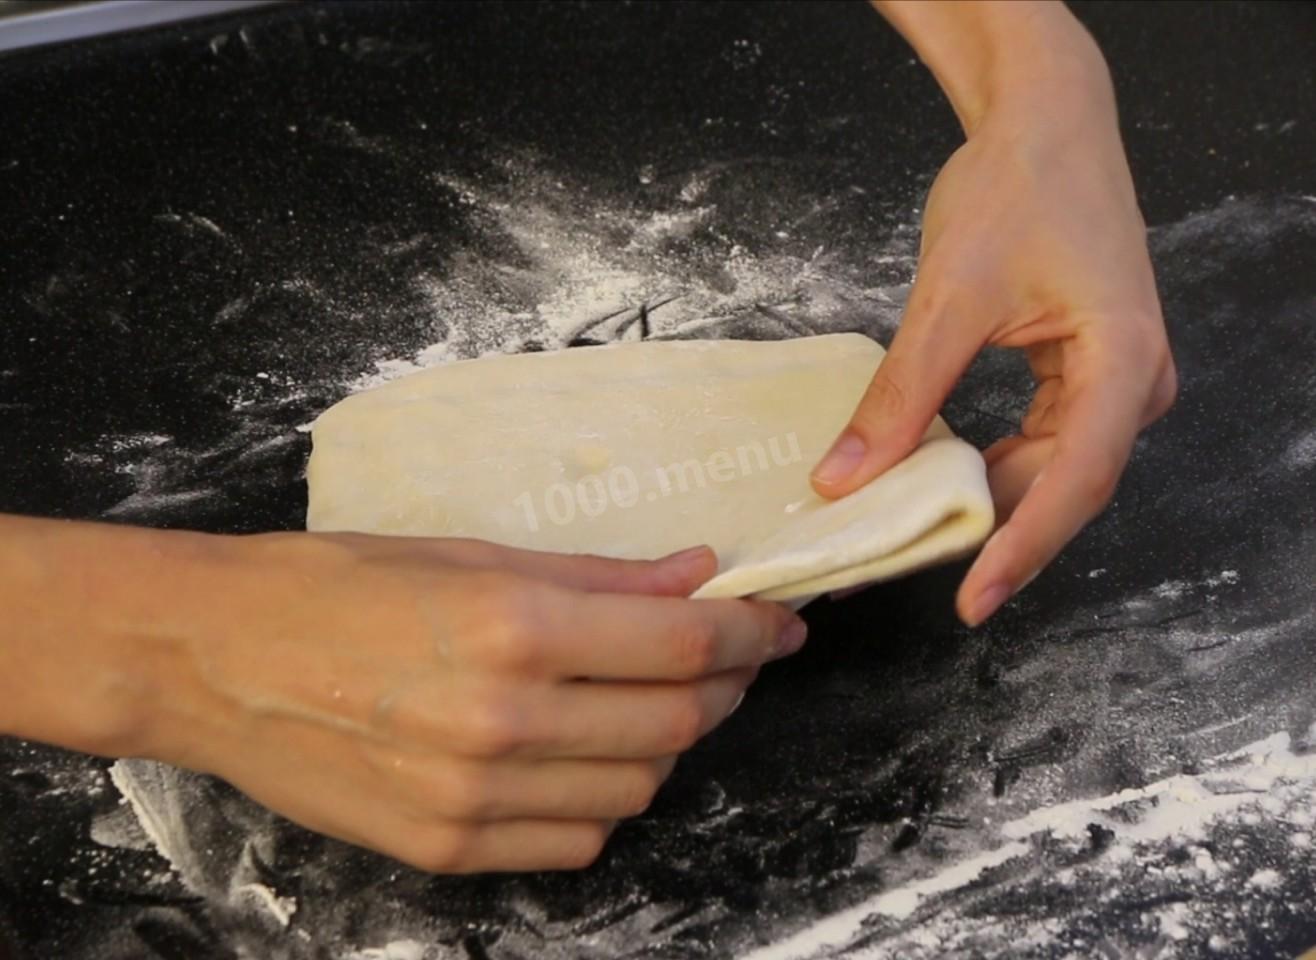
Step 13:

I cover the second half. Pay attention to this fold. It should always be on one side. I'll have it on the left.
Step 14:
Seal the edges, butter and roll out the dough. It is correct to do this with movements away from yourself and towards yourself. Try to put pressure on the dough with a uniform effort. Indoors, it is desirable to have a temperature of about 20-22 degrees. Rolling out the dough should not exceed 3-4 minutes, again, so that it does not heat up. Otherwise, the oil will flow, the layers will stick together and just bagels will turn out.
Step 15:

It is better to trim the uneven edges. There is no oil in them, they are just dough seals.
Step 16:
Also, do not roll out the dough too thin, this can also disrupt the structure of the layers - 5-6 mm. it will be enough.
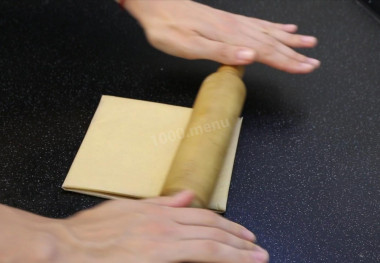
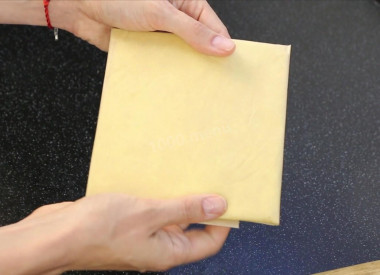
Step 17:

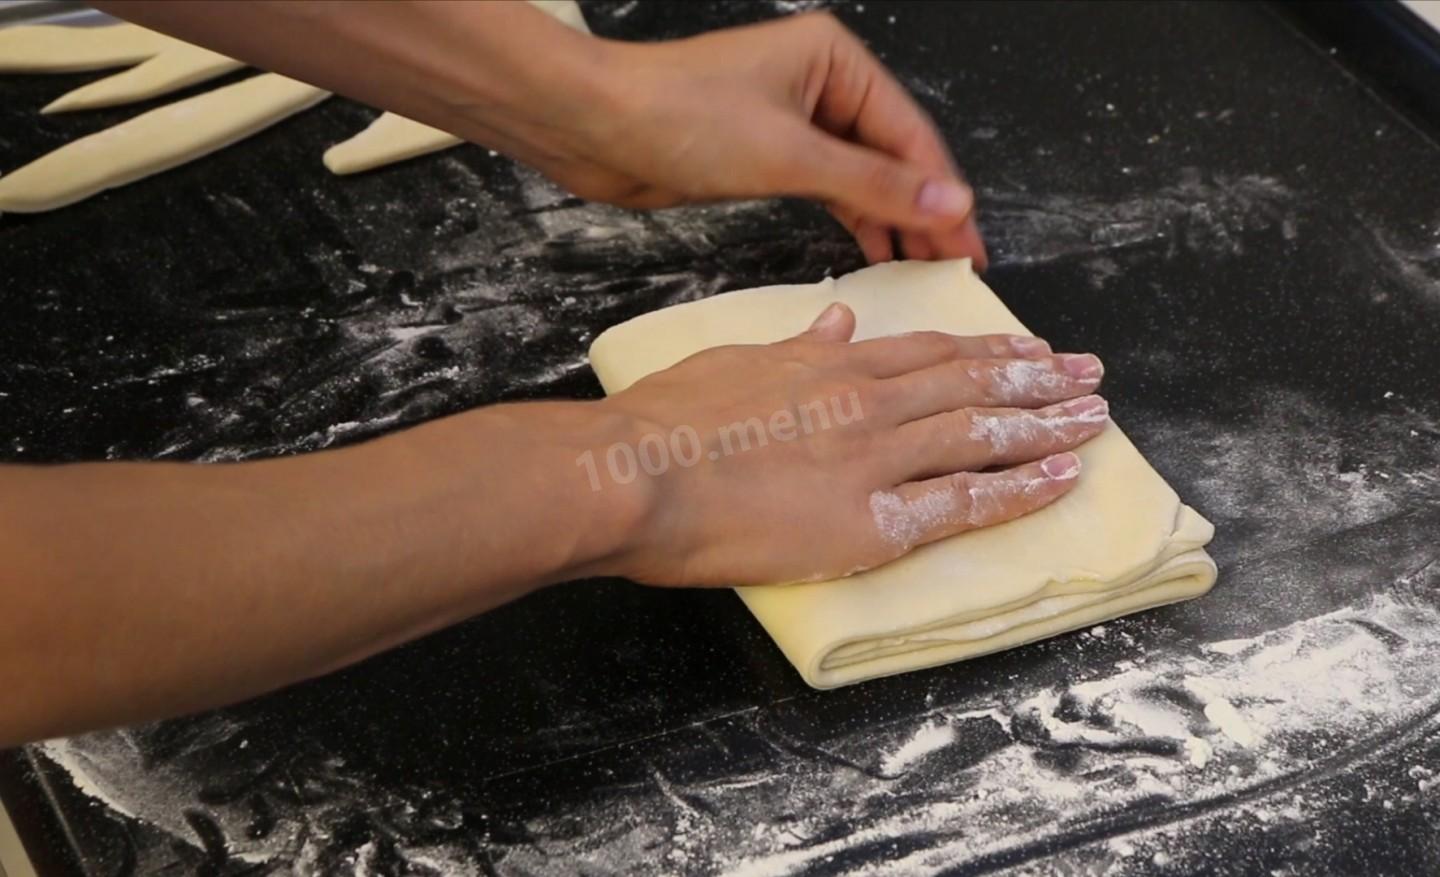
I fold the dough with a letter (three times)
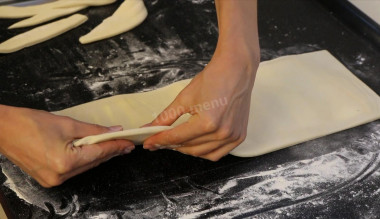
Step 18:

I wrap it in parchment and put it in the refrigerator for 1 hour. Then I take it out of the refrigerator, fold it to the left!!! and I roll it out to a thickness of 5-6 mm, with movements from myself and to myself. I trim the uneven edges. I fold it with a letter, wrap it in parchment and put it in the refrigerator again for an hour.
Step 19:
It is better not to shorten the time for rest. The first proofing is 30 minutes at room temperature, then 5-6 hours in the refrigerator, and preferably overnight. And you can even spend a day. Then 2 times an hour. The dough must necessarily rest and cool down. And the final rollout. Bend to the left again, and roll out. This time to a thickness of 4-5 mm.
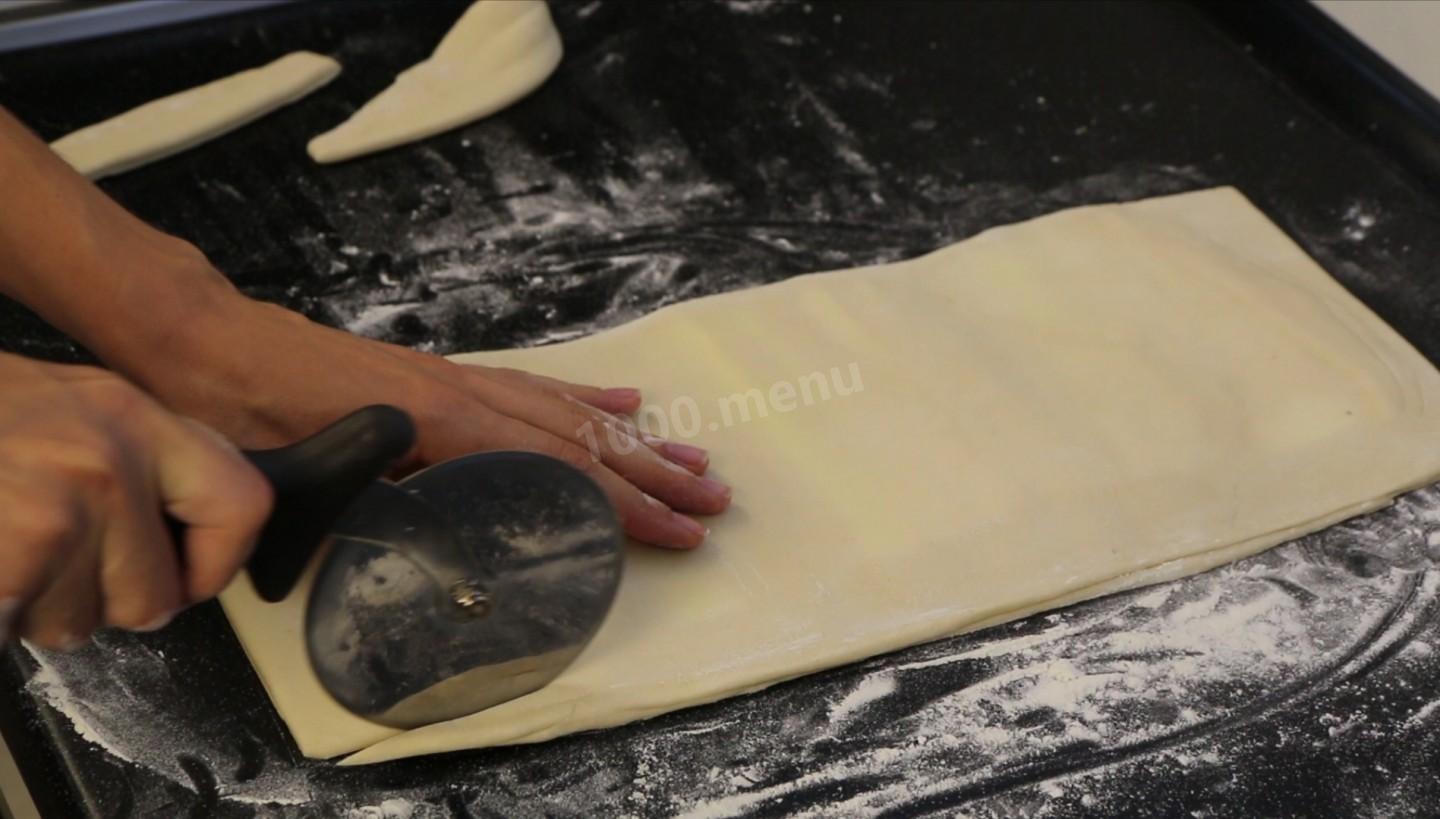
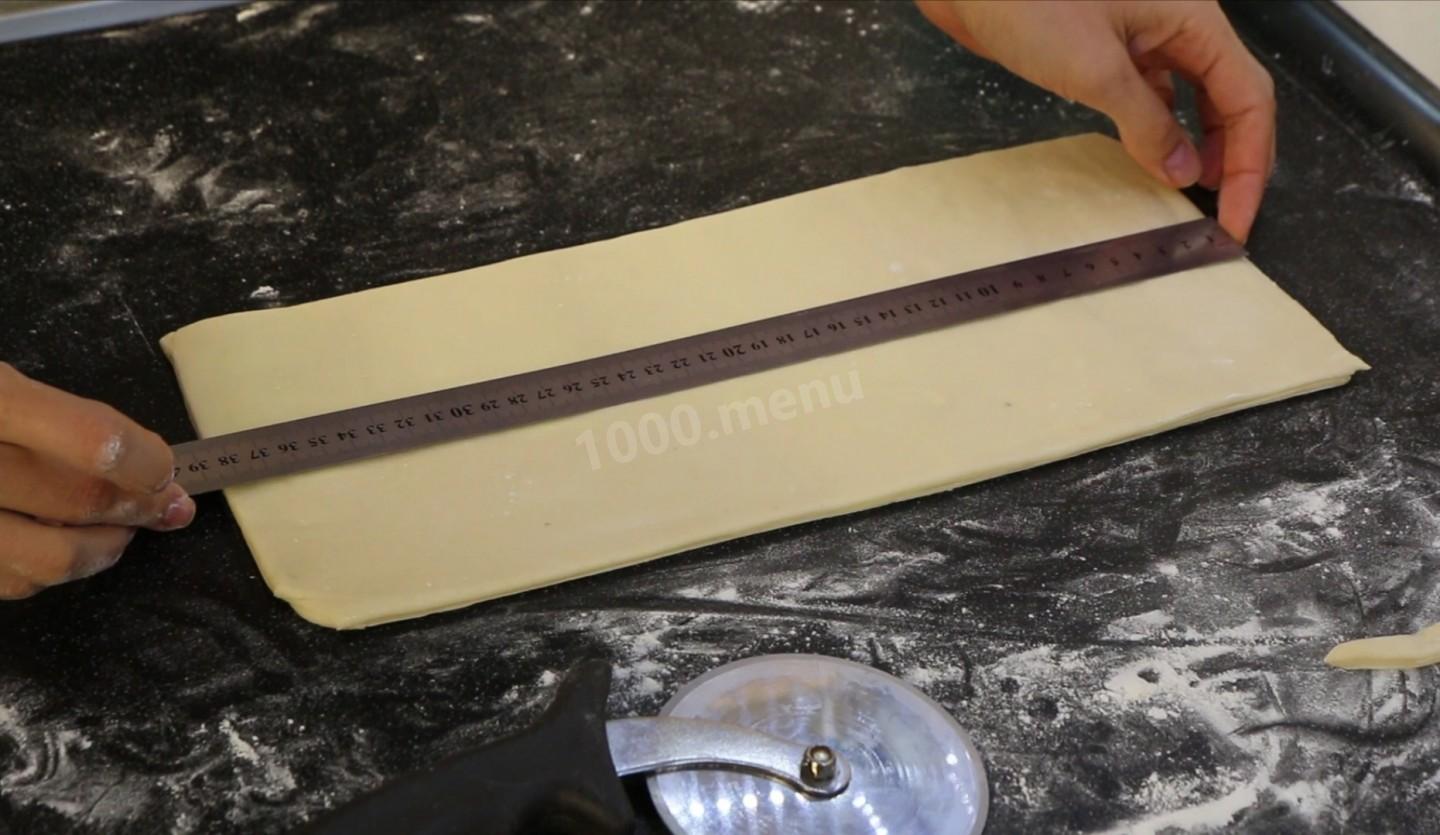
Step 20:
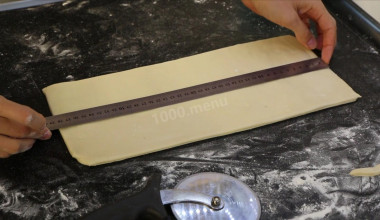
Cutting off uneven edges. Do not regret cutting the dough. These are just oil-free seals that can disrupt the structure of the layers. The final rectangle turned out to be 17*39.
Step 21:
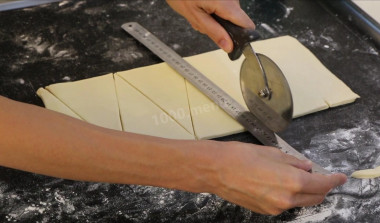
And I cut the triangles 9*17. It is better to do it either well with a sharp knife or a pizza knife. You can not make sliding movements, you need to cut the dough clearly.
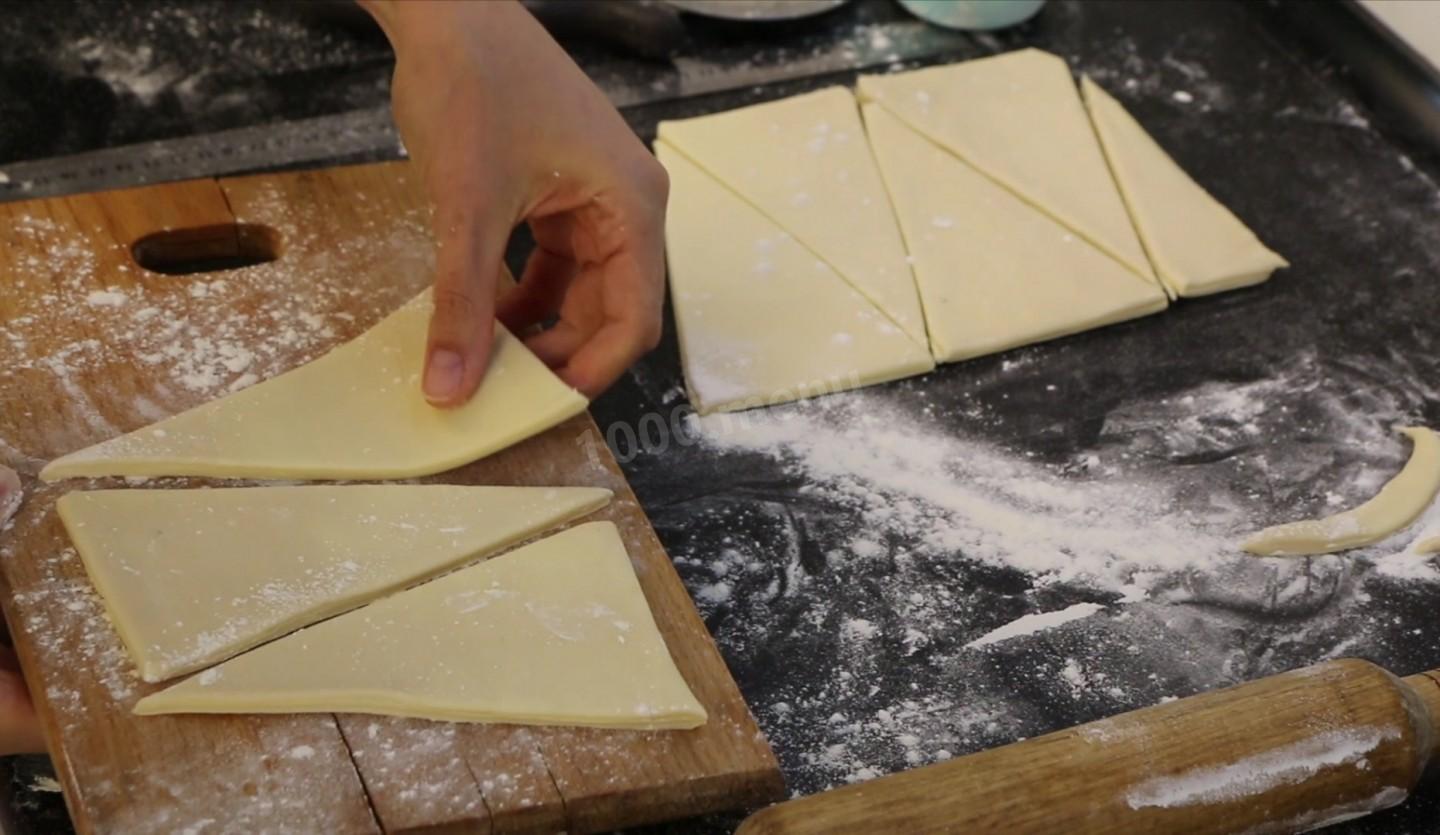
Step 22:
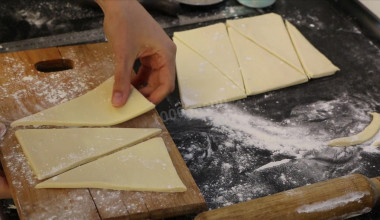
And put the blanks in the refrigerator for 10-15 minutes. The dough should rest and cool down.
Step 23:

Final proofing at a temperature of 26-27 degrees, preferably moistened, 2 hours. I will melt croissants in the oven with a cup of hot water. Yeast dough loves moisture very much;) I'm sending her there.
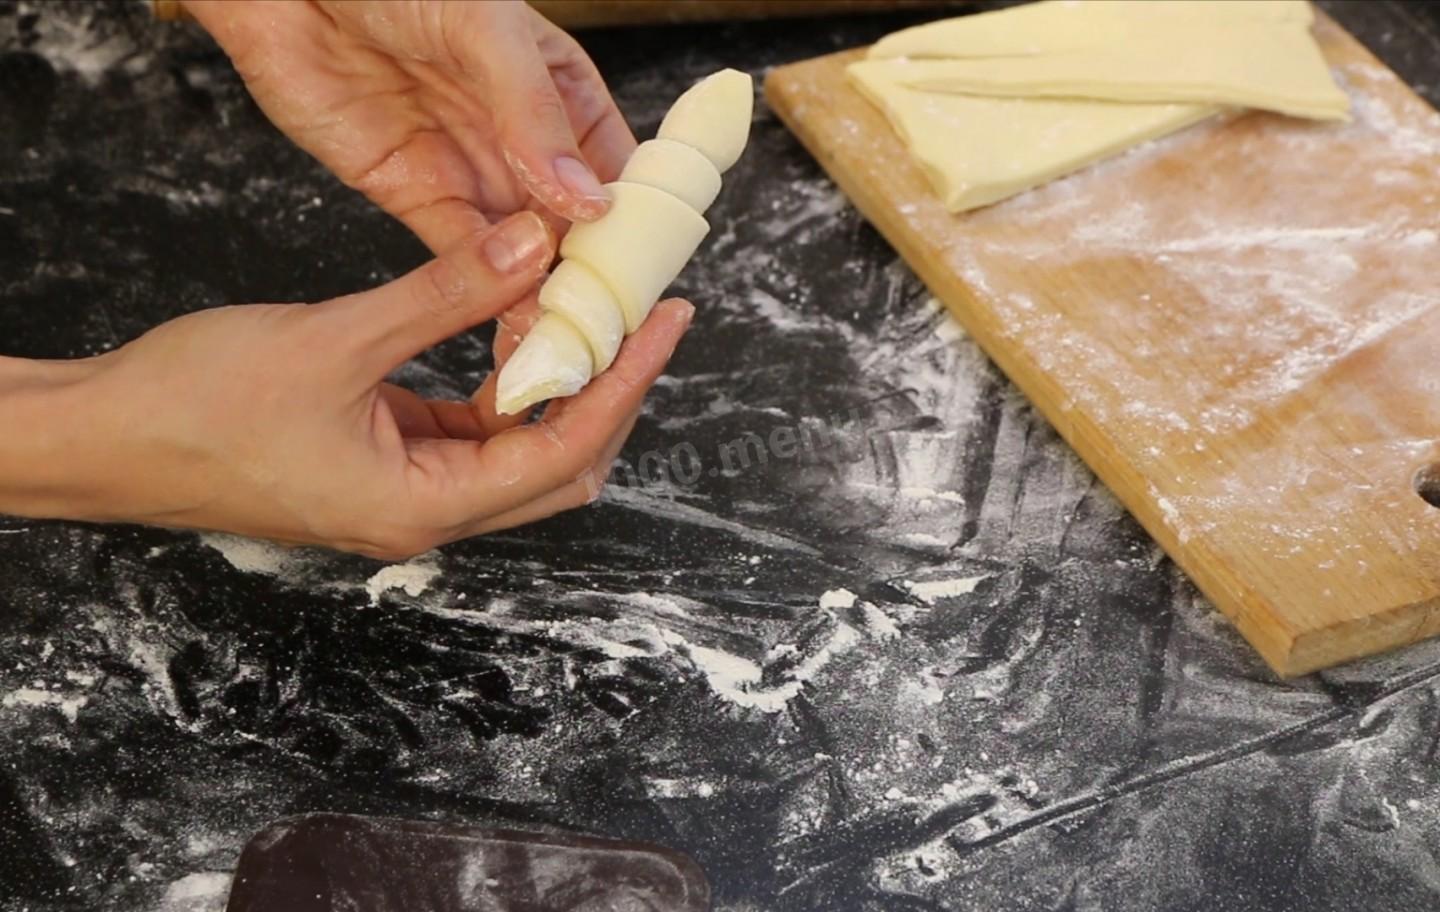
Step 24:
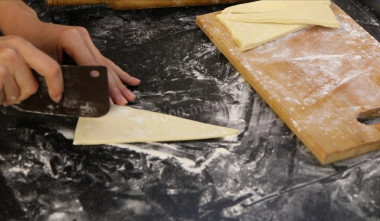
Slightly pull out the triangles, or you can lightly walk with a rolling pin, make an incision in the center and fold.
Step 25:
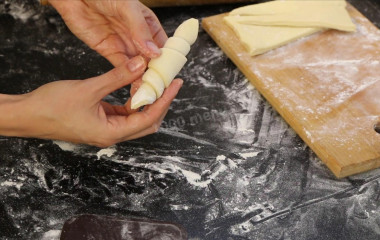
You can leave it like this, or you can bend it slightly, give it the shape of a crescent.
Step 26:
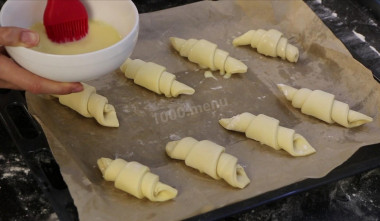
Before proofing, I lubricate the croissants with a mixture of eggs and milk in a one-to-one ratio. You don't have to do this and just cover it with cling film so that the dough doesn't curl. But this will give the finished product a golden, ruddy crust. I put it in the oven for 2 hours.
Step 27:
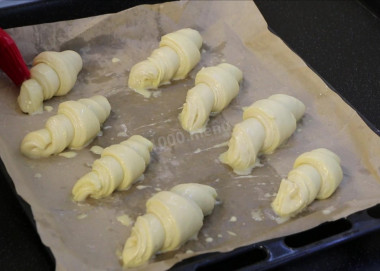
Time has passed, croissants have increased, have grown. I lubricate the second time with milk and egg and bake at a temperature of 185 degrees for 10 minutes, then lower it to 165 and bake for 5-6 minutes more, with convection. The temperature in the oven should be high enough. If the temperature is low, the oil will leak out, if it is very high, the crust will seize and the croissants will not have a place to grow. Focus on your oven.
Step 28:

These are the beauties you get.
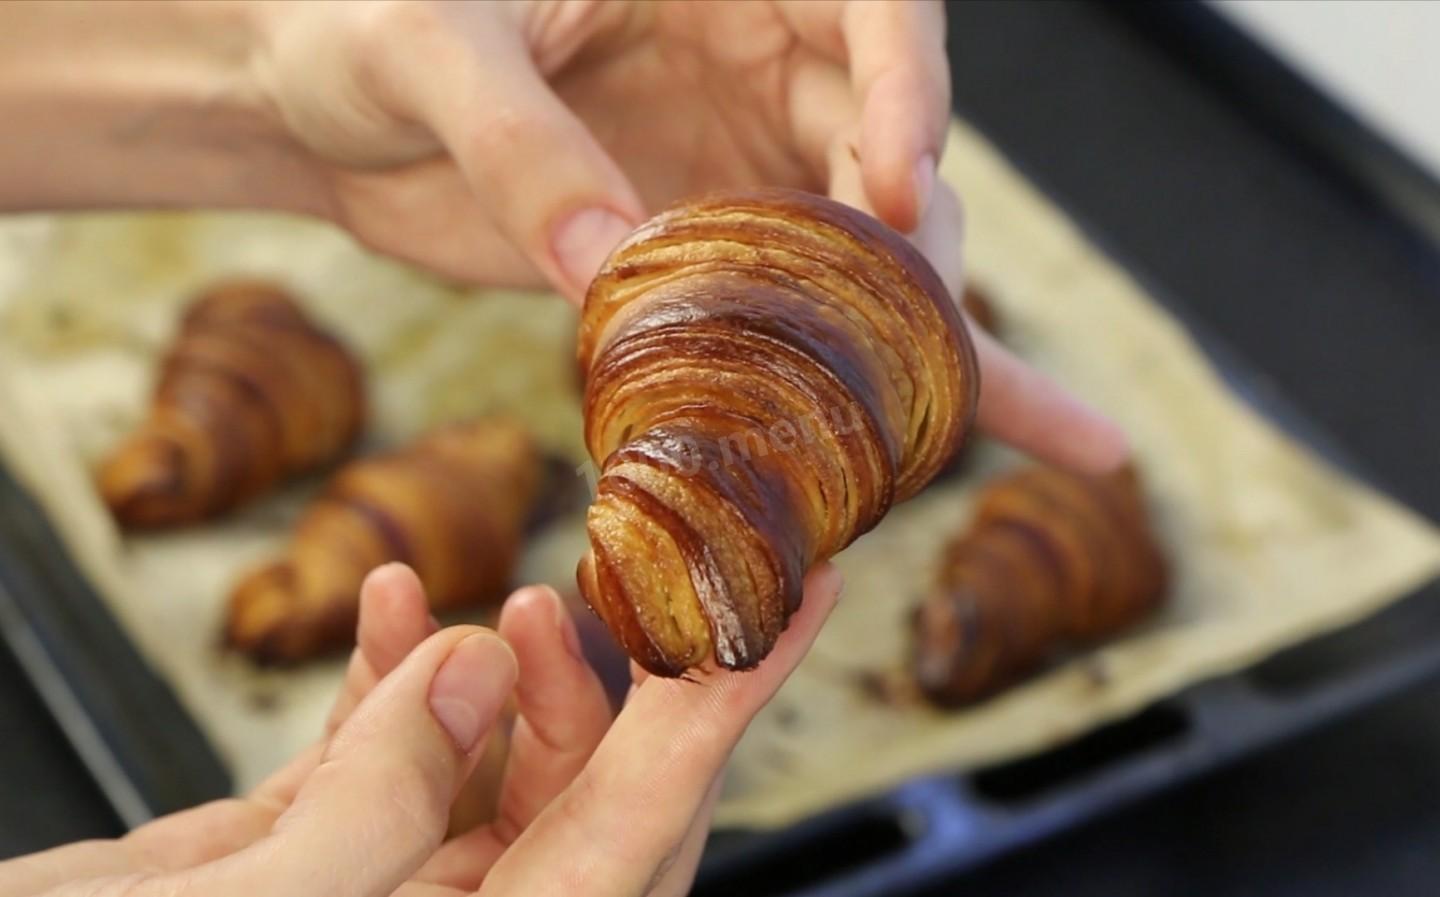
Step 29:

Ruddy, layered, just weightless.
Step 30:

And this is exactly the rare case when the product does not need to be allowed to cool down, but you need to invite everyone to the table and enjoy freshly baked homemade croissants.
Step 31:

Flavors in the kitchen... you can go crazy.
Step 32:

I hope you like the recipe and it will be useful!!! Everyone has a wonderful mood !!!


Calorie content of the products possible in the dish
- Whole cow's milk - 68 kcal/100g
- Milk 3.5% fat content - 64 kcal/100g
- Milk 3.2% fat content - 60 kcal/100g
- Milk 1.5% fat content - 47 kcal/100g
- Concentrated milk 7.5% fat content - 140 kcal/100g
- Milk 2.5% fat content - 54 kcal/100g
- Chicken egg - 157 kcal/100g
- Egg white - 45 kcal/100g
- Egg powder - 542 kcal/100g
- Egg yolk - 352 kcal/100g
- Ostrich egg - 118 kcal/100g
- Granulated sugar - 398 kcal/100g
- Sugar - 398 kcal/100g
- Butter 82% - 734 kcal/100g
- Amateur unsalted butter - 709 kcal/100g
- Unsalted peasant butter - 661 kcal/100g
- Peasant salted butter - 652 kcal/100g
- Melted butter - 869 kcal/100g
- Salt - 0 kcal/100g
- Water - 0 kcal/100g
- Wheat flour - 325 kcal/100g
- Dry yeast - 410 kcal/100g