


Composition / ingredients
Step-by-step cooking
Step 1:
How to bake simple rye bread without kneading? If you do not know how to make an eternal starter, then under the description there is a link to my recipe, in which I talk about it in detail. So, in the evening, prepare a sourdough: combine rye sourdough, cold water and flour in a suitable container (the sourdough will rise 2-3 times, keep this in mind). Just mix them well with a spoon, cover them lightly with a napkin or lid and leave them to rise overnight.
Step 2:

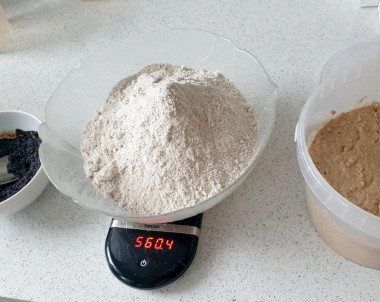
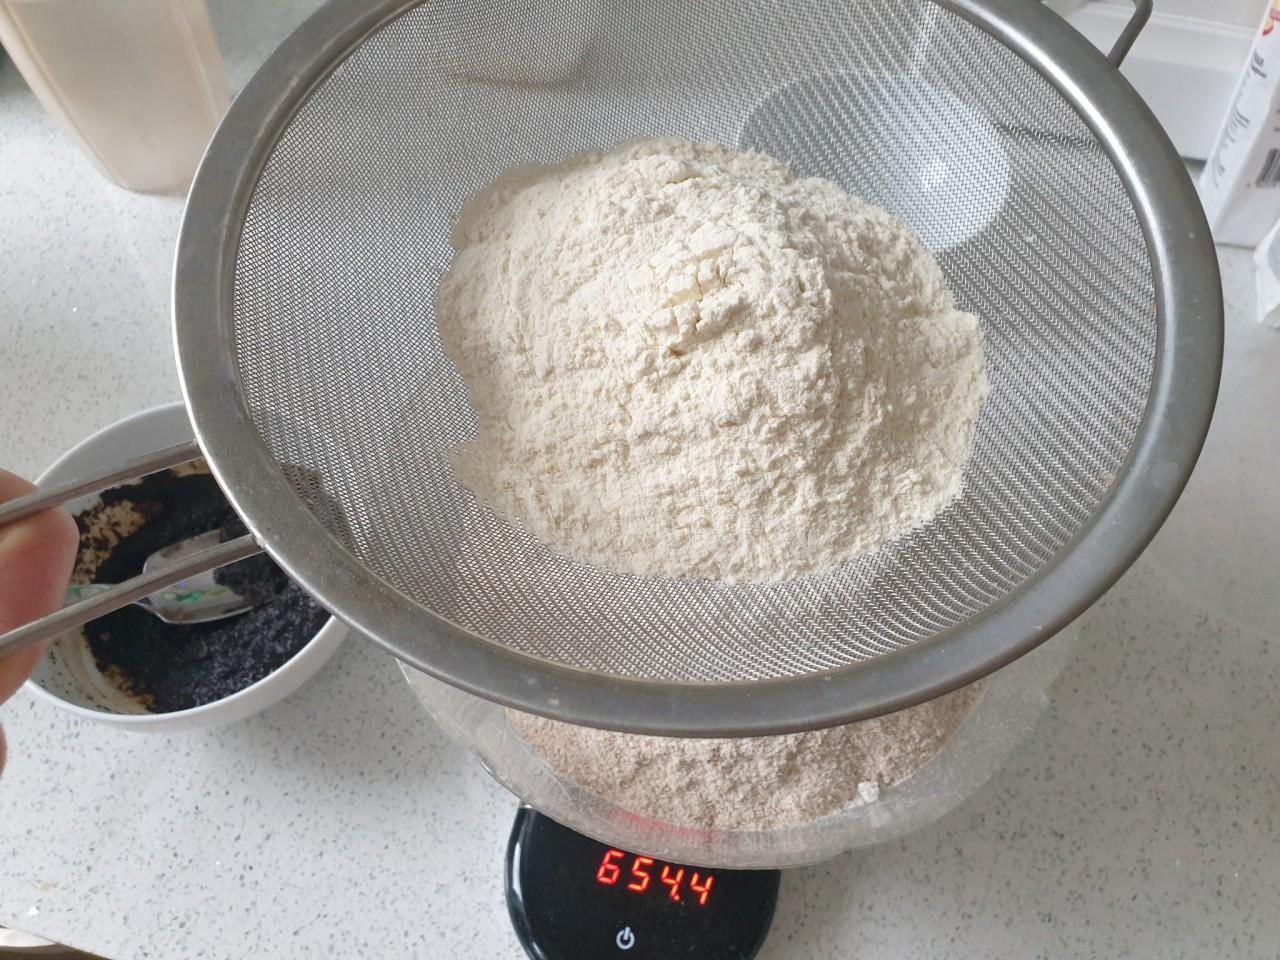
In the morning, measure the flour in a separate container: I never sift rye and whole grain, and I sift wheat (I have 1 grade) through a sieve. Brew rye malt in a separate bowl (the amount of water in the ingredients is not taken into account, but there is a note in the notes that it is taken additionally). It is necessary to pour so much boiling water into the malt that it turns into a viscous mushy mass. Leave it to cool down for now.
Step 3:
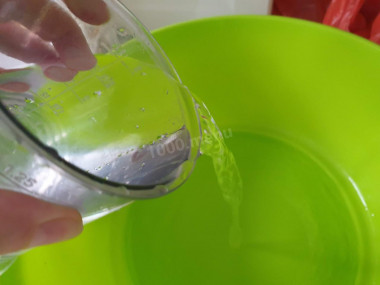
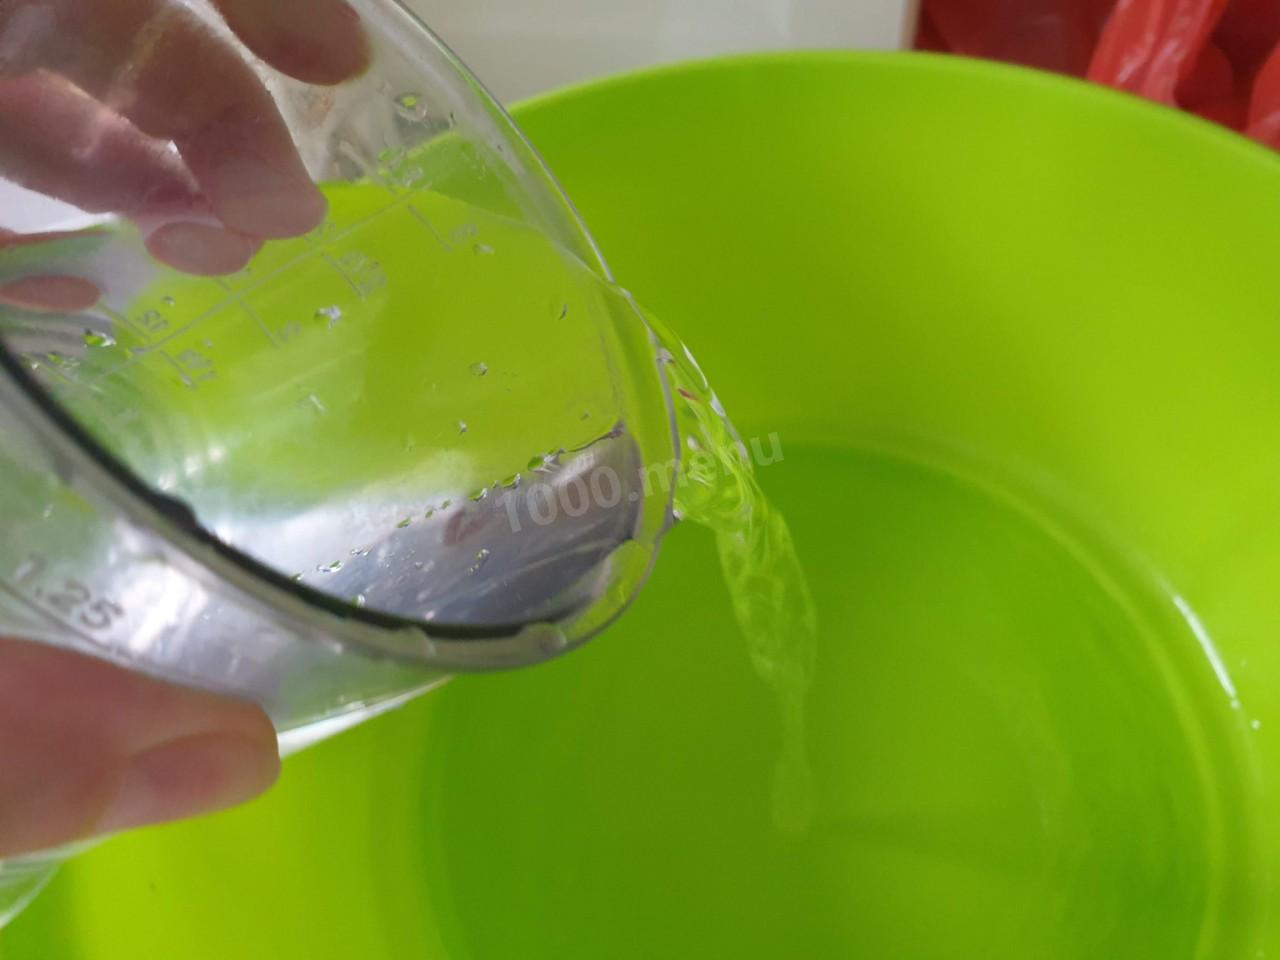
Now pour cold water into a large container. In this recipe, flour and water are taken in proportions of 1:1. Add salt, sweetener (12-15 drops) or 1-2 teaspoons of sugar to the water. Stir.
Step 4:
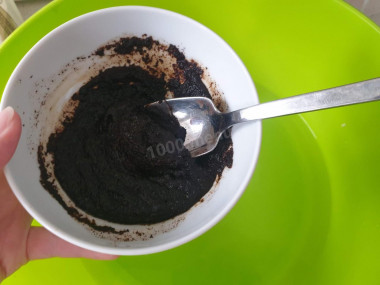
Add the brewed malt to the water and stir well until smooth.
Step 5:

Add the starter culture, also stir.
Step 6:
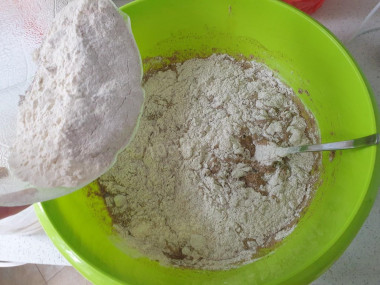
Now pour the flour into the liquid, stirring with a spoon. The beauty and simplicity of this recipe is that you do not have to knead the dough with your hands for a long time and painfully. And the dough is so viscous that it is simply impossible. All that is required is to mix the mass thoroughly with a spoon.
Step 7:
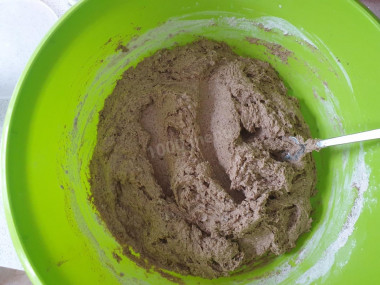
This is the dough you should get.
Step 8:
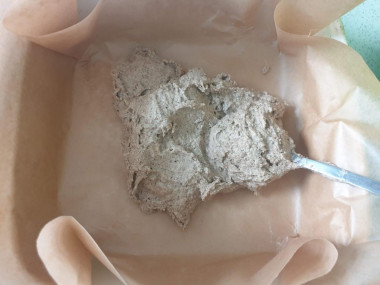
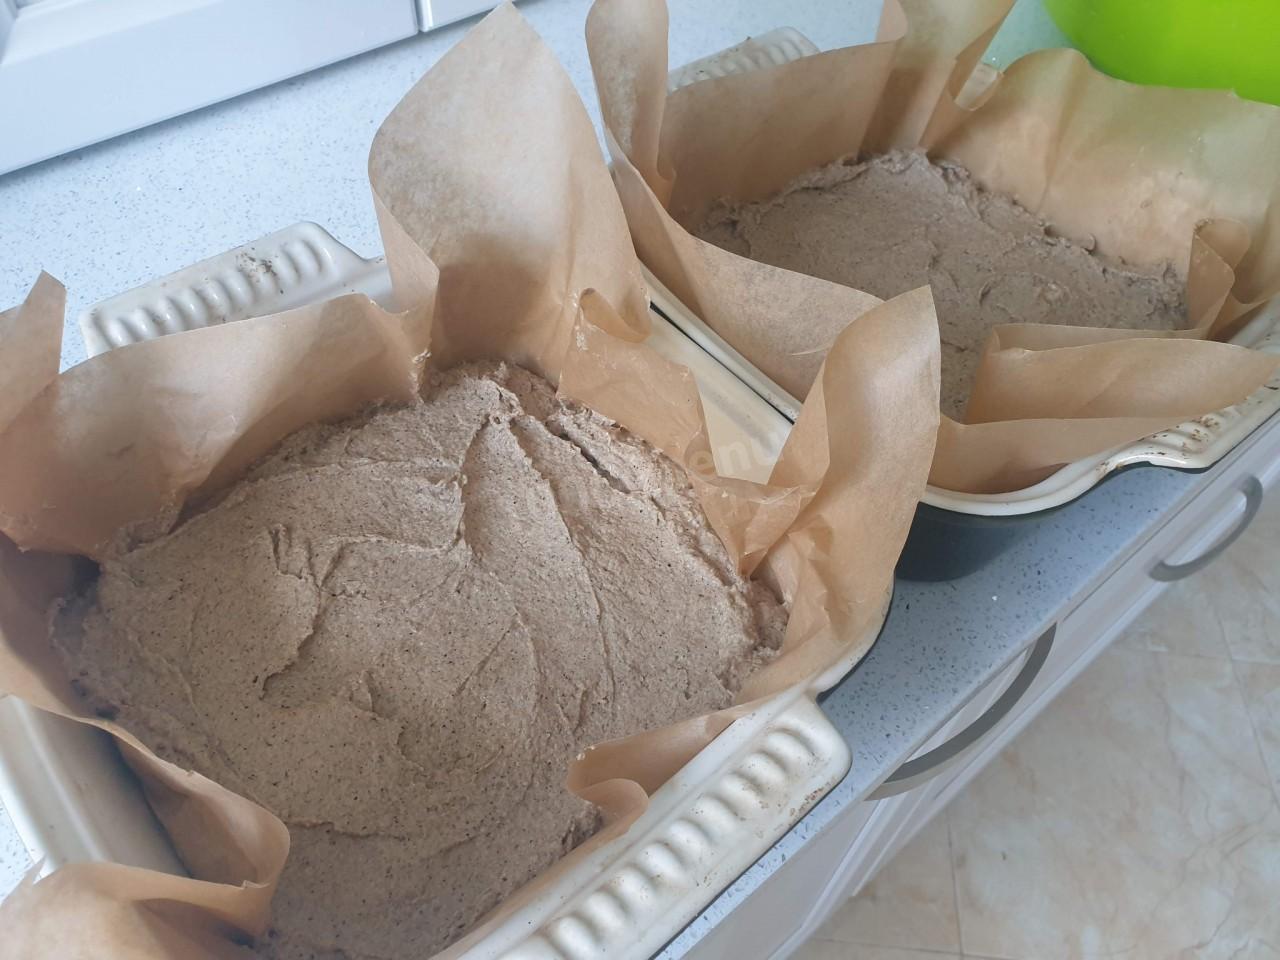
Take a suitable baking dish for bread (I have two glazed ceramic molds), cover with parchment paper, so it will be easier to remove the bread from the molds after baking, and lay out the dough, leveling with a spoon.
Step 9:
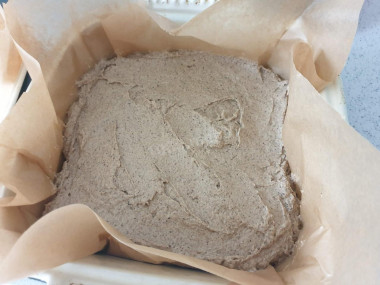
The dough should fill no more than 1/3 of the volume, as it will rise during proofing.
Step 10:

I repeat, I needed two forms for this amount of test. They are not specialized, but the parameters are suitable for baking bread (important criteria when choosing such a form: thermal conductivity and the ability to withstand high temperatures). For this reason, silicone molds are not suitable. The dough in the molds must be covered with lids, if they are available and fit snugly, if not, tighten the top with cling film and leave to approach for about 3 hours
Step 11:
Today I had the dough rise for 3.5 hours. During this time, it has increased by 2.5-3 times. Be careful! If the rye dough on the sourdough will stand, it may fall off and then the bread will turn out tasteless and flat. Tip: you can forget about the test for the first two hours, but after a two-hour proofing, check its condition at least once every half hour until you are sure that it has risen sufficiently.
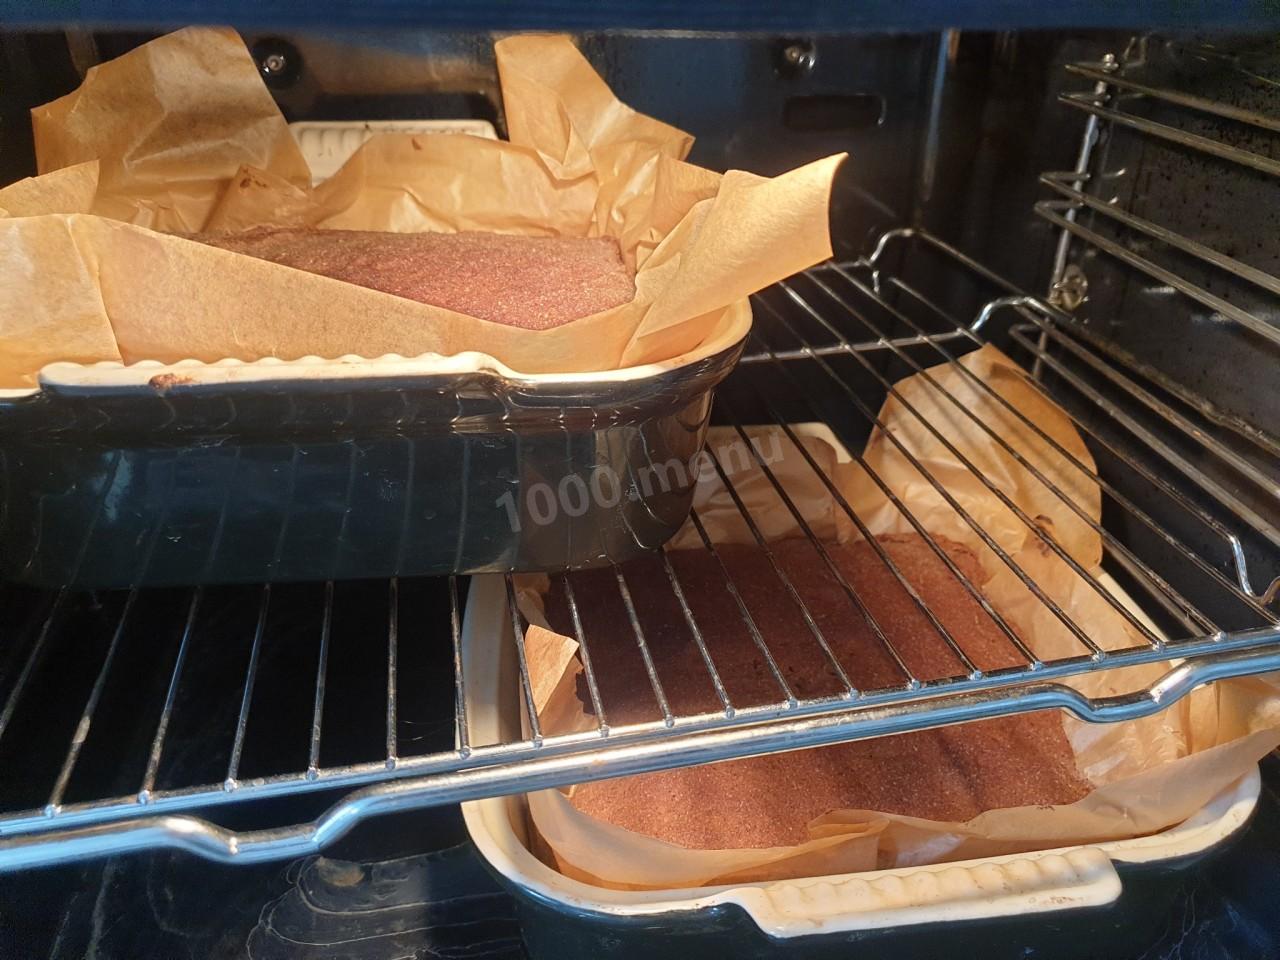
Step 12:

Set the oven mode to upper/lower heat, set the temperature to 240 degrees and let it heat up for 15 minutes. Then put the molds in the oven and bake the bread first at 240 degrees for 10 minutes, and then 40-45 minutes at 200 degrees. If you have two molds, then after 20 minutes swap them for even baking. The time is approximate, focus on the features of your oven.
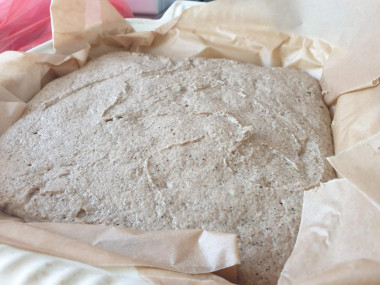
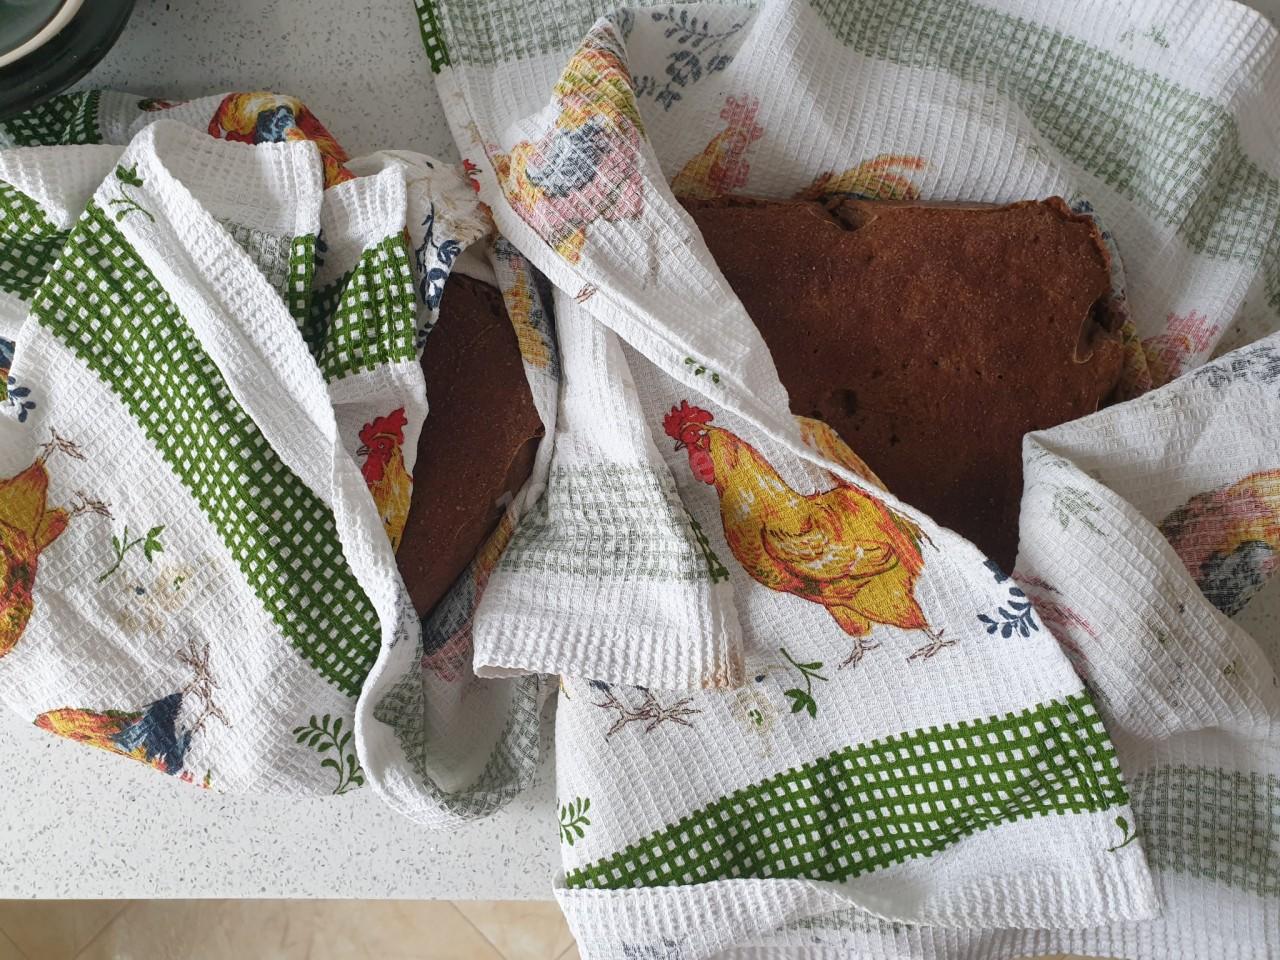
Step 13:

Carefully remove the finished bread from the mold, remove the baking paper and let it lie wrapped in a towel (you can put a silicone mat on top to create a steam effect). The crust will be crispy in any case, but after such a simple procedure it will become more tender. Enjoy it!


How to cook and store the "eternal sourdough" can be found in the description for this recipe
Rye flour bread according to this recipe is my favorite. It always turns out, forgives small flaws and is invariably good. The taste of this bread is traditional, rich in rye. I don't have a high shape, so two low "loaves" come out. I think this is an aesthetic disadvantage, but otherwise - the taste, aroma, moist, but not raw texture, the ability not to harden for a long time and never mold - it is ideal. Or very close to it!
Keep in mind that everyone's ovens are different. The temperature and cooking time may differ from those specified in the recipe. To make any baked dish successful, use useful information about the features of ovens !
Caloric content of the products possible in the composition of the dish
- Salt - 0 kcal/100g
- Water - 0 kcal/100g
- Wheat flour - 325 kcal/100g
- Rye flour - 305 kcal/100g
- Sourdough - 29 kcal/100g
- Malt - 361 kcal/100g
- Whole wheat flour - 298 kcal/100g
- Sweetener - 20 kcal/100g