
Composition / ingredients
Step-by-step cooking
Step 1:
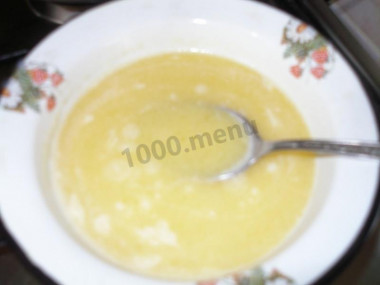
150 gr. butter for the dough to melt.
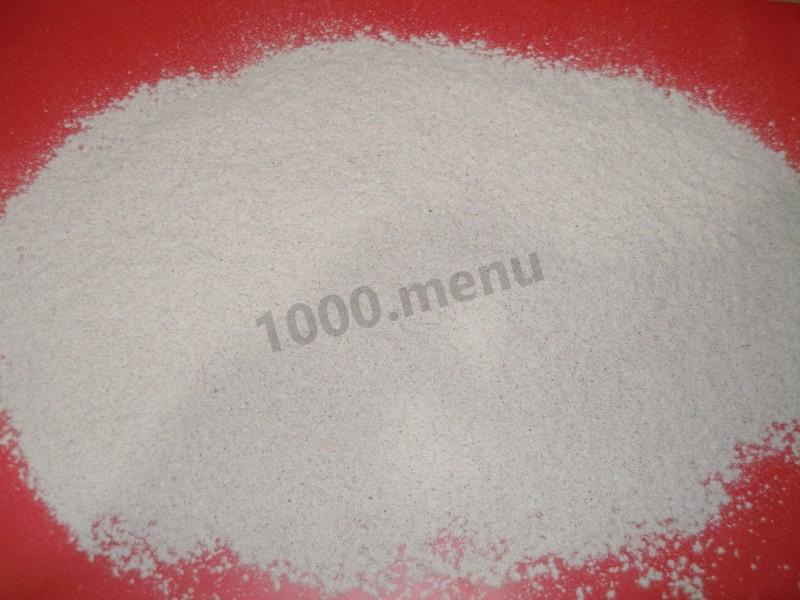
Step 2:
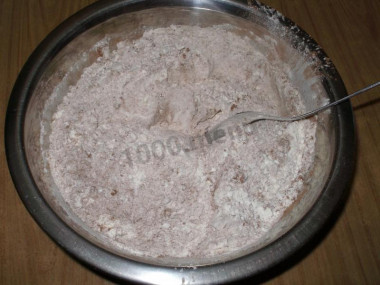
600 gr. mix flour and 30 gr. cocoa powder. You can immediately sift, or you can do it in the process of kneading the dough.
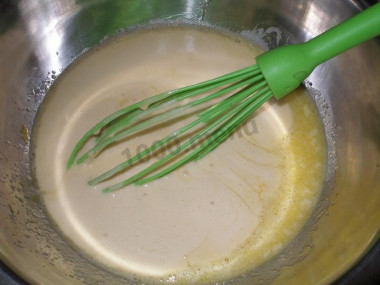
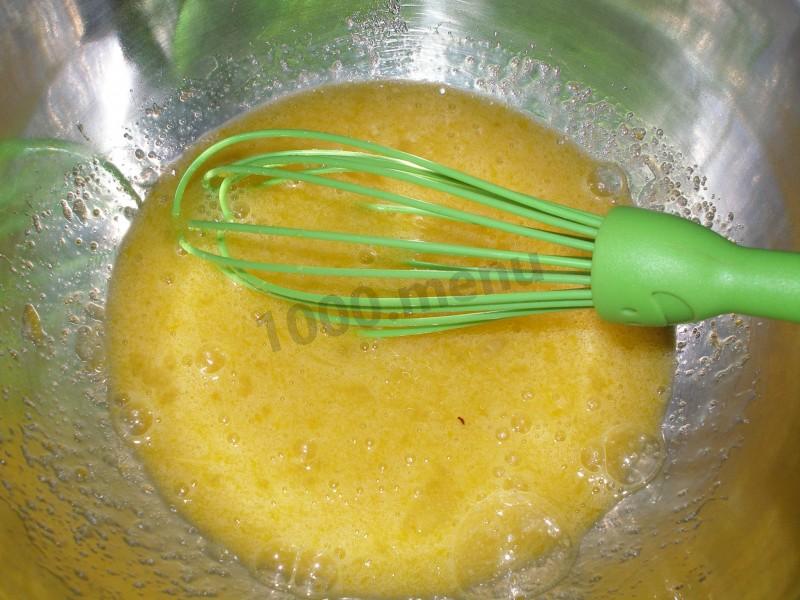
Step 3:

In a deep bowl in which we will knead the dough, using a whisk, mix 3 eggs and 150 gr. sugar.
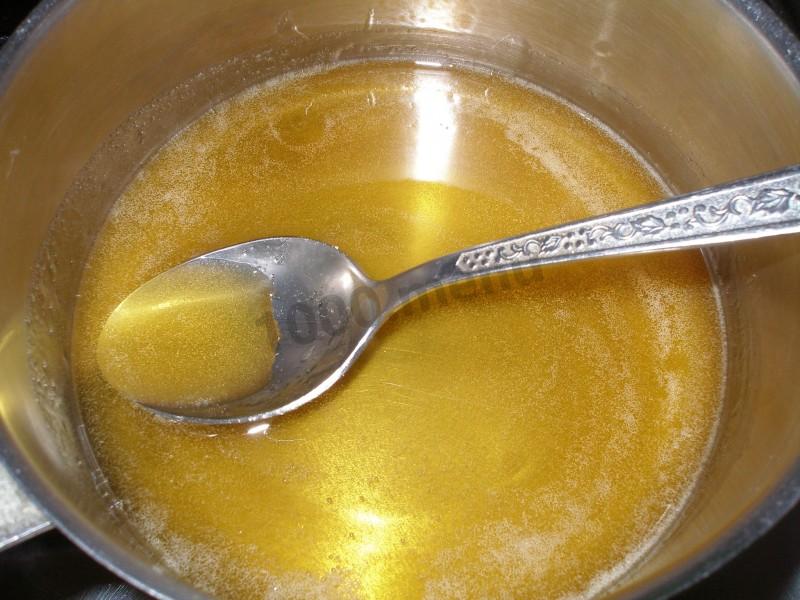
Step 4:

150 gr. honey is heated to very hot, but not brought to a boil. Remove from the heat.
Step 5:

Add 1 tsp baking soda to the hot honey and start stirring intensively. There is a process of quenching soda. If the honey is not natural, it is necessary to first extinguish the soda with vinegar, and then mix in the honey. I use only natural honey, the acids of which are soda extinguishers.
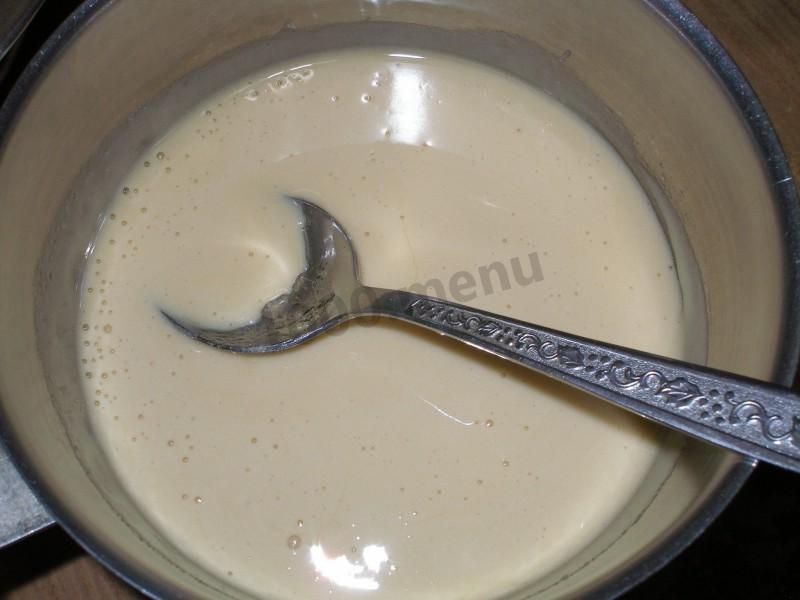
Step 6:

We get this honey foam.
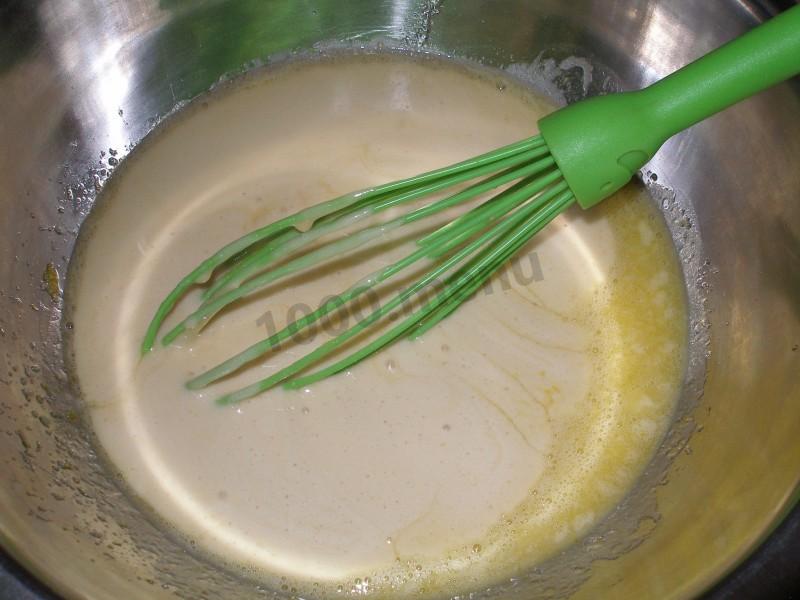
Step 7:
Pour the melted butter and honey foam into the egg-sugar mixture.
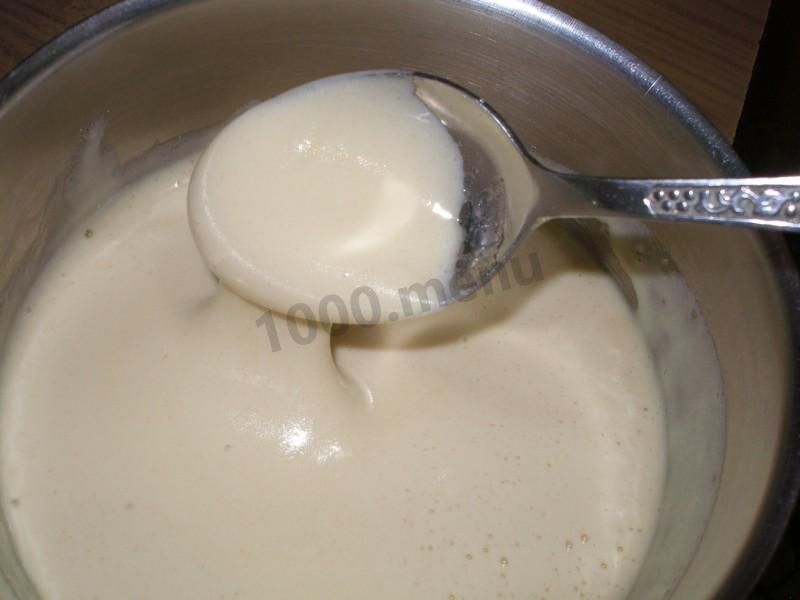
Step 8:
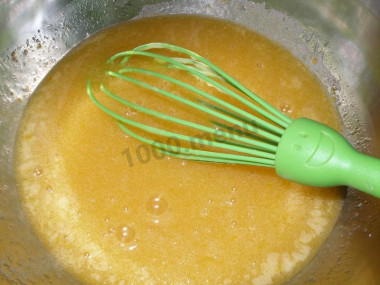
Mix the mixture until smooth.
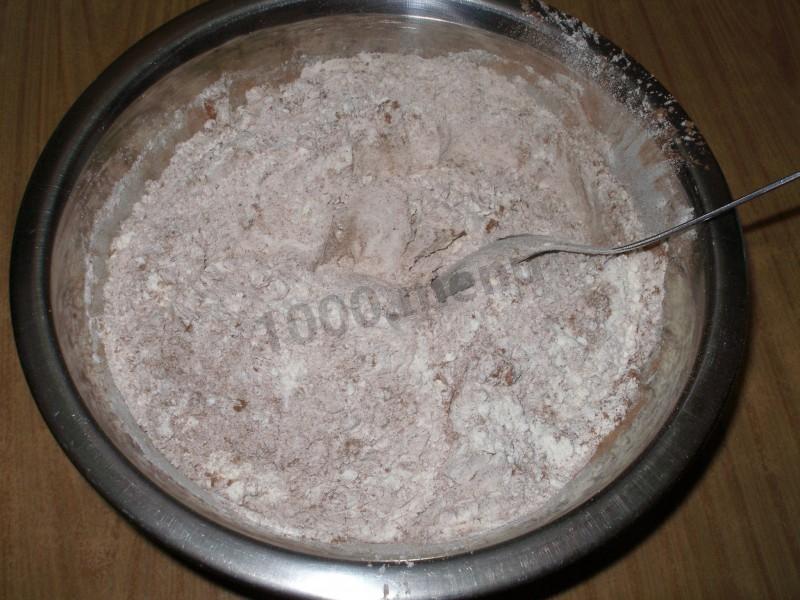
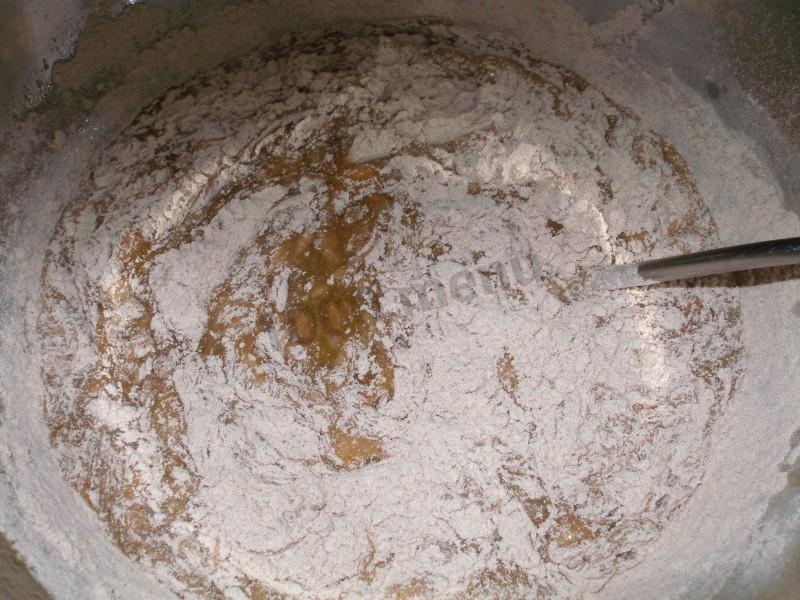
Step 9:

We begin to add mixed and sifted flour with cocoa in portions and knead the dough with a spoon. I sifted during the kneading process.
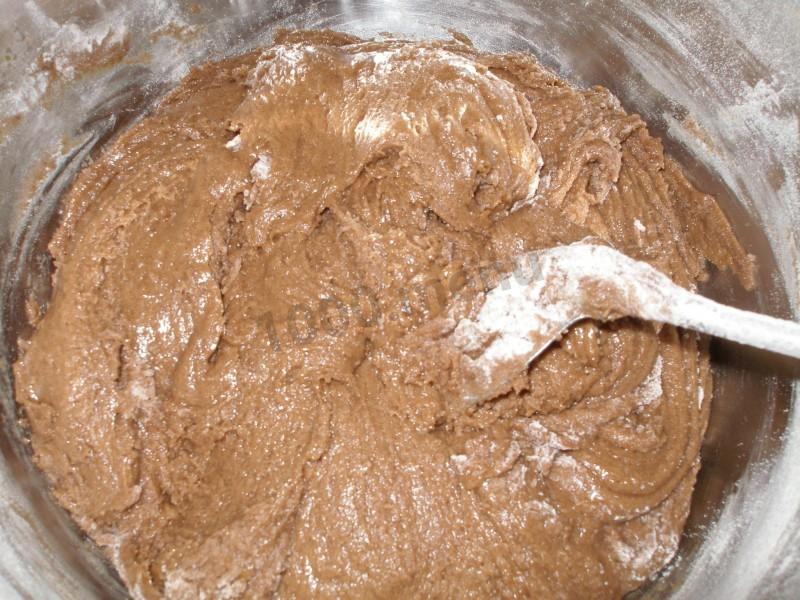
Step 10:

As soon as it becomes difficult to stir the dough with a spoon,
Step 11:

Pour out the remaining flour with cocoa or sift it onto the surface of the table (board, dough mat)
Step 12:
And spread the dough out of the bowl.
Step 13:
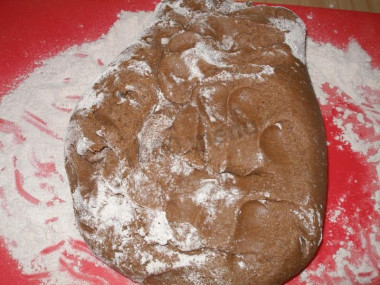
We continue to knead the dough with light kneading movements.
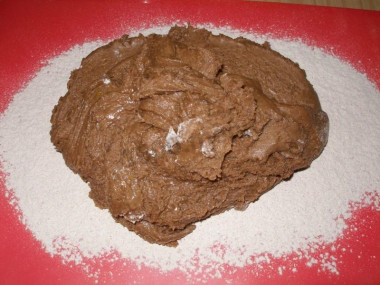
Step 14:

When all the flour is mixed, it turns out such a "movable" dough. If you take it all in your hand, it begins to slide down from the palm of your hand. The photo does not show very well, because I photographed myself, holding the dough in one hand, and the camera in the other. The dough is very soft, elastic, slightly sticky.
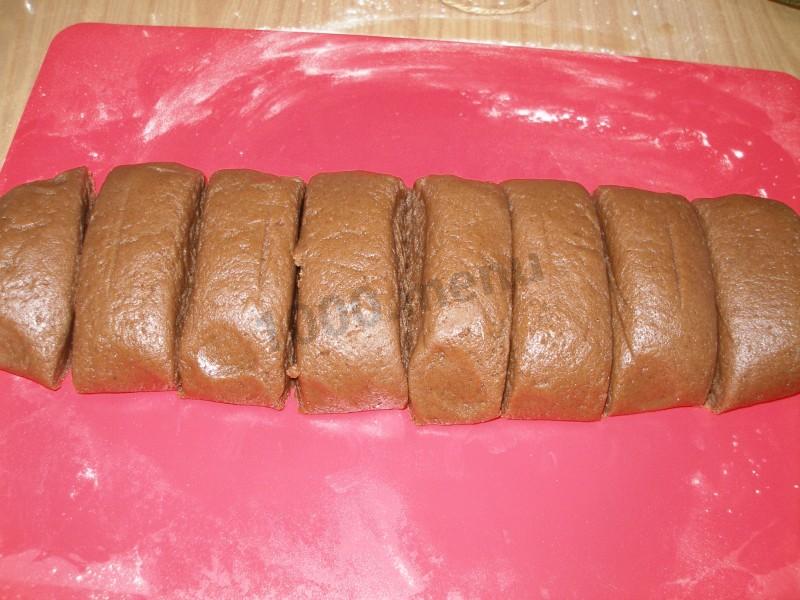
Step 15:

I divided the dough into 8 parts. It can be divided into both a larger and a smaller amount, depending on the desired size of the cake. From 8 cakes with a diameter of 25 cm, I got a cake with a height of 7 cm.
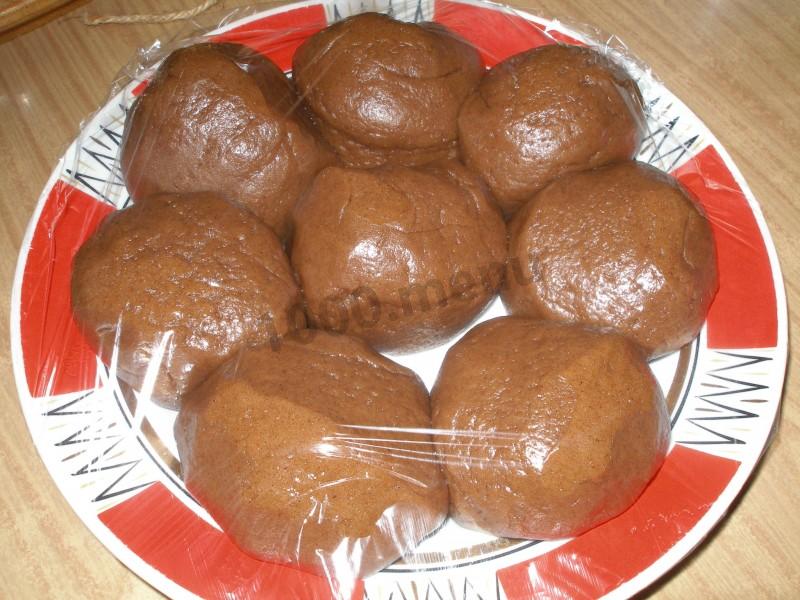
Step 16:
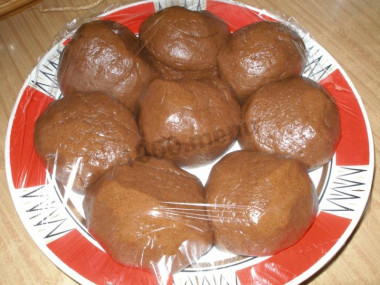
Roll up the dough pieces into buns and put them under the film. It is not necessary to clean the refrigerator. Immediately we start rolling cakes. Turn on the oven at 180 degrees.
Step 17:
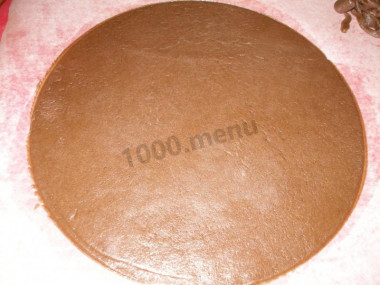
Roll out each bun on baking paper, which I put on a silicone mat where I kneaded the dough. The paper did not slide on the surface when rolling out. Roll out the dough thinly. It may tear, but it is easy to make it on paper again. Cut off the shape. I had a ring from a detachable shape d25 cm.If the dough sticks to the rolling pin, you can lightly dust it with flour.
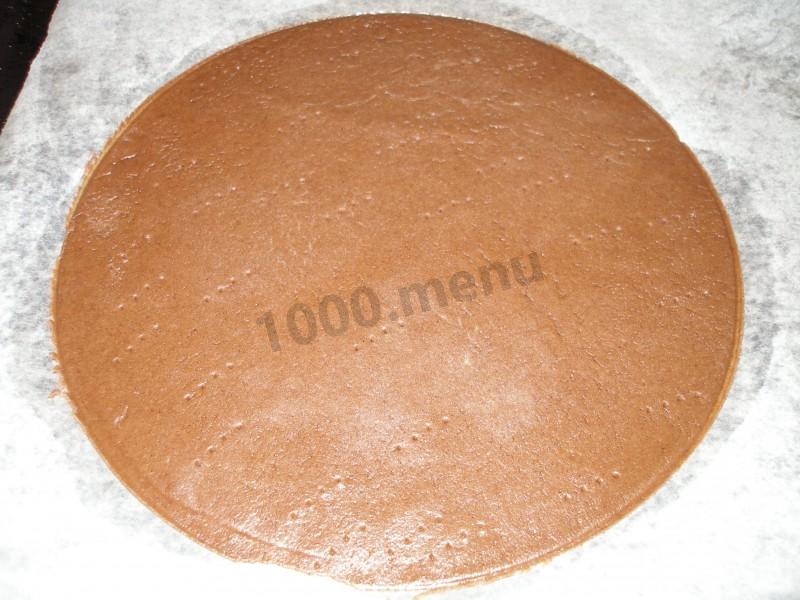
Step 18:

Prick with a fork and transfer to a baking sheet together with the paper.
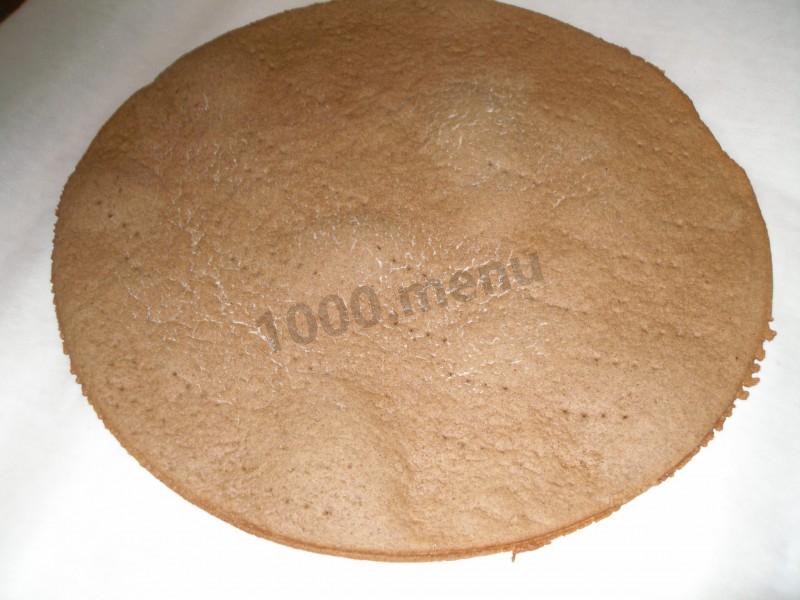
Step 19:

Bake for 5-7 minutes at 180 degrees. While the first cake is being baked, roll out the second.
Step 20:
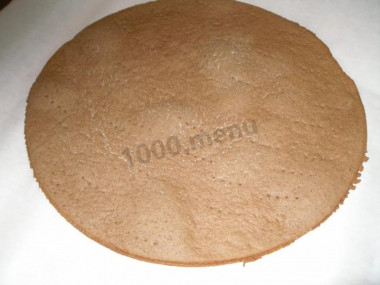
After baking, let the cake cool for 1-2 minutes and remove from the paper. Cakes are removed very easily. On the same sheet of baking paper, you can roll out the next cake.
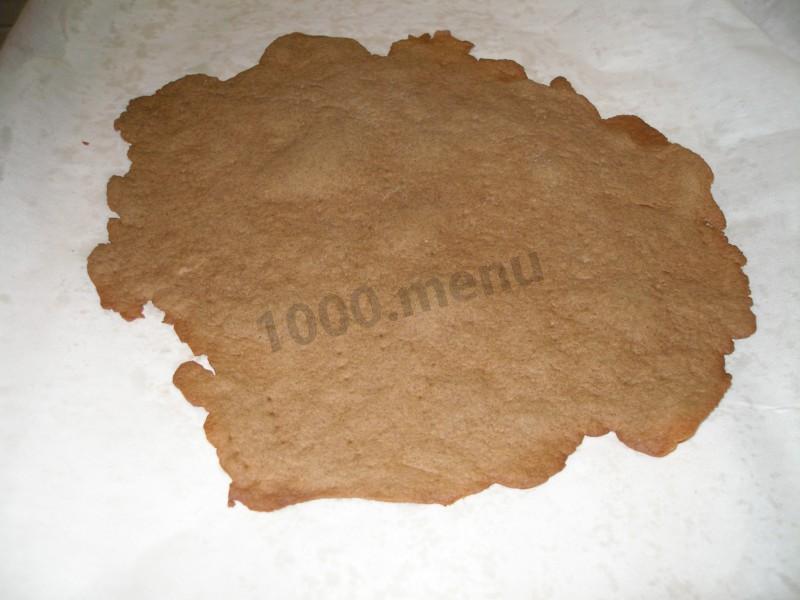
Step 21:

The dough from the cake scraps is also rolled out and baked. From this "cake" we will make a sprinkling for the sides and decoration for the top of the cake.
Step 22:
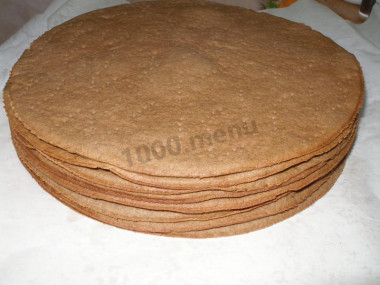
Completely cooled cakes are stacked. It is undesirable to stack warm ones on top of each other. They can stick together.
Step 23:

The extra cake is also ready.
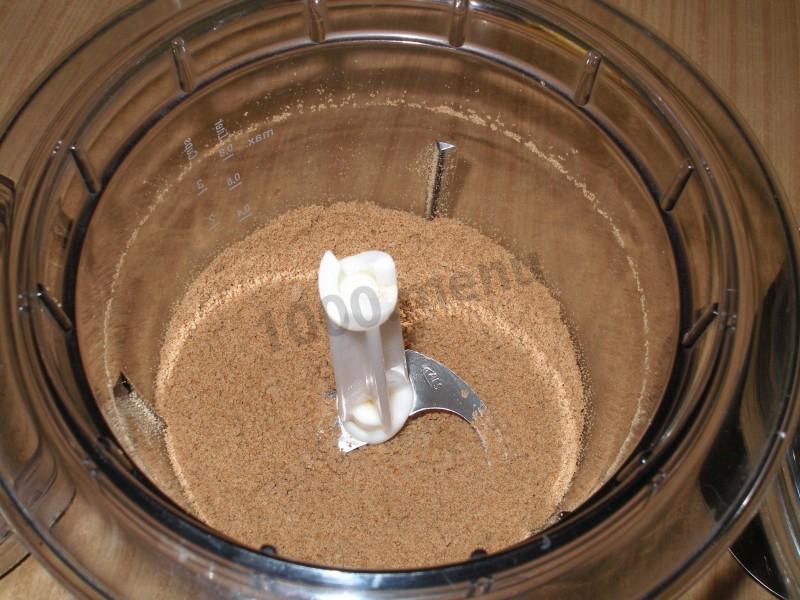
Step 24:

Break off a few pieces of arbitrary shape from it, and grind the rest into crumbs.
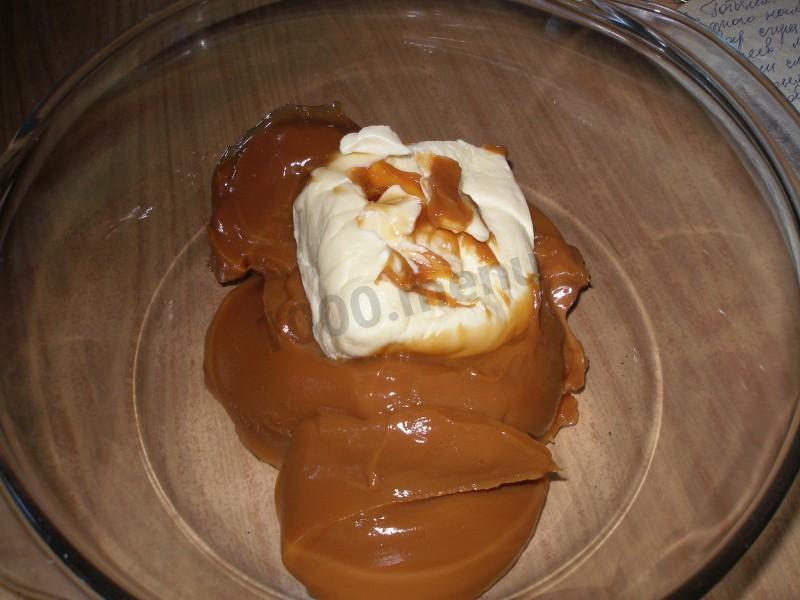
Step 25:

Preparing the cream. In the original recipe, the cream consists of 1 can of boiled condensed milk and 500-700g. sour cream of 40% fat content. If the sour cream is 15-20% fat, you need to take 1.2 kg and drain it on a sieve through 4 layers of gauze.While the dough is kneaded and cakes are baked, it turns out about 650 gr. of fatty sour cream.I went the other way.In order not to bother with sour cream 20% fat content (40% is extremely rare), I added 150 grams of soft butter to the boiled condensed milk.
Step 26:
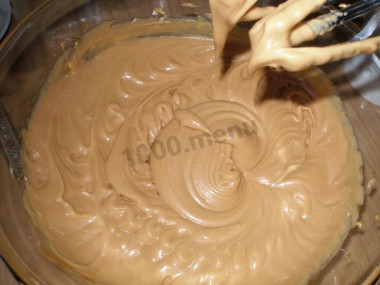
Cream products should be approximately the same temperature. Beat with a mixer until smooth. It is not necessary to beat for a long time. Just make the mass homogeneous.
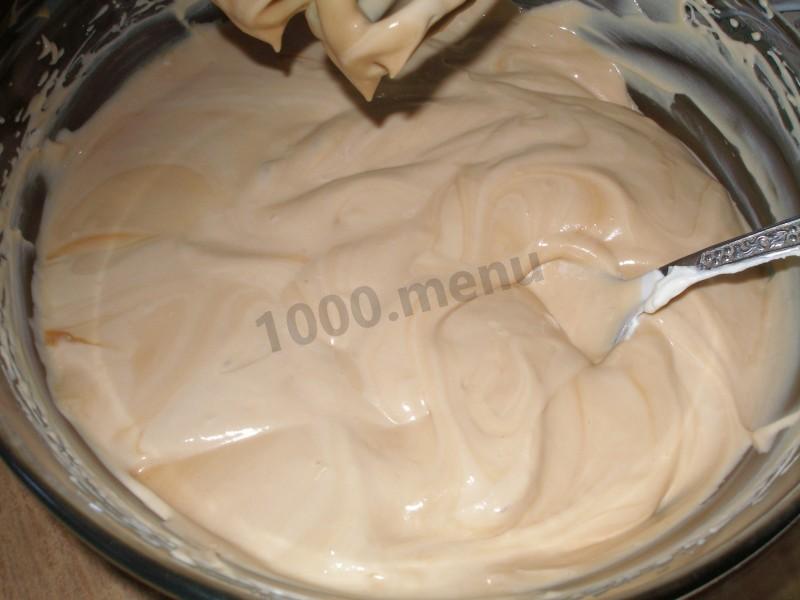
Step 27:
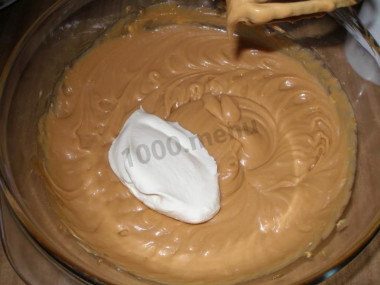
Add sour cream in portions and quickly mix with a mixer until smooth. Again, do not beat for a long time. So that the separation of the serum does not occur. I have done this cream many times, but this has never happened to me.
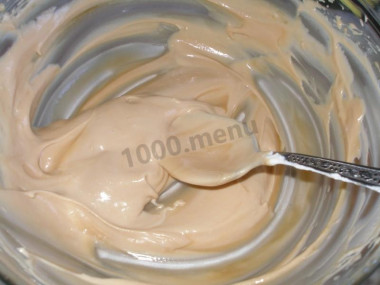
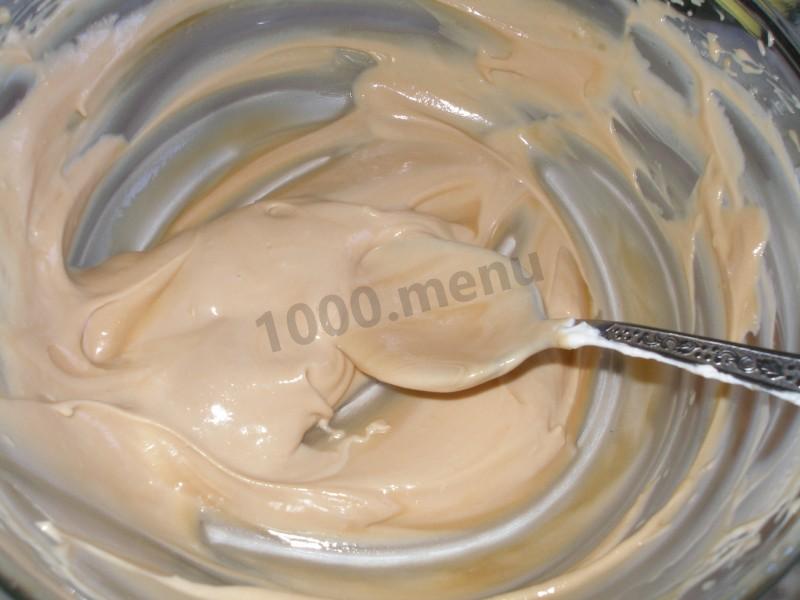
Step 28:

We get a very gentle, airy cream.
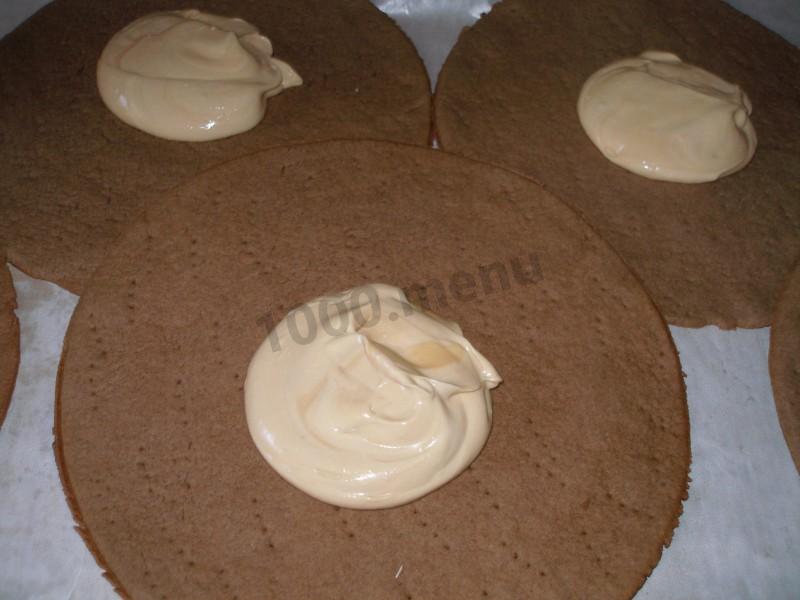
Step 29:

Putting together a cake. When there are a lot of cakes, it is difficult to evenly divide the cream into the number of cakes. I advise you to spread out all the cakes and distribute the cream in approximately equal portions. Put a little more cream on the bottom cake, because it will only be on one side.
Step 30:
We leave the cream for smearing the sides of the cake.About as much as one cake.
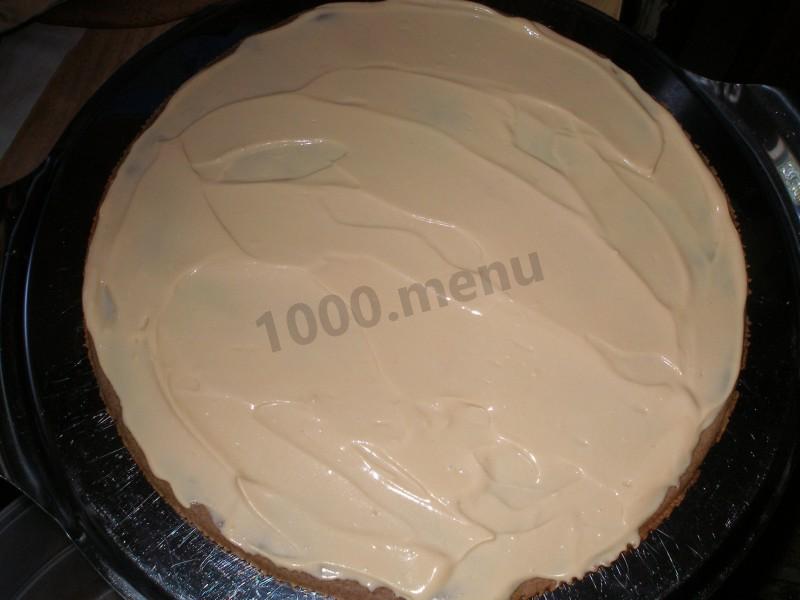
Step 31:
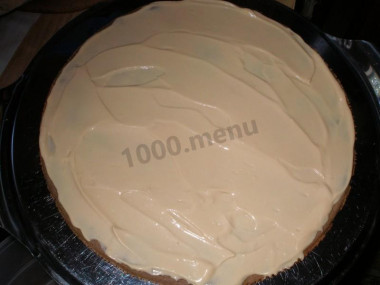
Smear the cream on the cake. We put the next one on top, we miss it, etc. Until we put all the cakes in a neat pile.
Step 32:

Cover the sides with the remaining cream.
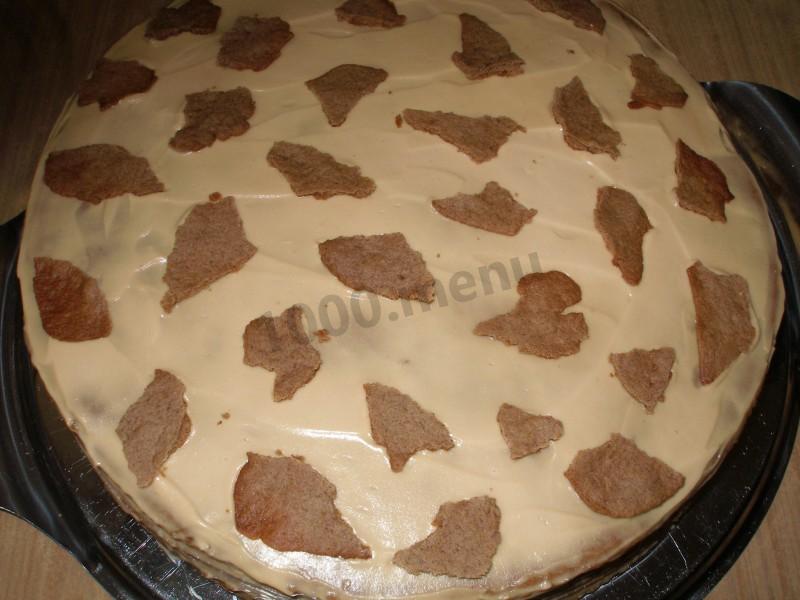
Step 33:

On top of the cake we spread the pieces of additional cake, which we left before it was crushed into crumbs. We leave the cake at room temperature for 1 hour.
Step 34:
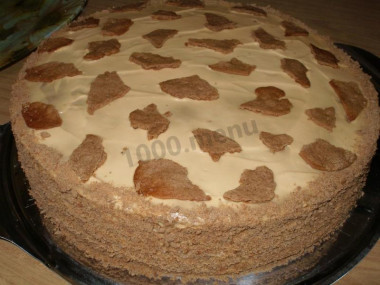
After an hour, sprinkle the sides of the cake with crumbs and keep at room temperature for another hour. Then we put it away for a few hours (preferably overnight) in the refrigerator.
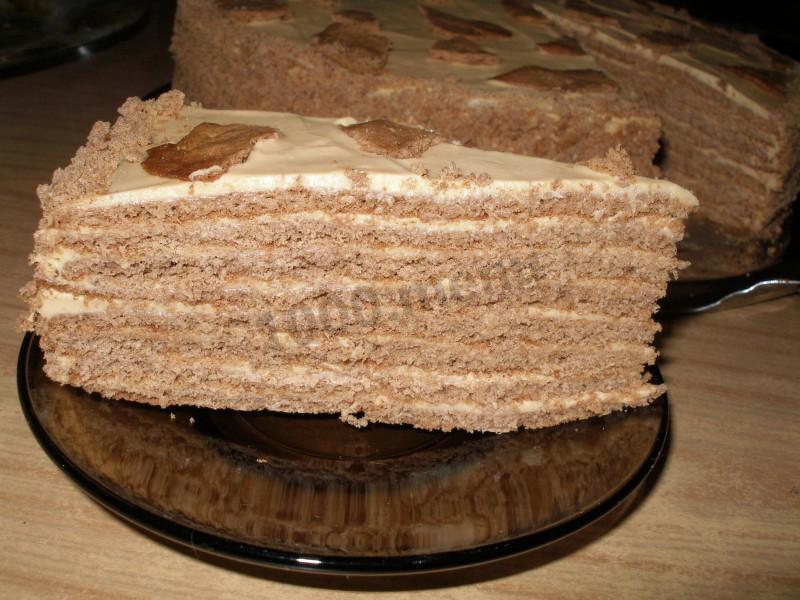
Step 35:

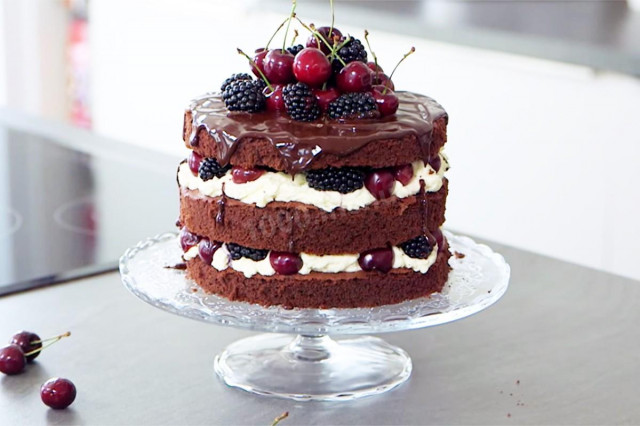
That's how it is in the cut. Very well soaked overnight. It turns out tender, not very sweet.It has neither a pronounced taste of honey nor chocolate. Tastes are mixed and it turns out a very interesting cake. I hope everyone will like it.


Caloric content of the products possible in the composition of the dish
- Sour cream of 30% fat content - 340 kcal/100g
- Sour cream of 25% fat content - 284 kcal/100g
- Sour cream with 20% fat content - 210 kcal/100g
- Sour cream of 10% fat content - 115 kcal/100g
- Sour cream - 210 kcal/100g
- Honey - 400 kcal/100g
- Whole durum wheat flour fortified - 333 kcal/100g
- Whole durum wheat flour, universal - 364 kcal/100g
- Flour krupchatka - 348 kcal/100g
- Flour - 325 kcal/100g
- Granulated sugar - 398 kcal/100g
- Sugar - 398 kcal/100g
- Butter 82% - 734 kcal/100g
- Amateur unsalted butter - 709 kcal/100g
- Unsalted peasant butter - 661 kcal/100g
- Peasant salted butter - 652 kcal/100g
- Melted butter - 869 kcal/100g
- Cocoa powder - 374 kcal/100g
- Baking soda - 0 kcal/100g
- Chicken egg - 80 kcal/100g
- Boiled condensed milk - 328 kcal/100g