Composition / ingredients
Step-by-step cooking
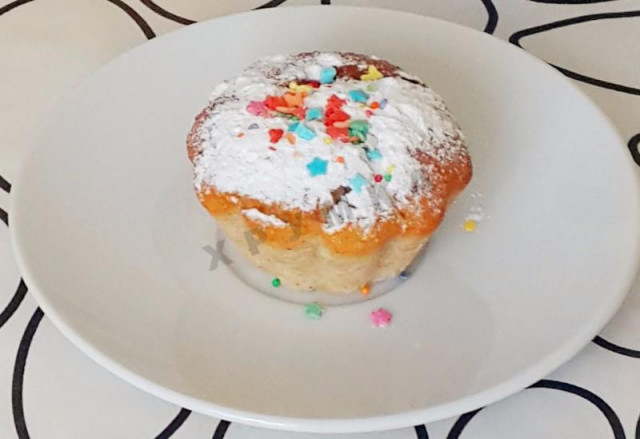
Step 1:
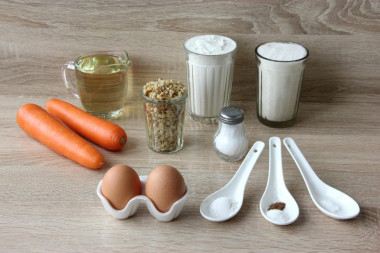
How to make a mini cake? Prepare the necessary products. For a sponge cake, they must be at room temperature. I washed the nuts beforehand, dried them and chopped them finely with a knife. In addition to walnuts, almonds, cashews, hazelnuts, peanuts or others are suitable. It's a matter of taste or availability.
Step 2:
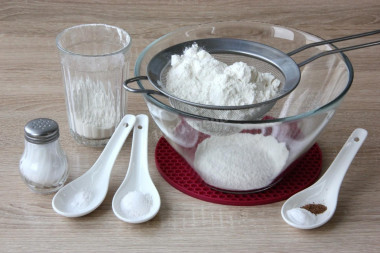
First prepare the biscuit dough. In a separate bowl, sift the flour with baking powder and soda, add a small pinch of salt, vanilla and nutmeg. Mix all the dry ingredients. Instead of vanilla or vanilla flavor, you can put cinnamon - who likes what.
Step 3:
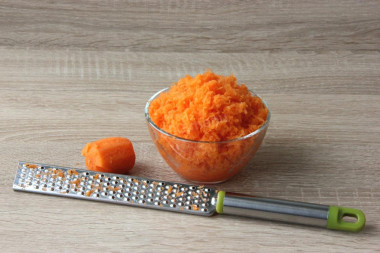
Wash, peel and grate the carrots on a fine grater. I didn't squeeze the juice, if the carrots are very juicy, just drain it.
Step 4:
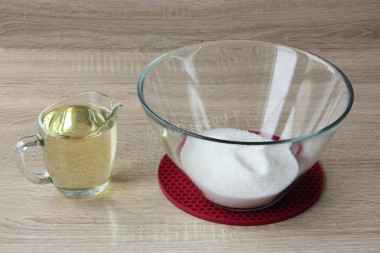
In a bowl for kneading dough, pour sugar, add vegetable, refined oil. Beat with a mixer at low speed for 1-2 minutes.
Step 5:

Add 2 eggs one at a time, beating well each time.
Step 6:
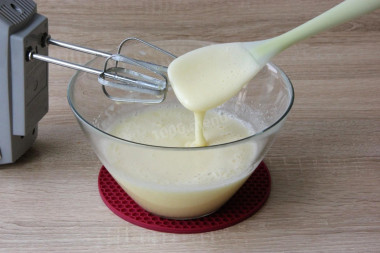
The egg-oil mass will be airy, with bubbles, of medium consistency.
Step 7:
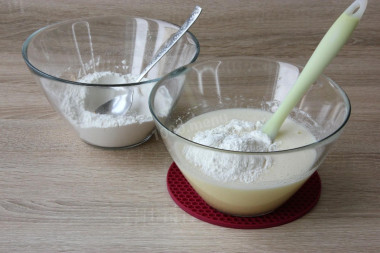
Gradually add the dry flour mixture to the liquid component. I add 2-3 tablespoons with a slide, in several stages. Mix well each time with a silicone spatula, the mixer is no longer needed.
Step 8:
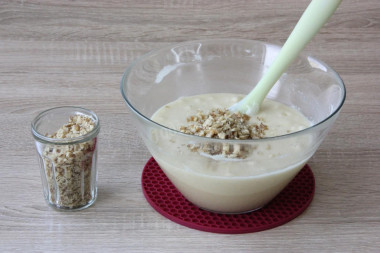
Then add the chopped nuts and mix.
Step 9:

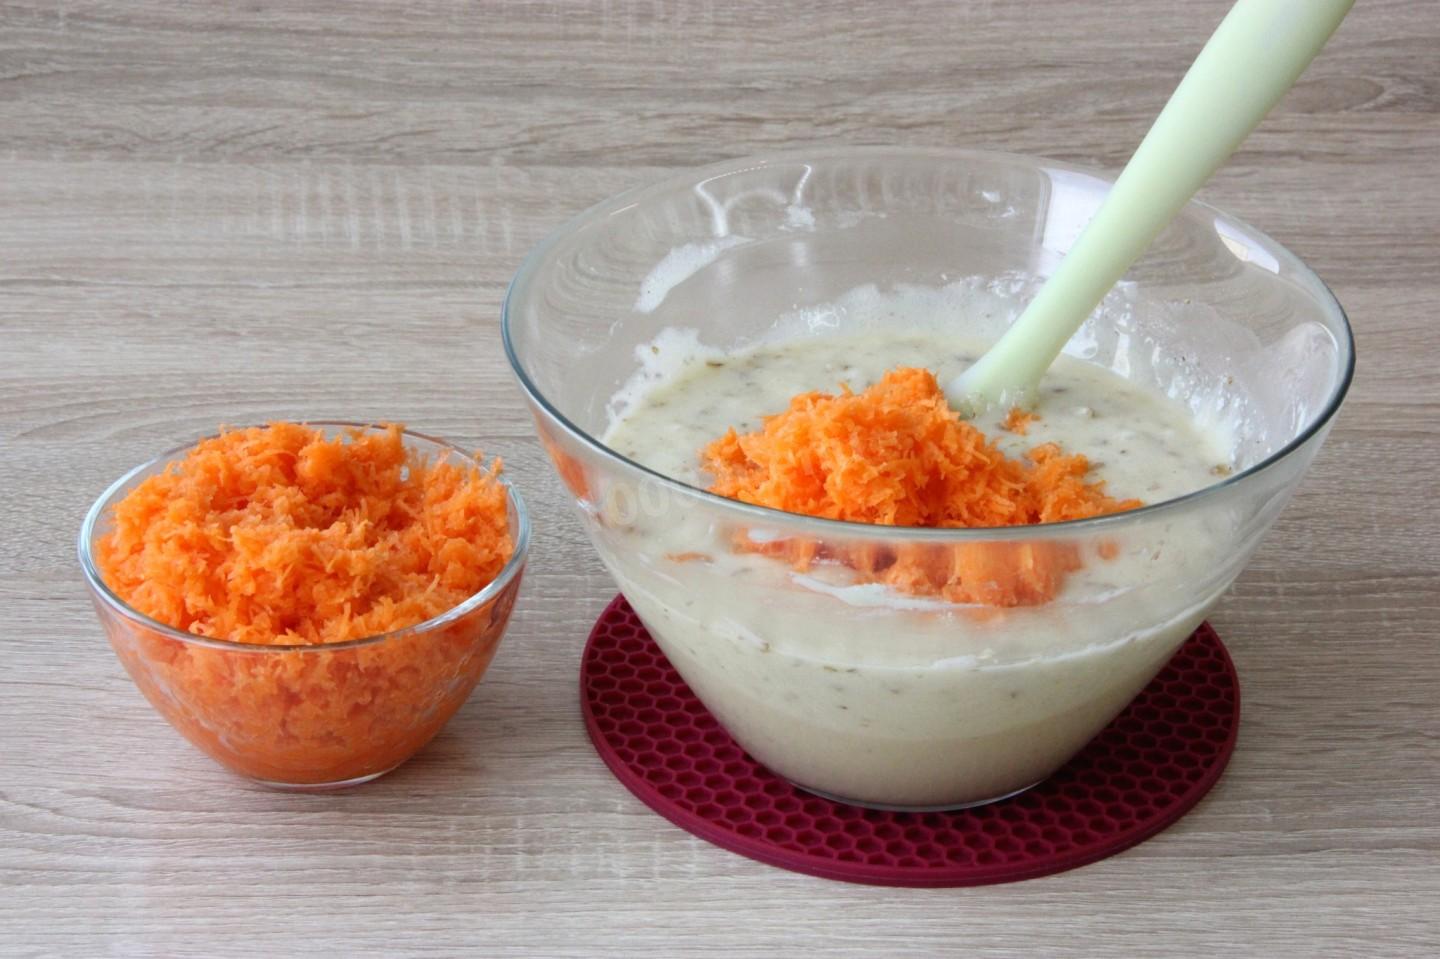
Enter the carrot last. The dough should be started quickly, but mixed very carefully.
Step 10:
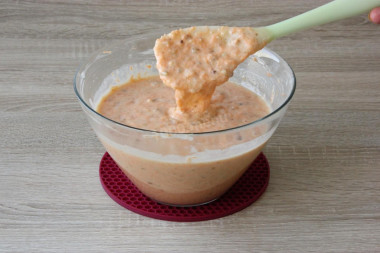
Adding carrots will make the dough a little thinner, it is a beautiful carrot color, with a viscous consistency. It is convenient to pour such dough.
Step 11:
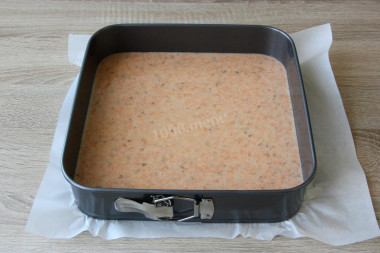
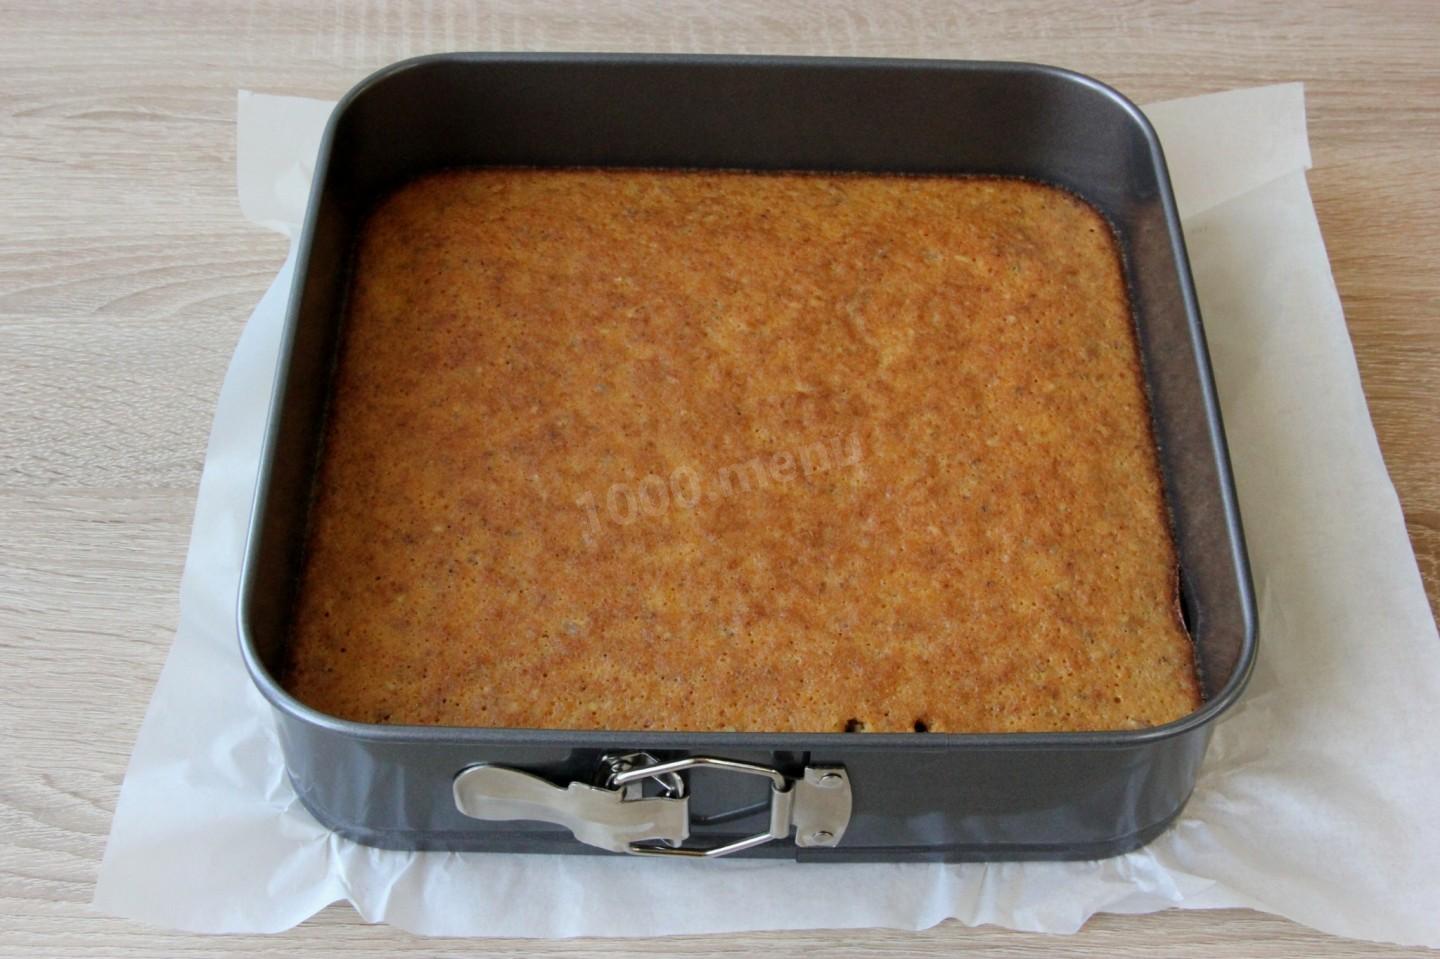
Prepare the form in advance so that the biscuit dough does not stand waiting, it does not like it. Take a detachable form, cover the bottom with parchment and lubricate it with butter or vegetable oil. Do not lubricate the sides so that the growing biscuit clings and rises easily. Pour the dough slowly into the center of the mold, it easily spreads, taking up all the space. Without lifting, gently move the mold on the table, for a more even distribution of the dough.
Step 12:
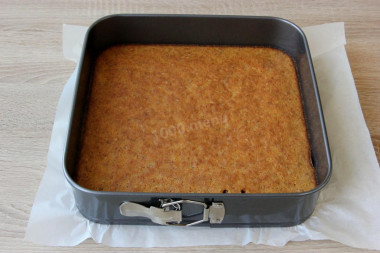
Then, no less carefully, move the mold into a preheated oven to a temperature of 190 degrees. Bake until golden brown in the top-bottom mode on a medium level. Approximately about 25-27 minutes, depends on the possibility of your oven. Close the oven door carefully and do not open it in the process so that the biscuit does not fall off.
Step 13:
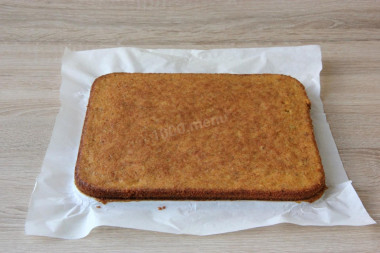
Check readiness with a splinter, it came out dry, the biscuit is ready. Turn off the oven, slightly open the door and let the biscuit stand in the oven for 5-7 minutes. Otherwise, it may settle due to a sharp temperature difference. Then take out the mold and let the biscuit cool in it for 15 minutes. Then swipe a thin knife along the rim, open the mold and remove the side. Holding the parchment, pull out the bottom of the mold. Leave the sponge cake on the parchment until it cools completely.
Step 14:

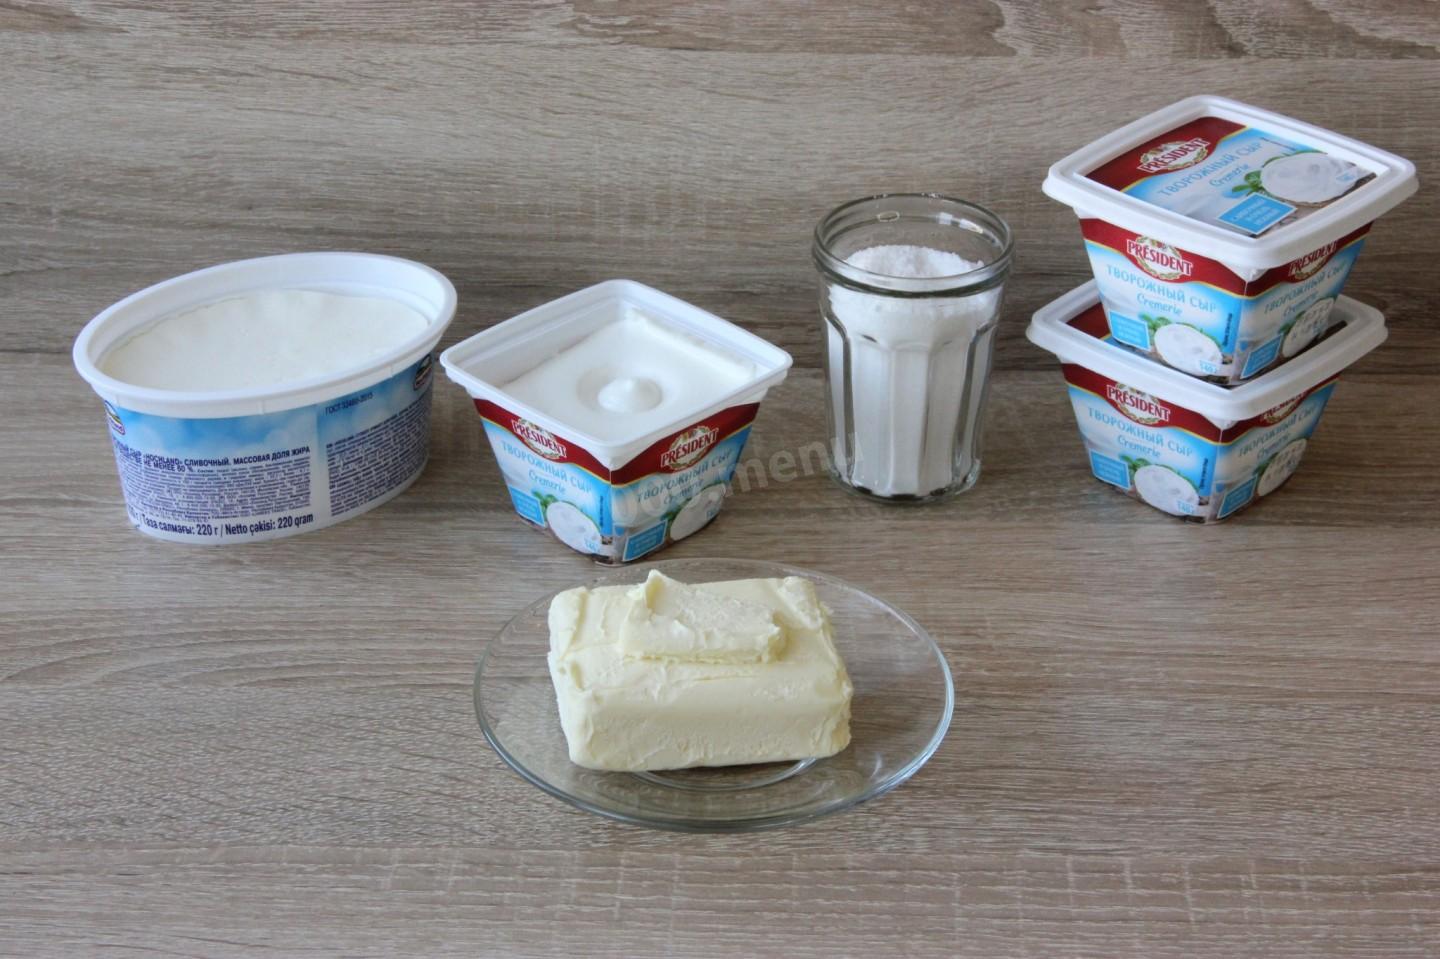
Products for cheese cream Cheese. Also remove the butter from the refrigerator in advance, it should have time to warm up to room temperature. And cottage cheese cream cheese should only be from the refrigerator. It is better not to save on these products and choose high-quality, proven manufacturers. Curd cheese can be mixed by selecting the required percentage of fat content or weight for the recipe.
Step 15:

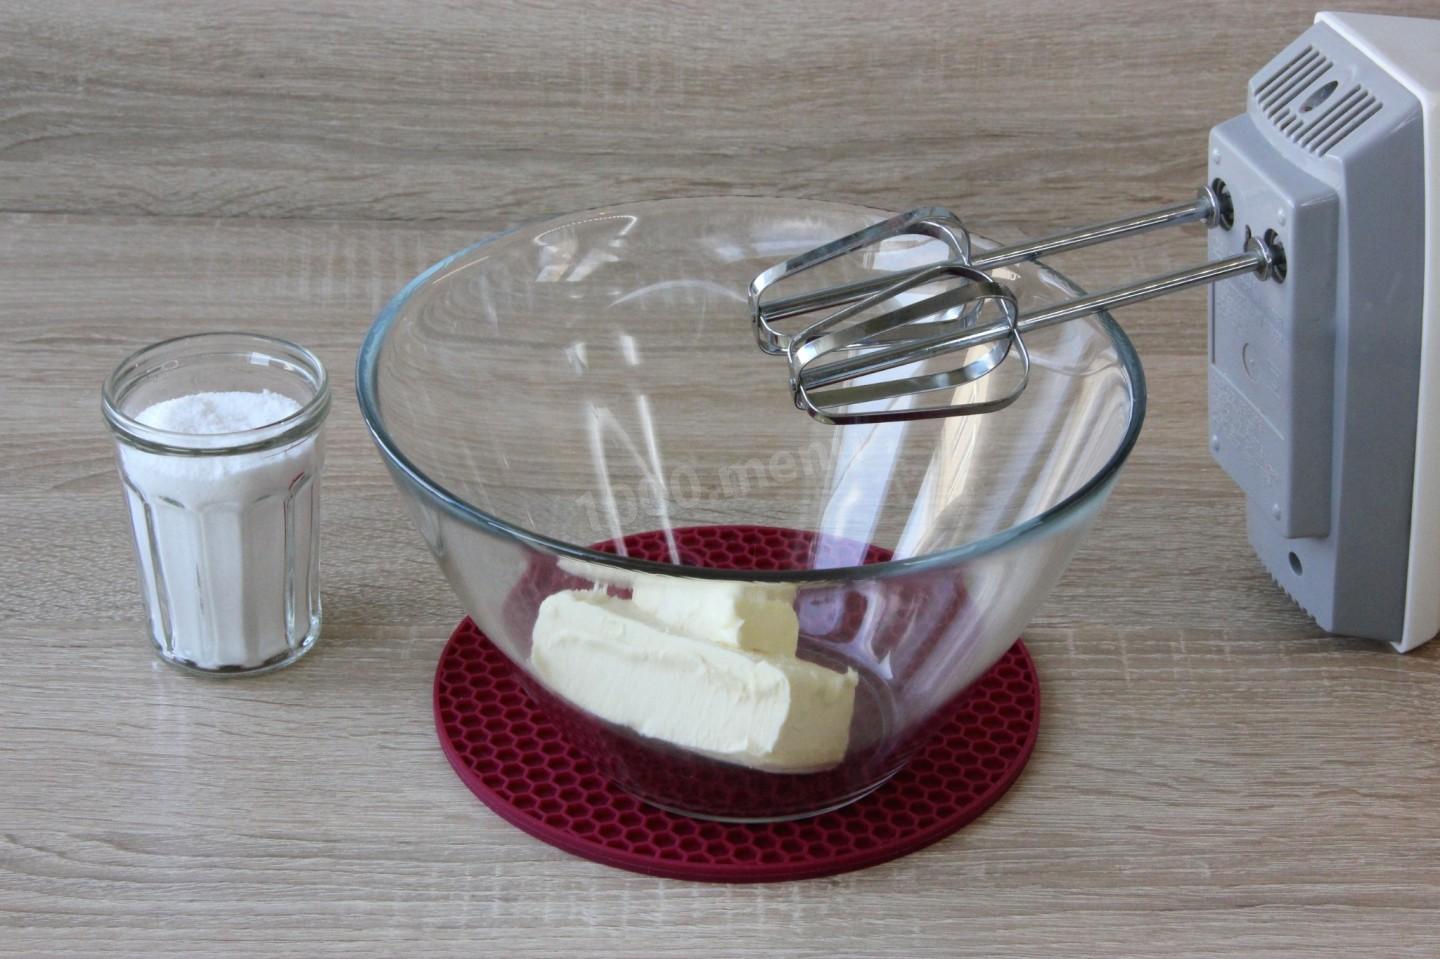
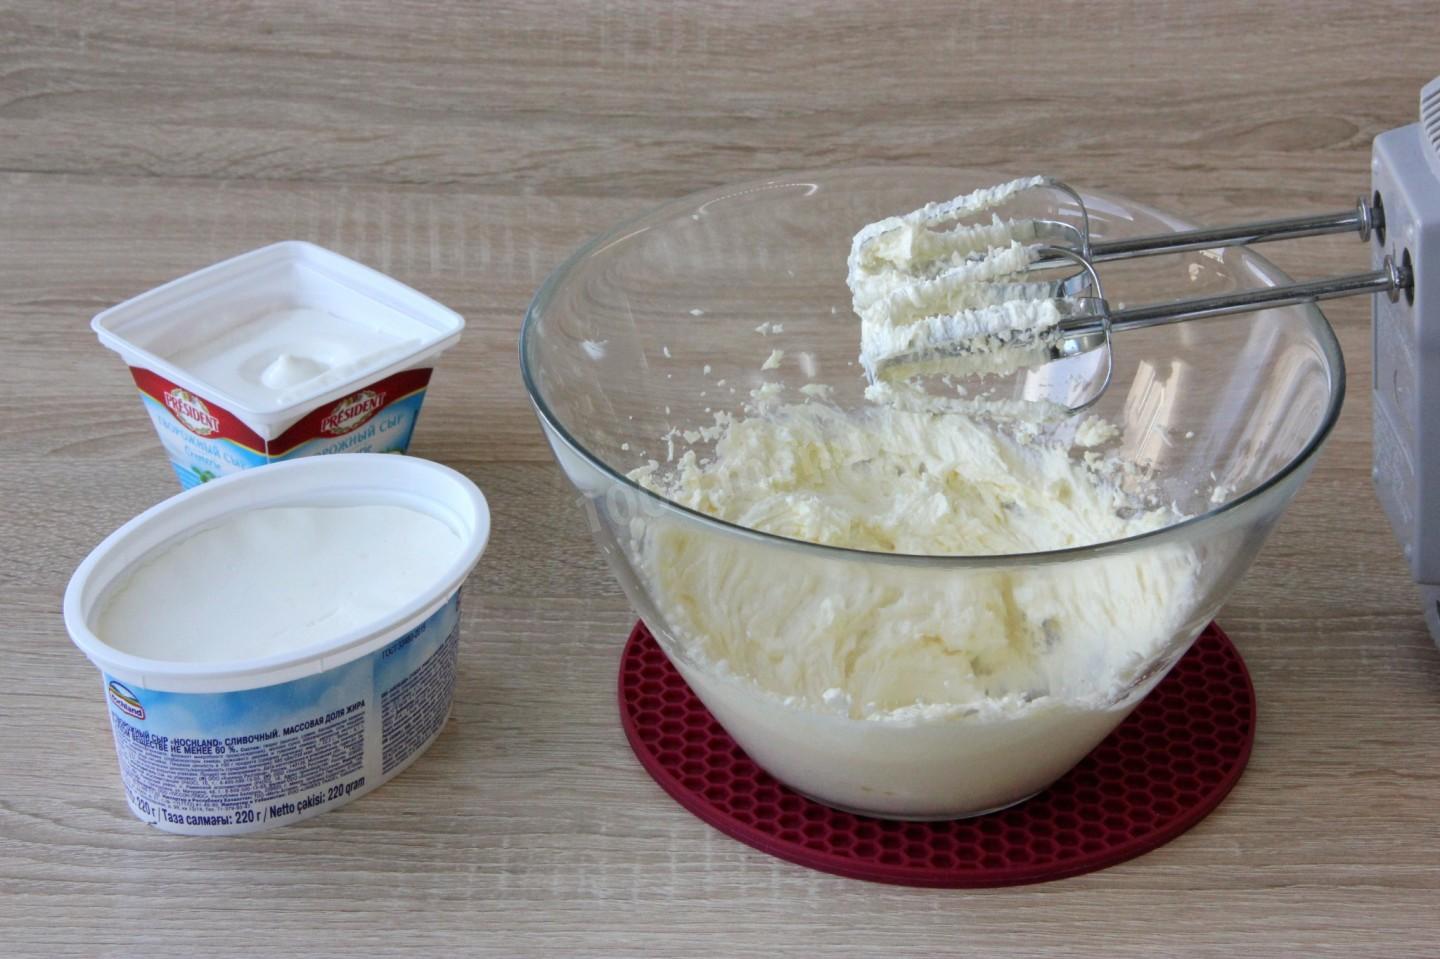
While the biscuit is cooling, prepare the cream. In a deep bowl, first rub the soft butter with a spatula with powdered sugar. Then beat with a mixer at high speed for 2-3 minutes. The mass should turn white, become homogeneous and airy.
Step 16:

Add the curd cream cheese and continue whipping for 3-4 minutes.
Step 17:

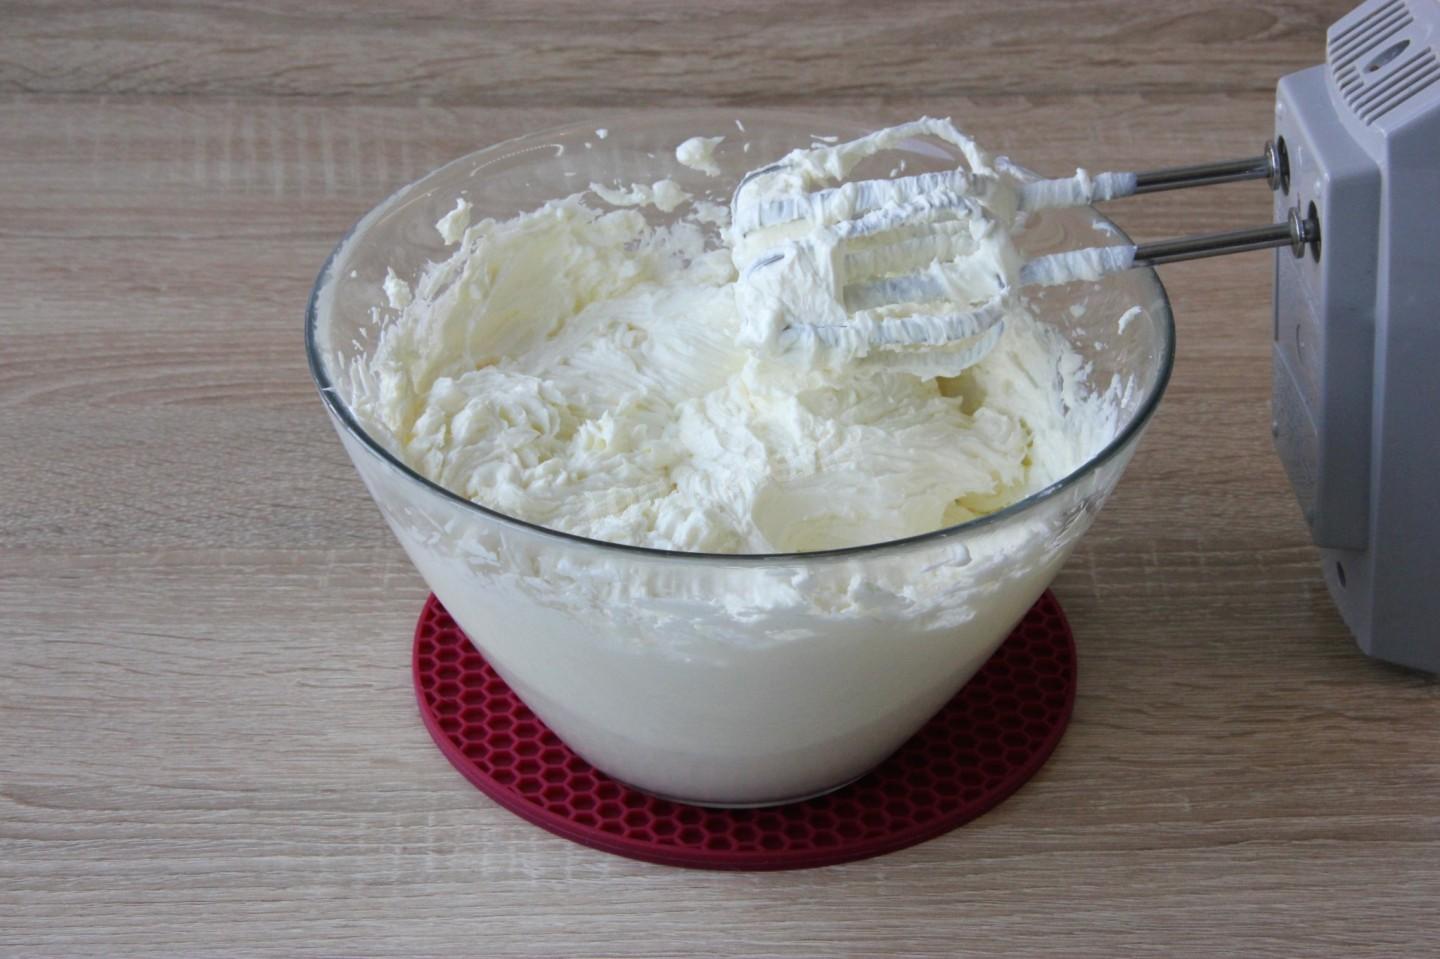
The cream is prepared quickly and simply. It turns out quite thick, but it is light and plastic, holds its shape perfectly. It is not as sweet as protein and not as fatty as butter. It is stored better than custard, although each cream is good in its own way. If necessary, the amount of powdered sugar can be adjusted to taste. (In the photo, a double portion of cream).
Step 18:

From the cooled biscuit, cut out cakes d 8 cm, but no more than 12. Use a suitable container or cardboard stencil as a template.
Step 19:

And actually we are starting to collect a cake or cakes, I have two of them planned. To do this, apply a drop of cream to the substrate or a flat dish, so you will fix the first cake and the cake will not move. Cover the cake with a layer of cream and smooth it out. The cream can be applied with a spatula or from a pastry bag in the form of a spiral, as convenient. Collect the pyramid, alternating cream and cakes.
Step 20:
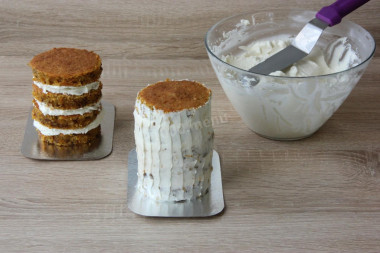
Then cover the sides and top with a thin layer of cream to "nail" the crumbs. Remove excess cream at this stage from the spatula on the edge of the bowl. Cover the cake with a film and put it together with the cream in the refrigerator. After 20 minutes, remove, apply another layer and cool again. Align the sides and top to a smooth state or as intended, periodically cooling the cake and cream.
Step 21:
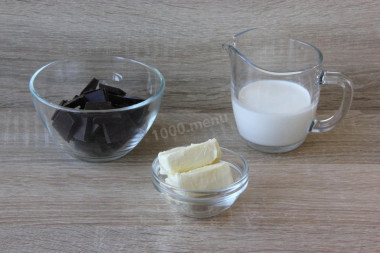
Products for chocolate ganache. It is also prepared very simply and quickly. You can take any chocolate: dark, milky, bitter, but without various additives. Take the cream and butter from the refrigerator. In the recipe, it is important to observe the proportions, temperature regime and cooking technology. Then everything will work out, and the ganache will not be stratified.
Step 22:

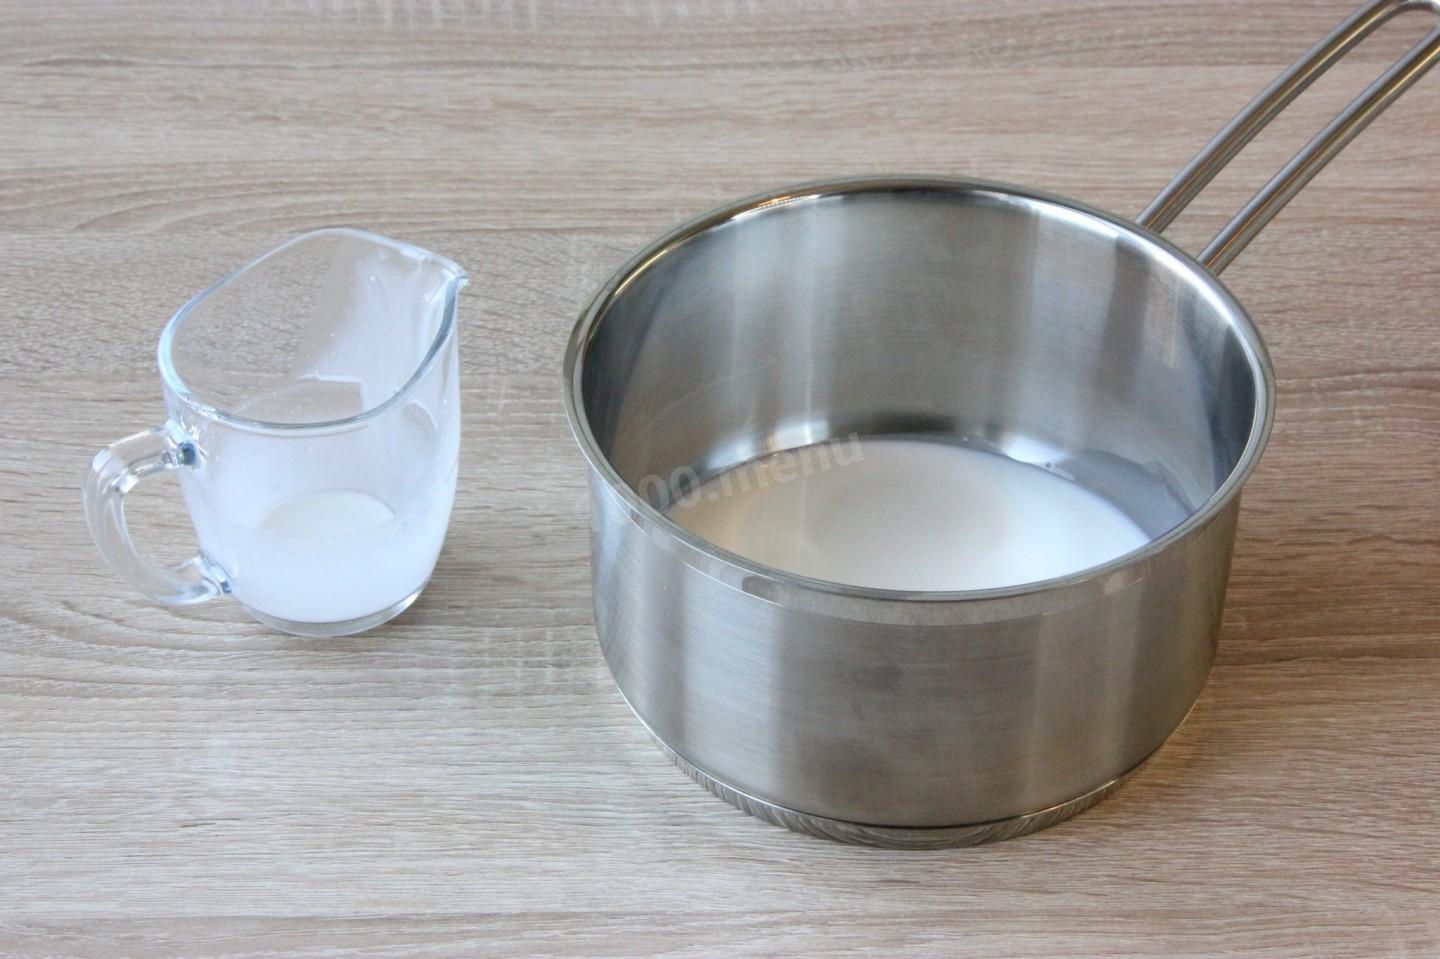
Break a chocolate bar and melt it in a convenient way (in a water bath or pulses in a microwave). Mix the cream with powdered sugar and heat to 95 degrees stirring, they should be hot, but do not let them boil. (Bubbles are just beginning to appear - remove from the heat). Powdered sugar can not be added, but if the chocolate is bitter, children simply will not eat it.
Step 23:
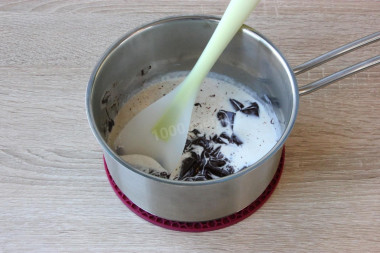
Pour the hot cream into the melted chocolate mass, mix until smooth.
Step 24:
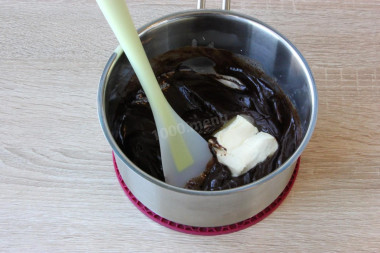
Let cool slightly, add butter, mix also until smooth.
Step 25:
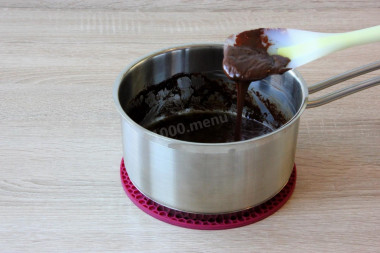
A homogeneous, not very liquid, well-flowing mixture with a smooth surface should be obtained. If there are grains, you can rub it through a fine sieve, I left it like this.
Step 26:
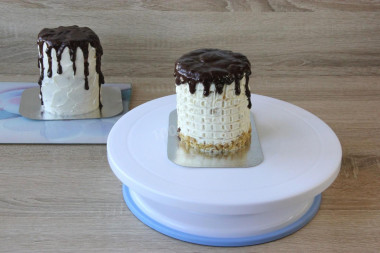
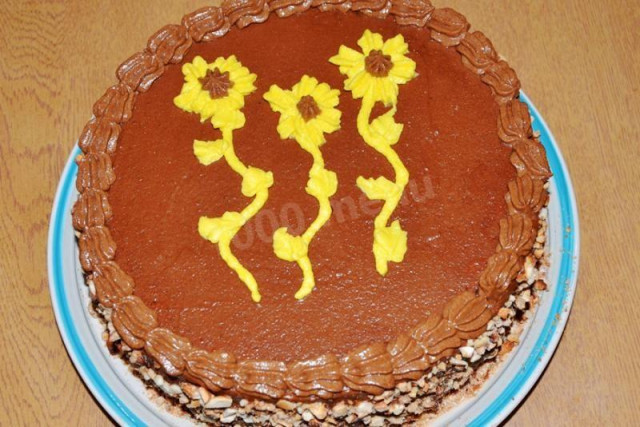
The ganache is ready, let it cool down to a working temperature of 22-24 degrees. Make smudges on the cooled cake. Start gradually pouring with a spoon along the edge, then fill the center and smooth it out slightly. Ganache seizes, but remains plastic. If necessary, it can be stored in the refrigerator for a day. Then reheat, stir and let cool to operating temperature. It remains only to decorate the cake to your liking.
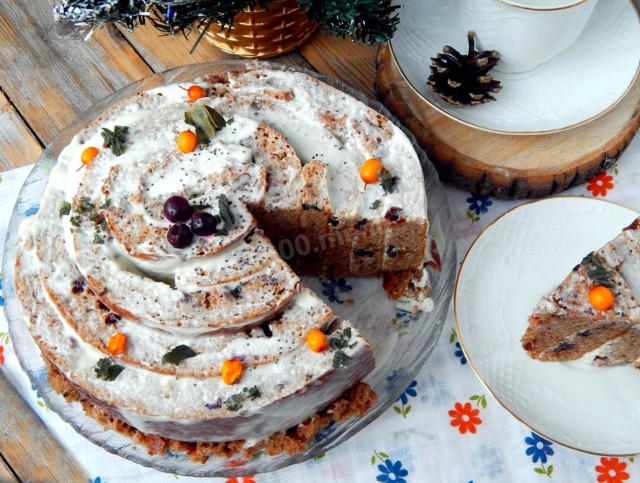
Step 27:
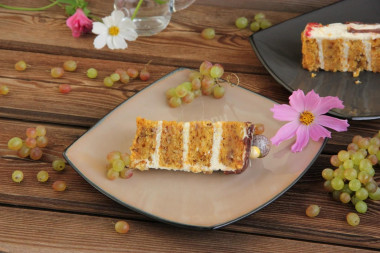
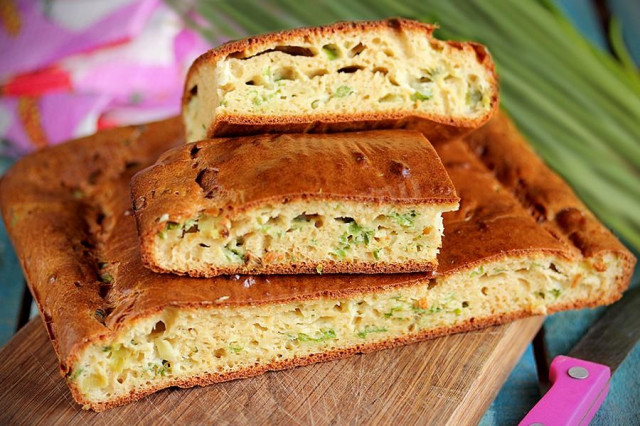
I decorated with small grapes, tangerine slices. I used nuts, freeze-dried strawberries and confectionery decorations. Here is a cake in the cut. I didn't say what kind of cake I would make, but they recognized it right away. Both in appearance and taste, the cake is very recognizable and very tasty. There is no cloying and greasiness, and by the way, the taste of carrots, too. A pleasant, crumbly, moist sponge cake with a creamy aftertaste. Birthday people and guests liked the cakes very much.


I was preparing a sponge cake in a square detachable shape of 25 x 25 cm.
If you cook a regular cake, the ingredients are designed for d 18 - 23 cm, the height of the cake and the number of cakes, respectively, will be different. By the way, cakes can be baked in advance, wrapped in a film and put in the refrigerator overnight.
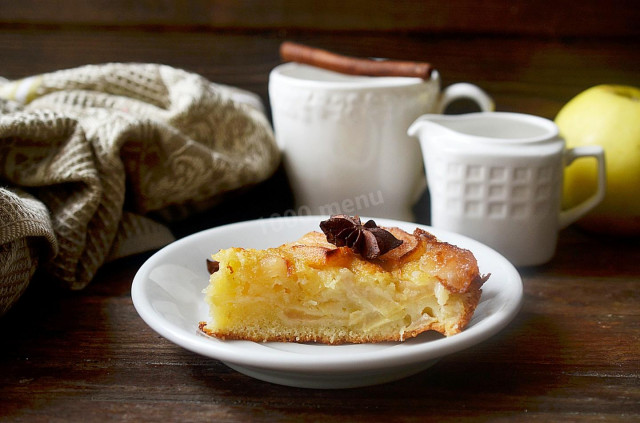
Carrot sponge cake turns out moist, juicy, tender and spicy ...
When making it, vegetable oil is always added so that beta-carotene is absorbed, its amount can be slightly reduced.
Also put soda and baking powder. Many people have a question - why is soda and baking powder used in the same recipe at the same time?
Usually, baking powder is used in a dough where there is no acidic component, chocolate or honey.
There is an ingredient in carrot sponge cake that can cause an acidic reaction, it is the carrot itself. And it is a sin not to take advantage of its reaction property with soda, but this may not be enough - baking powder helps here.
It is the baking powder that will create loosening bubbles of carbon dioxide at the initial stage, and the soda will react at the required temperature in the oven. All together will give a stunning effect of a gentle, airy dough, but at the same time - moist.
And there is no need for amateur activity - take both, this is such a dough.
The cake turns out to be moderately sweet, no additional impregnation is required. Both children and adults enjoy eating it.
May appeal to those who love sweets, and those who are happy for a healthy lifestyle.
There are a lot of carrot cake recipes. Mostly nuts and raisins are added. They are cooked with cheese cream, it's such a classic-classic. I met recipes with the addition of sour cream and margarine for baking..
The top is covered with chocolate ganache or glaze, sometimes a light cream is left and sprinkled with nuts. There is a lot of choice, but I would not change anything specifically in this recipe.
Eggs for biscuit dough can not be beaten for too long, because with prolonged whipping, air bubbles leave the protein, which raise the biscuit dough when baking. The surface of eggs properly beaten with sugar (before adding flour) should be lush, slightly yellowish, with lots of air bubbles. If the mass turned out to be white and dense, then such a biscuit will either rise weakly, or it will not rise at all. And baking powder in this case, too, will not save the situation.
It happens that your loved ones were born almost on the same day. That's exactly what we have, Dad is 14, and daughter is 15. To gather the whole family for a celebration two days in a row, it does not work. Cooking large cakes is also not always necessary, and so, everyone will blow out the candles and make a wish!
Calorie content of the products possible in the dish
- Chicken egg - 157 kcal/100g
- Egg white - 45 kcal/100g
- Egg powder - 542 kcal/100g
- Egg yolk - 352 kcal/100g
- Ostrich egg - 118 kcal/100g
- Carrots - 33 kcal/100g
- Dried carrots - 275 kcal/100g
- Boiled carrots - 25 kcal/100g
- Walnuts - 650 kcal/100g
- Black Walnut English Walnut - 628 kcal/100g
- Black Persian Walnut - 651 kcal/100g
- Walnut oil - 925 kcal/100g
- Granulated sugar - 398 kcal/100g
- Sugar - 398 kcal/100g
- Butter 82% - 734 kcal/100g
- Amateur unsalted butter - 709 kcal/100g
- Unsalted peasant butter - 661 kcal/100g
- Peasant salted butter - 652 kcal/100g
- Melted butter - 869 kcal/100g
- Vegetable oil - 873 kcal/100g
- Salt - 0 kcal/100g
- Wheat flour - 325 kcal/100g
- Cream 35% - 337 kcal/100g
- Cream 40% - 362 kcal/100g
- Vanillin - 288 kcal/100g
- Baking powder - 79 kcal/100g
- Powdered sugar - 374 kcal/100g
- Chocolate 70 % - 539 kcal/100g
- Dark Chocolate - 539 kcal/100g
- Baking soda - 0 kcal/100g
- Cottage cheese - 223 kcal/100g
- Nutmeg - 556 kcal/100g