


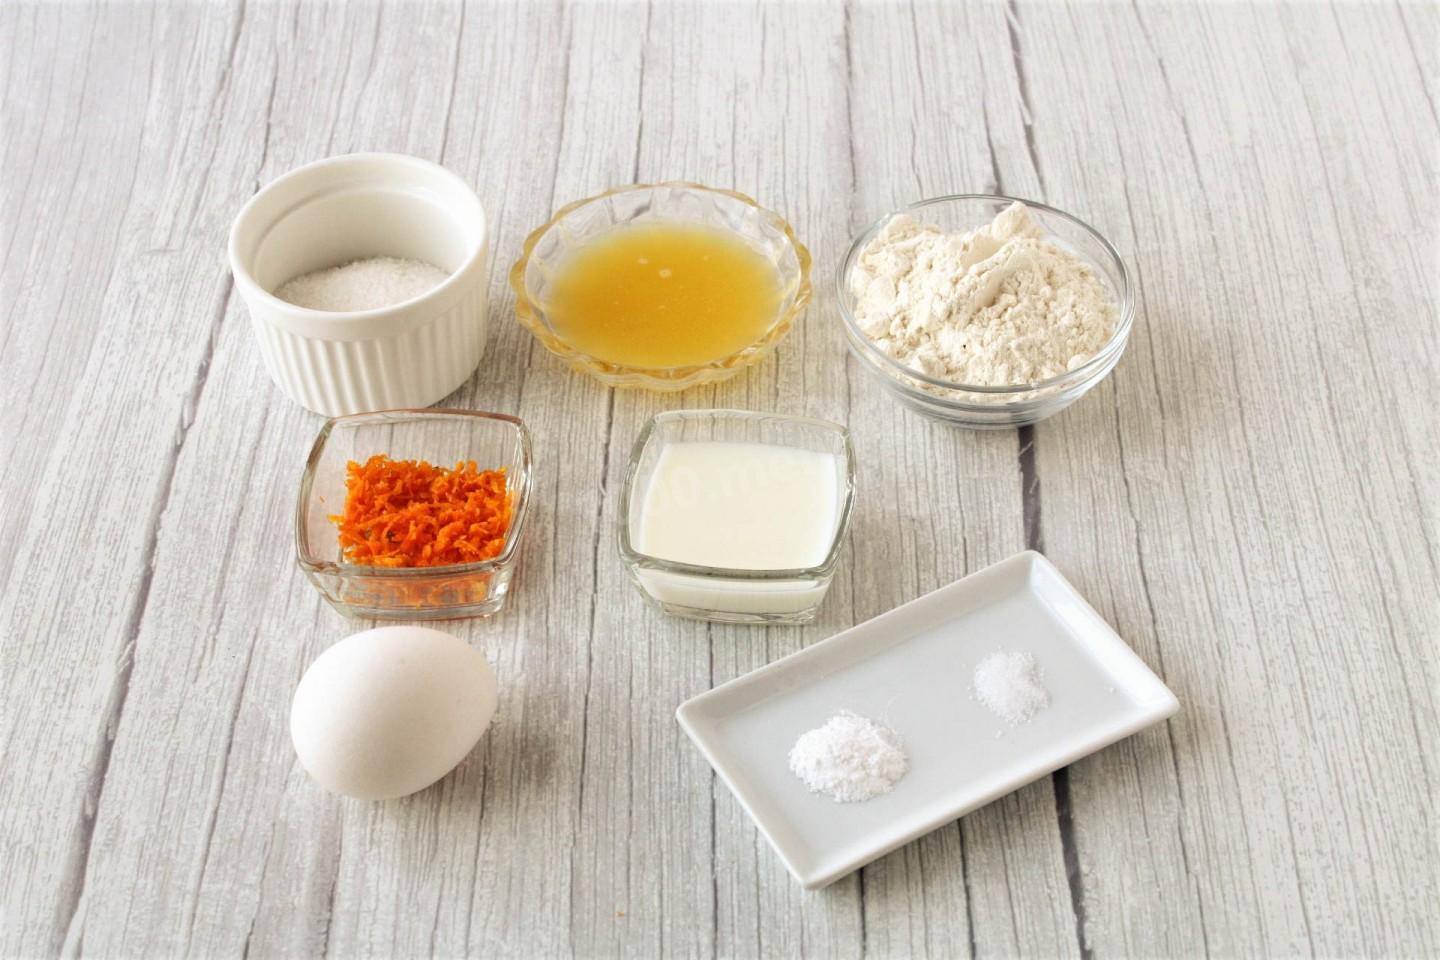
Composition / ingredients
Step-by-step cooking
Step 1:

How to make a tangerine mousse cake for beginners? First, make a sponge cake. The ingredients for it should be at room temperature. Oranges or clementines can also be used for the cake. If you have an orange, then remove the zest from one fruit.
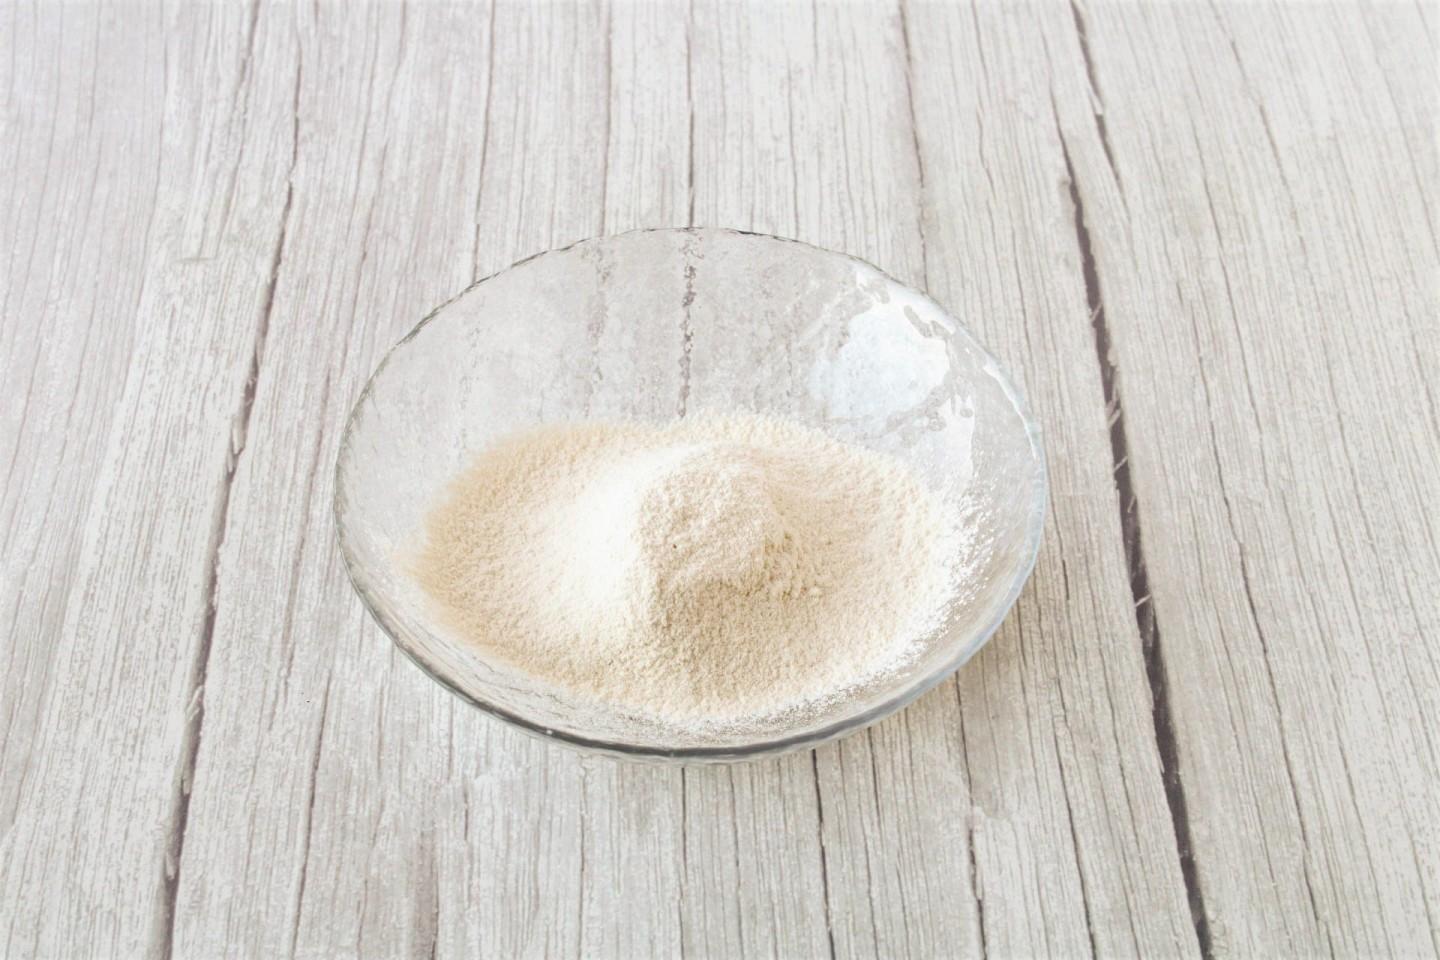
Step 2:

Mix the flour with baking powder and sift so that the flour is enriched with oxygen. The biscuit will rise better and will turn out lush and airy.
Step 3:
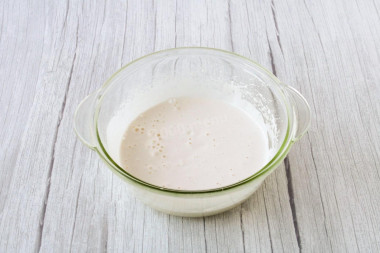
Beat the egg with sugar and salt at high speed of the mixer until a fluffy light mass.
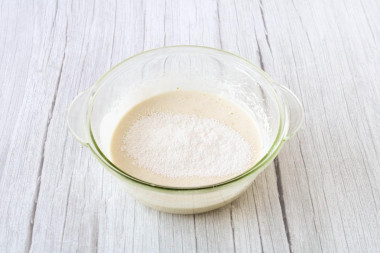
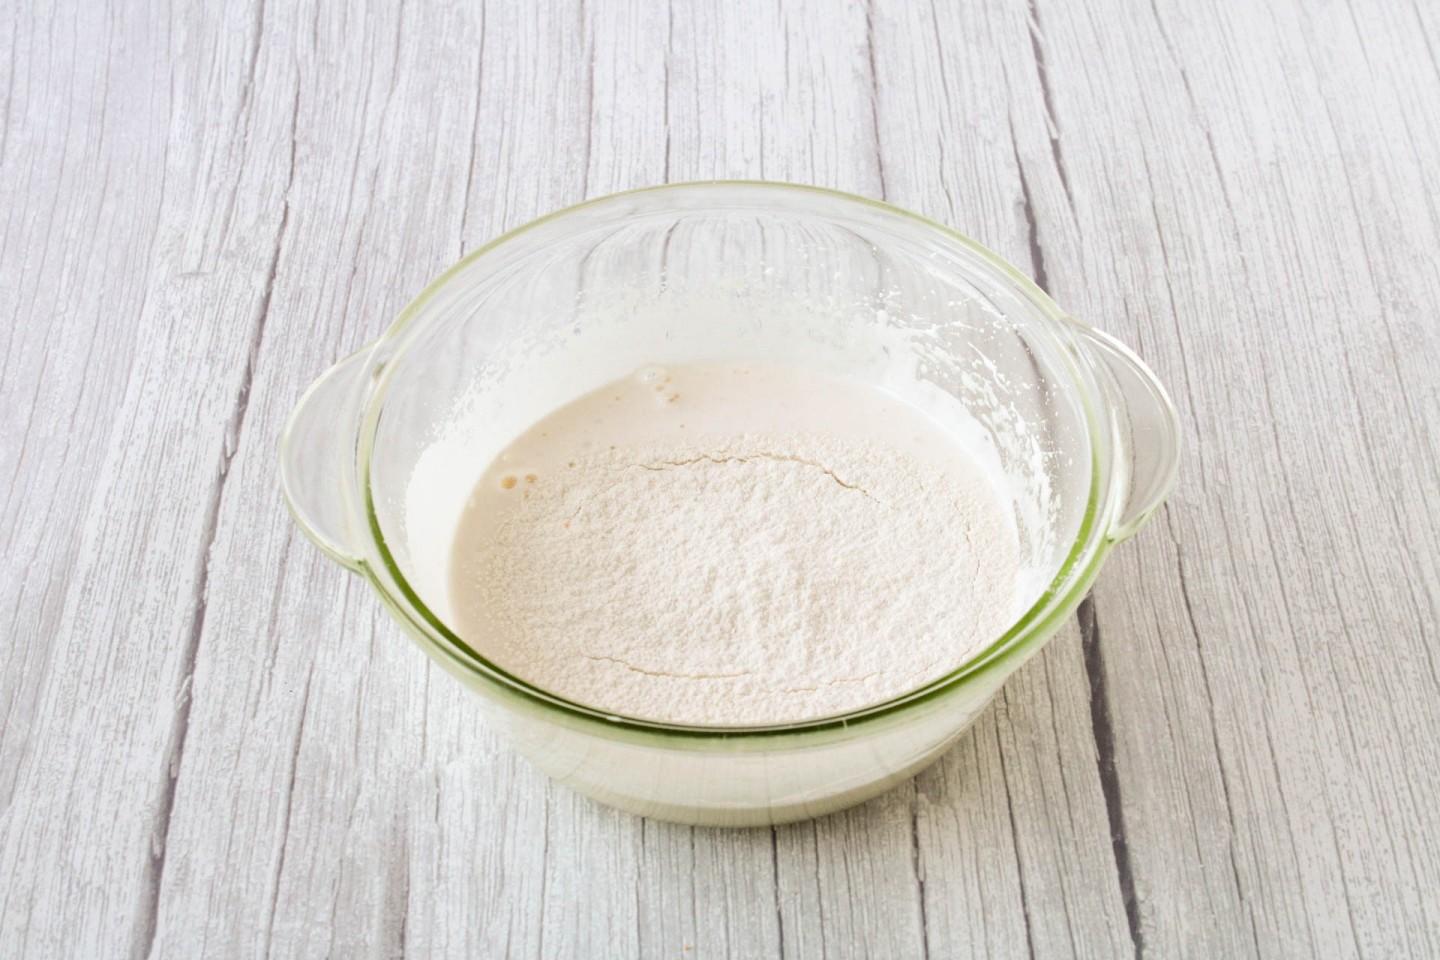
Step 4:

Pour in the milk and about half of the flour sifted with baking powder. Mix with a spatula in neat movements from the bottom up.
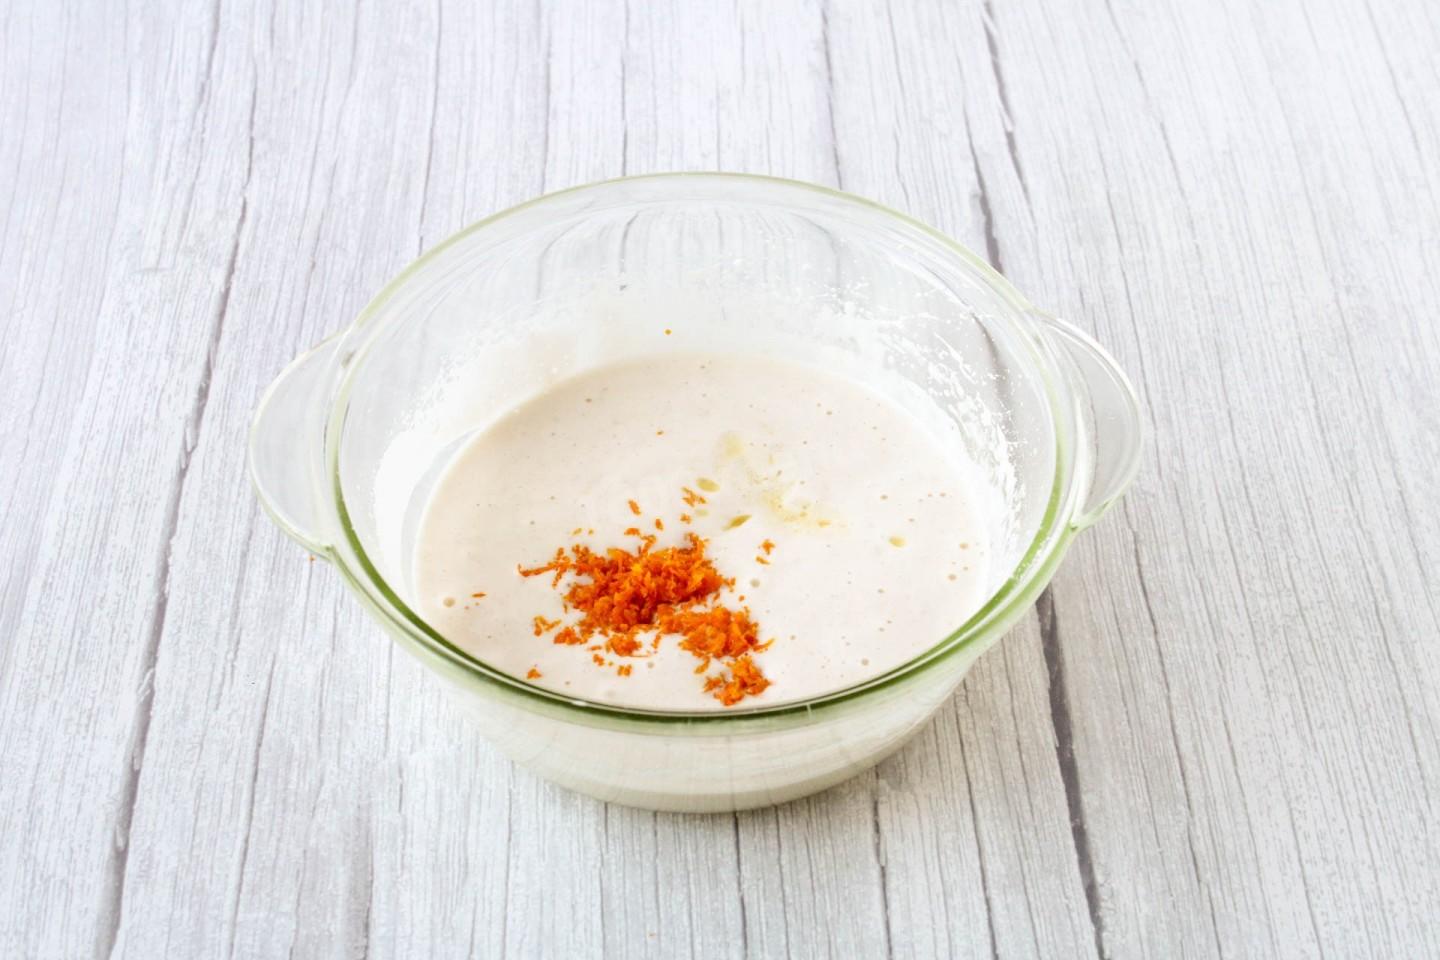
Step 5:

Add the tangerine zest and juice, mix lightly.
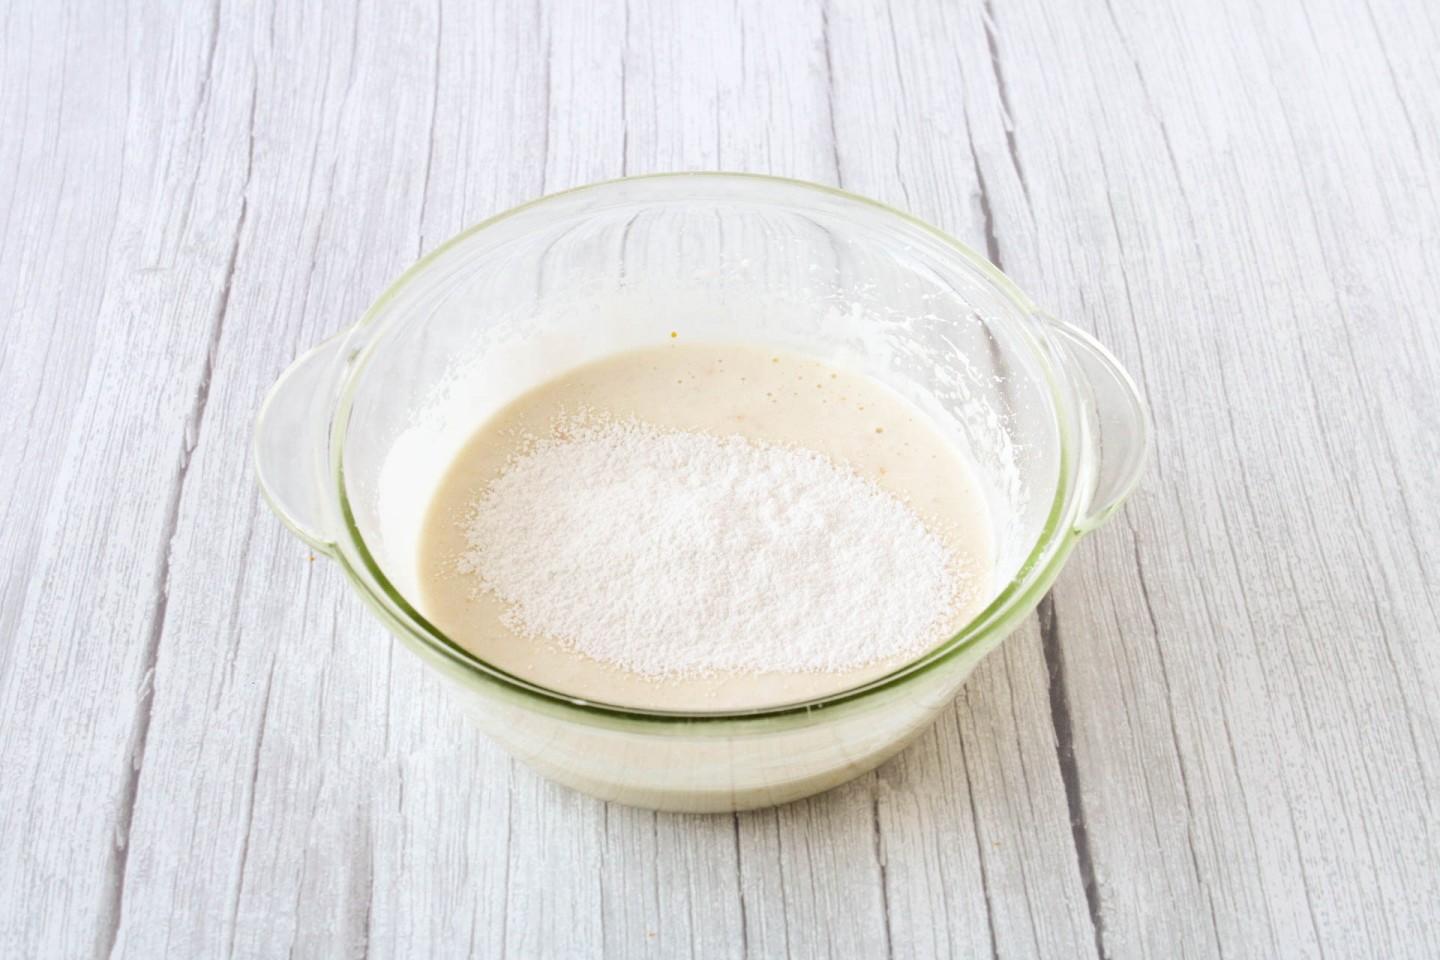
Step 6:
Pour in the rest of the flour. Also mix gently until the lumps of flour disappear. It is not necessary to stir the dough for a long time so that it does not lose its splendor.
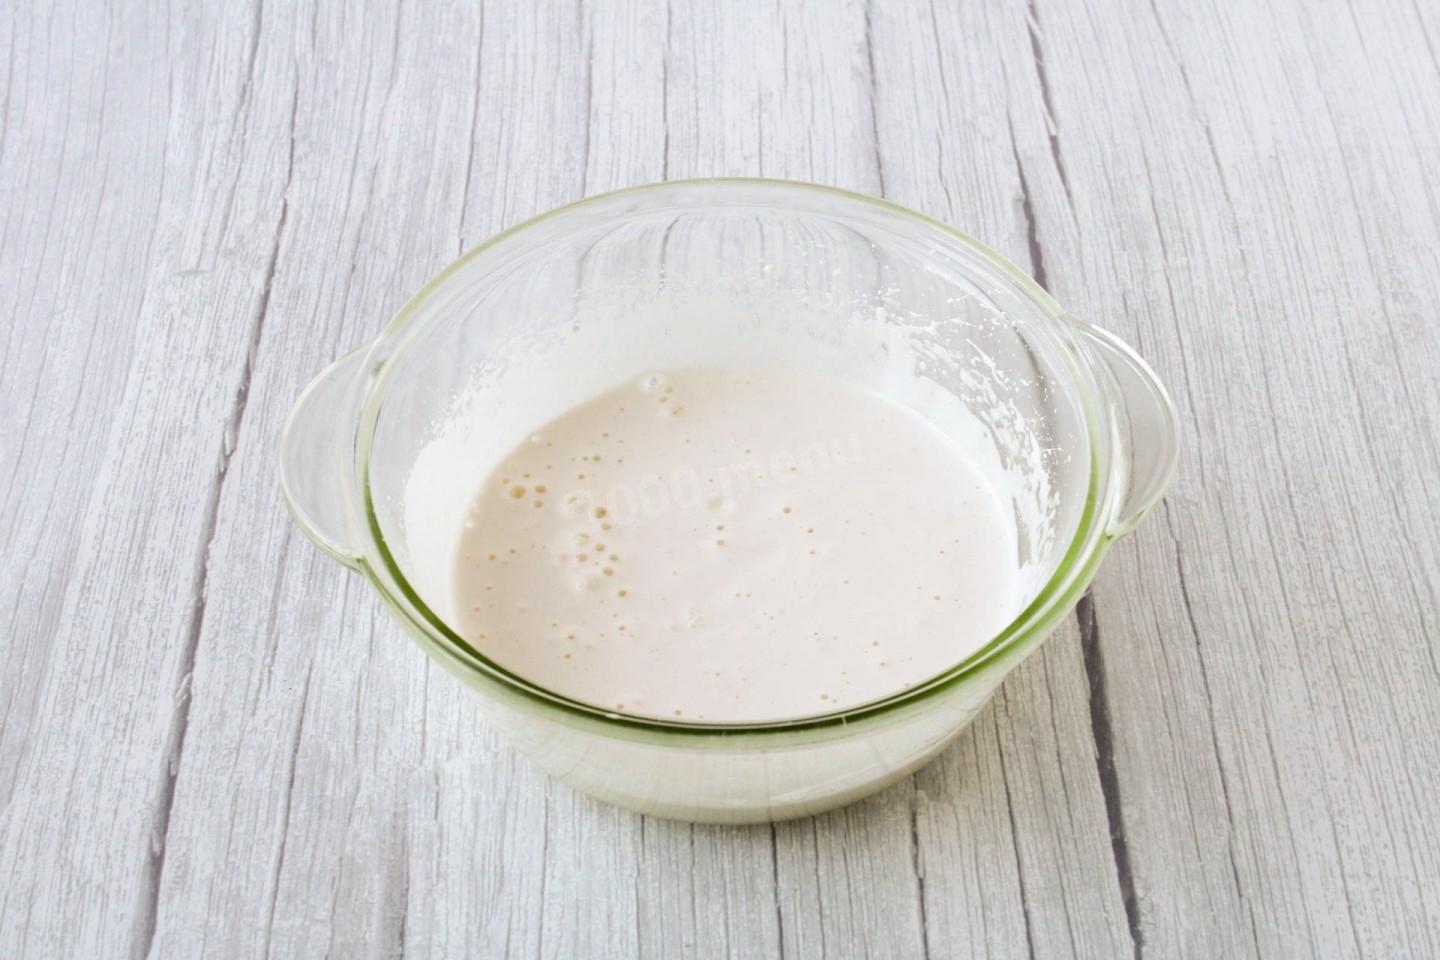
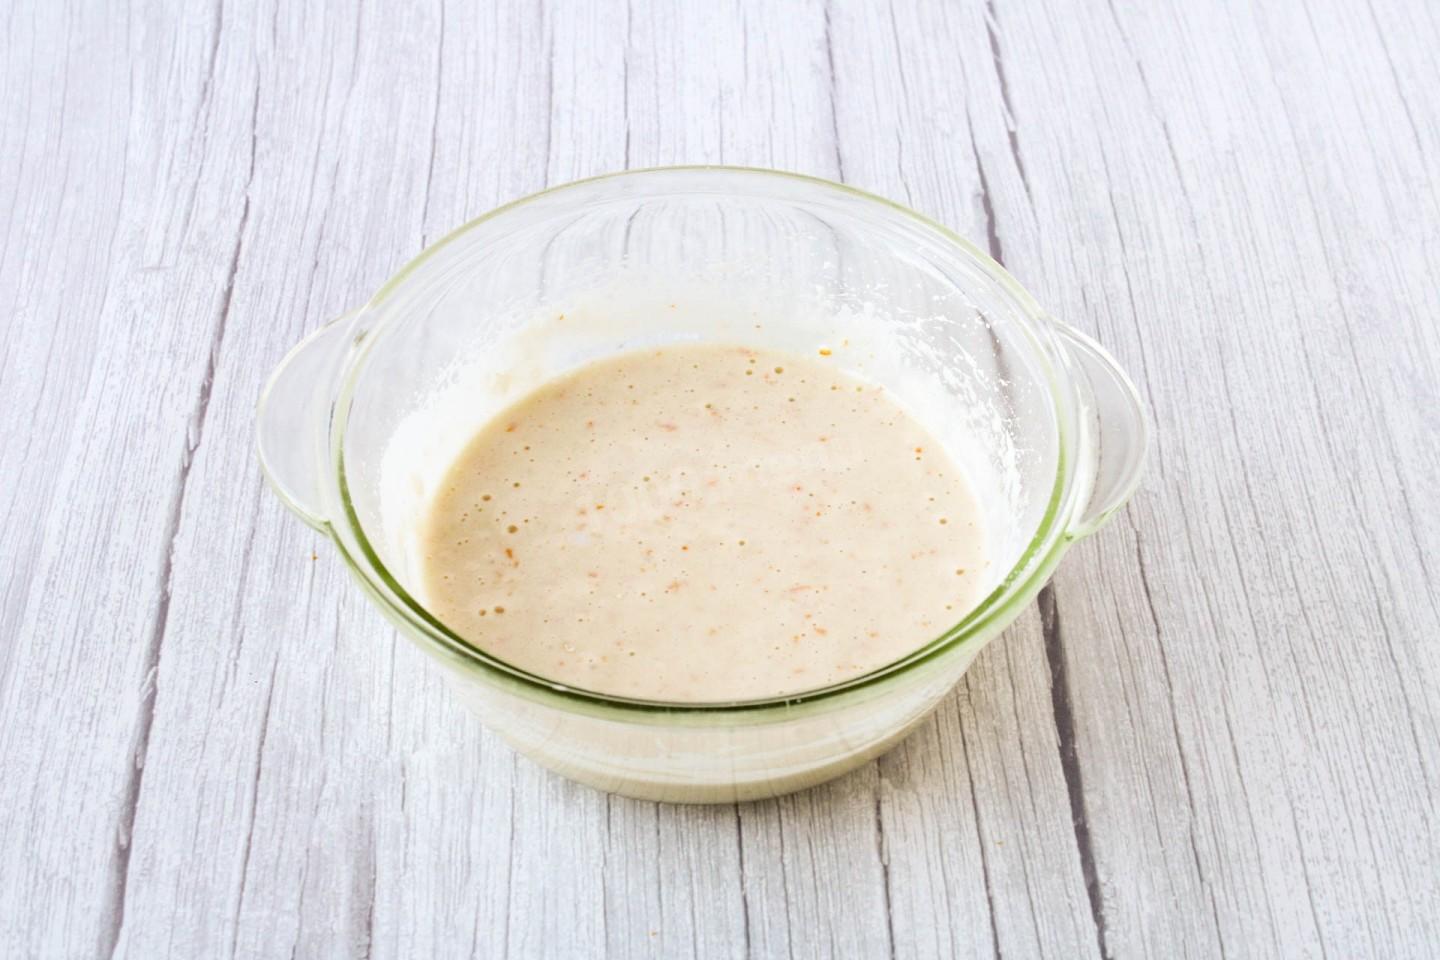
Step 7:

A homogeneous, airy dough is obtained.
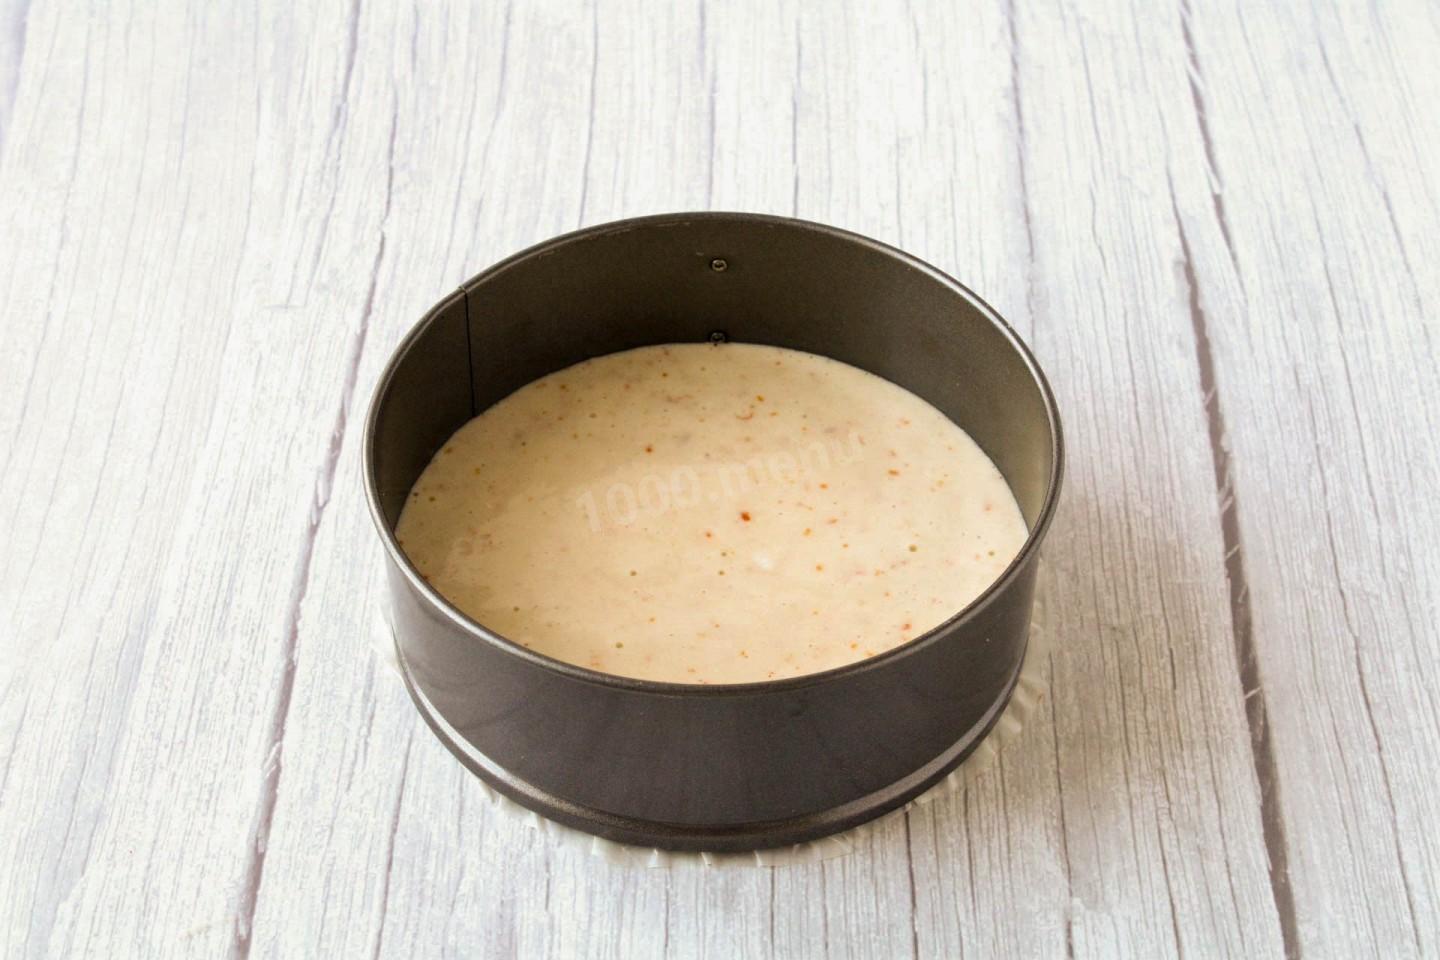
Step 8:

Cover the bottom of the baking dish with a diameter of 18-20 cm with parchment. Carefully pour the dough into the mold.
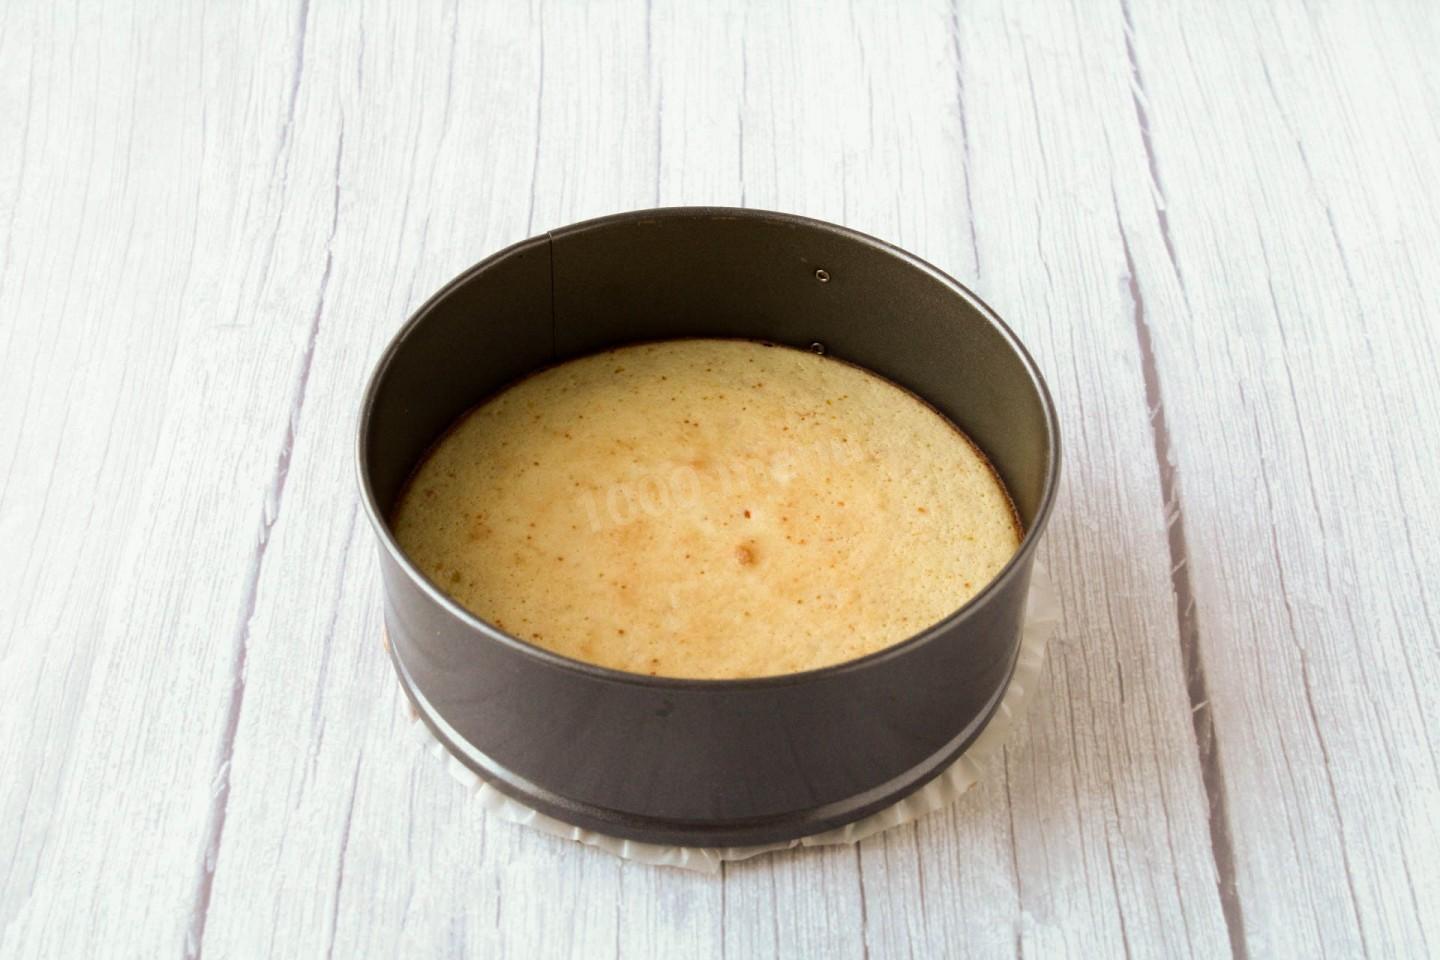
Step 9:

Bake the sponge cake in a preheated 180C oven for about 12-15 minutes. Do not open the oven during baking. The biscuit should only be slightly browned. Determine the cooking time, focusing on the specifics of the operation of your oven. Let the finished biscuit stand in the mold for a while, then remove and cool completely.
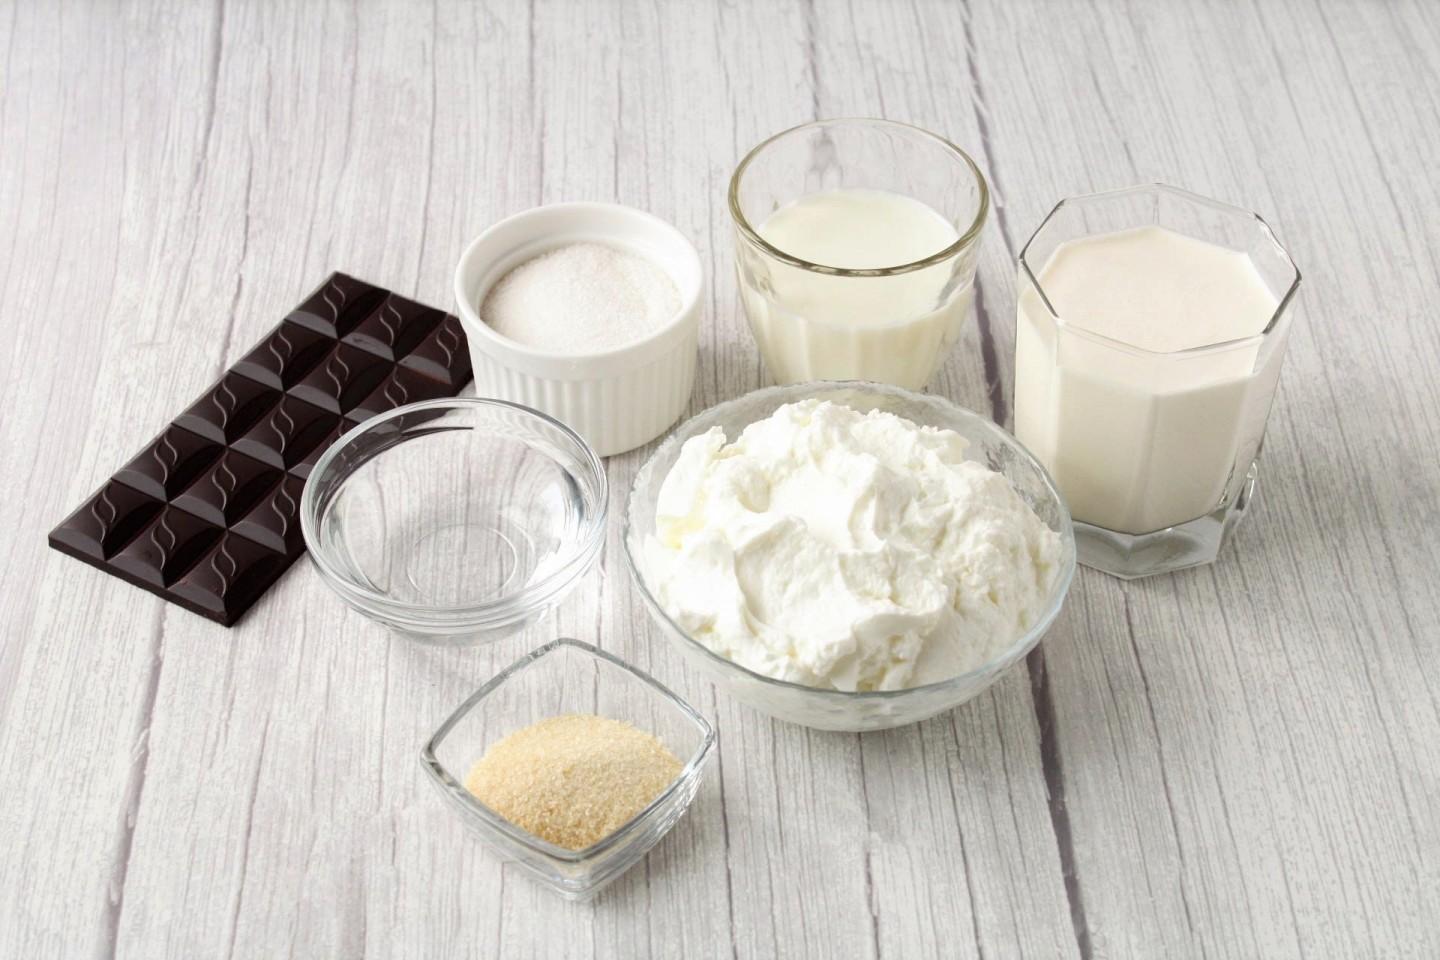
Step 10:
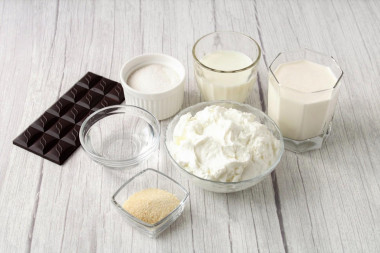
For chocolate mousse, take soft cottage cheese without grains. The ideal option would be a pasty product, then the mousse will turn out very tender. You can also use cottage cheese. To make the mousse taste more saturated, take chocolate with a high cocoa content (70-72%).
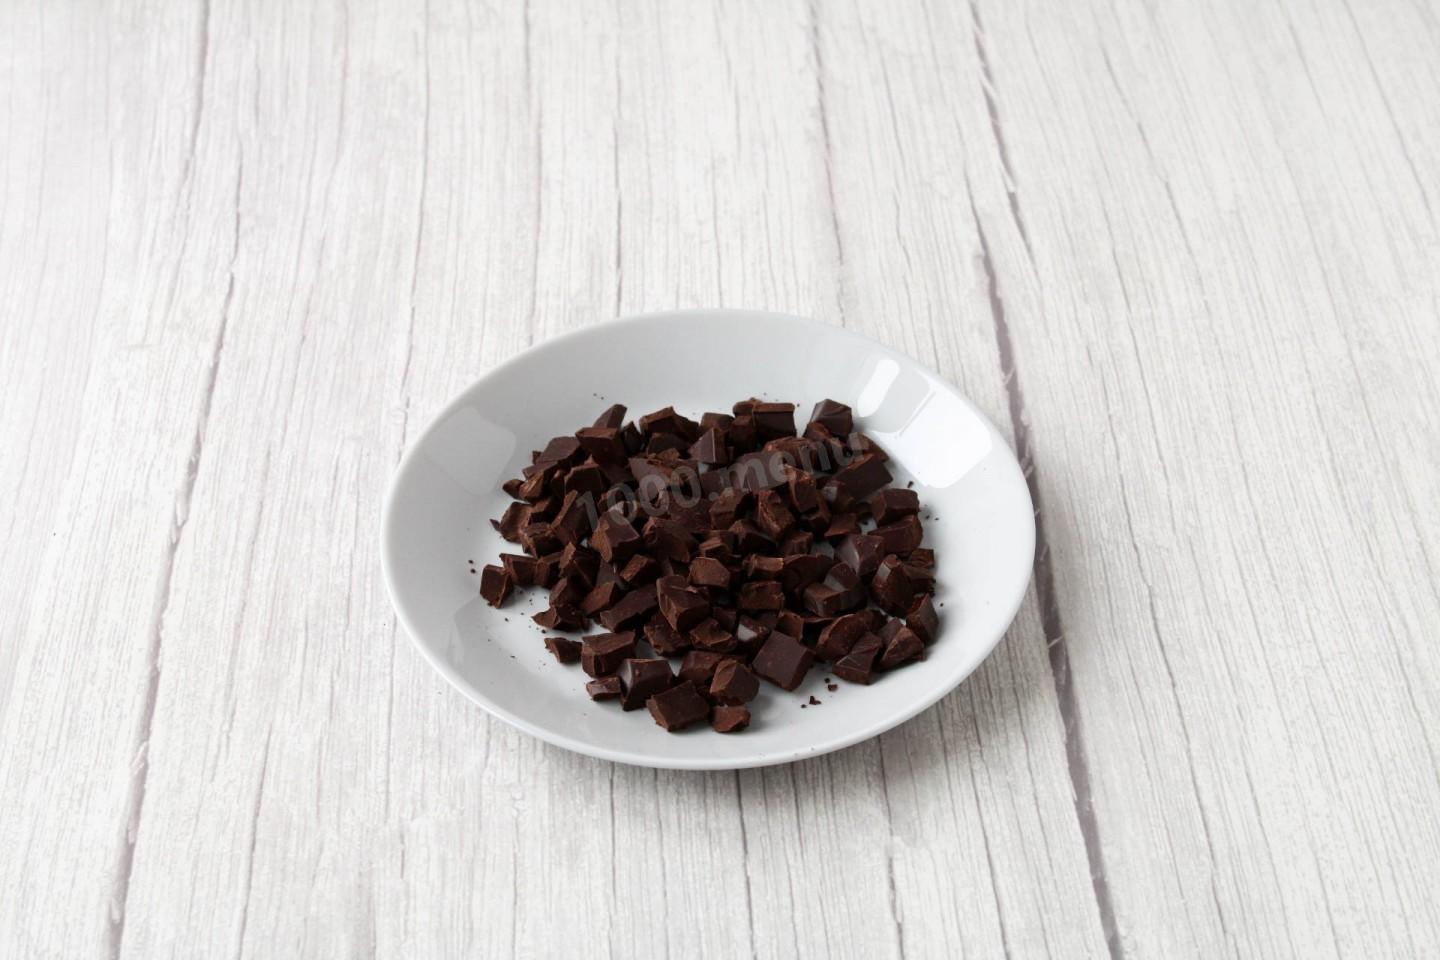
Step 11:

Break the chocolate into small pieces so that it melts faster.
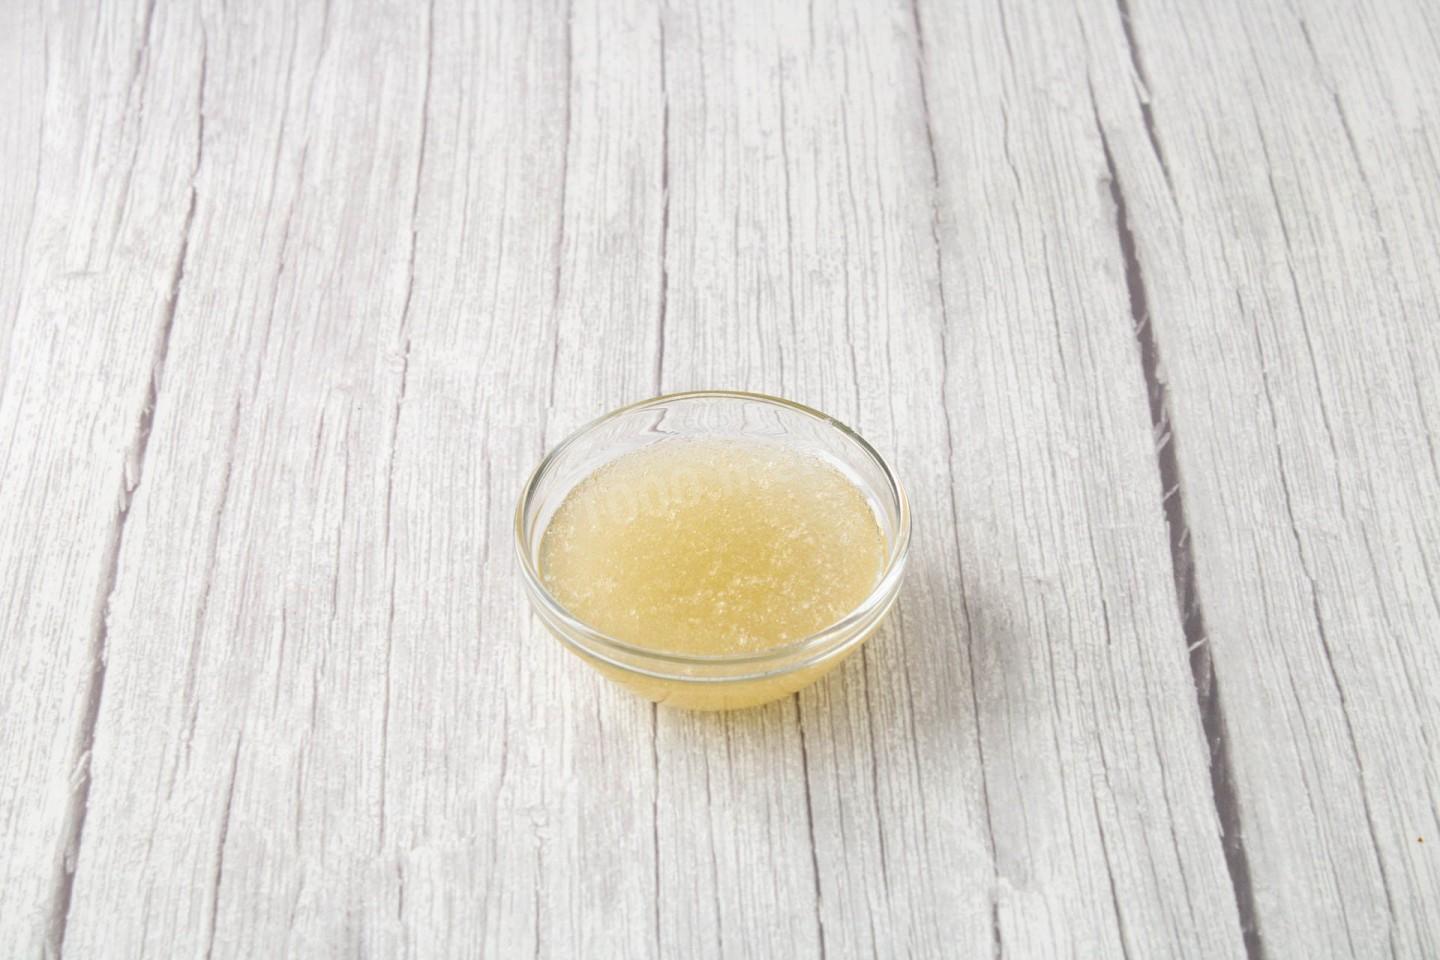
Step 12:
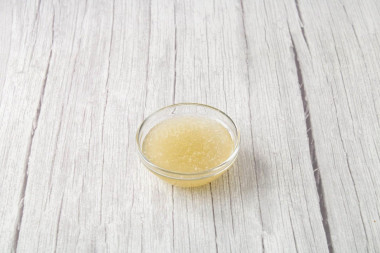
Fill the gelatin with water at room temperature so that it swells.
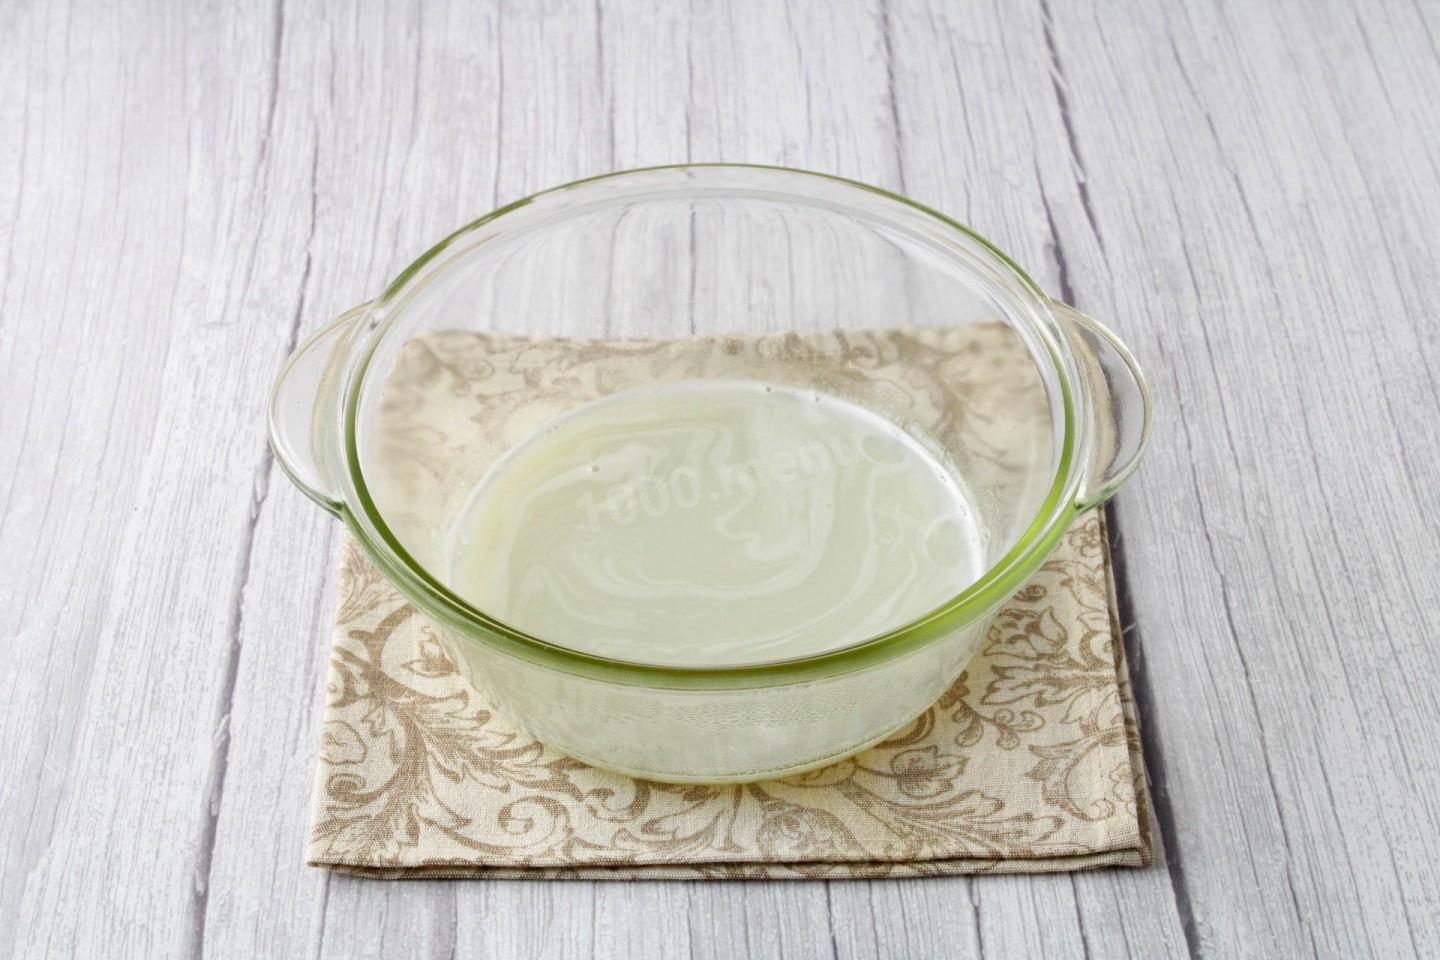
Step 13:
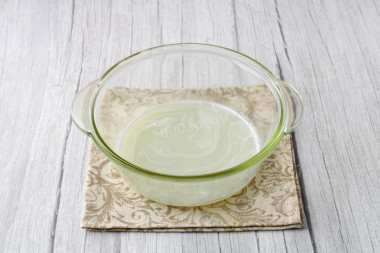
Combine milk with sugar and heat until hot. This can be done on the stove or in the microwave. The sugar should completely dissolve.
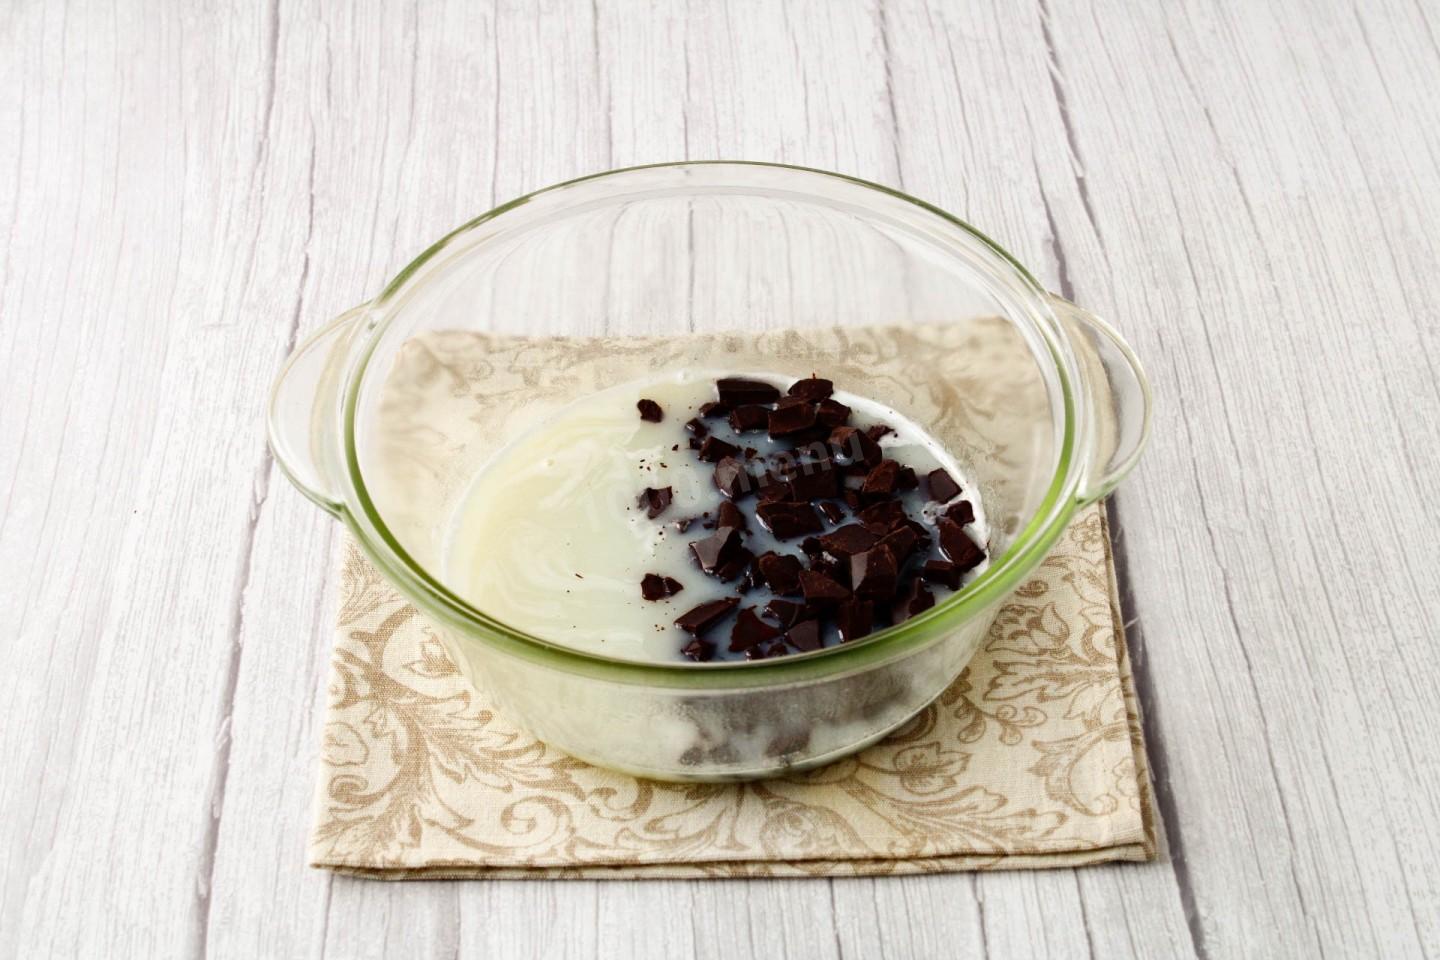
Step 14:

Put the chocolate in the hot milk mixture. Mix well so that the chocolate melts.
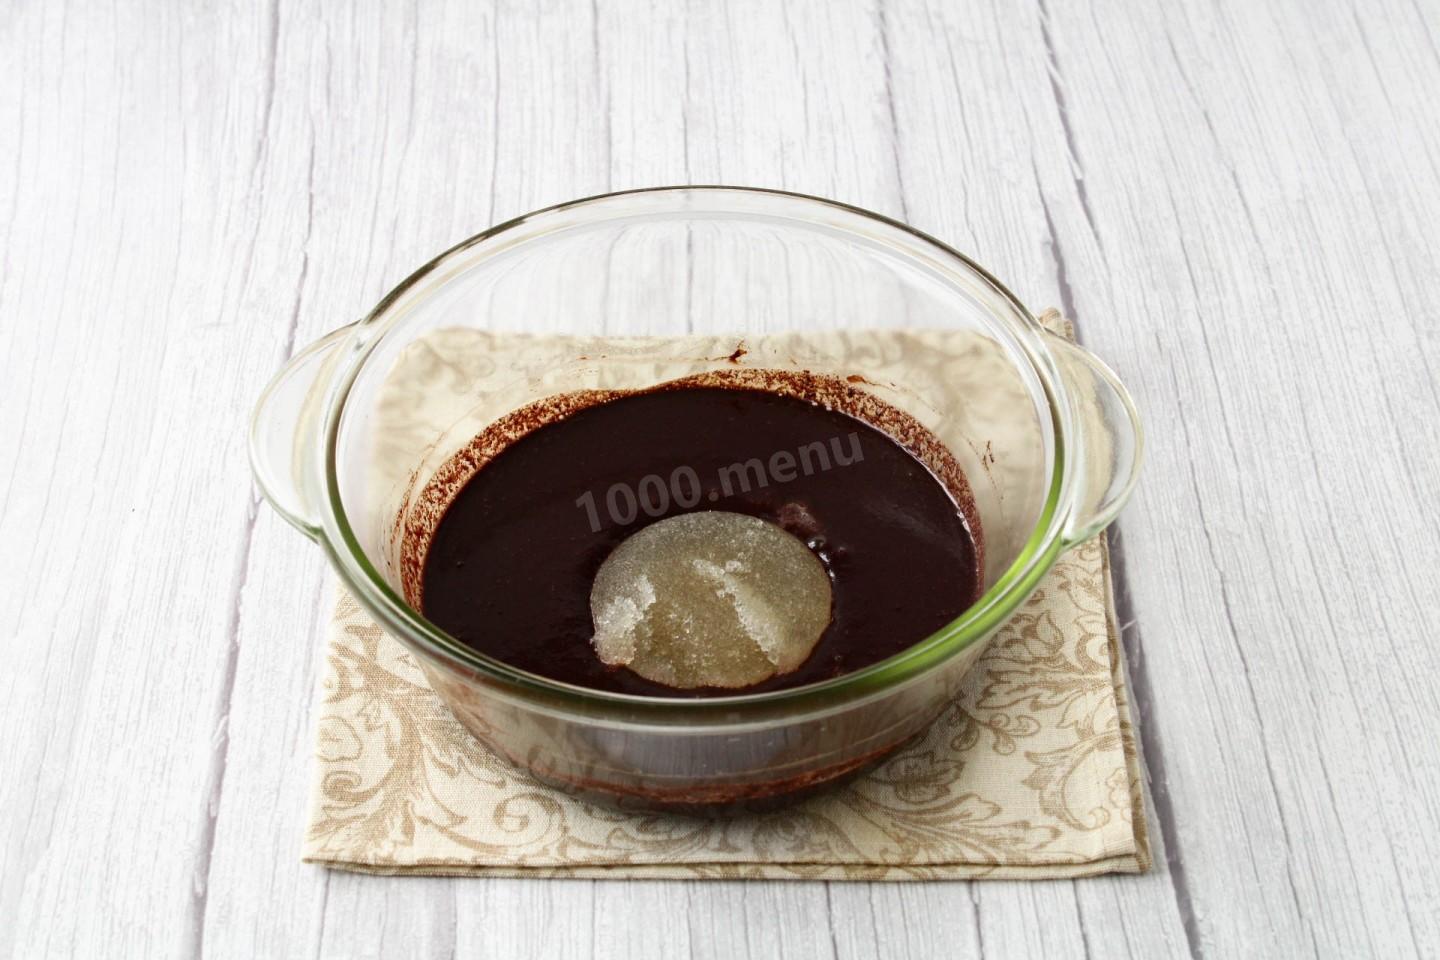
Step 15:
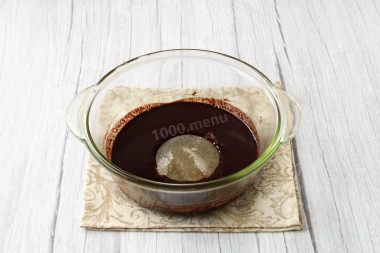
Lay out the swollen gelatin, mix thoroughly. The gelatin should completely dissolve.
Step 16:
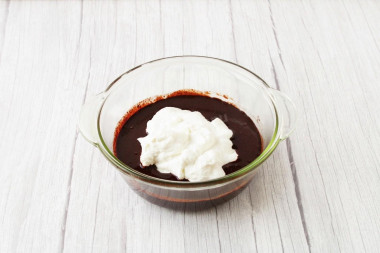
Add cottage cheese to the mass with gelatin. Whisk until smooth
Step 17:
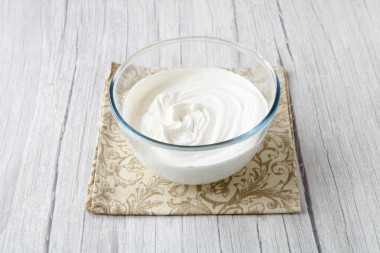
Whisk the cream. How to whip cream correctly? It is important that the cream is fat, at least 33%. The whipping dishes and the cream themselves should be cold, keep them in the refrigerator for at least 1-2 hours. Beat with a mixer at minimum speed, gradually increasing the speed. How do I know if the cream is whipped enough? The creamy mass should retain its shape and not spread. At this point, stop whipping. Otherwise, the cream will turn into butter.
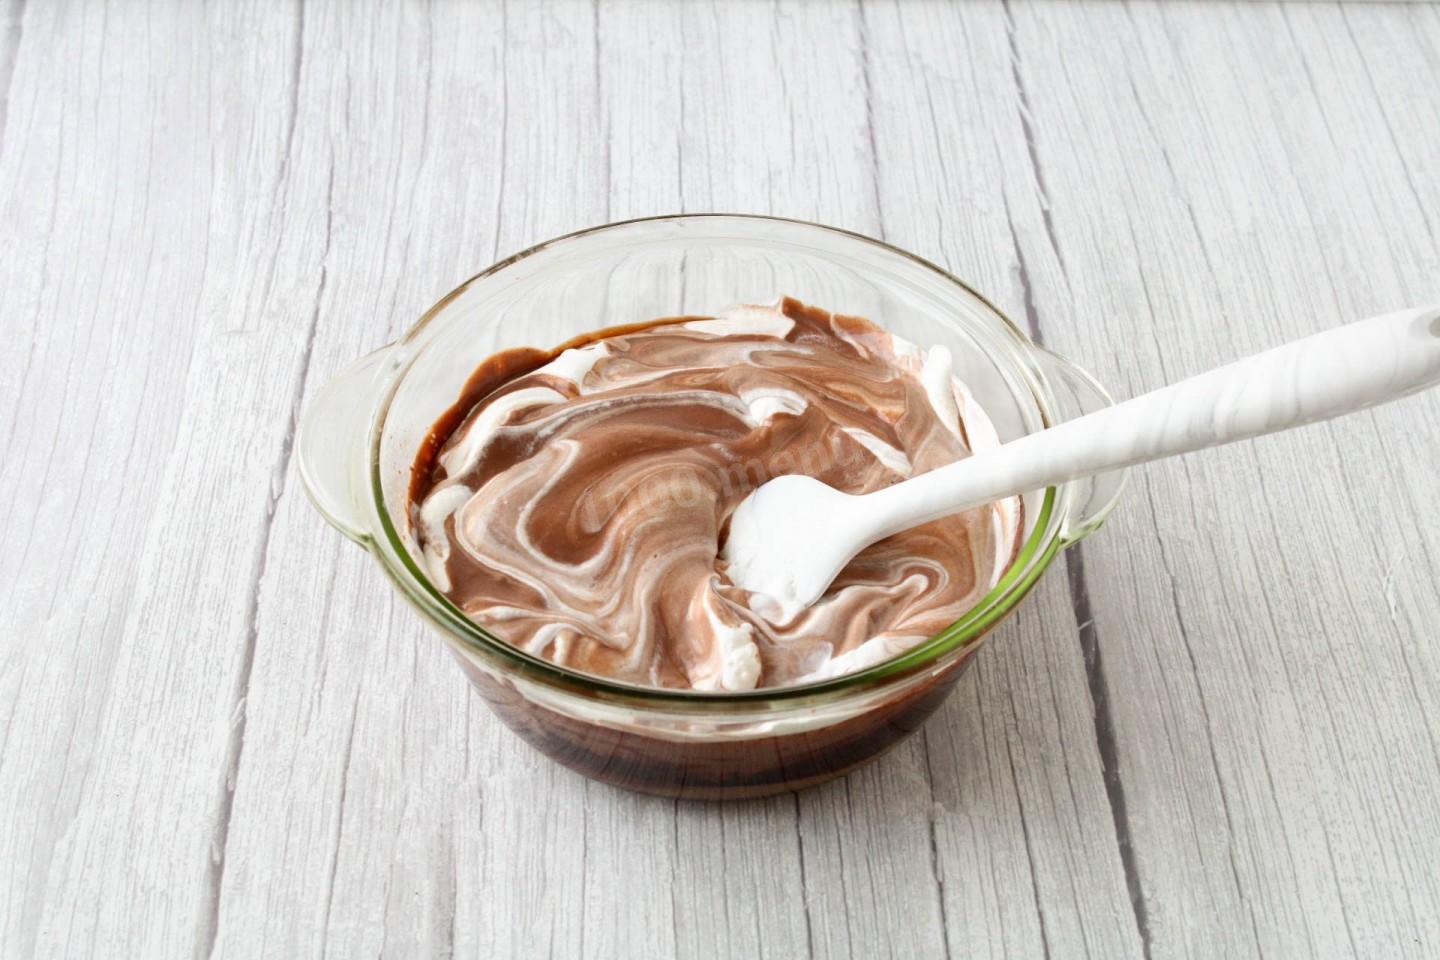
Step 18:
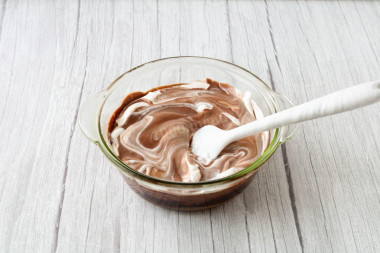
Gently mix the whipped cream into the chocolate mass in parts.
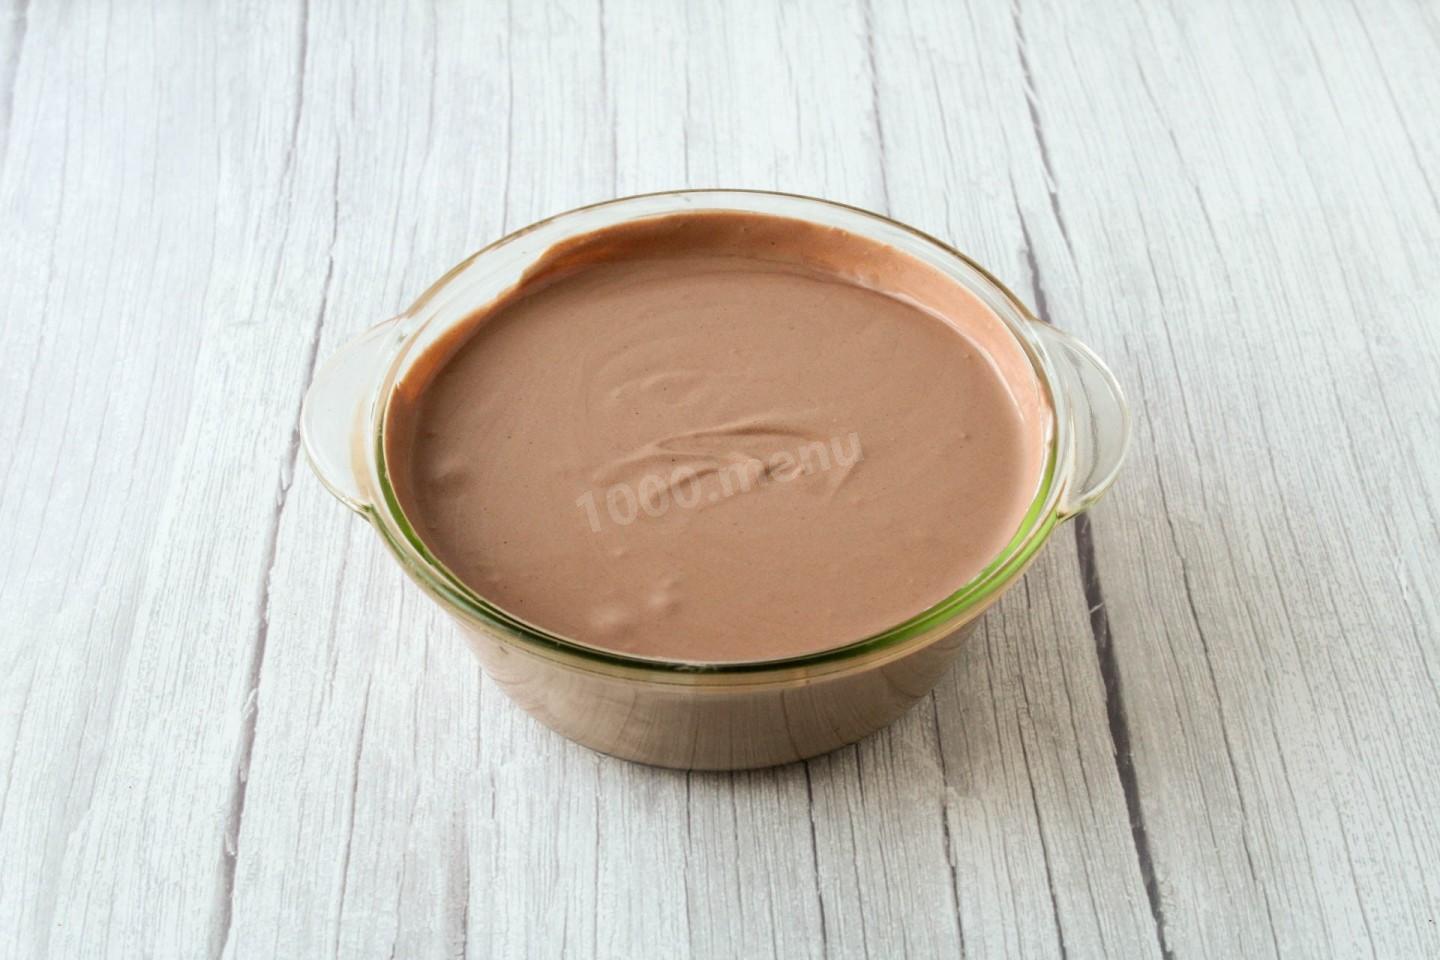
Step 19:
Mix until smooth.
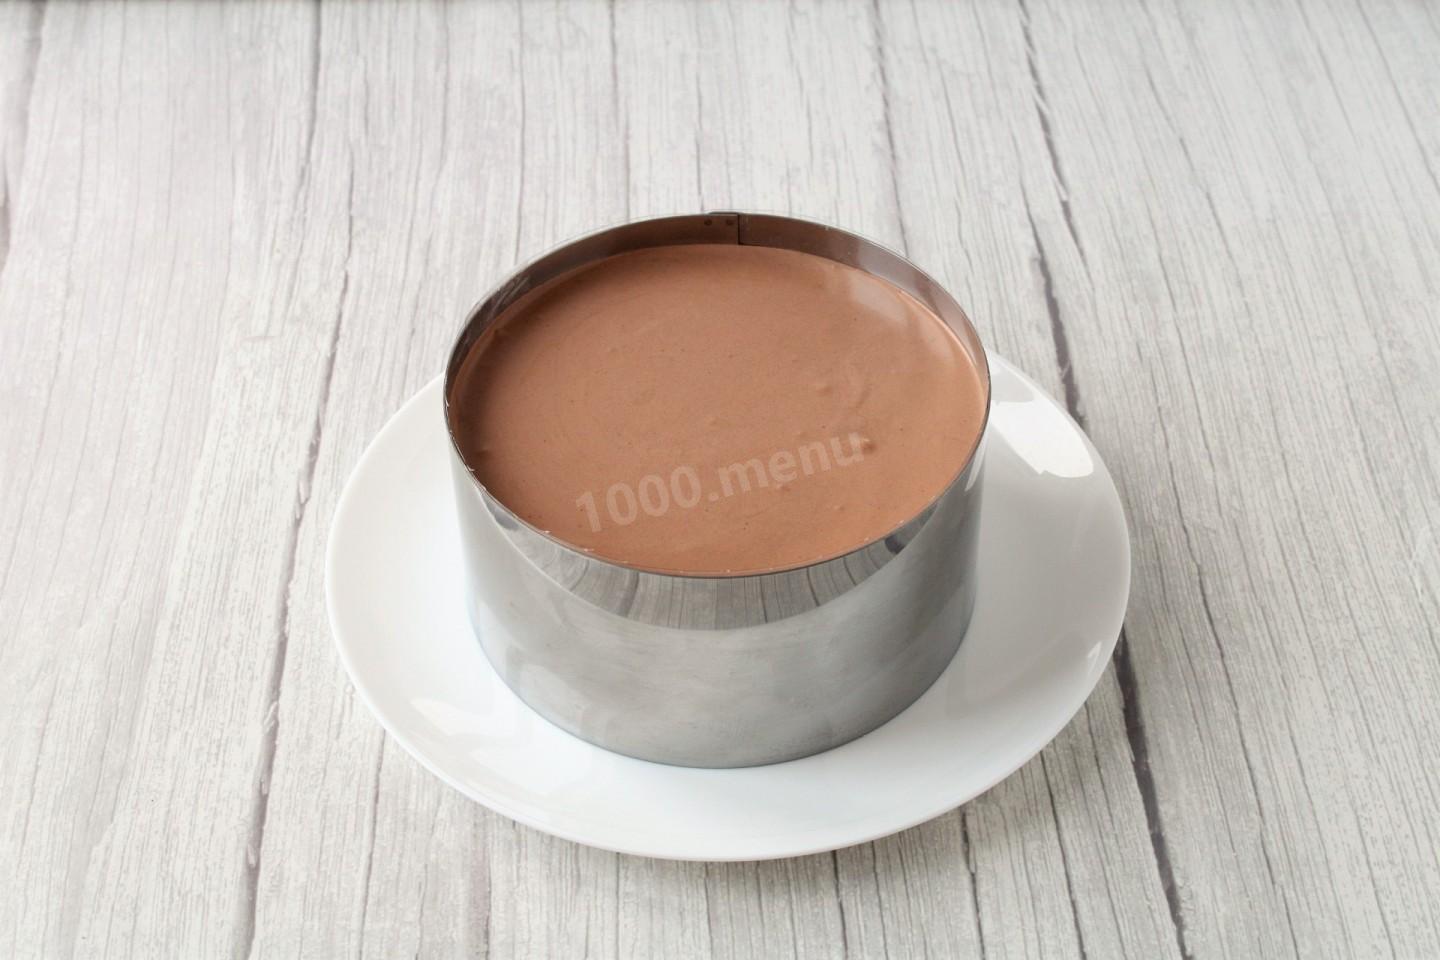
Step 20:
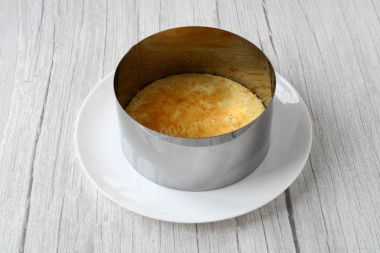
To form a cake, use a cooking ring or a split mold in which the biscuit was baked. Put the biscuit in the ring. I laid out the walls of the ring with acetate tape so that the finished cake could be easily removed.
Step 21:
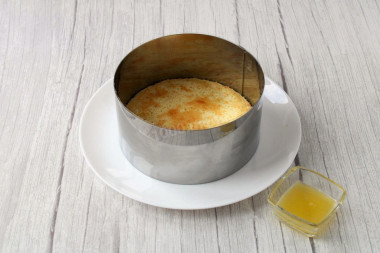
To get the juice, you will need about 2 small tangerines. To make the sponge cake more juicy, sprinkle it with a little juice (20-25 ml). The rest of the juice will be needed to make jelly.
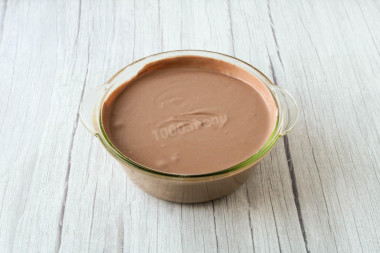
Step 22:
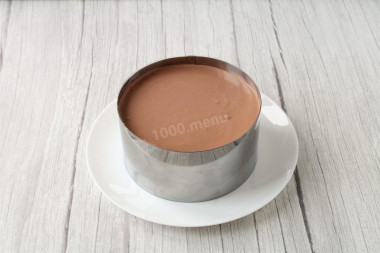
Pour the chocolate mass onto the biscuit. Put the cake in the refrigerator for a few hours so that the mousse freezes.
Step 23:

For the jelly layer of tangerines, wash, clean. Instead of tangerines, you can use other juicy fruits or berries.
Step 24:
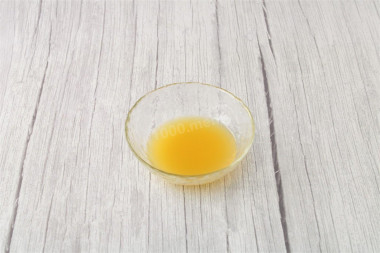
Fill the gelatin with juice, leave it until it swells. Then preheat until the gelatin dissolves. Do not allow the gelatin solution to overheat or boil. If desired, sugar can be added to the jelly. I did not add it so that the jelly turned out with a pleasant sourness and there was some balance in the taste.
Step 25:
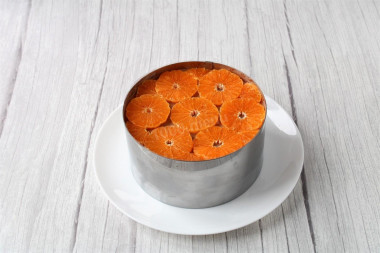
Cut tangerines into rings about 0.5 cm thick. Place them on the frozen mousse tightly to each other. I filled small voids with small pieces of tangerines. Any other citrus fruits, pineapples, peaches, mangoes, juicy berries of your choice will also fit here.
Step 26:
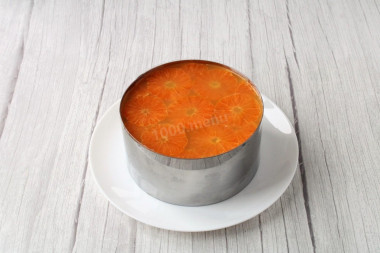
Cool the juice with dissolved gelatin to the room temperature. Carefully spoon the fruit over the prepared solution. It should completely cover the tangerines. Put the cake in the refrigerator so that the jelly freezes.
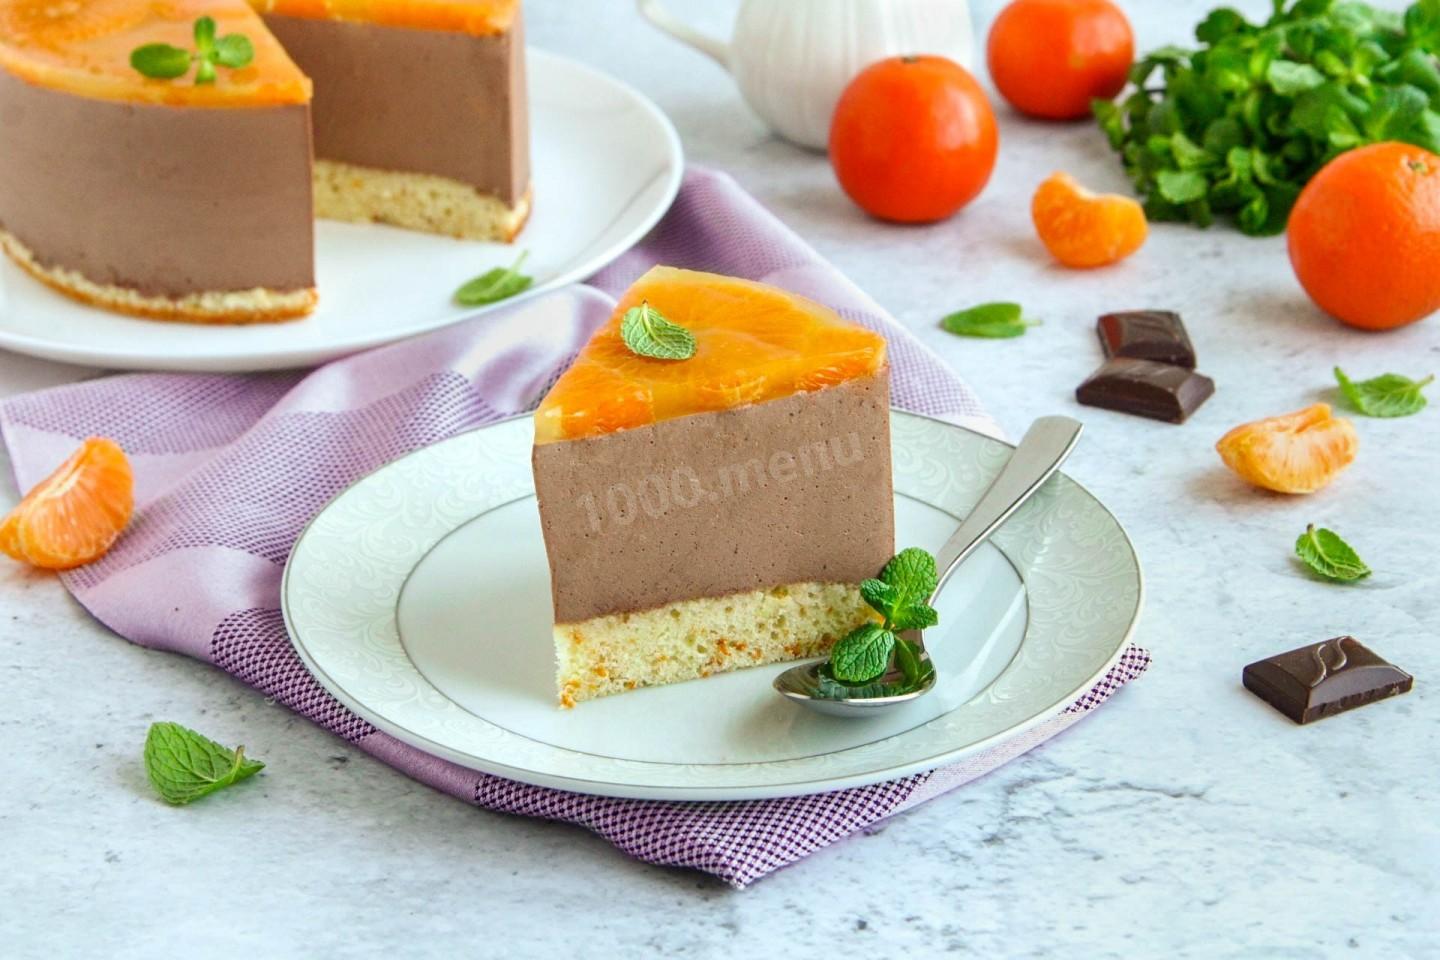
Step 27:

Before serving, remove the ring from the cake, remove the acetate tape. Cut the dessert into portions and serve to the table. Bon appetit!


Why gelatin hardens badly, how to avoid unpleasant gelatin lumps in the dish, as well as all the secrets and subtleties of cooking read in the article about gelatin .
Keep in mind that everyone's ovens are different. The temperature and cooking time may differ from those specified in the recipe. To make any baked dish successful, use useful information about the features of ovens !
So that the oven has time to heat up to the desired temperature, turn it on in advance (10-20 minutes before the start of cooking).
Calorie content of the products possible in the dish
- Whole cow's milk - 68 kcal/100g
- Milk 3.5% fat content - 64 kcal/100g
- Milk 3.2% fat content - 60 kcal/100g
- Milk 1.5% fat content - 47 kcal/100g
- Concentrated milk 7.5% fat content - 140 kcal/100g
- Milk 2.5% fat content - 54 kcal/100g
- Chicken egg - 157 kcal/100g
- Egg white - 45 kcal/100g
- Egg powder - 542 kcal/100g
- Egg yolk - 352 kcal/100g
- Ostrich egg - 118 kcal/100g
- Cottage cheese of 40% fat content - 466 kcal/100g
- Cottage cheese of 20% fat content - 233 kcal/100g
- Cottage cheese of 18% fat content - 226 kcal/100g
- Cottage cheese of 10% fat content - 156 kcal/100g
- Low-fat cottage cheese - 75 kcal/100g
- Cottage cheese with sour cream - 260 kcal/100g
- Fruit cottage cheese - 147 kcal/100g
- Soft dietary cottage cheese - 170 kcal/100g
- Vitalinia cottage cheese - 64 kcal/100g
- Cottage cheese "morning" ( "danone") without sugar - 91 kcal/100g
- Cottage cheese - 156 kcal/100g
- Tangerines - 33 kcal/100g
- Canned tangerines - 40 kcal/100g
- Granulated sugar - 398 kcal/100g
- Sugar - 398 kcal/100g
- Gelatin - 355 kcal/100g
- Juice - 36 kcal/100g
- Salt - 0 kcal/100g
- Water - 0 kcal/100g
- Wheat flour - 325 kcal/100g
- Cream 35% - 337 kcal/100g
- Cream 40% - 362 kcal/100g
- Baking powder - 79 kcal/100g
- Chocolate 70 % - 539 kcal/100g
- Dark chocolate - 539 kcal/100g
- Tangerine peel - 97 kcal/100g