


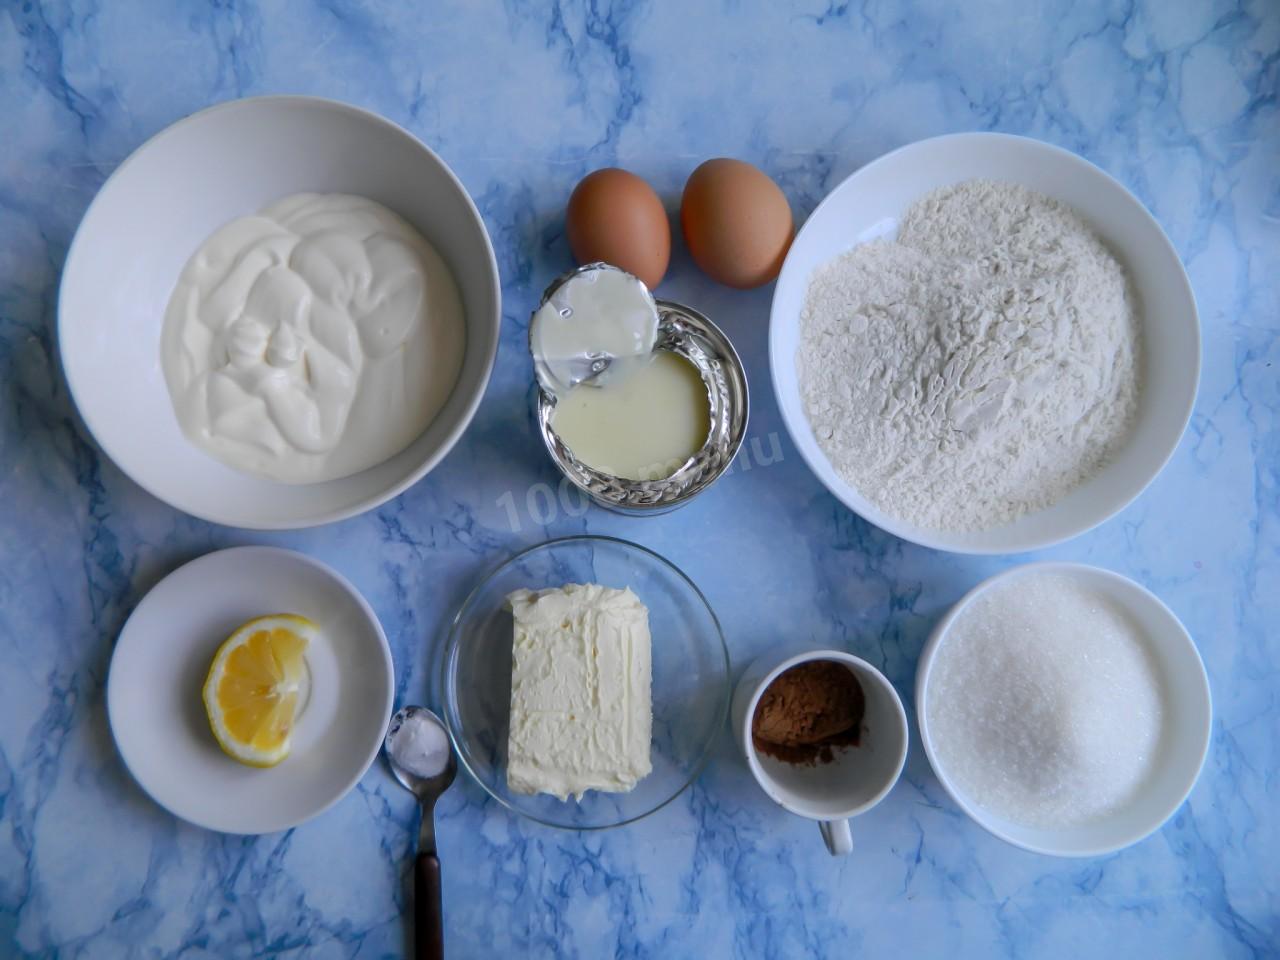
Composition / ingredients
Step-by-step cooking
Step 1:
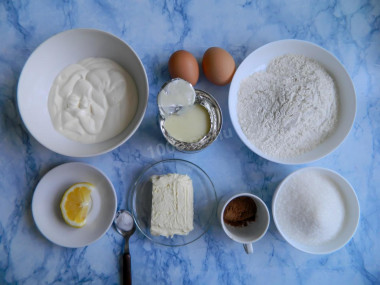
Prepare everything you need to make a cake. Take the flour of the highest grade, eggs C1. Eggs and condensed milk in advance for 1-1.5 hours you need to get out of the refrigerator. The dough turns out to be successful if you add products at room temperature to it. When choosing condensed milk, read carefully so that it is condensed milk with sugar without unnecessary additives that will spoil the taste. Take sour cream for the cream with a fat content of at least 20%.
Step 2:

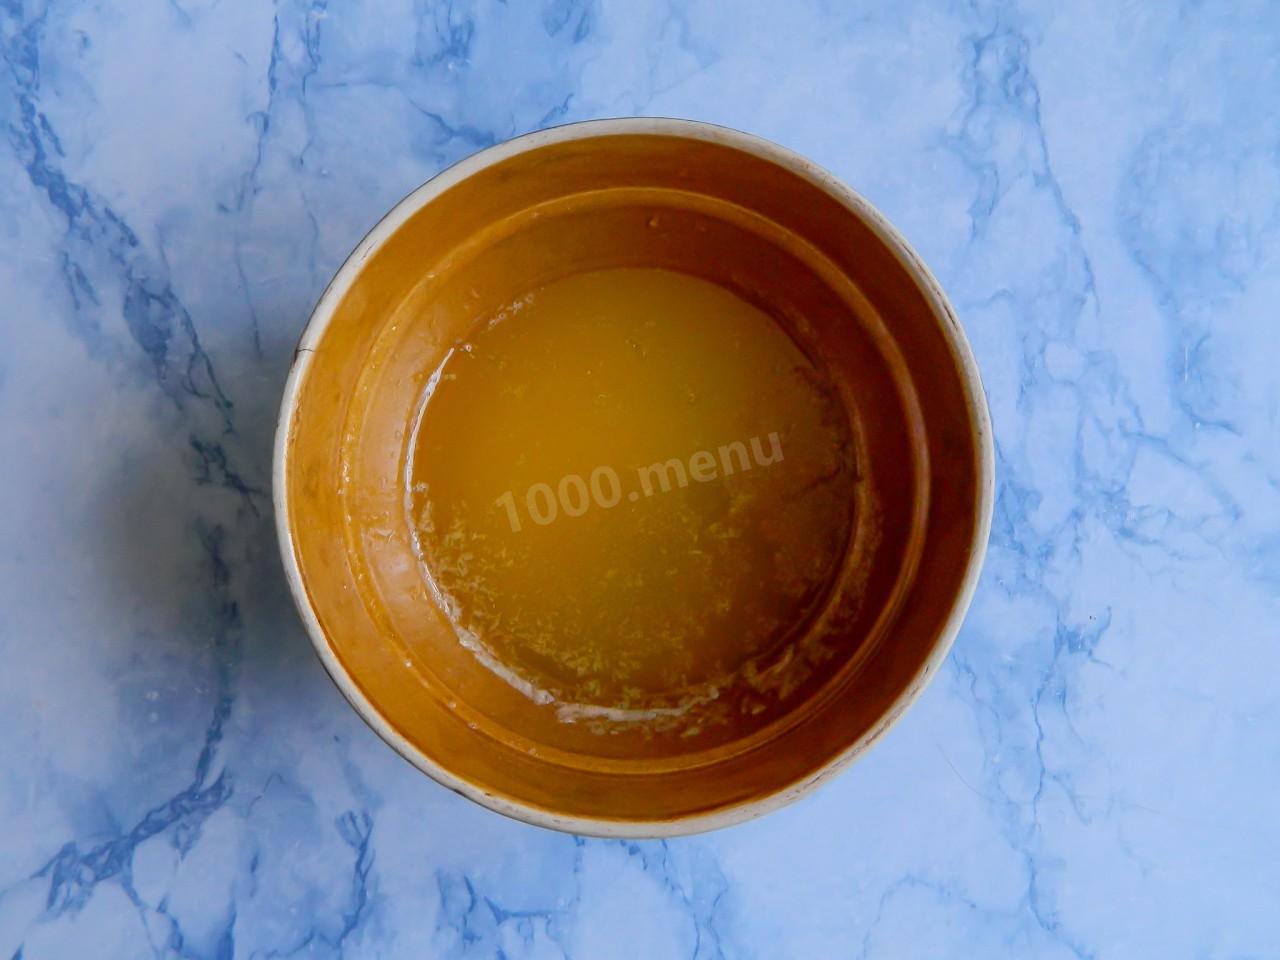
Melt the butter. This can be done in the microwave in the appropriate mode, on a small fire in a saucepan or in a water bath. To melt the butter in a water bath, take two containers of different diameters. Pour water into the larger one, put the smaller one on top so that its bottom drops into the water by half. Put the pieces of butter in it. When the water boils, it will start to melt. When it is completely melted, remove from the heat. Cool completely.
Step 3:
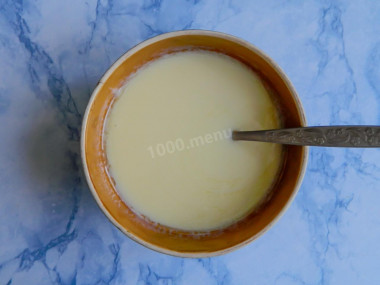
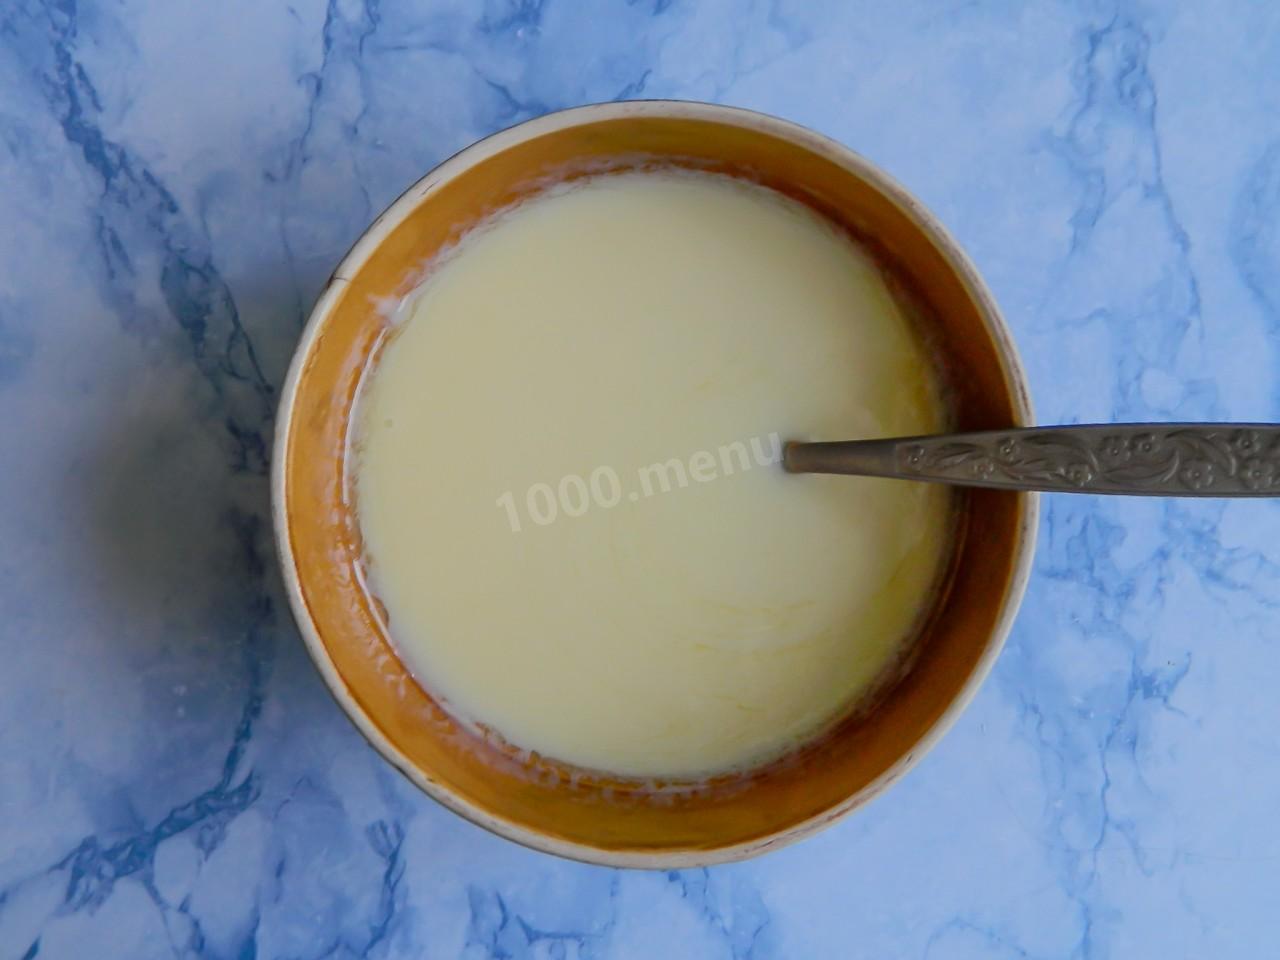
Add condensed milk and mix well.
Step 4:
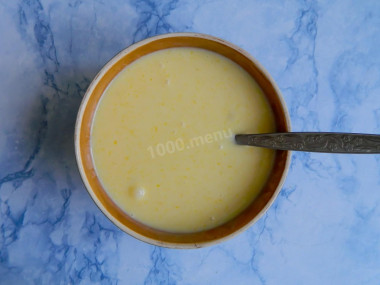
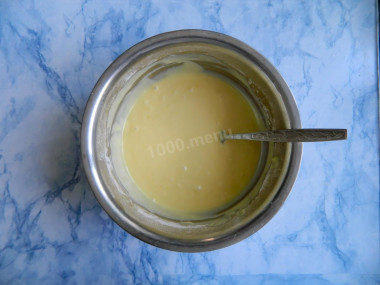
Wash the eggs with soap, dry with a towel or napkin and break them into a bowl with condensed milk and butter. Beat well with a fork or whisk until smooth to break the structure of the eggs.
Step 5:
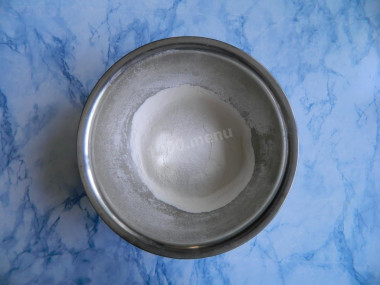
Take a deep bowl in which it will be convenient to mix dry and liquid ingredients. Sift half of the flour indicated in the recipe to sift out small debris and the dough is saturated with oxygen. To make the dough successful, you need to add liquid to dry, and not vice versa.
Step 6:
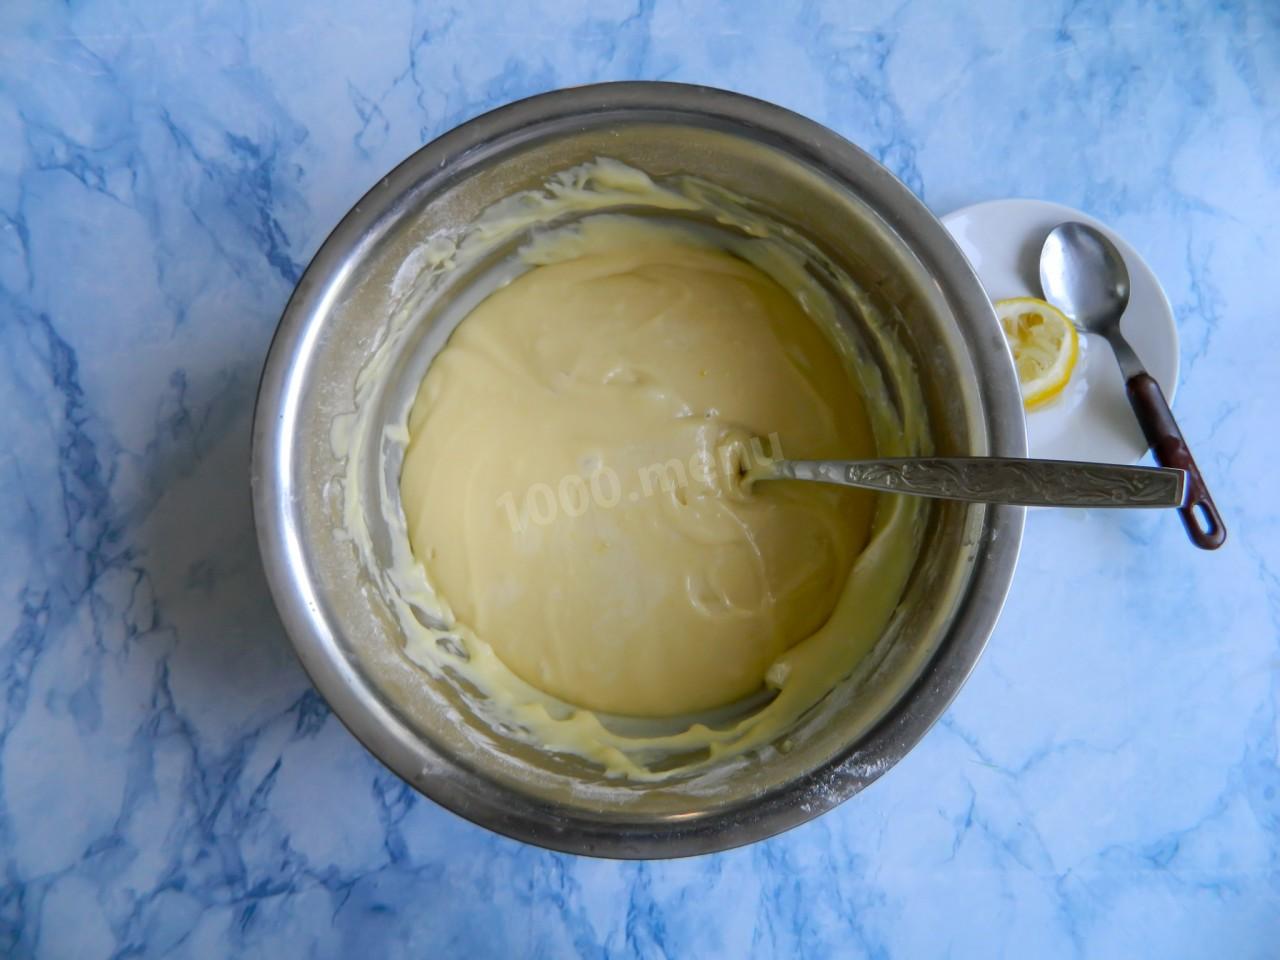
Add the liquid component to the flour and mix until smooth. Since flour even of the same grade, but from different manufacturers, differs in properties, the amount of flour specified in the recipe may not be enough, or vice versa, there may be a lot.
Step 7:

Add it in small portions to get the dough of the desired consistency. It should turn out like thick sour cream. Extinguish the soda with lemon juice, pour into the dough and mix.
Step 8:
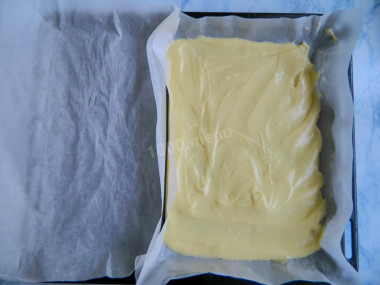
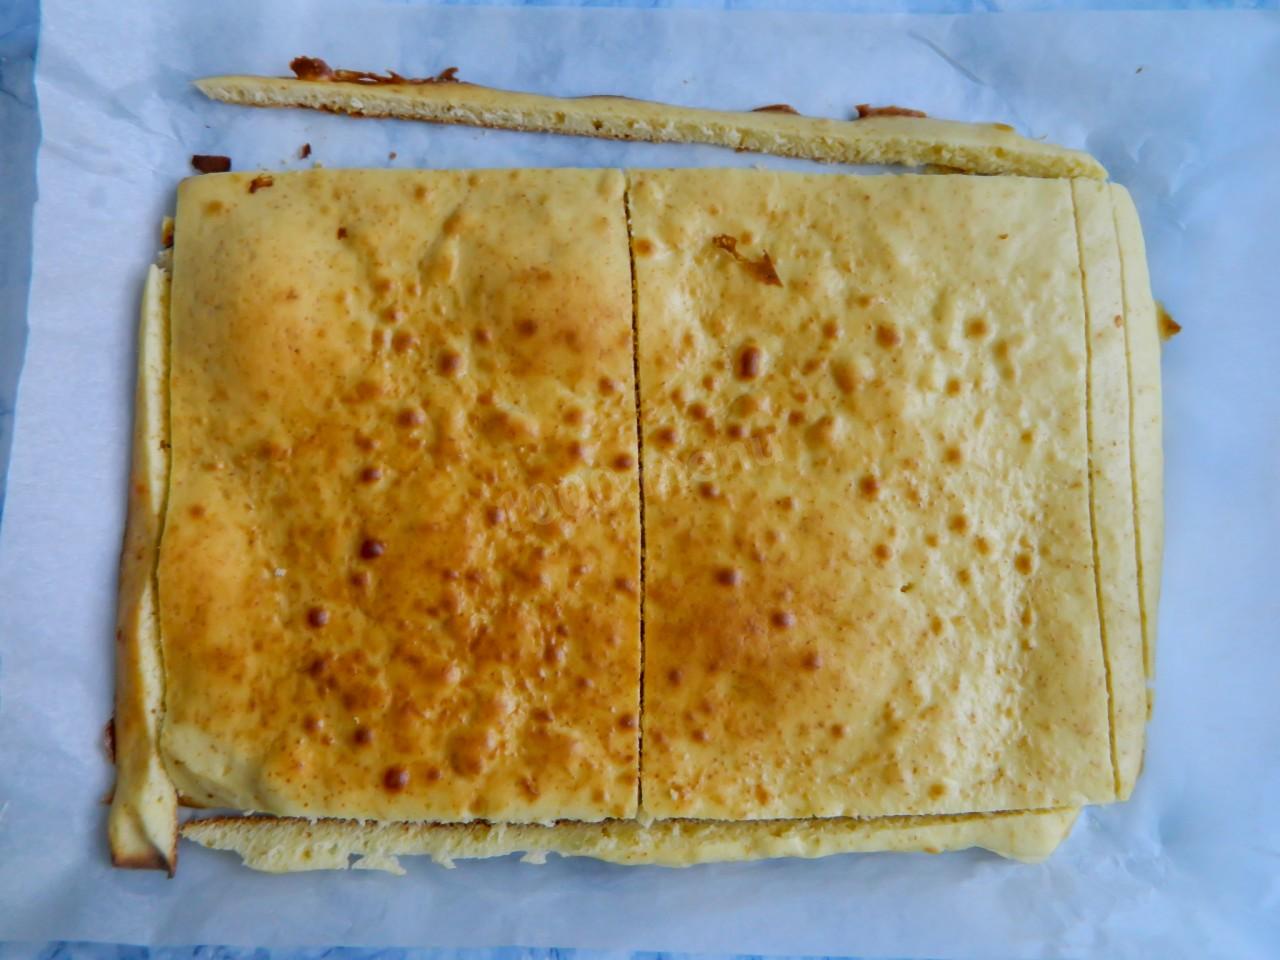
For baking, use a standard large baking tray for your oven. Divide it with parchment into 2 parts: 3/5 for two light cakes and 2/5 for one dark one. Transfer 2/3 of the dough to a part of the baking sheet for light cakes. Distribute evenly.
Step 9:
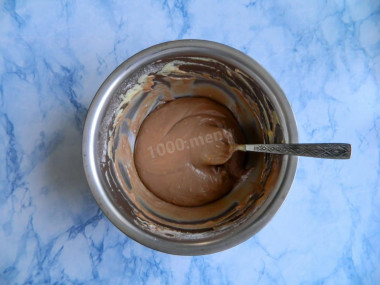
Add cocoa powder to the rest of the dough. Mix thoroughly.
Step 10:
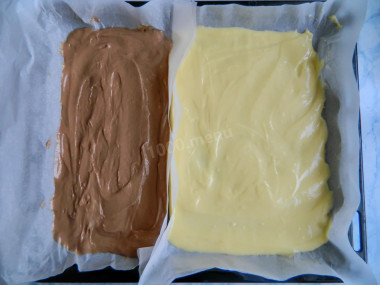
Transfer the dough to a part of the baking sheet for a dark cake. Bake for 10-15 minutes on the middle shelf in a preheated oven on the "top-bottom" mode up to 180 degrees. The cooking time may vary depending on the capabilities of your oven.
Step 11:
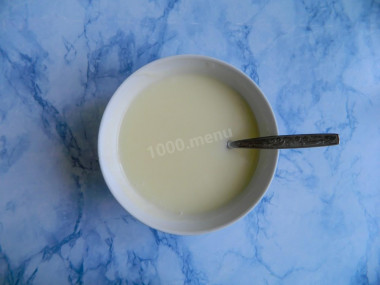
While the cakes are baking, prepare the cream. To do this, mix the sugar with sour cream until it dissolves. Put the resulting cream in the refrigerator until the cakes are completely cooled.
Step 12:
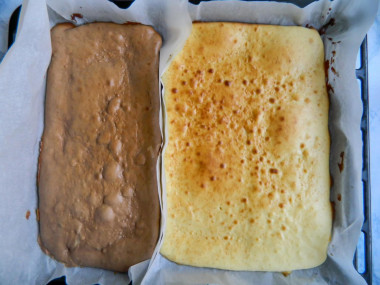
The finished cakes will increase in volume and turn red. Pierce them with a wooden toothpick or skewer in several places. If the dough does not stick to it, then the cakes are ready.
Step 13:

Align the light cake. To do this, carefully cut off the edges with a sharp knife. Divide the cake into 2 identical parts.
Step 14:

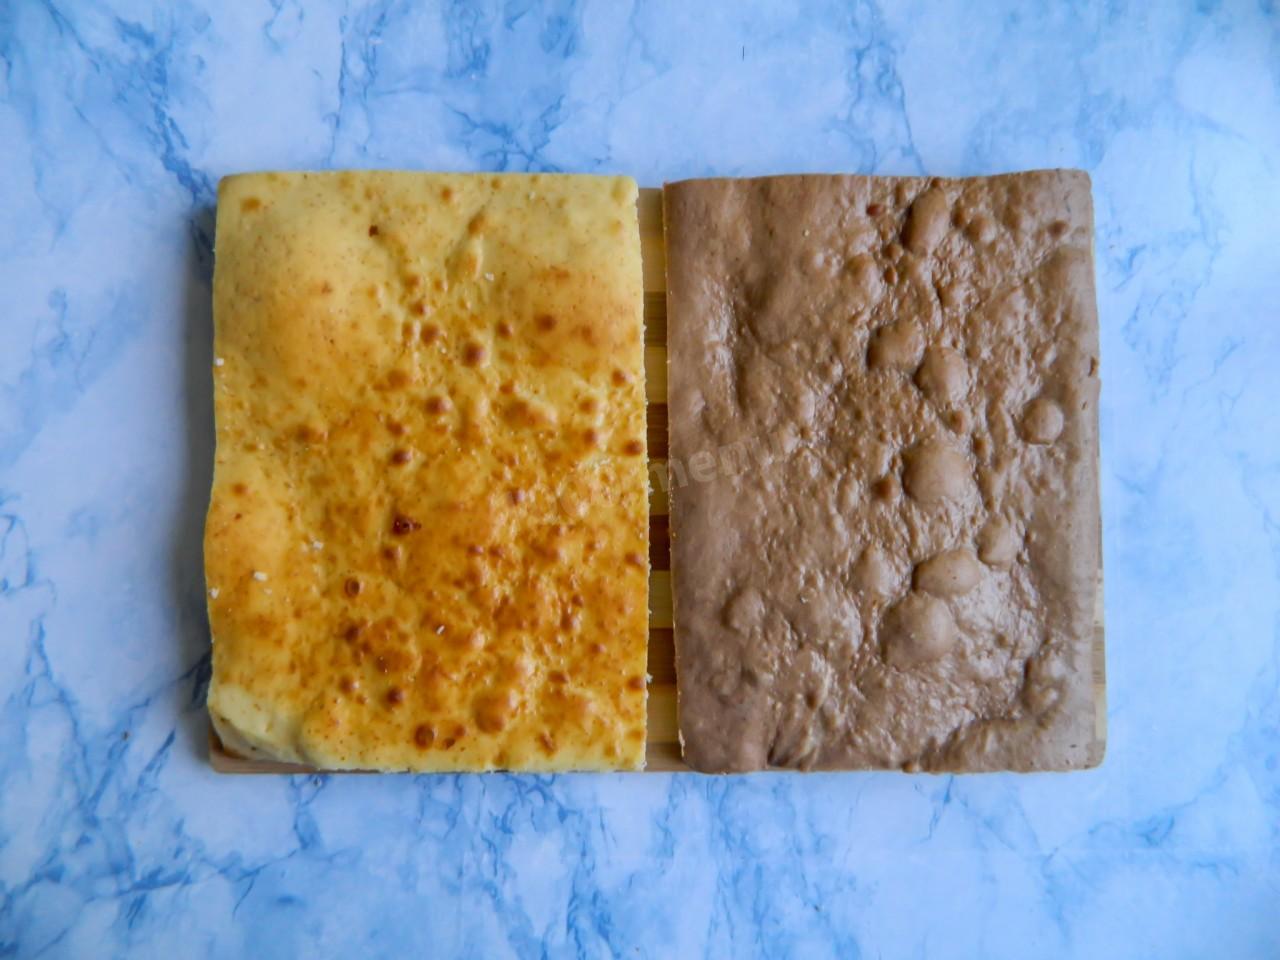
From a dark sponge cake, cut out one cake of the same size as the light ones. Cool the cakes completely. Leave the cut edges and the rest of the dark cake, they will be useful to you later (see steps 17-19).
Step 15:

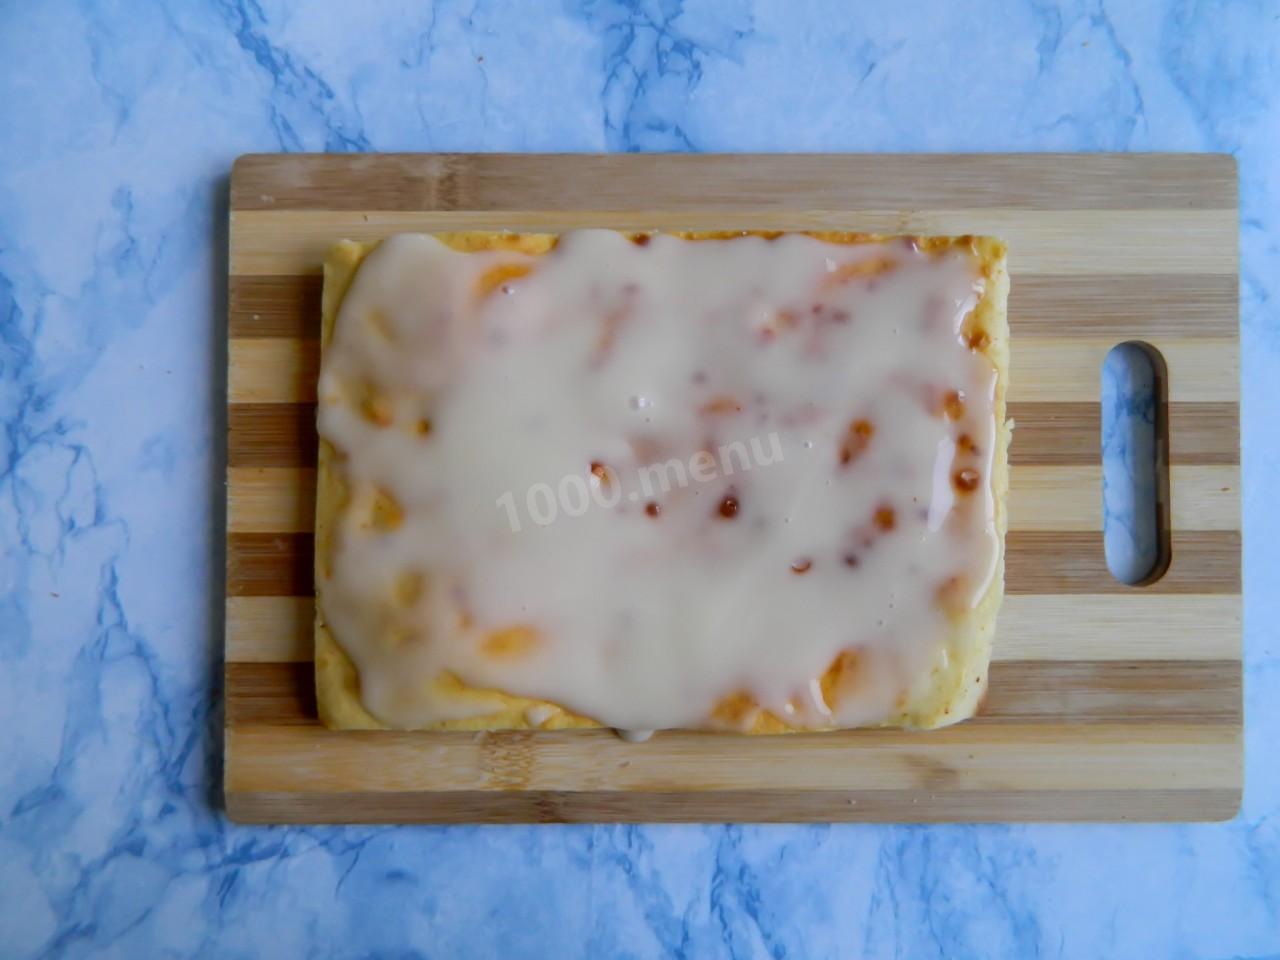
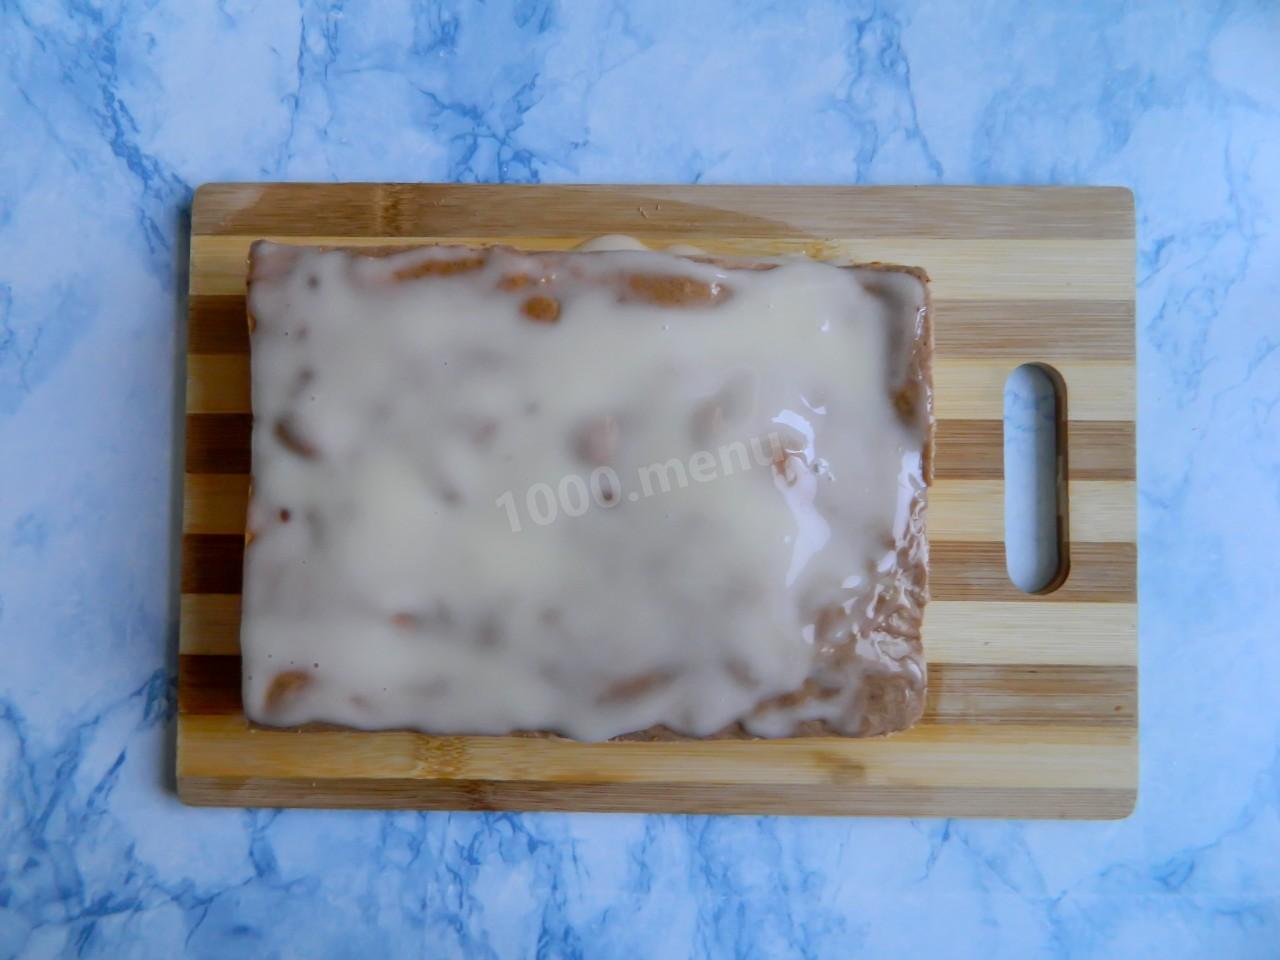
Assemble the cake. Lubricate the first light cake with cream. Sour cream of even one fat content may differ in structure and consistency. And sour cream can turn out to be quite liquid. To prevent it from draining from the cakes, lubricate first with a thin layer, soak for 2-3 minutes so that it permeates the surface, and then apply a thicker layer of cream.
Step 16:

Cover with the second cake, press down slightly and, similarly to step 15, lubricate the second and third cakes.
Step 17:
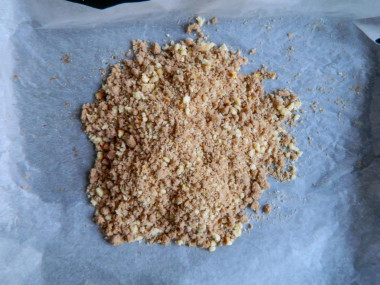
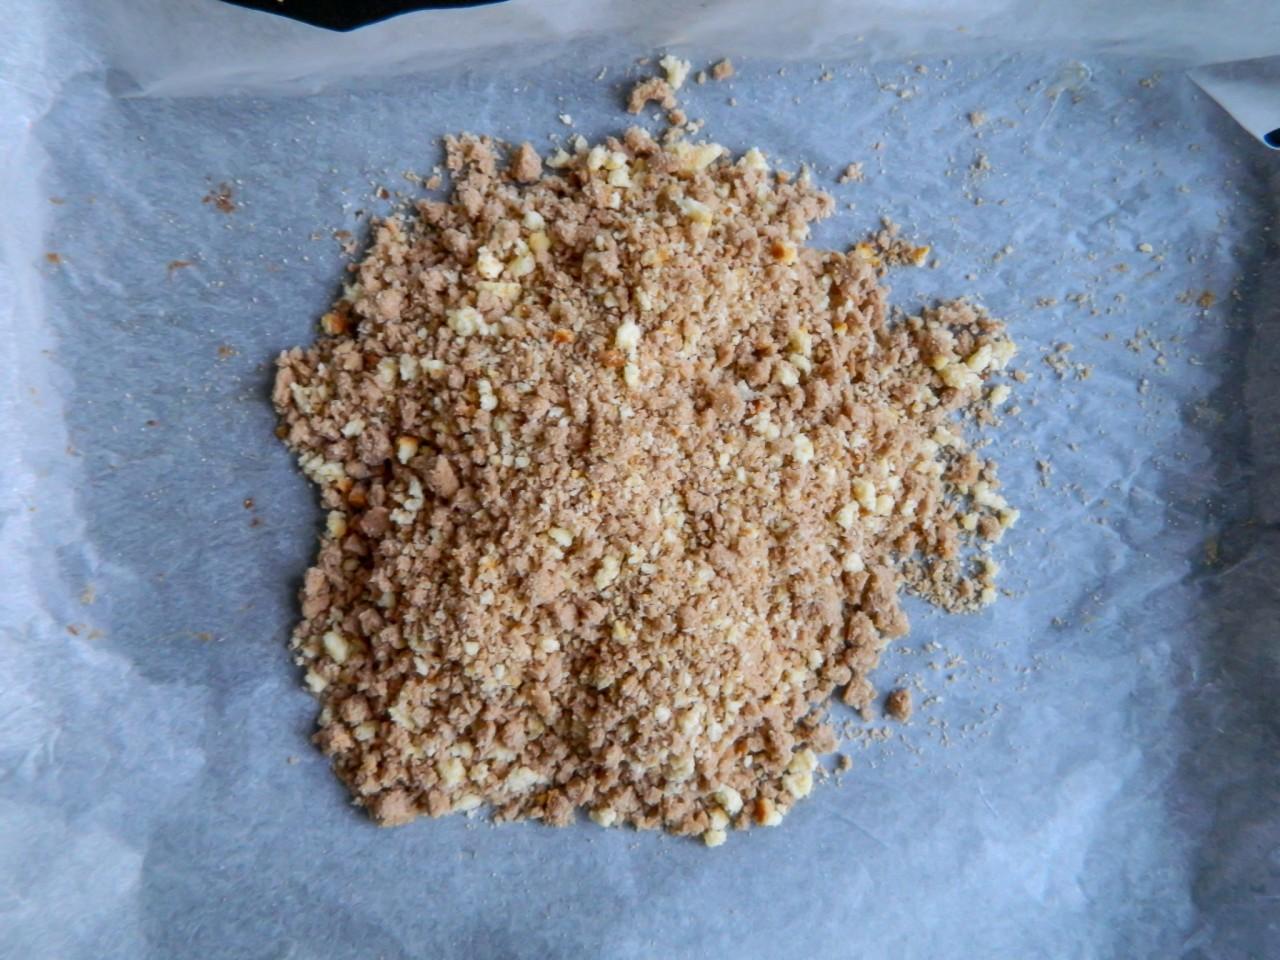
Make a crumb from the pieces of cakes that have become. If they are wet enough and hard to grind, place them in a preheated oven for 2-3 minutes, they will dry out and they can be easily crushed. You can grind it by rubbing it with your hands, or you can cover it with parchment and walk with a rolling pin. I like it better with my hands, because the crumb turns out to be very small and uniform.
Step 18:
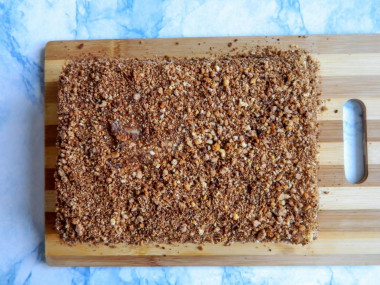
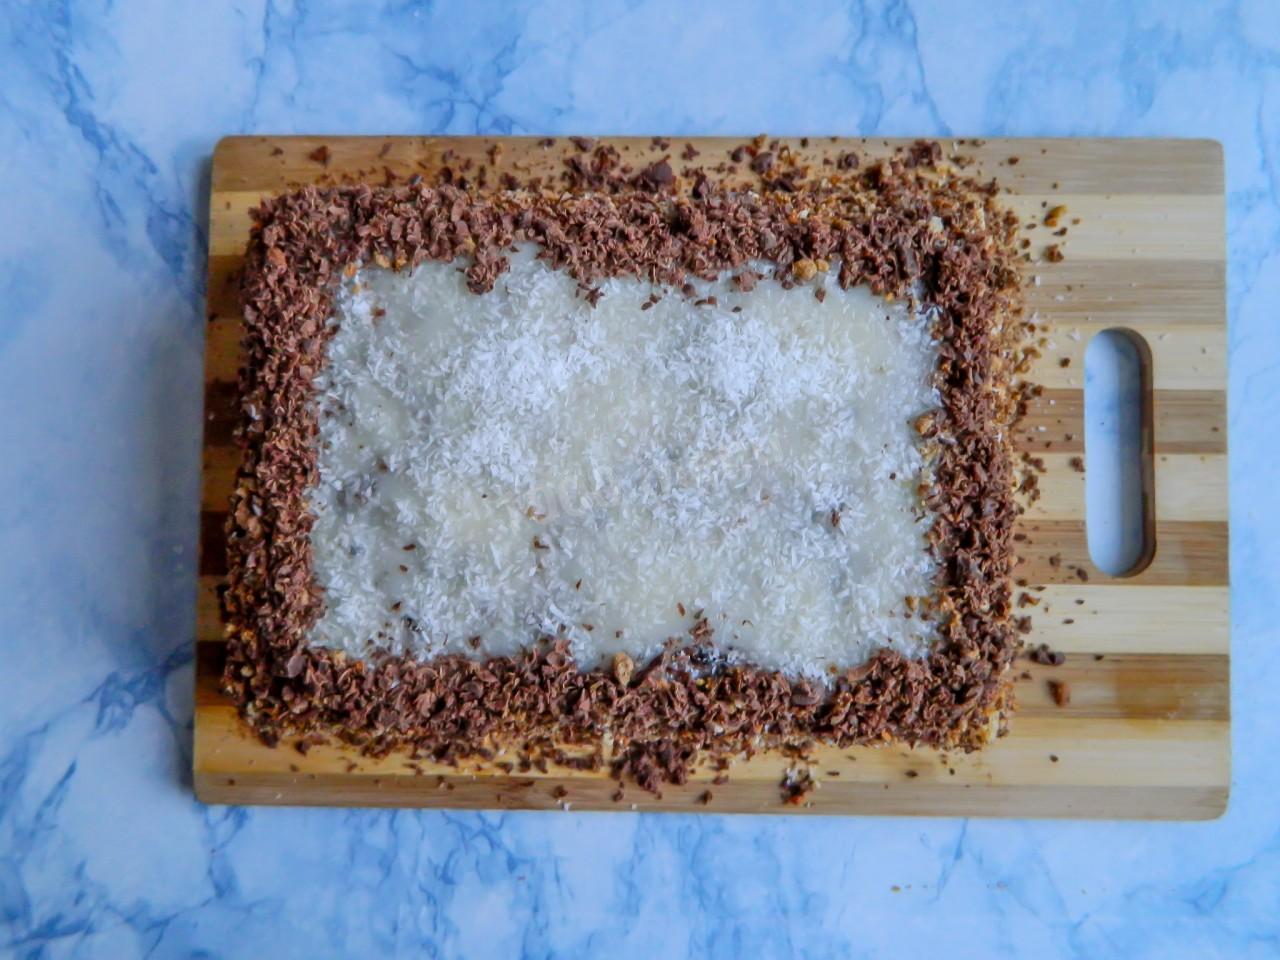
Cover the top of the cake with a crumb and, in principle, it can be soaked. I still have cream and crumbs left and I smeared the sides with cream and sprinkled them with crumbs too.
Step 19:
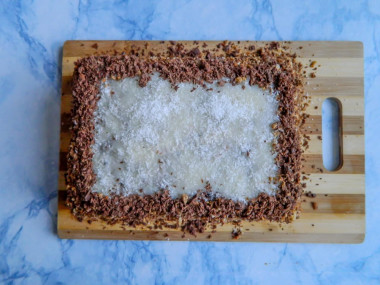
If desired and on a special occasion, the cake can be decorated. to do this, I sprinkled the top with coconut shavings, and grated bitter chocolate around the edges. So the cake began to look more aesthetically pleasing.


The cake is prepared very quickly - this is its main advantage. In addition, I am glad that the composition is just such a whole milk - and condensed milk and sour cream.
You can experiment with filling and decoration. The taste of the cake will only improve from this.
Be prepared for the fact that you may need more or less flour than indicated in the recipe. Focus not on the amount of flour, but on the desired consistency of the dough. Read a lot of useful information about flour and its properties in this article!
Keep in mind that everyone's ovens are different. The temperature and cooking time may differ from those specified in the recipe. To make any baked dish successful, use useful information in this article !
Caloric content of the products possible in the composition of the dish
- Sour cream of 30% fat content - 340 kcal/100g
- Sour cream of 25% fat content - 284 kcal/100g
- Sour cream with 20% fat content - 210 kcal/100g
- Sour cream of 10% fat content - 115 kcal/100g
- Sour cream - 210 kcal/100g
- Granulated sugar - 398 kcal/100g
- Sugar - 398 kcal/100g
- Condensed milk with sugar - 324 kcal/100g
- Butter 82% - 734 kcal/100g
- Amateur unsalted butter - 709 kcal/100g
- Unsalted peasant butter - 661 kcal/100g
- Peasant salted butter - 652 kcal/100g
- Melted butter - 869 kcal/100g
- Cocoa powder - 374 kcal/100g
- Lemon juice - 16 kcal/100g
- Wheat flour - 325 kcal/100g
- Coconut chips - 592 kcal/100g
- Chocolate 70 % - 539 kcal/100g
- Dark chocolate - 539 kcal/100g
- Baking soda - 0 kcal/100g
- Chicken egg - 80 kcal/100g