

Composition / ingredients
Step-by-step cooking
Step 1:
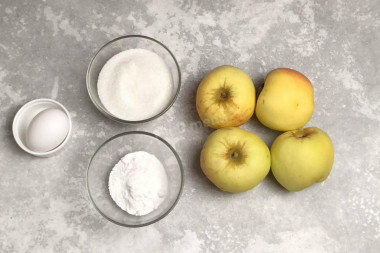
How to make belevsky pastille from apples at home? Prepare the products. For this type of pastille, Antonovka apples are best suited, besides they have an increased content of pectin, which is important. But you can make from any variety.
Step 2:

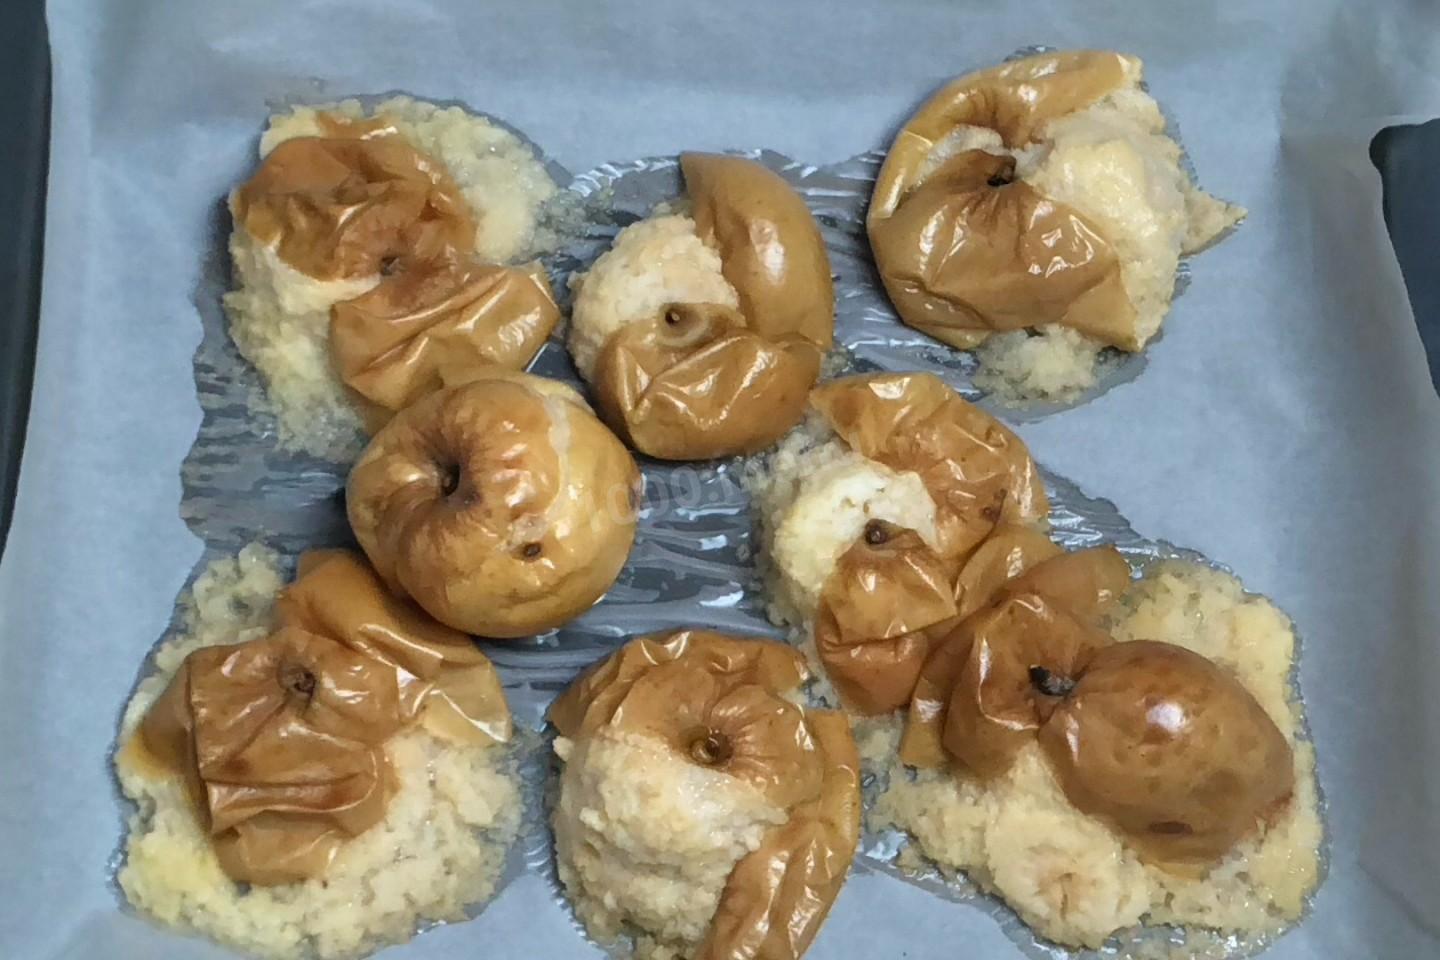
Wash the apples, dry them and put them to bake in the oven at 180 degrees. I did it on a baking sheet covered with baking paper. Apples should be completely baked, do not look that they have lost their shape and do not look beautiful, the main thing is a well—baked pulp.
Step 3:
Cool the apples and separate the pulp from the peel and seeds. This is very easy to do directly with your hands. In the old days, housewives wiped apples through a sieve, but this is a very time-consuming process, especially when it is necessary to process a large number of apples.
Step 4:
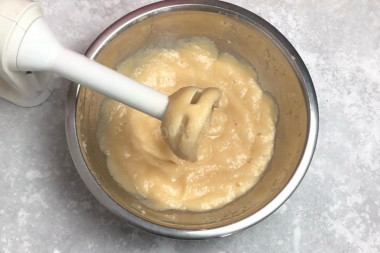
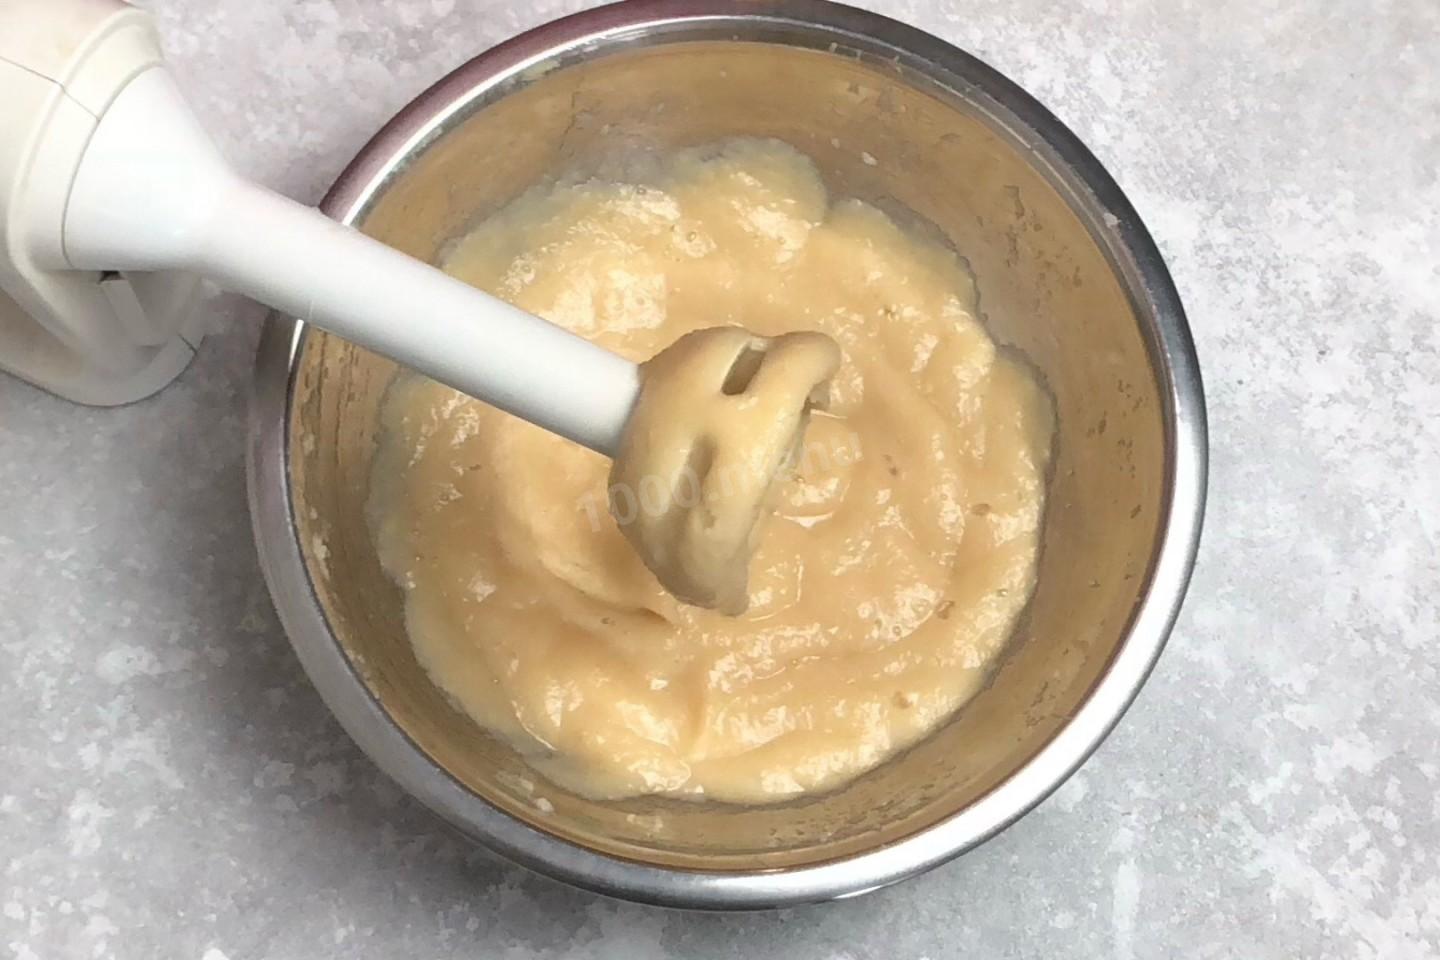
Then punch the puree properly with a blender so that it turns into a homogeneous mass. If you do not have a blender, then take a sieve, mash the puree faster. The finished puree must be weighed. And for every 500 grams of mashed potatoes, take 170 grams of sugar.
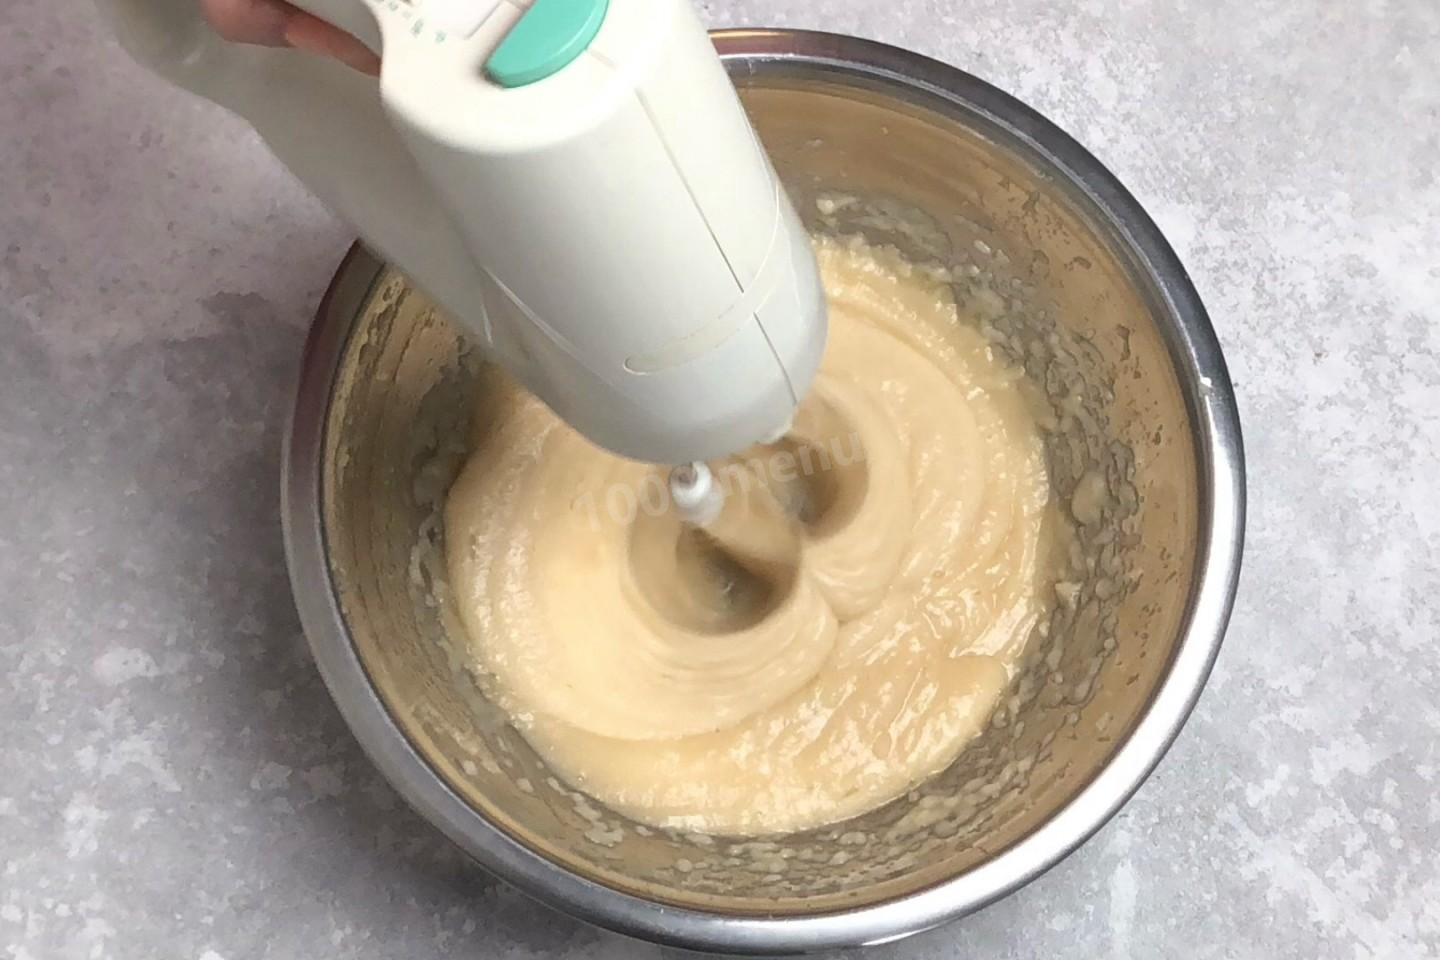
Step 5:
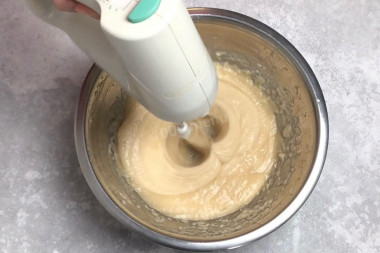
Now beat the puree with a mixer. Start whipping and add protein and sugar in the process. Pour in the sugar gradually, each time mixing the next portion well.
Step 6:
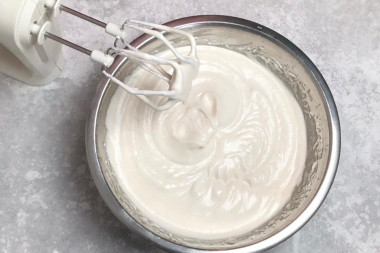
The result should be a lush white mass, very similar to whipped whites. I whipped mine for about 10 minutes.
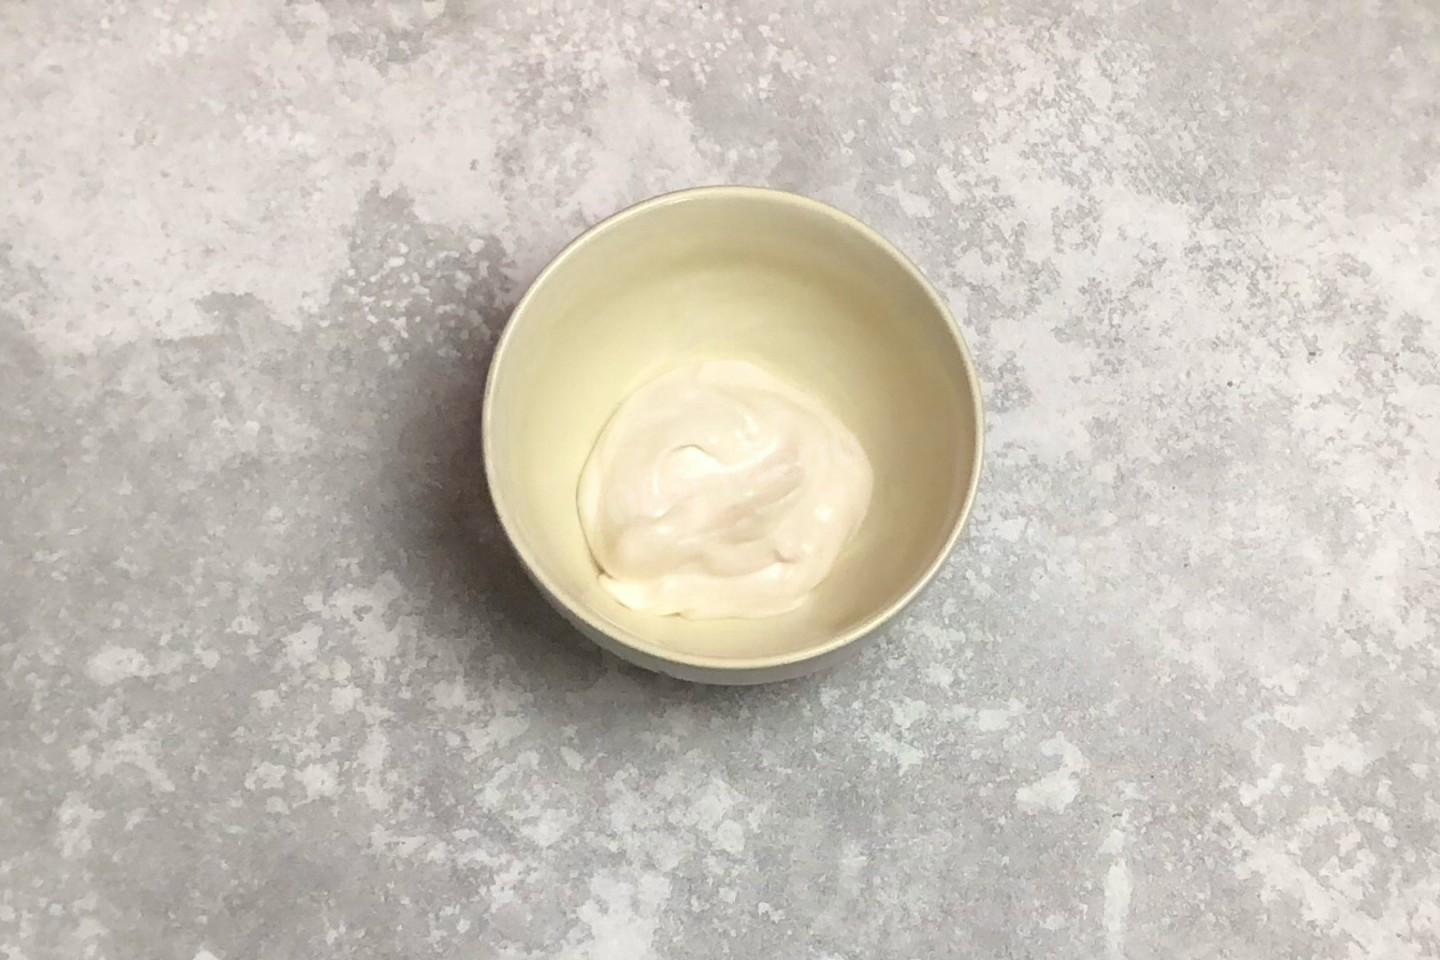
Step 7:

Set aside about 4 tablespoons and put them in the refrigerator, this will glue the layers of pastilles in the future.
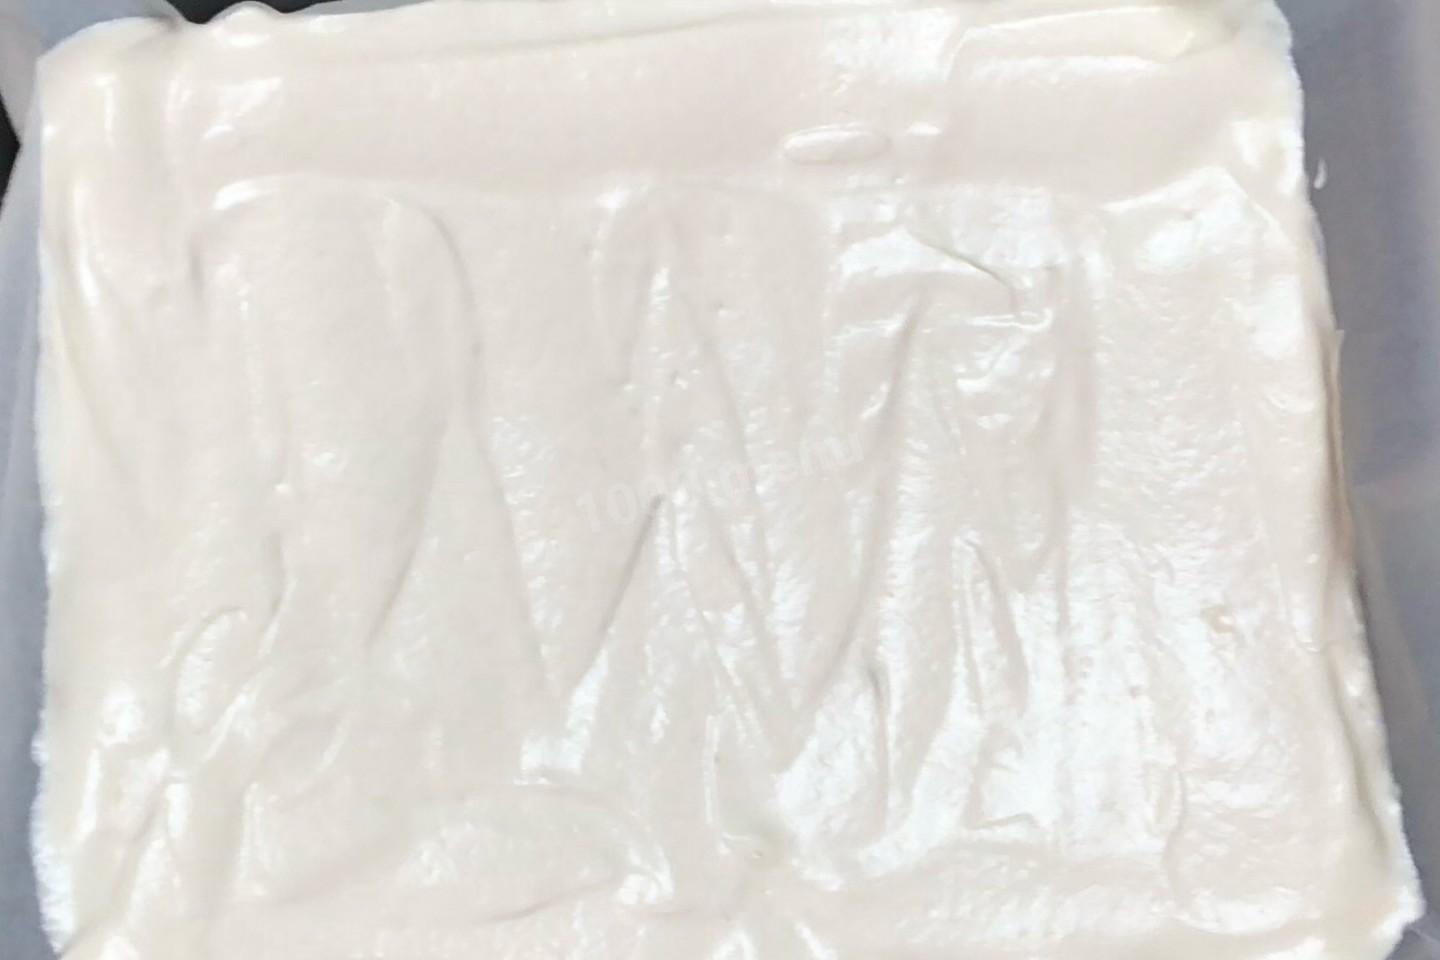
Step 8:
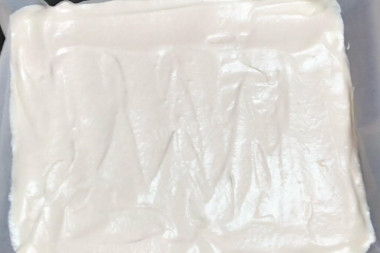
Cover the baking sheet with baking paper and put the beaten puree on it in an even layer, about 1.5 cm thick. Smooth it out with a spatula.
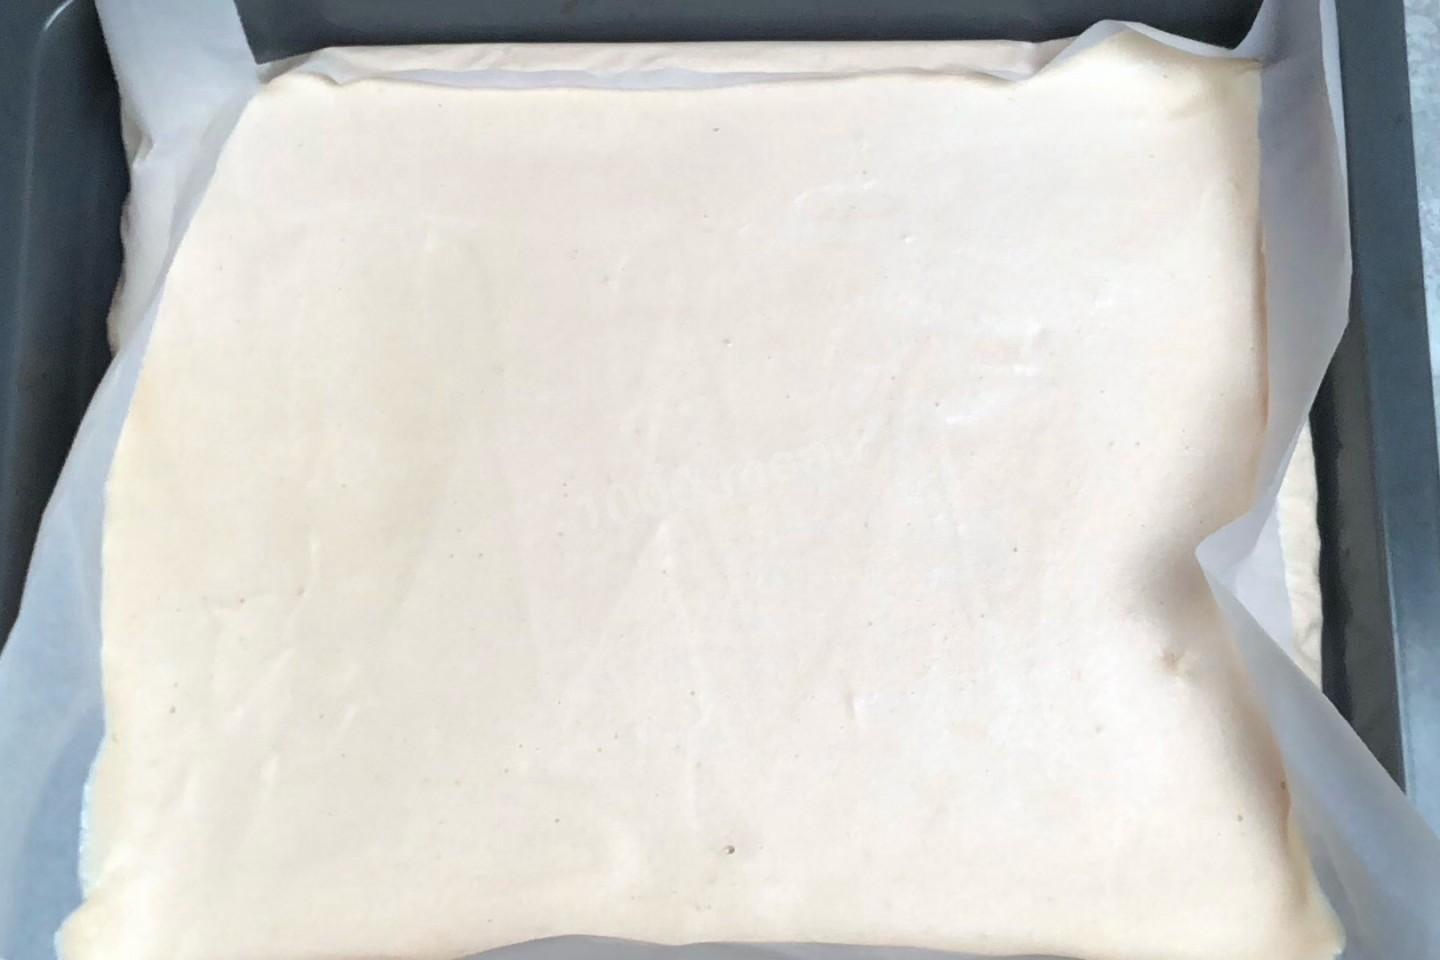
Step 9:
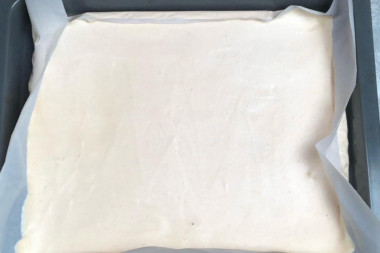
Now the longest and least time-consuming process will begin. We will dry the pastille in the oven. The temperature should be low, about 70-80 degrees. At a higher temperature, the pastille will turn into meringue. Dry with the oven door ajar, for this I inserted a spatula into the gap so that the moisture evaporated and came out. It should be dried for 4-6 hours, it depends on the oven and the volume of the pastille. It should become a cream color and stop sticking.
Step 10:
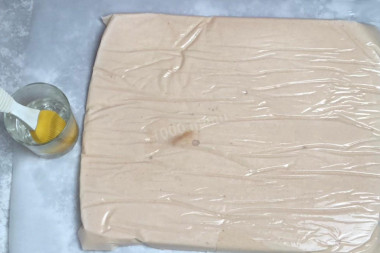
Let the dried pastille cool and soak for 12 hours. Remove the paper from the pastille. This process is not the easiest. It is better to wet the paper beforehand, then it will be more fun.
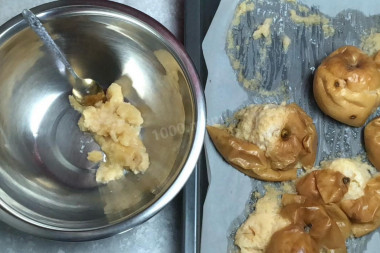
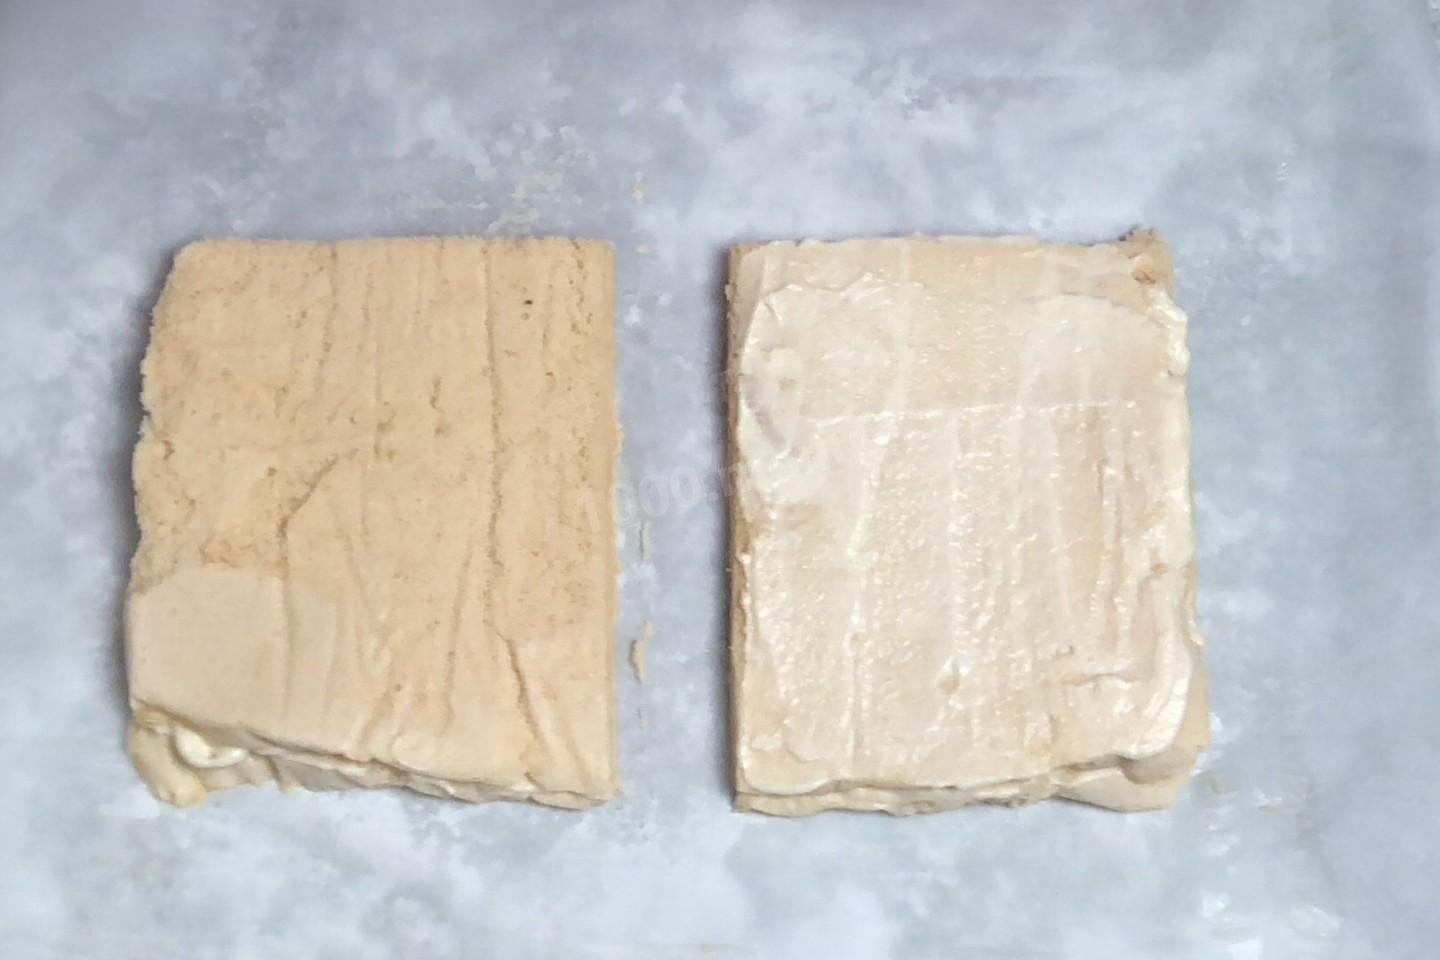
Step 11:
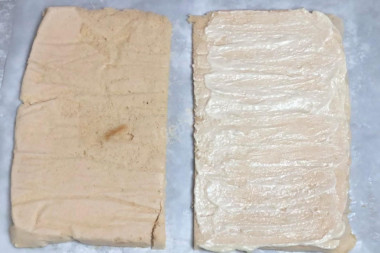
Form a pastille. It should consist of several layers glued together. How many there will be is up to you. Depending on this, cut the formation into the desired number of parts. I will make 4 layers, so I cut into two parts, lubricate one part with a thin layer of delayed puree and put one on top of the other.
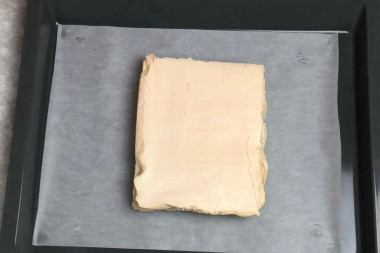
Step 12:

I cut the resulting workpiece in half again, lubricate one part, put one on top of the other. It turned out 4 layers.
Step 13:
Dry the pastille again, putting it in the oven for 1.5-2 hours, the temperature is 70-90 degrees, the door is ajar. After the end of the time, leave the pastille to cool down and rest for 12 hours.
Step 14:

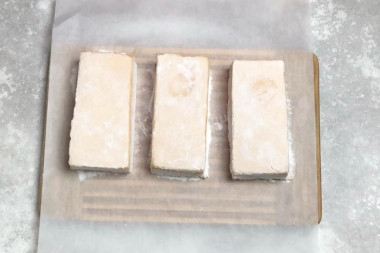
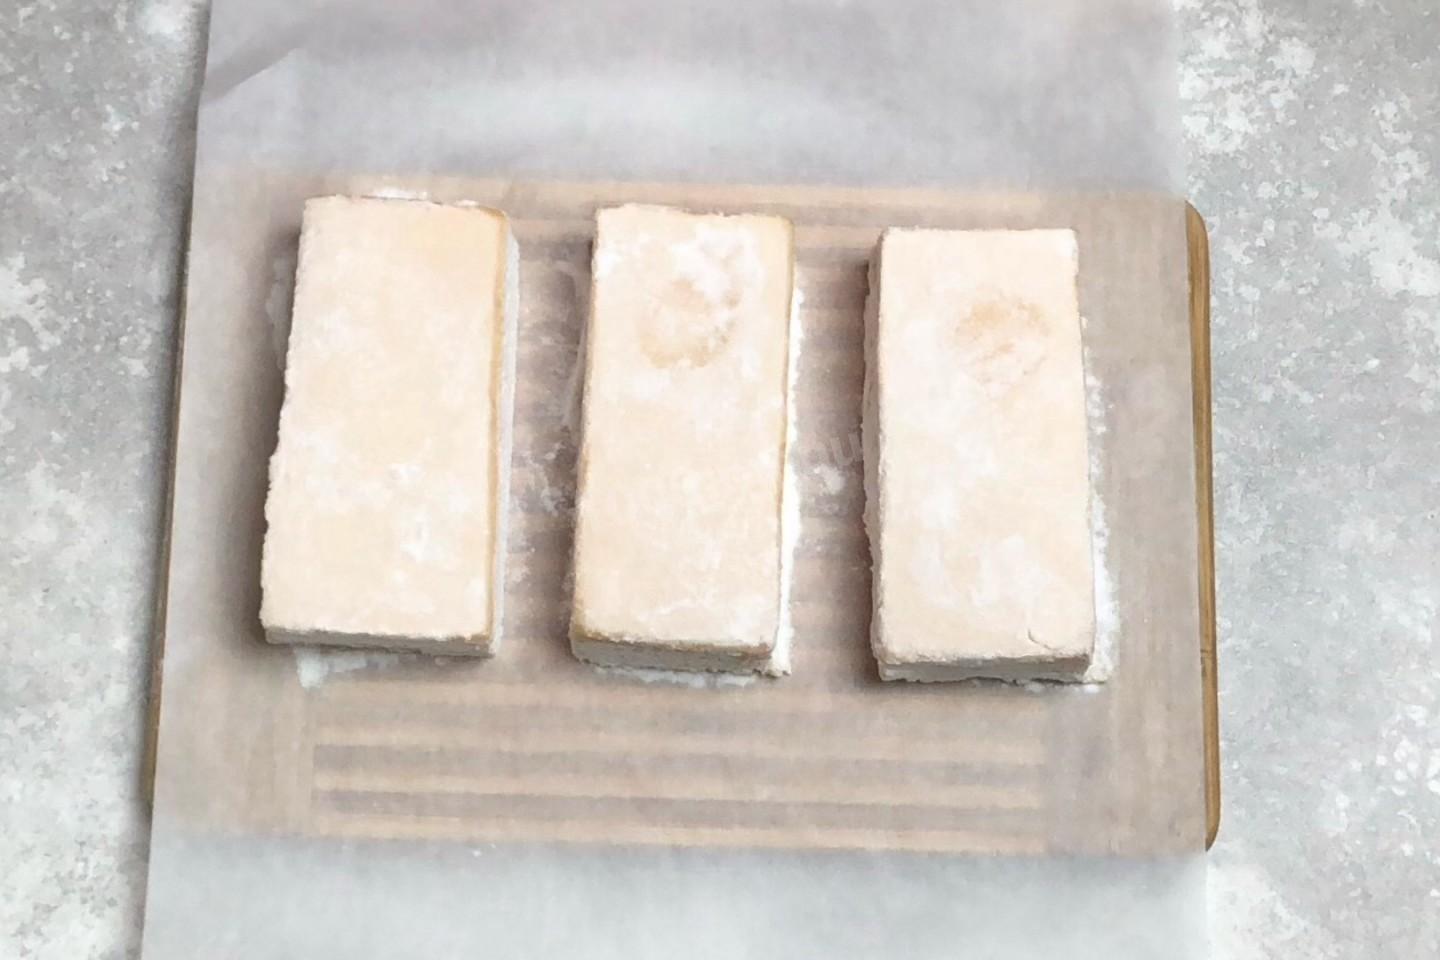
The pastille is ready, you can cut it. To make the knife cut easily and not crumple the layers, I advise you to moisten it with cold water. I also cut off the uneven edges.
Step 15:
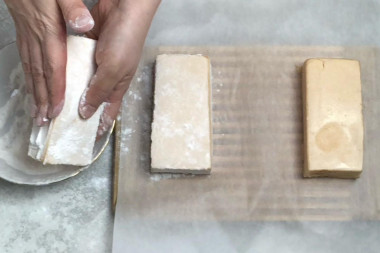
The last step left is to rub powdered sugar into all the surfaces of the pastille. It is easy and pleasant to do this — the pastille absolutely does not stick to your hands, and accepts the powder willingly.
Step 16:
The pastille is ready, you can use it immediately or, wrapped in parchment, put it in a cold place for storage. Bon appetit!


I was afraid to take up this recipe, it seemed very complicated. But in fact, everything is not so difficult!
Difficulties arose with tearing off the paper and slicing. I advise you to take good quality paper, perhaps it will be easier with it.
I would have increased the amount of sugar to 200 grams, but my apples were sour.
Be sure to wash the eggs before use, as even the seemingly clean shell may contain harmful bacteria. It is best to use food detergents and a brush.
Keep in mind that everyone's ovens are different. The temperature and cooking time may differ from those specified in the recipe. To make any baked dish successful, use the useful information about the features of ovens !
Caloric content of the products possible in the composition of the dish
- Apples - 47 kcal/100g
- Dried apples - 210 kcal/100g
- Canned apple mousse - 61 kcal/100g
- Granulated sugar - 398 kcal/100g
- Sugar - 398 kcal/100g
- Powdered sugar - 374 kcal/100g
- Egg whites - 44 kcal/100g