


Composition / ingredients
Step-by-step cooking
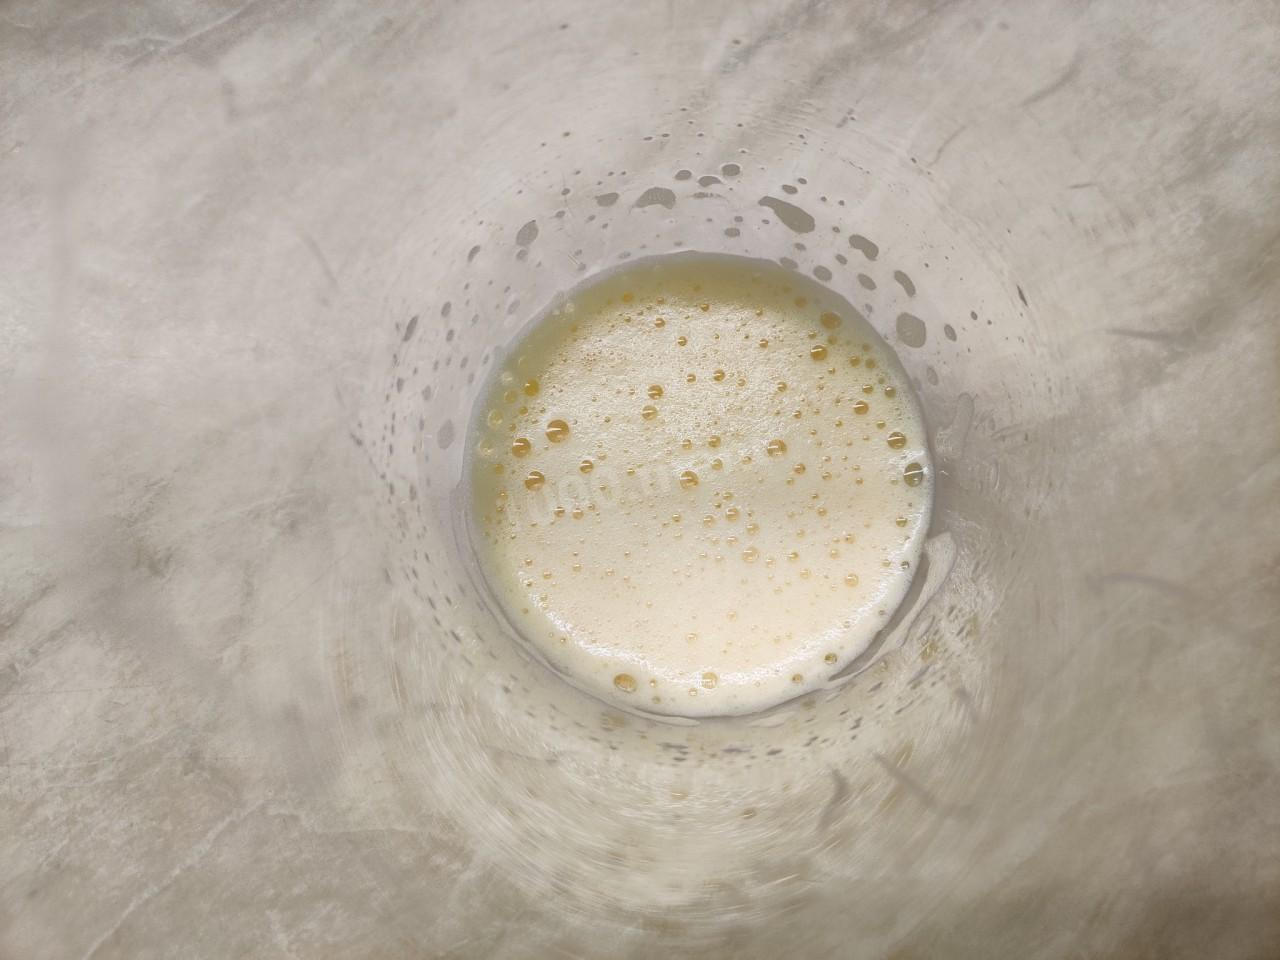
Step 1:

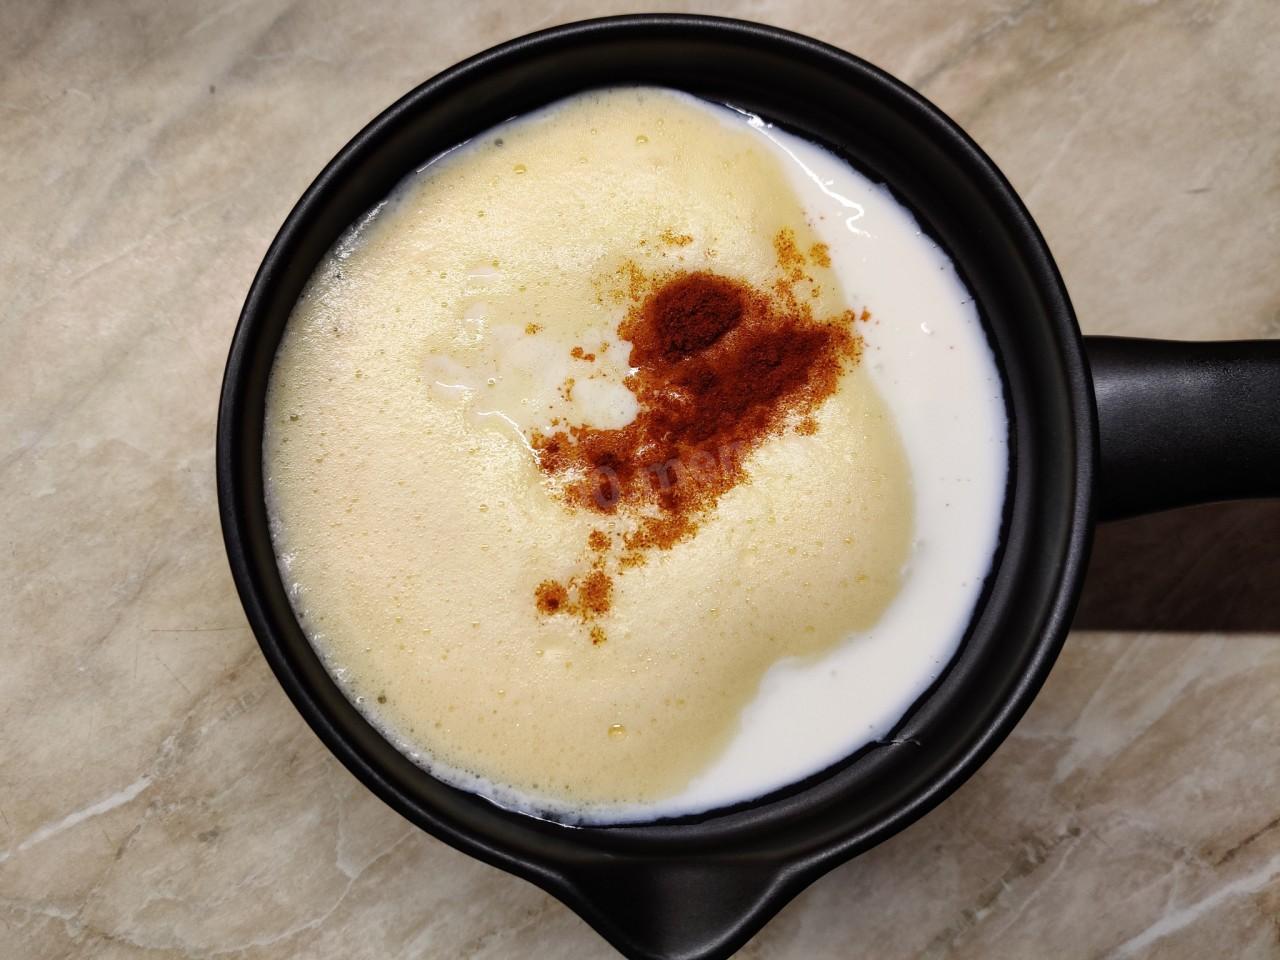
Beat the egg into a mixer glass, add salt and beat with a mixer until a light fluffy foam appears.
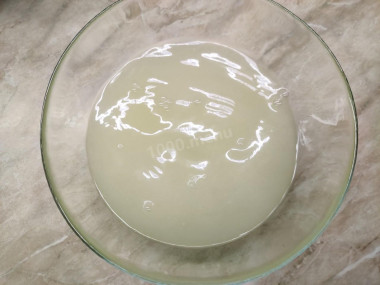
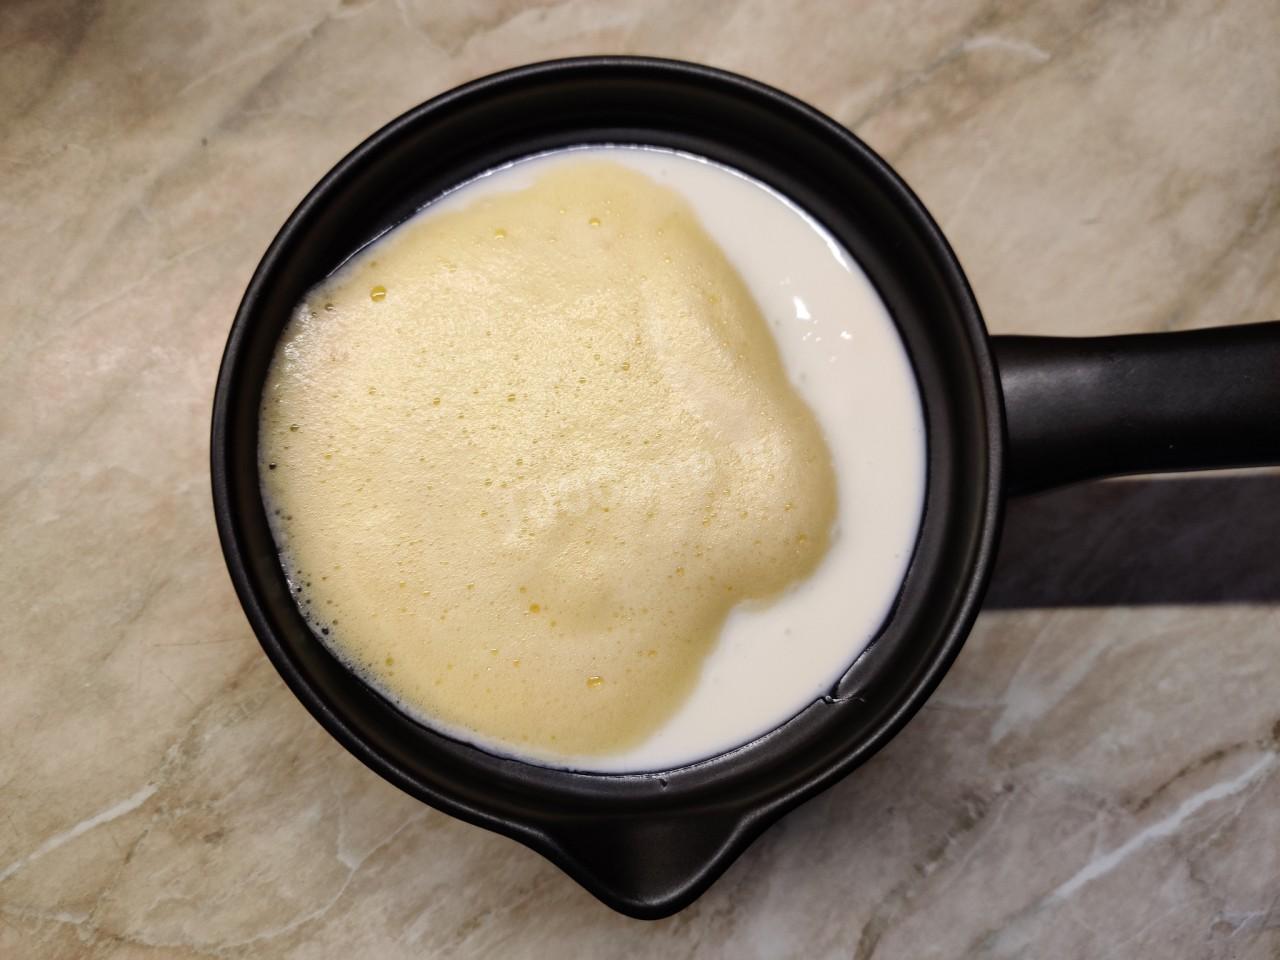
Step 2:

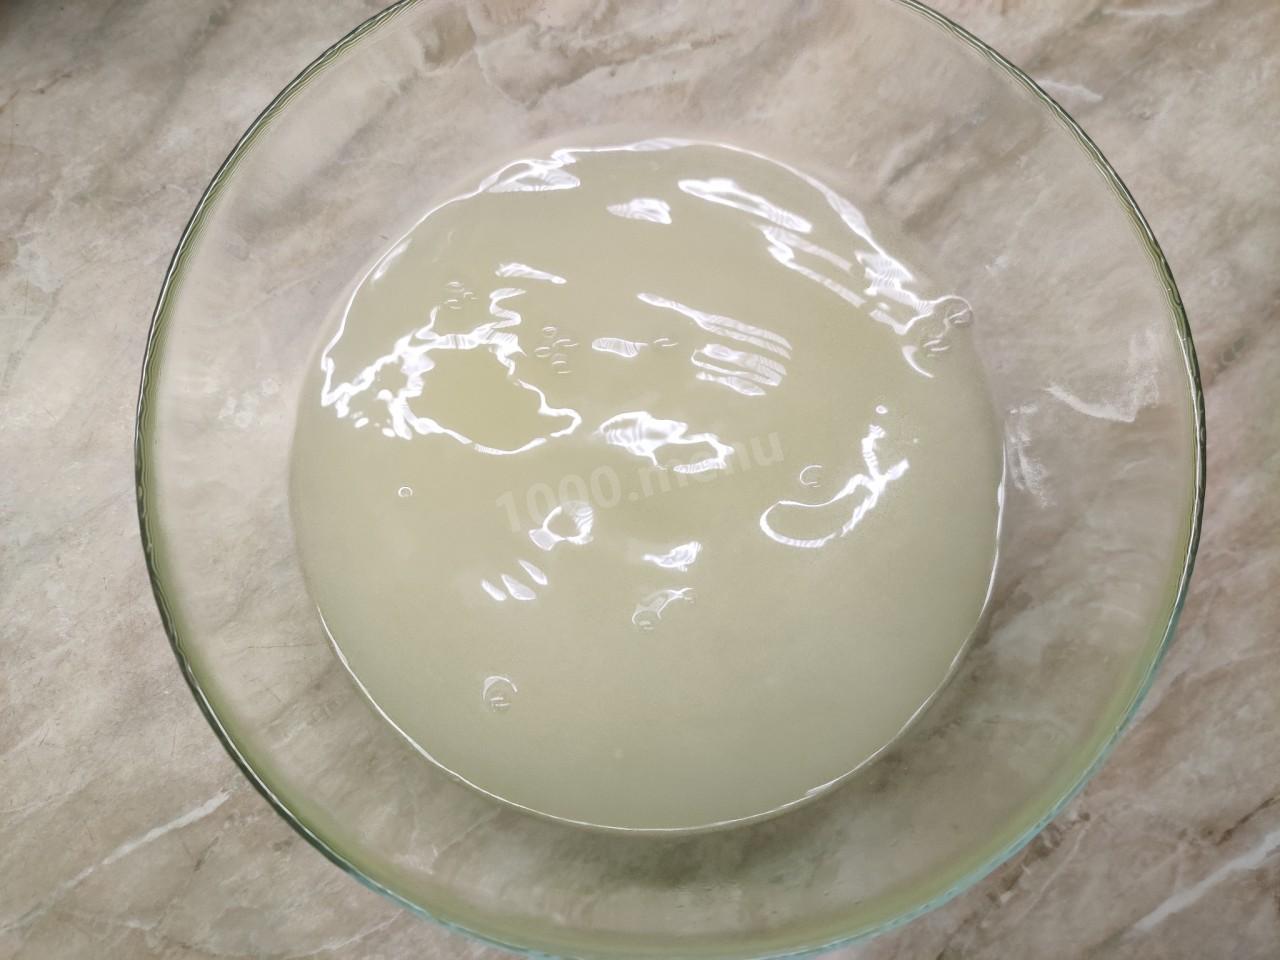
Pour the sour milk into a saucepan and add the beaten egg there.
Step 3:
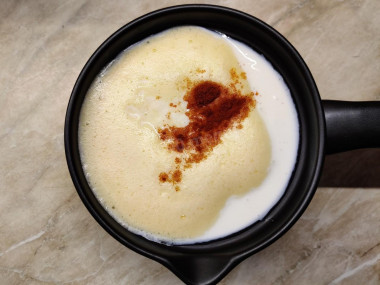
To make the cheese spicy, add dried paprika. This spice will color the future cheese in a light yellow color. In general, you can add any spices to taste.
Step 4:
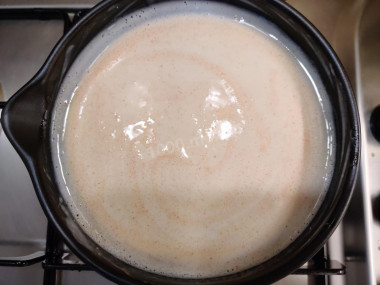
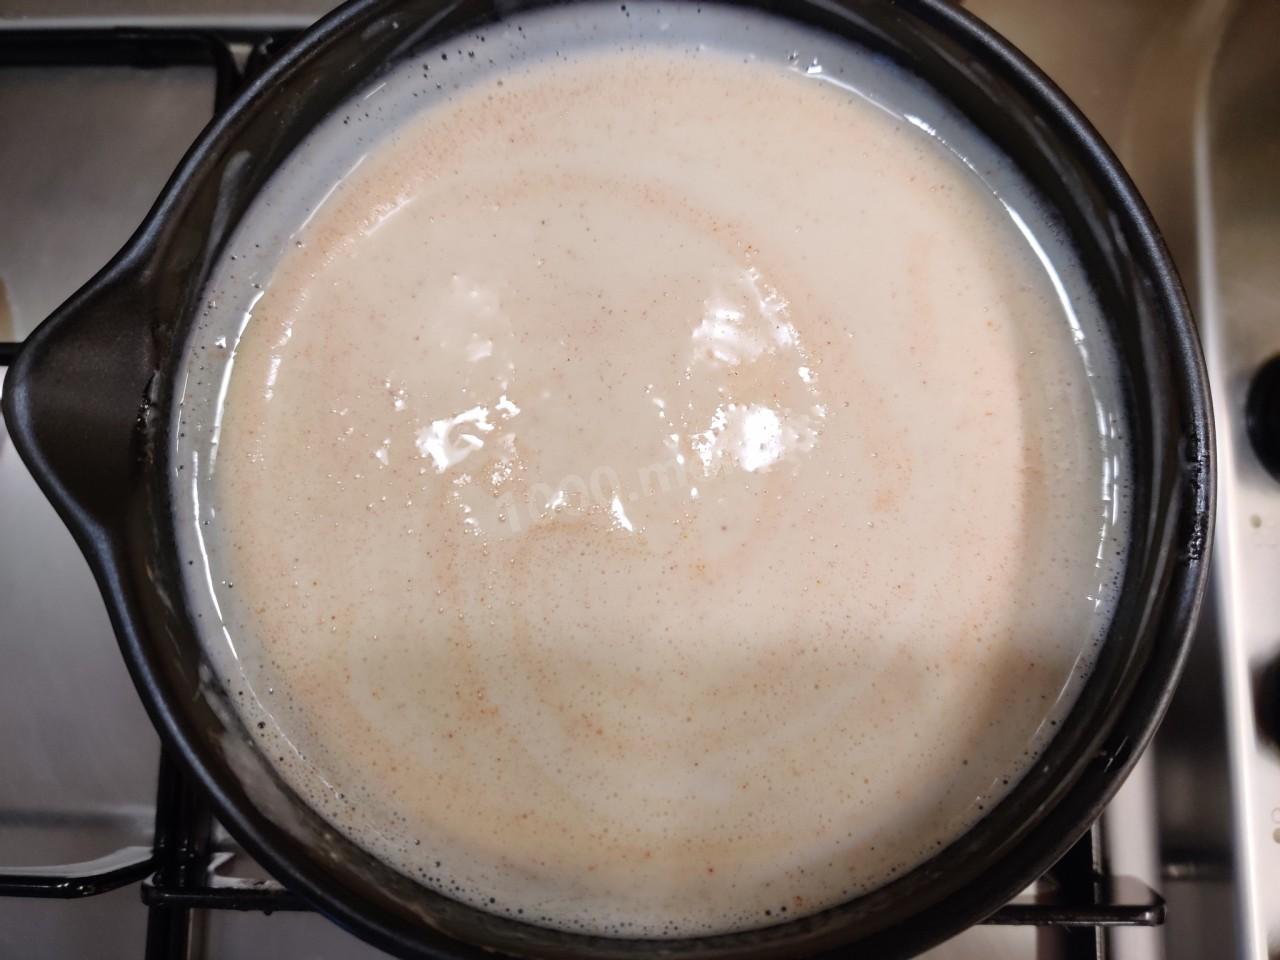
Stir the mixture and put it on a slow fire to boil.
Step 5:

As the milk boils, the whey will separate, and the milk itself will curdle into curd flakes. This is a signal that it's time to remove the mass from the fire.
Step 6:

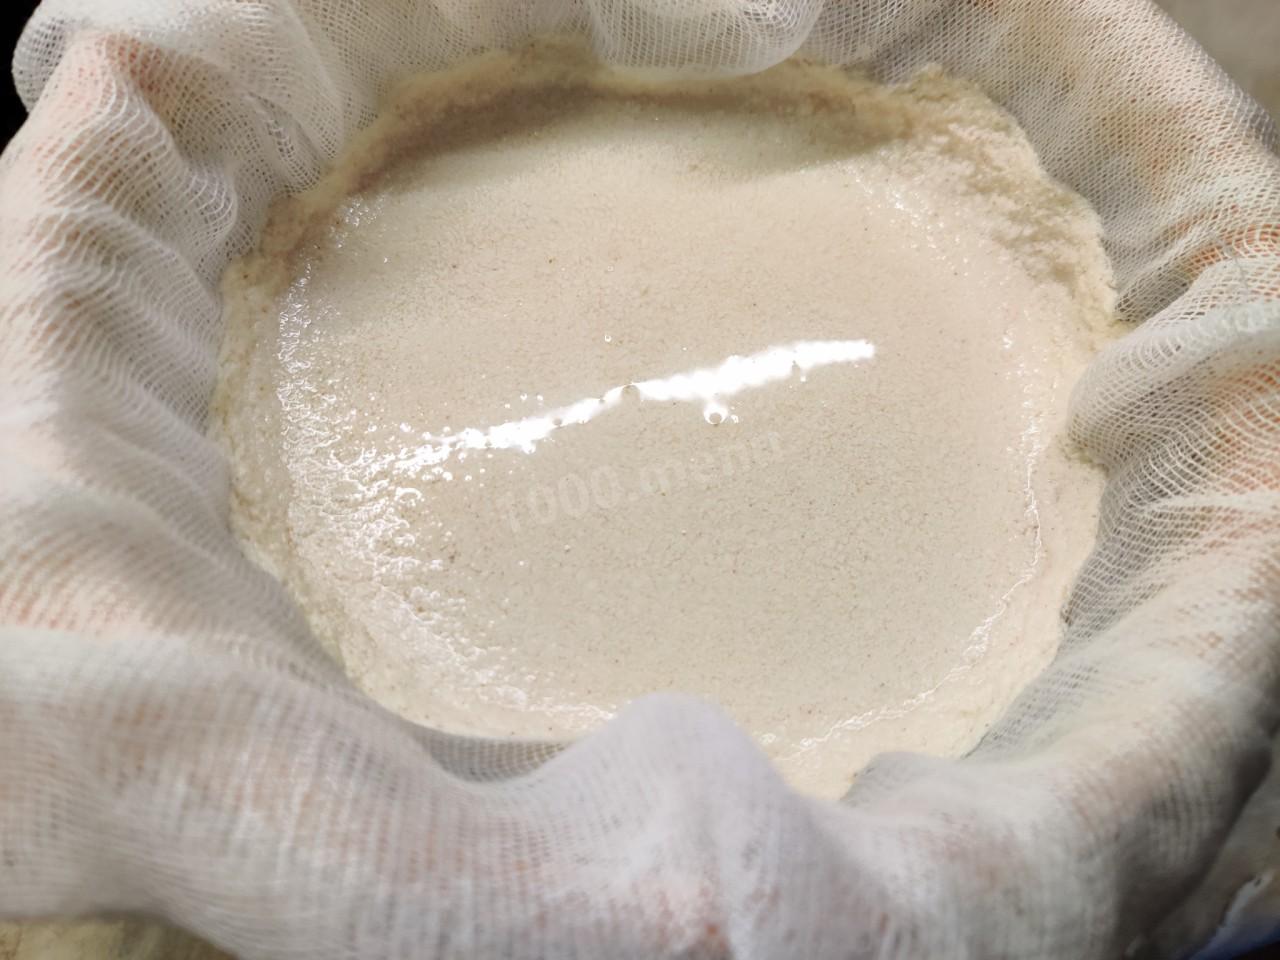
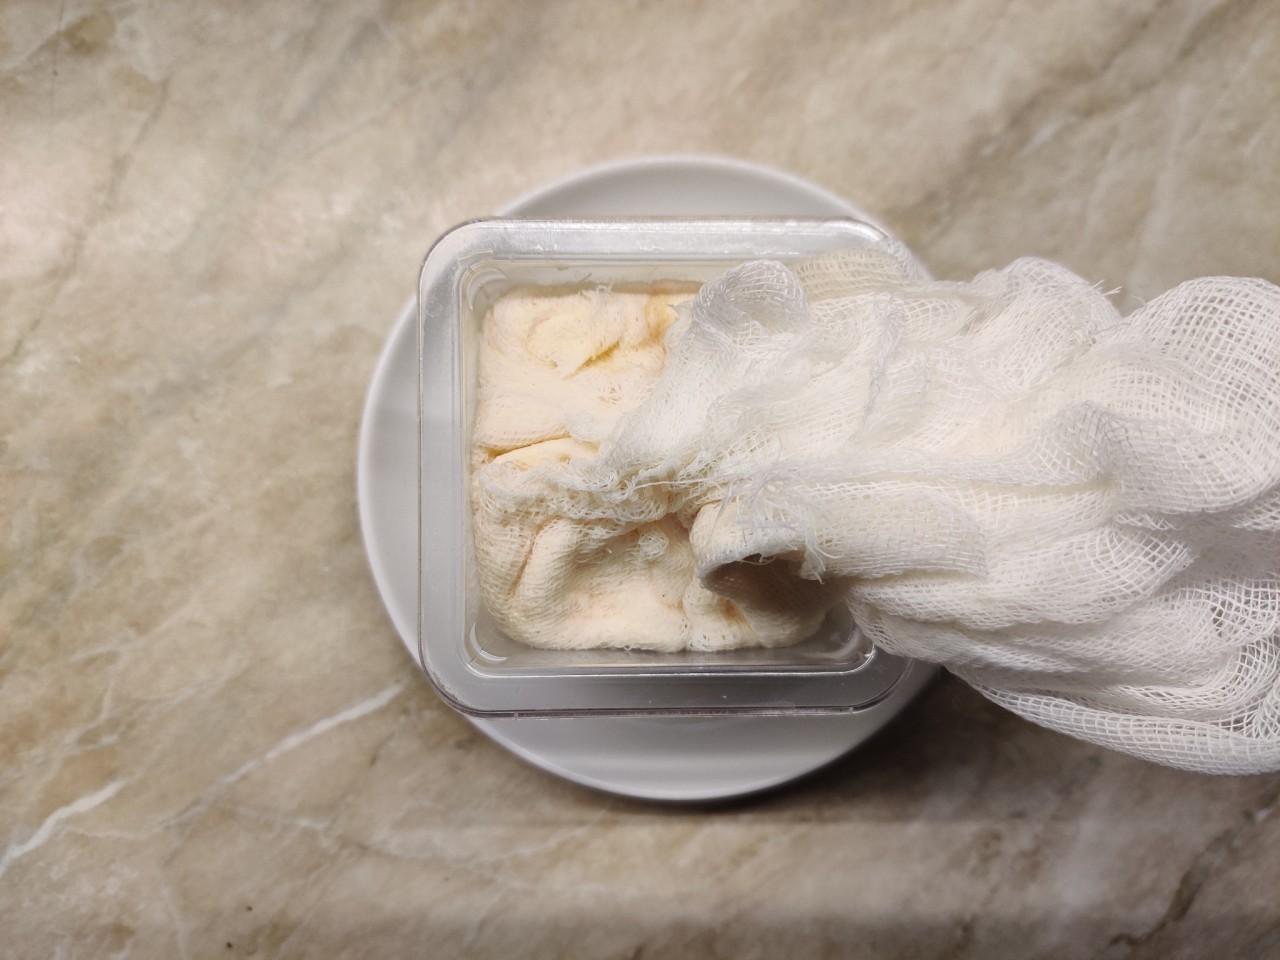
Cover the colander with two layers of thick gauze. If you have gauze with a looser weave, then you may need up to four layers.
Step 7:

Pour the hot cheese mass into a colander.
Step 8:

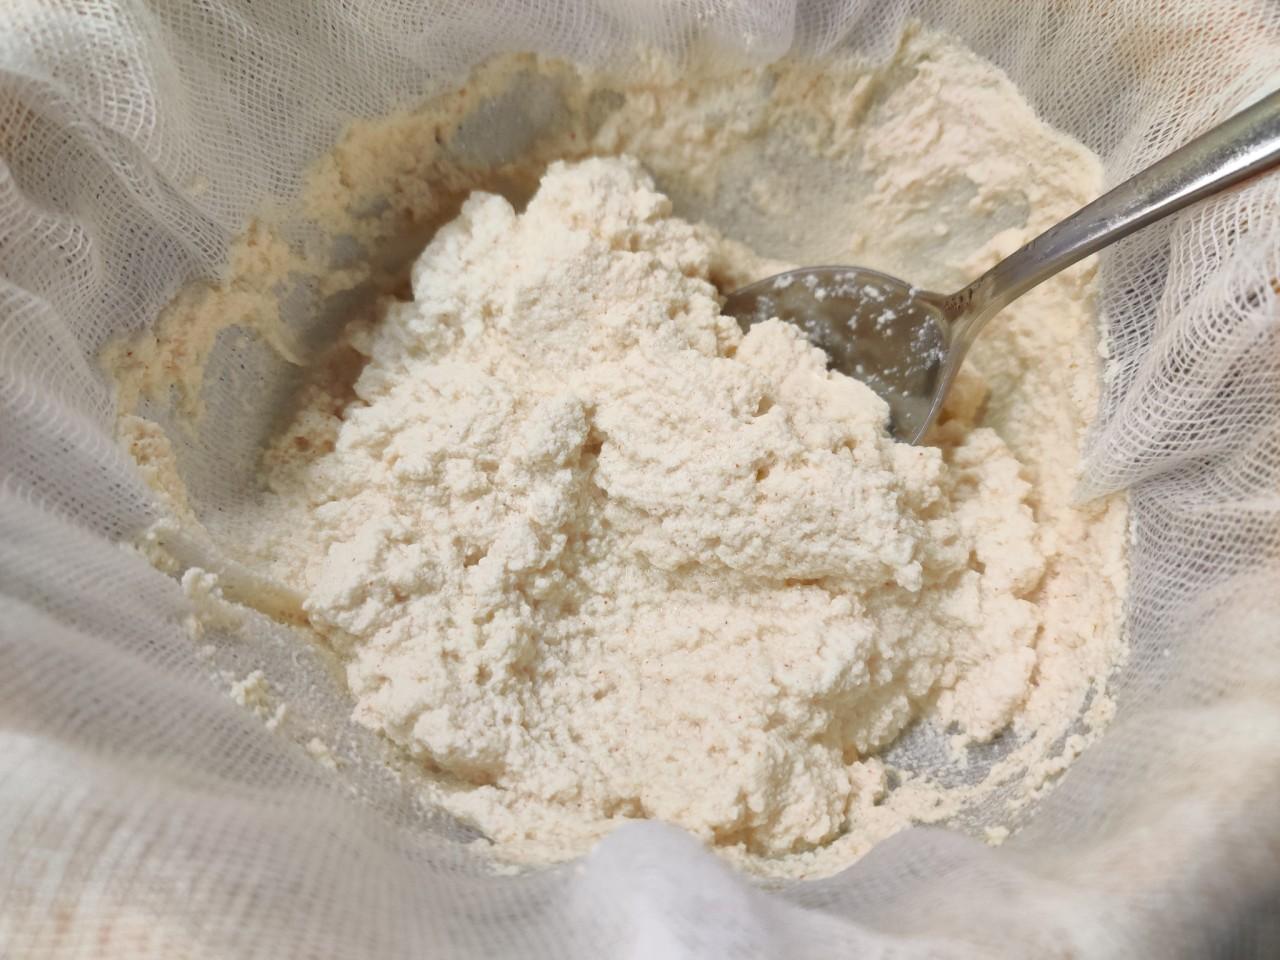
Stir with a tablespoon, helping the whey drain into the bowl.
Step 9:
Don't rush to pour out the serum, it's a valuable product! On the basis of whey, the most delicious yeast bread is obtained.
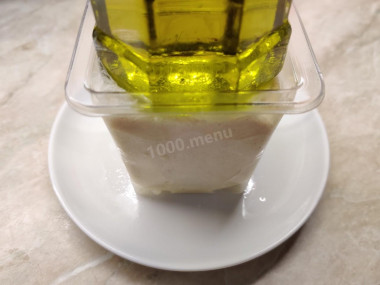
Step 10:

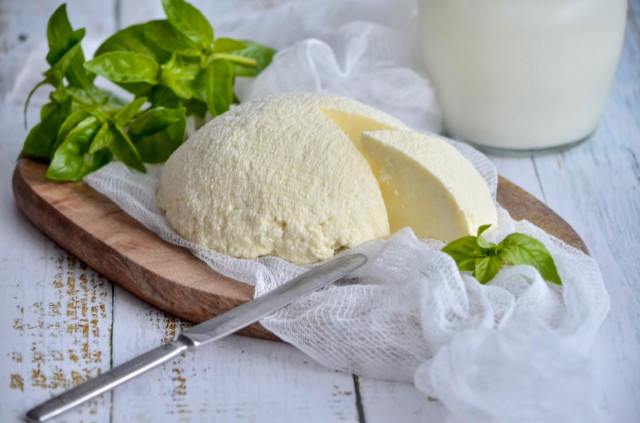
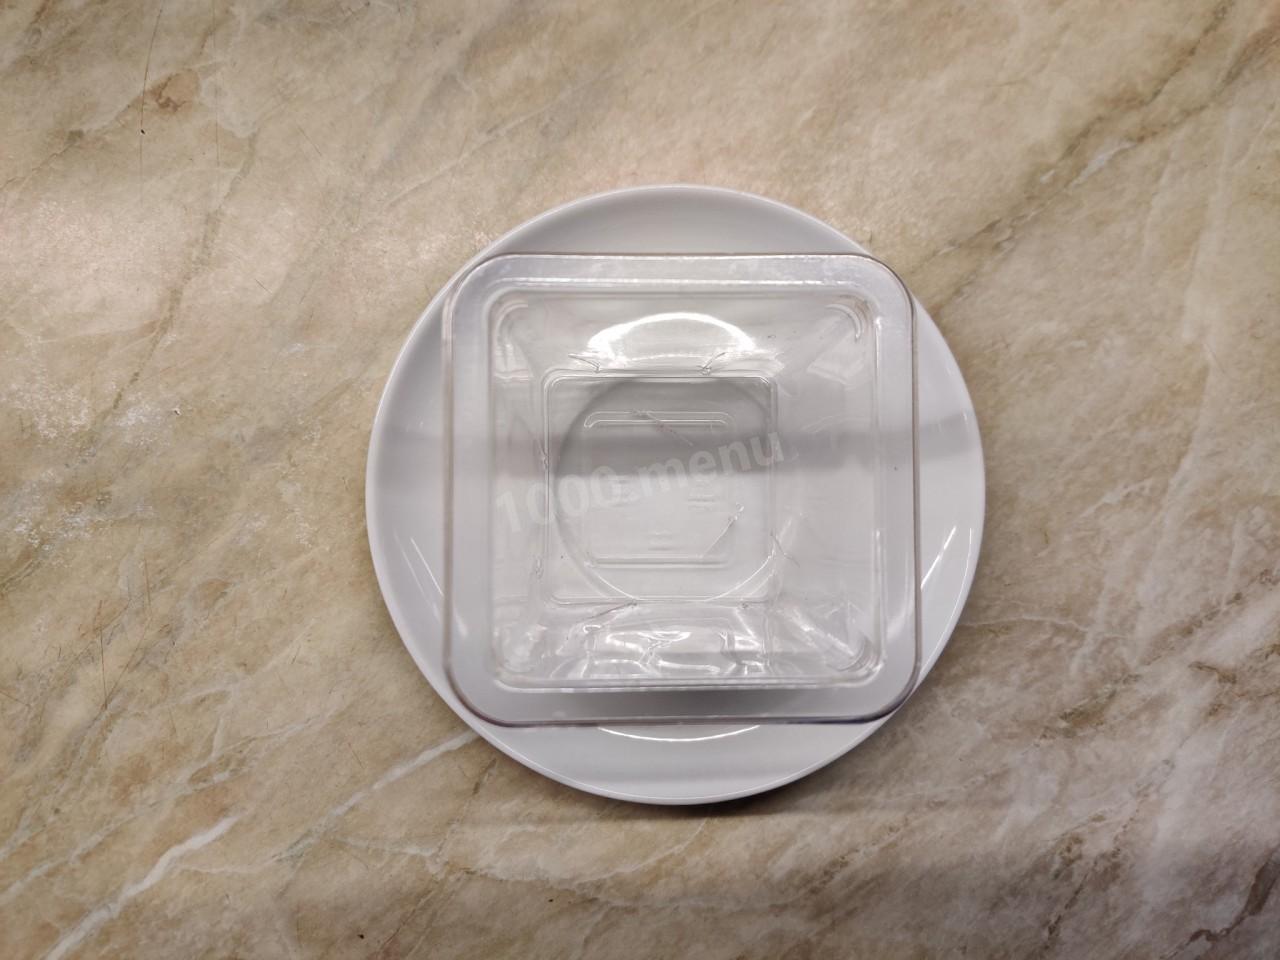
I wanted to give the cheese a more interesting shape. There are special cheese molds on sale, but I will use a regular plastic cup. Previously, I made several through holes with a small knife in the bottom and in the walls of the mold. This is necessary so that the remaining serum can flow freely. Forming cheese is absolutely not necessary!
Step 11:

Collect the gauze in a bag and transfer it to the selected form. Be sure to put the mold on a small plate to collect the remaining whey.
Step 12:
Leave the cheese under the yoke for at least two hours in the refrigerator, then remove it from the mold, free it from the gauze, and it is ready to serve. But I recommend keeping the cheese in the refrigerator overnight. Then the taste will be more balanced.


Sour milk cheese turns out to taste salty, with a slight sourness and paprika flavor. The structure is granular, curd-like.
Of course, cheese made from farm milk will be significantly different from that made from normalized milk. Therefore, preference should be given to proven farm milk.
Store homemade cheese in the refrigerator for a maximum of a couple of days, wrapping it in the most ordinary parchment paper.
Bon appetit!
Caloric content of the products possible in the composition of the dish
- Chicken egg - 157 kcal/100g
- Egg white - 45 kcal/100g
- Egg powder - 542 kcal/100g
- Egg yolk - 352 kcal/100g
- Ostrich egg - 118 kcal/100g
- Salt - 0 kcal/100g
- Paprika - 289 kcal/100g
- Sour milk - 60 kcal/100g