


Composition / ingredients
Step-by-step cooking
Step 1:

How to make ghee? Prepare the products for the preparation of ghee. I advise you to take at least 500 grams, from a smaller amount you will get too little. Choose the highest quality, the most delicious oil, without vegetable additives, with a high percentage of fat content.
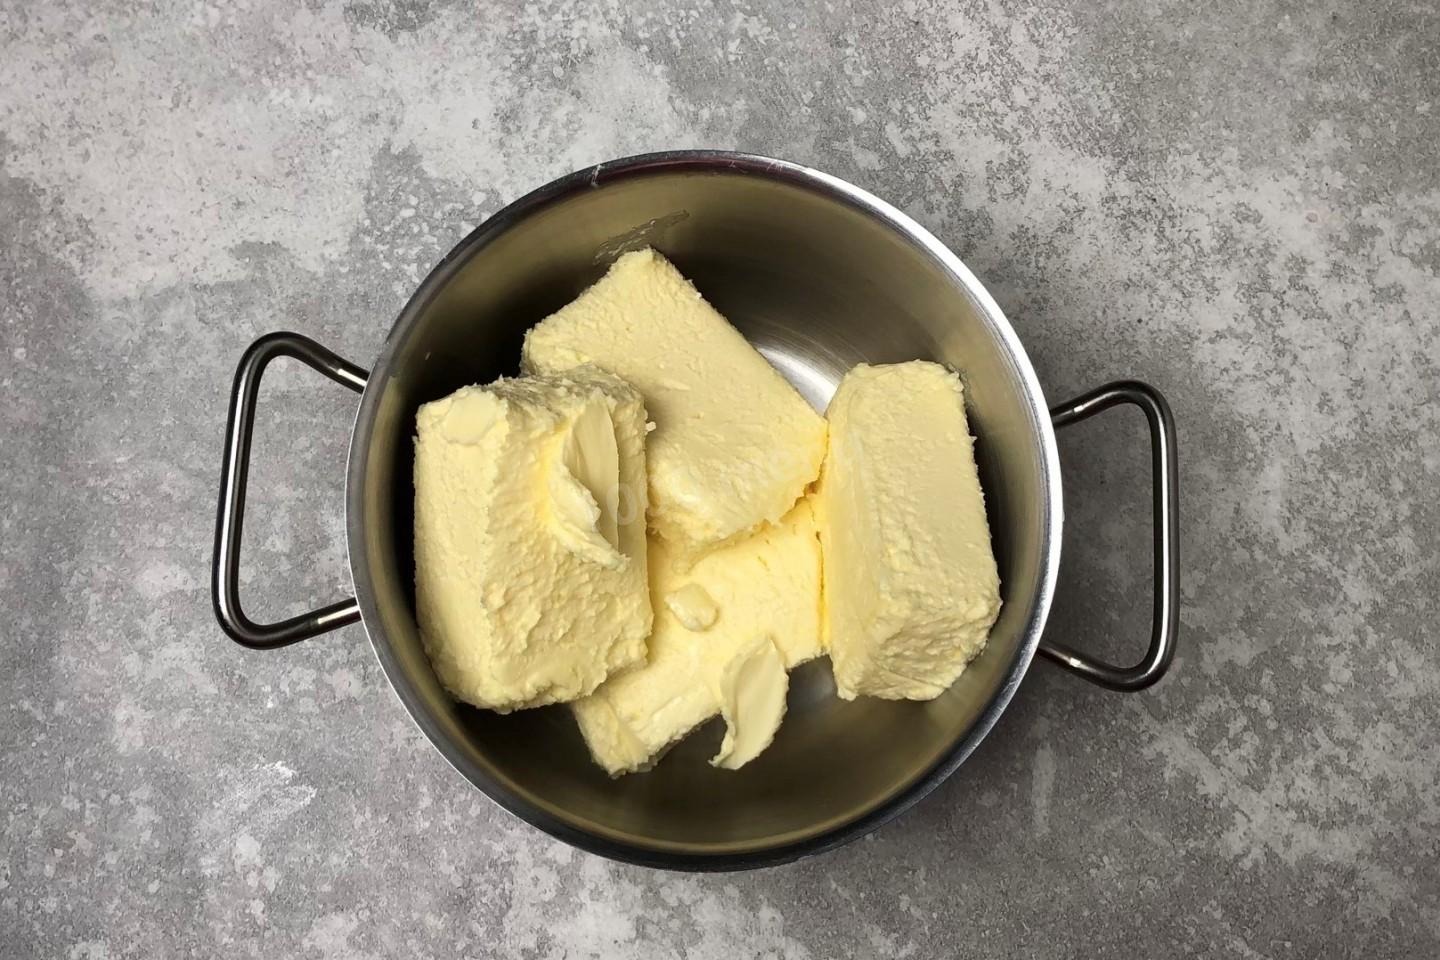
Step 2:
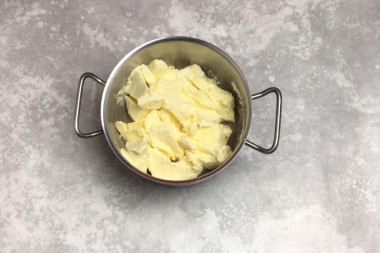
For heating, take a pan with a thick bottom! This is important because the oil may burn during cooking. Aluminum is not suitable for this recipe. The best pan is cast iron, but you can also make it in steel if it has a thick bottom. Put the oil in a saucepan and leave for a couple of hours at room temperature. It should become soft. Then cut it into smaller pieces.
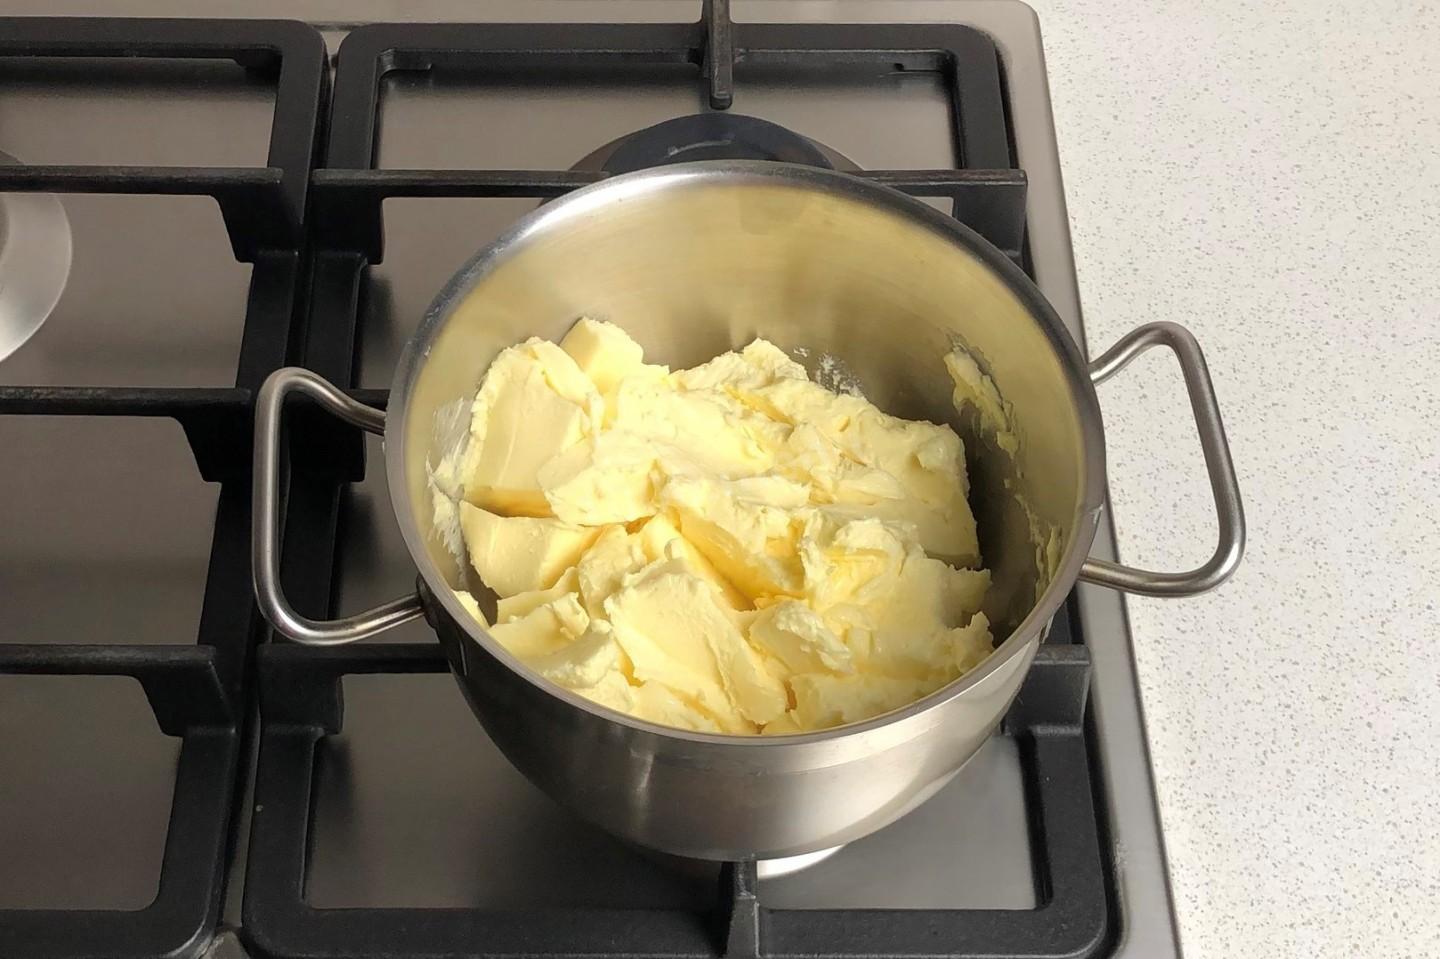
Step 3:
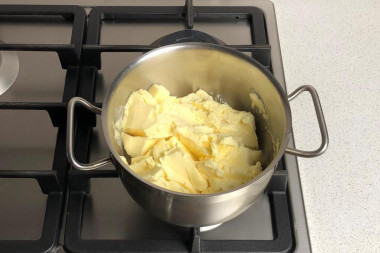
You can heat the oil both on gas and in the oven. I chose the first method, so it's easier to follow it, and it's more convenient to show it to you) Put the pan on a low heat.
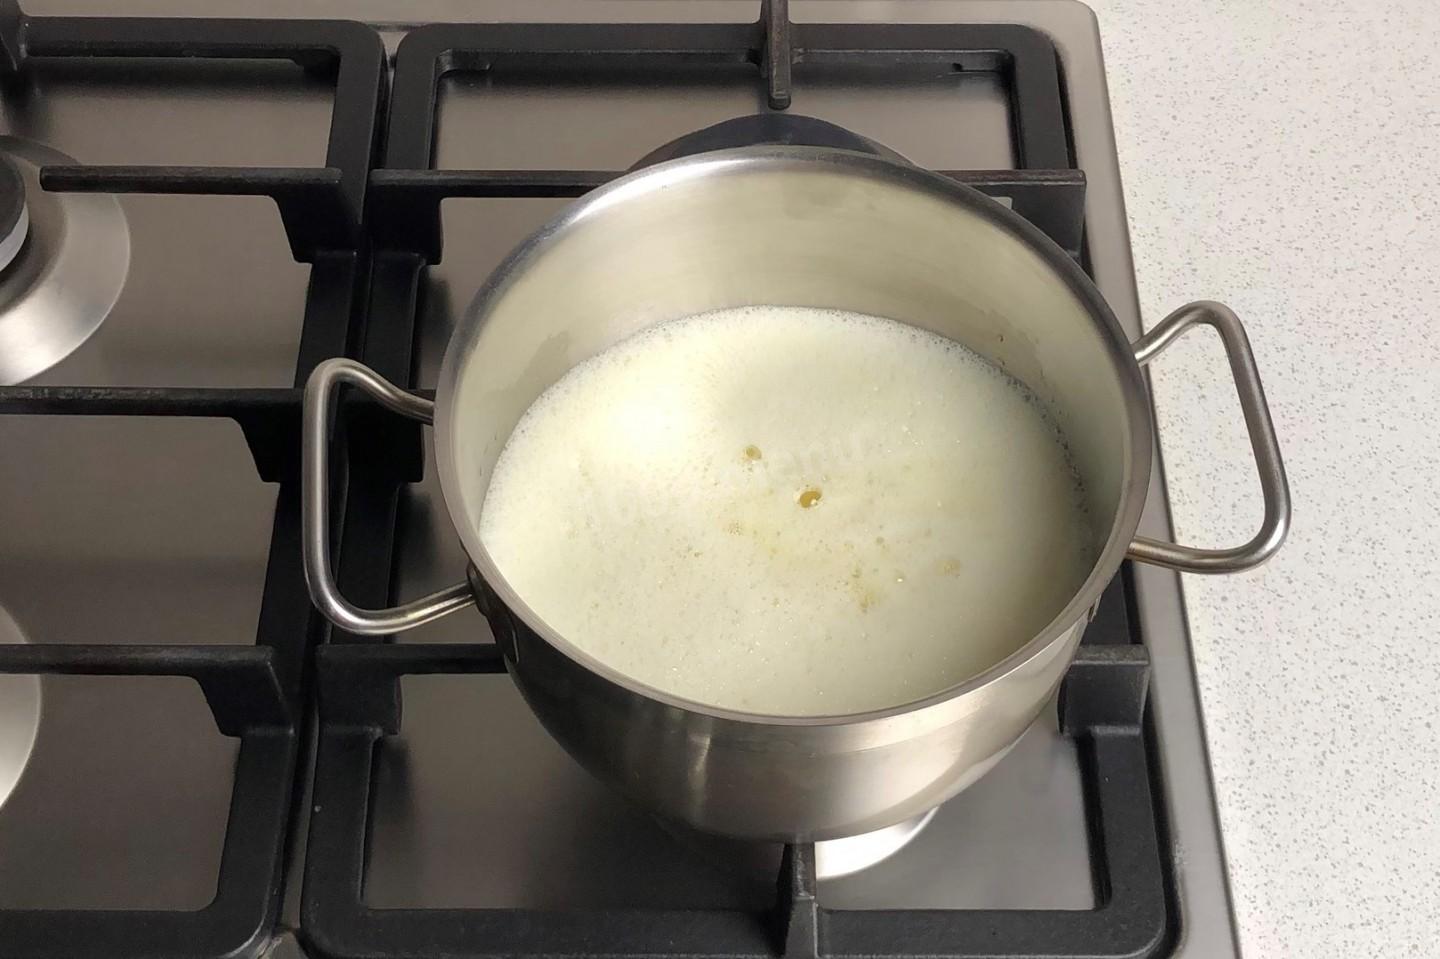
Step 4:

Wait until the butter has completely melted. You can mix it slightly in the process. As soon as it boils, immediately make the fire as minimal as it can be. The oil should languish and gurgle slightly, in no case should it boil too much. But there is no need to do anything at all so that there is no movement in it - a light boiling. Do not cover the pan with a lid.
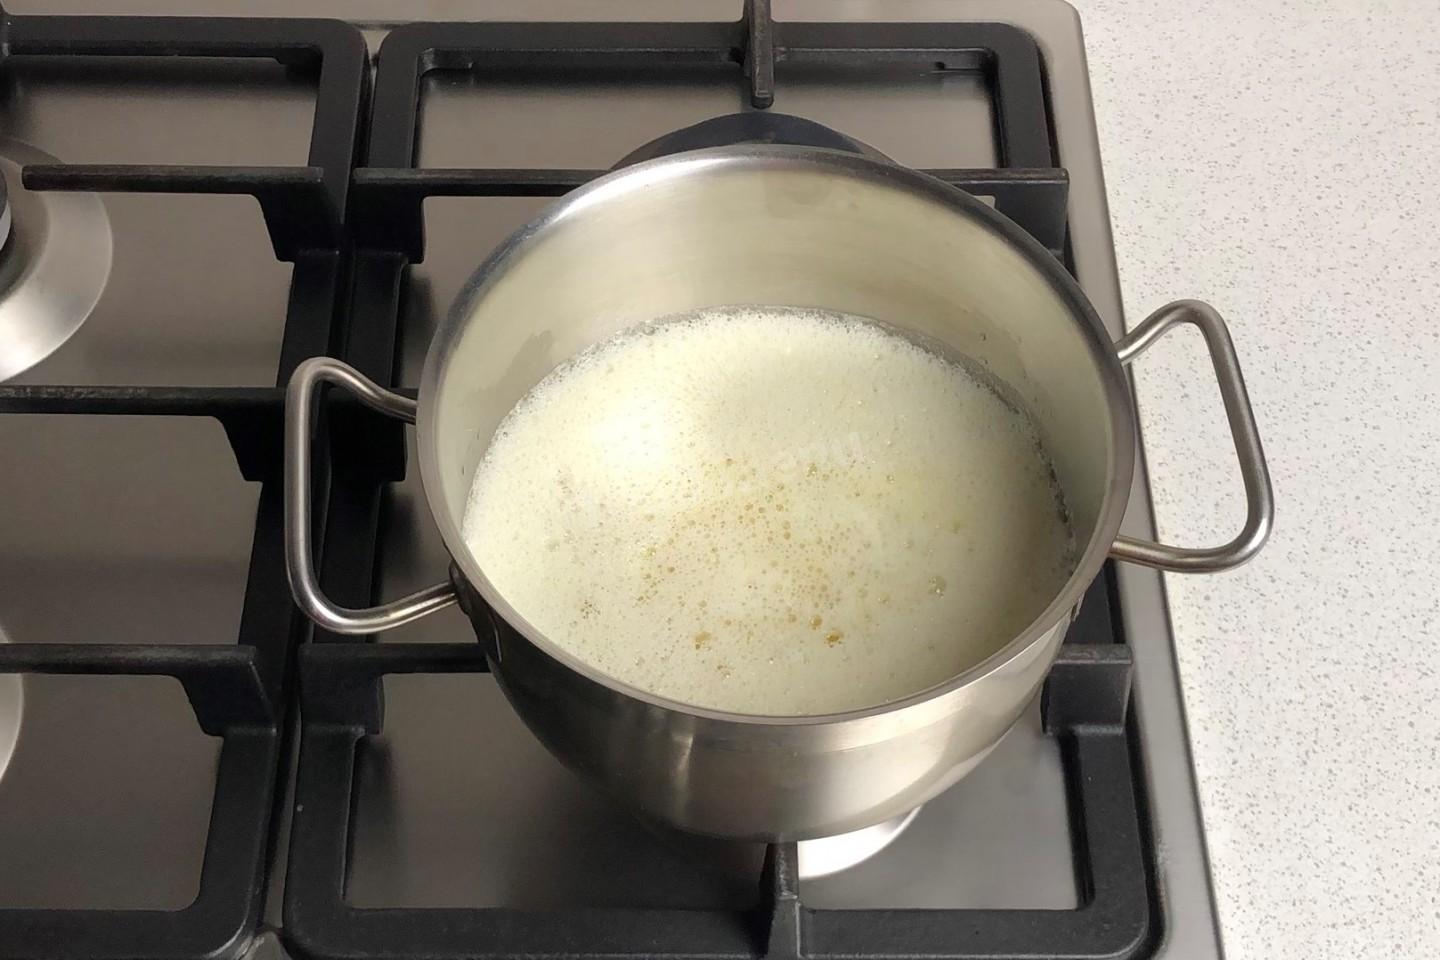
Step 5:

From time to time, remove the foam that forms on the surface so that the oil does not burn.
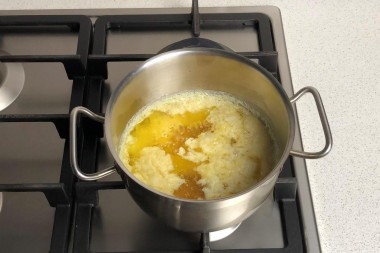
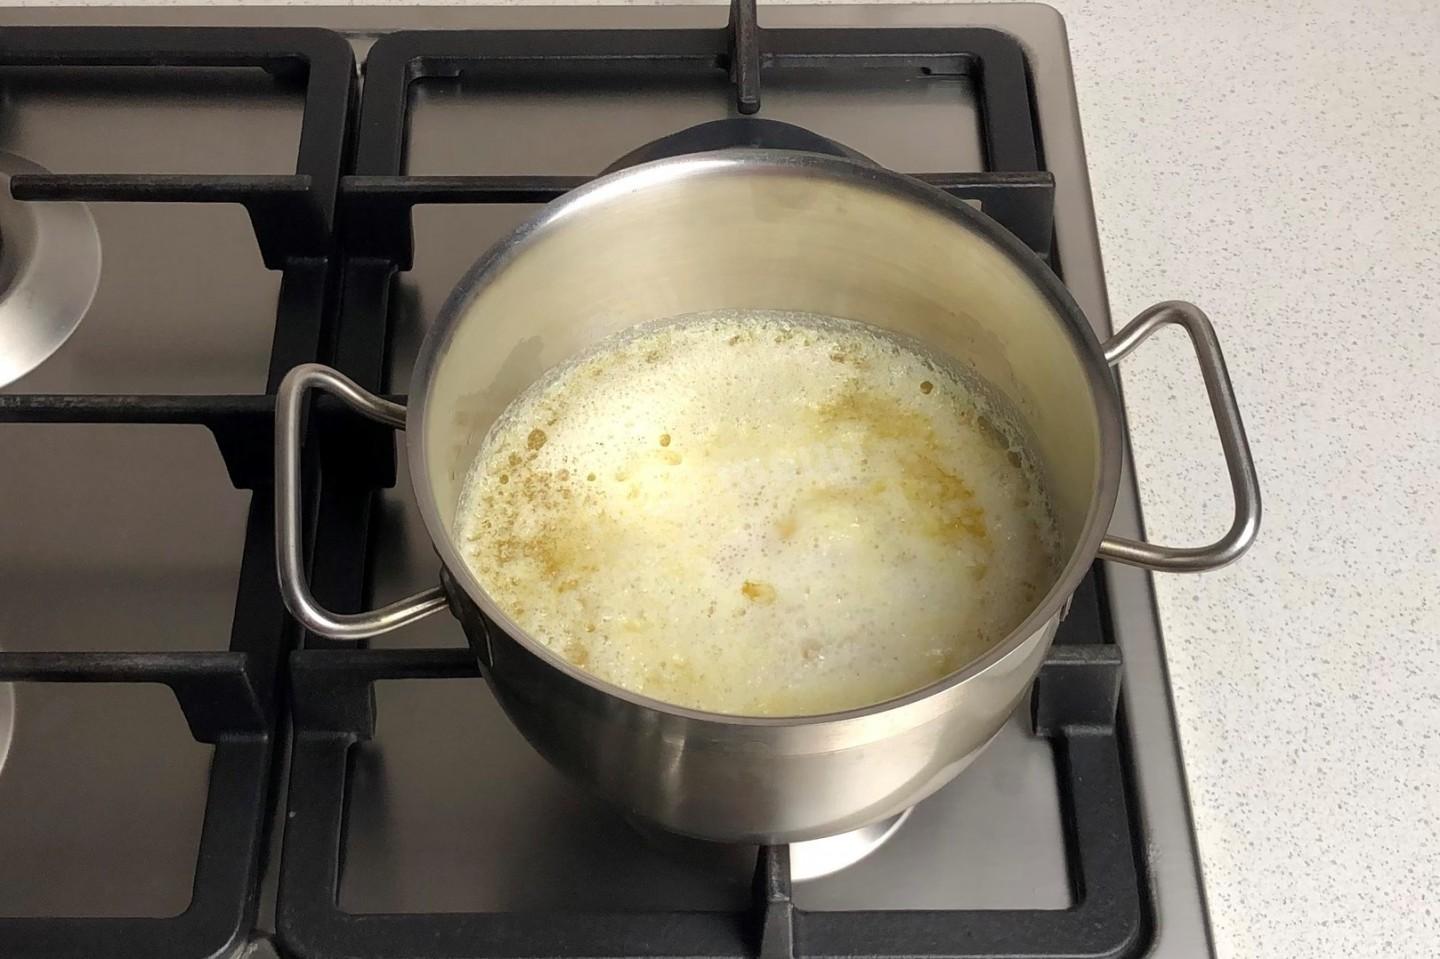
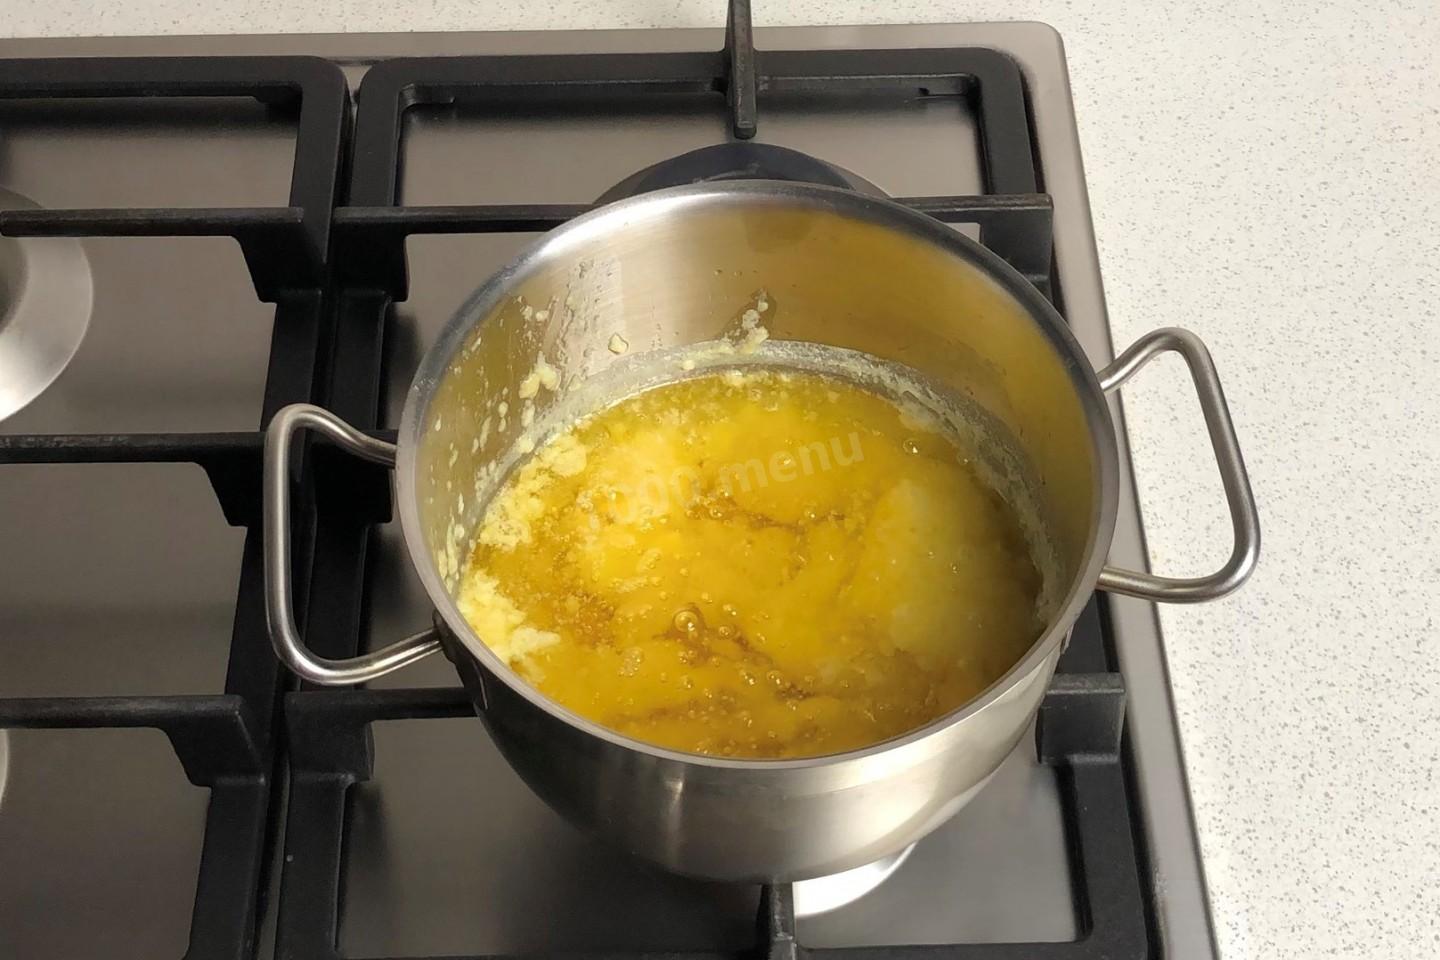
Step 6:

At first the oil is cloudy, white flakes float in it. When the white particles on the bottom and along the walls of the pan begin to acquire a golden brown color, and the oil becomes transparent, so that the bottom of the pan is visible, this is a signal that it's time to turn off the fire. If the oil is heated over too high a heat or for too long, it will darken and begin to emit an acrid smell.
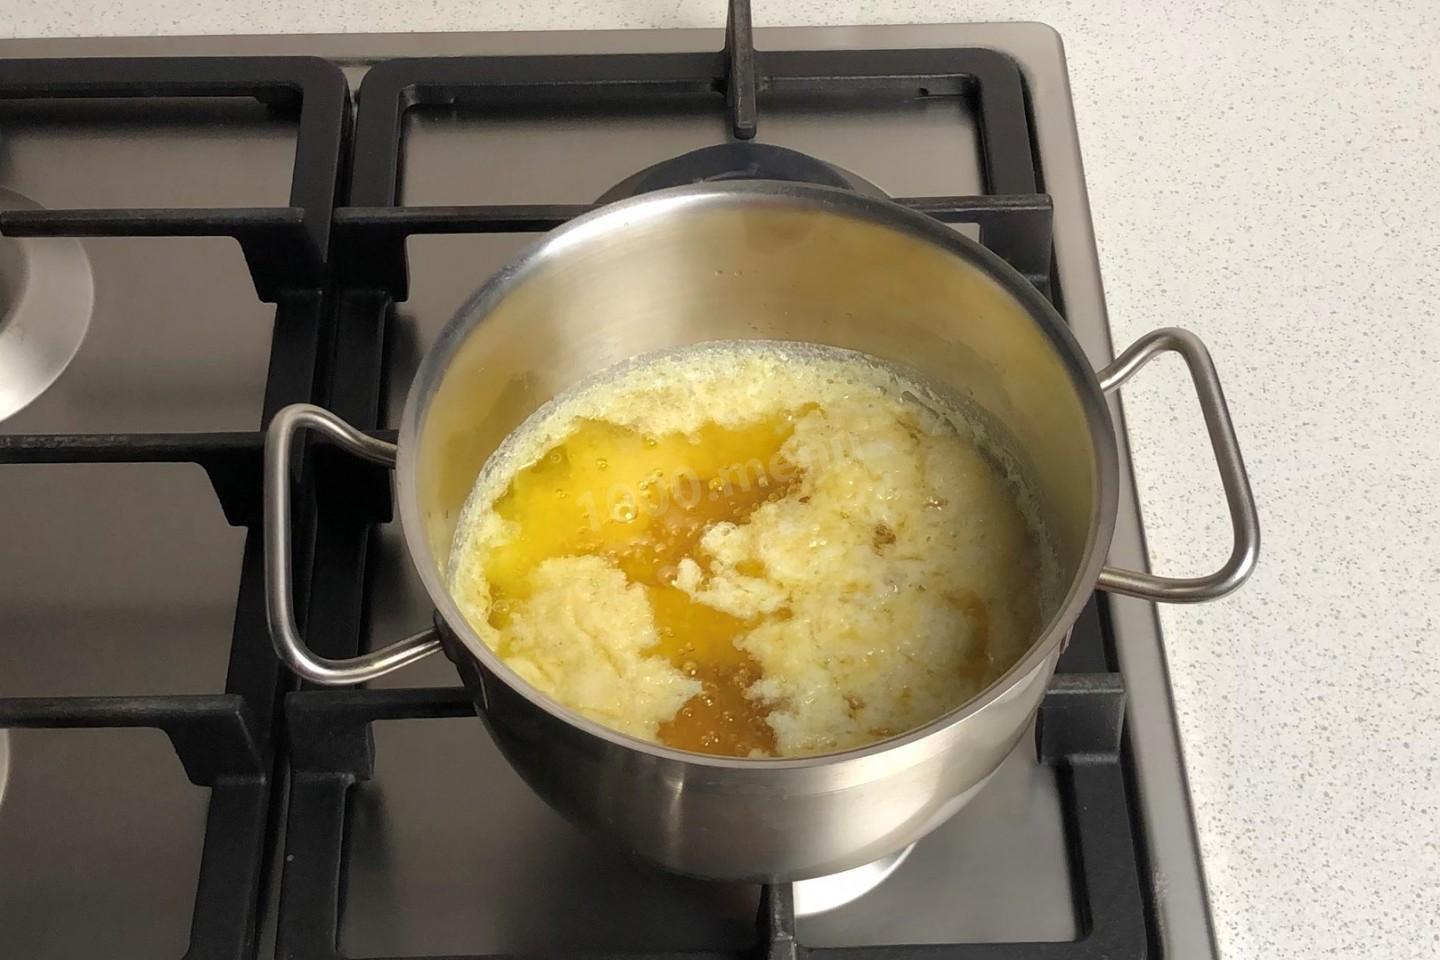
Step 7:
It took me 2 hours to complete this process. Keep in mind that it may take more or less time, focus on the condition of your oil. The finished ghee ghee has a golden color and is transparent.
Step 8:

Remove the foam with a small strainer or spoon. Do not throw away the foam - it can be added to porridge or other dishes. Try not to touch the bottom and walls of the pan, so as not to disturb the sediment.
Step 9:
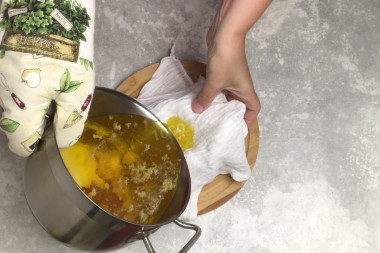
Take clean, dry cans. You will also need gauze folded in several layers. Strain the hot oil into jars through cheesecloth. Pour it gently. Firstly, it is very hot, and secondly, with slow pouring, the sediment will remain at the bottom.
Step 10:

Hot ghee oil is transparent, honey-colored, very fragrant. After cooling, put it in the refrigerator. There it will harden and become the same melted butter that we are all used to - hard and matte. Ghee can be stored in any cool place except the refrigerator.


I heated the oil for the first time - everything turned out great! I look forward to many delicious dishes with him.
Caloric content of the products possible in the composition of the dish
- Butter 82% - 734 kcal/100g
- Amateur unsalted butter - 709 kcal/100g
- Unsalted peasant butter - 661 kcal/100g
- Peasant salted butter - 652 kcal/100g
- Melted butter - 869 kcal/100g