

Composition / ingredients
Step-by-step cooking
Step 1:
How to make a simple wine from apples with yeast? It's not the first year, every autumn, friends and acquaintances offer me apples from their gardens. The idea of making wine from them has been wandering for a long time and now I'm ripe. The search for a recipe led to an unexpected result – there are so many recipes that it is simply impossible to choose. And if so, then you definitely need to write a new one. At the same time, I wanted to be sure of the result, and in this case, you need to turn to proven solutions.
Step 2:
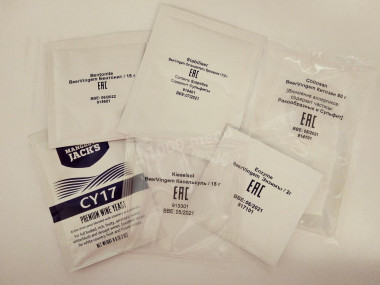
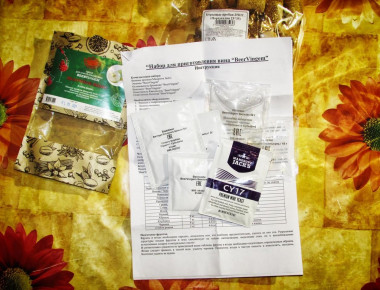
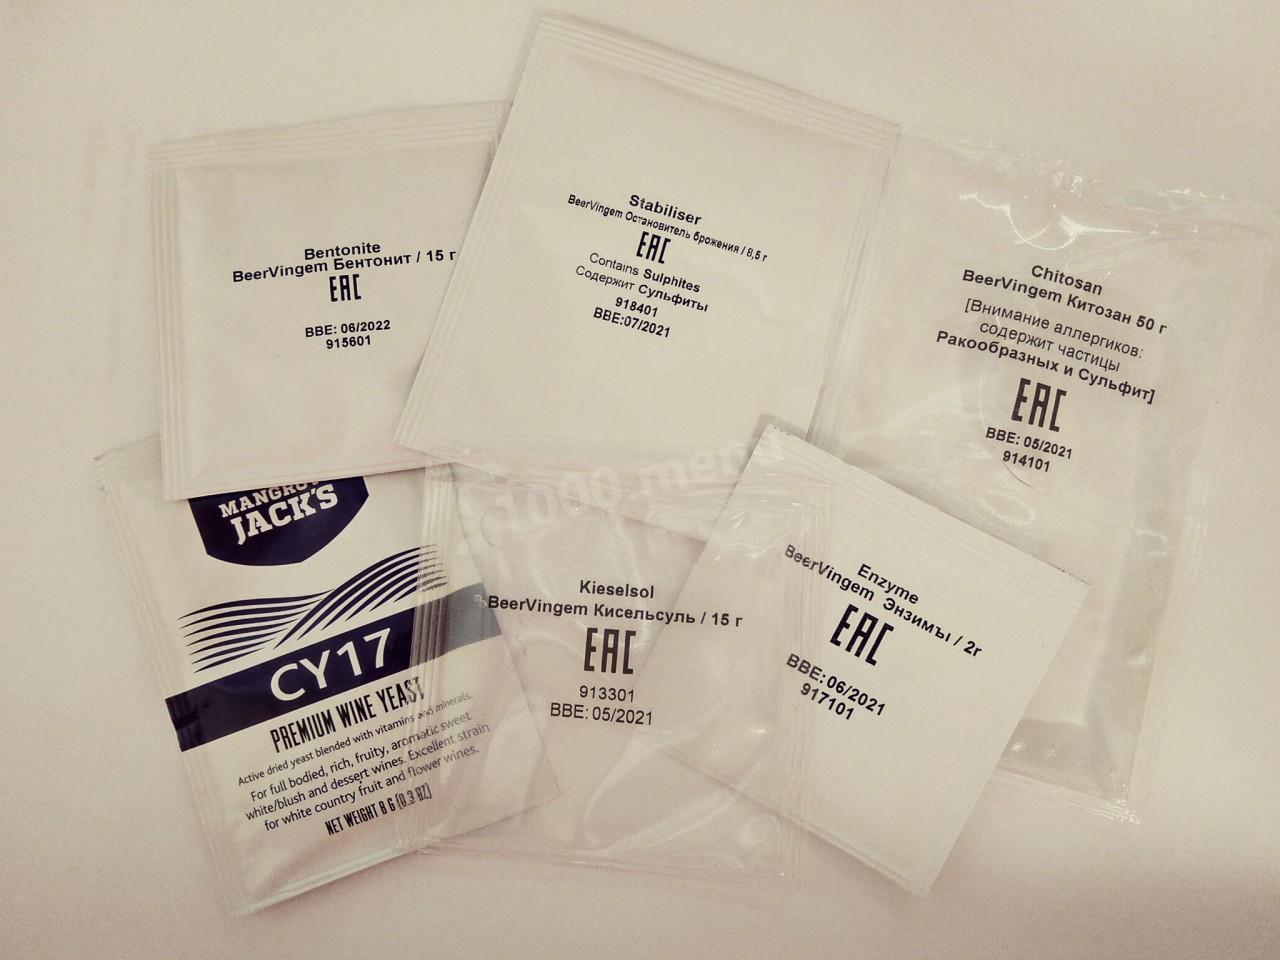
My choice fell on a ready-made set for making apple wine, which I found in the MirBir store (mirbeer.ru ). It has all the necessary ingredients, except for the apples themselves. These are enzymes (enzymes for better extractivity), bentonite, kisselsul, kitosan (natural clarifiers), wine yeast (a special strain for apples) and a fermentation stopper (so that the wine does not ferment in bottles). In addition, there is a detailed instruction, which I used in the process.
Step 3:
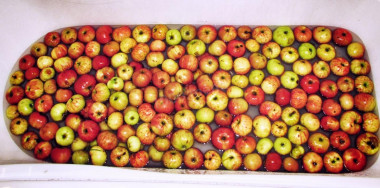
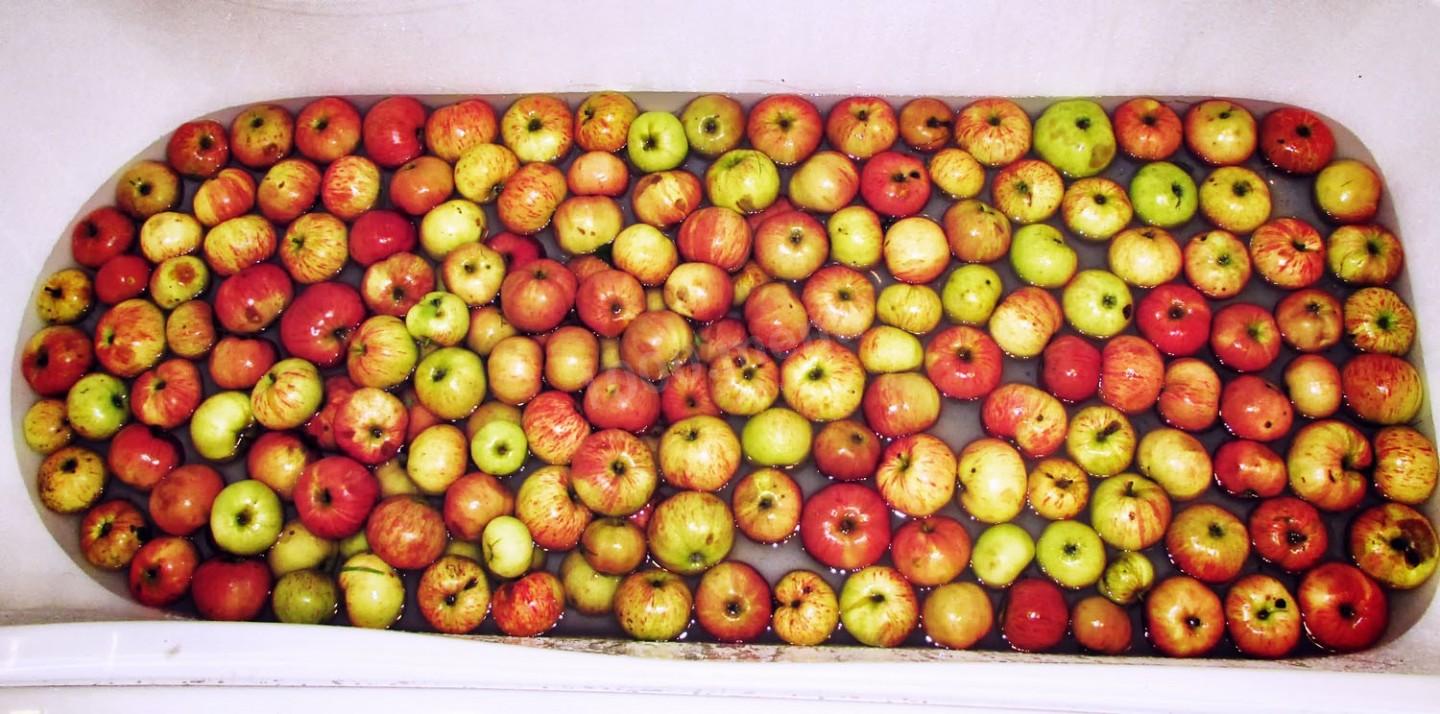
The second problem was that you need to get juice from apples. The juicer and the press are the best at this task, but I don't have either. But the instruction to the set gives a direct instruction: "Experiment!" and I decided not to deviate from it. First, let's rinse the apples, they are too dirty.
Step 4:

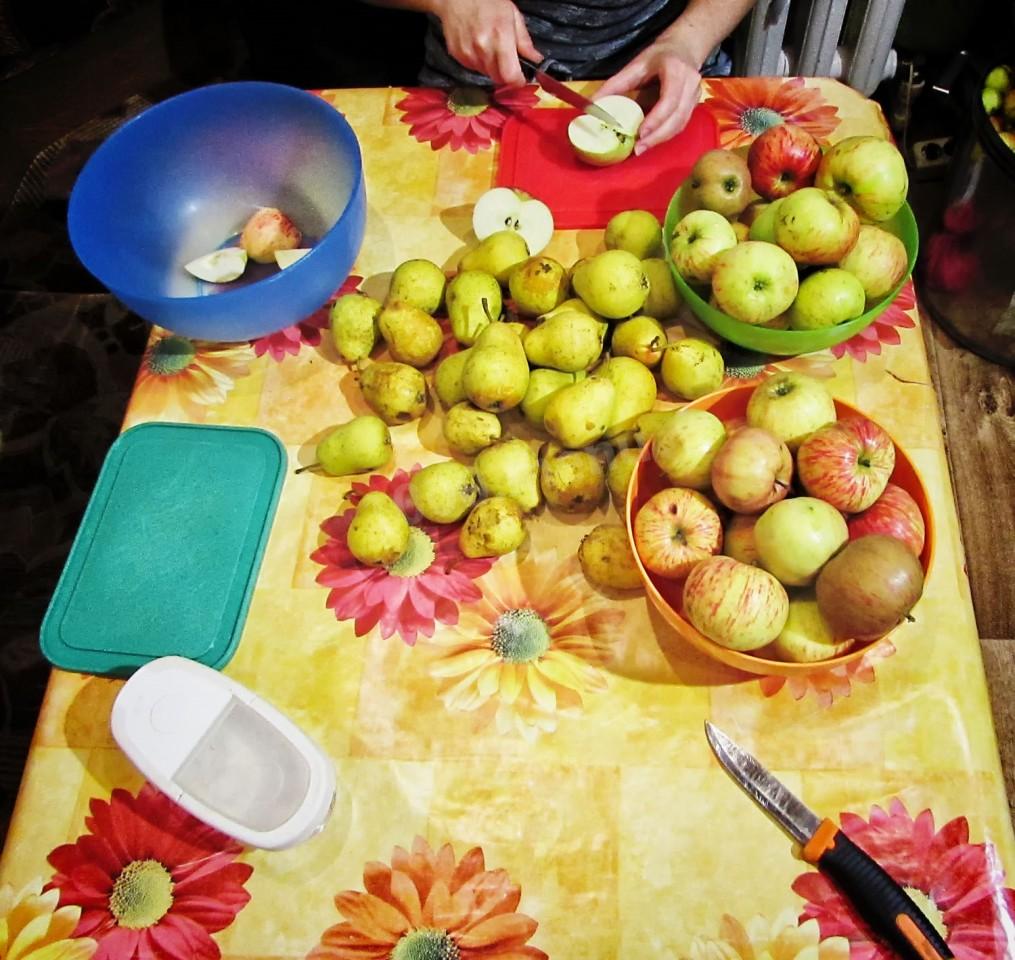
Many recommend mixing apples of different flavors. I got almost 40 kilograms of apples, mostly sweet, there were a few sour ones, but there were no tart ones at all. Moreover, a neighbor treated him to five kilograms of pears, which made an excellent company for apples. Apples need to be pitted and crushed. In this case, close people help perfectly. And in general, various kinds of blanks, it seems to me, are a family occupation
Step 5:
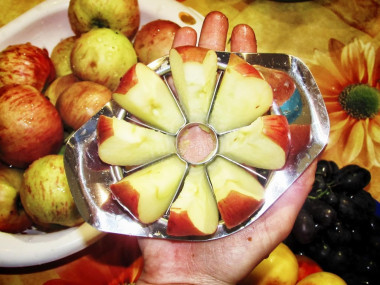
Very quickly we came to the conclusion that slicing forty kilograms of apples is not a pound of raisins. This thing has saved a huge amount of time, effort, nerves and a little health.
Step 6:

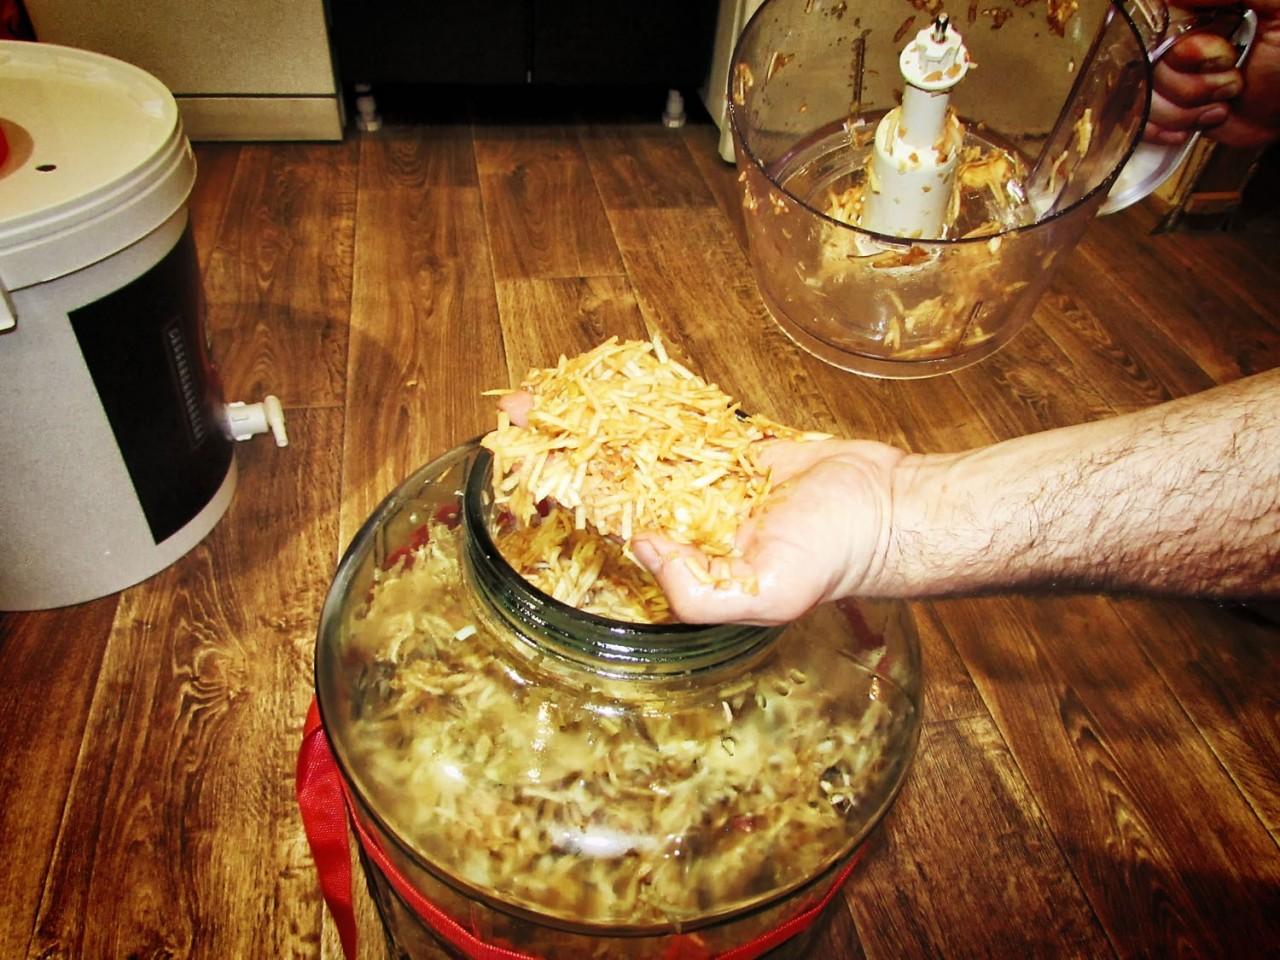
I made a mistake when I decided to chop apples in a combine. This method turned out to have many drawbacks: it was too slow, it was inconvenient to transfer crushed apples into a jar, and the pieces turned out to be too large. In general, after filling the jar with grated apple on the combine, I decided to fill the second container with apples passed through a meat grinder, and that's where it went!
Step 7:
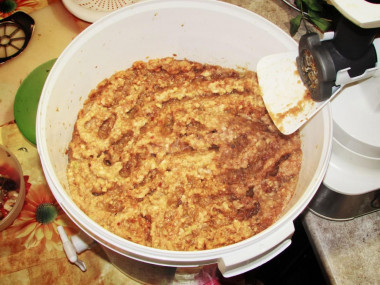
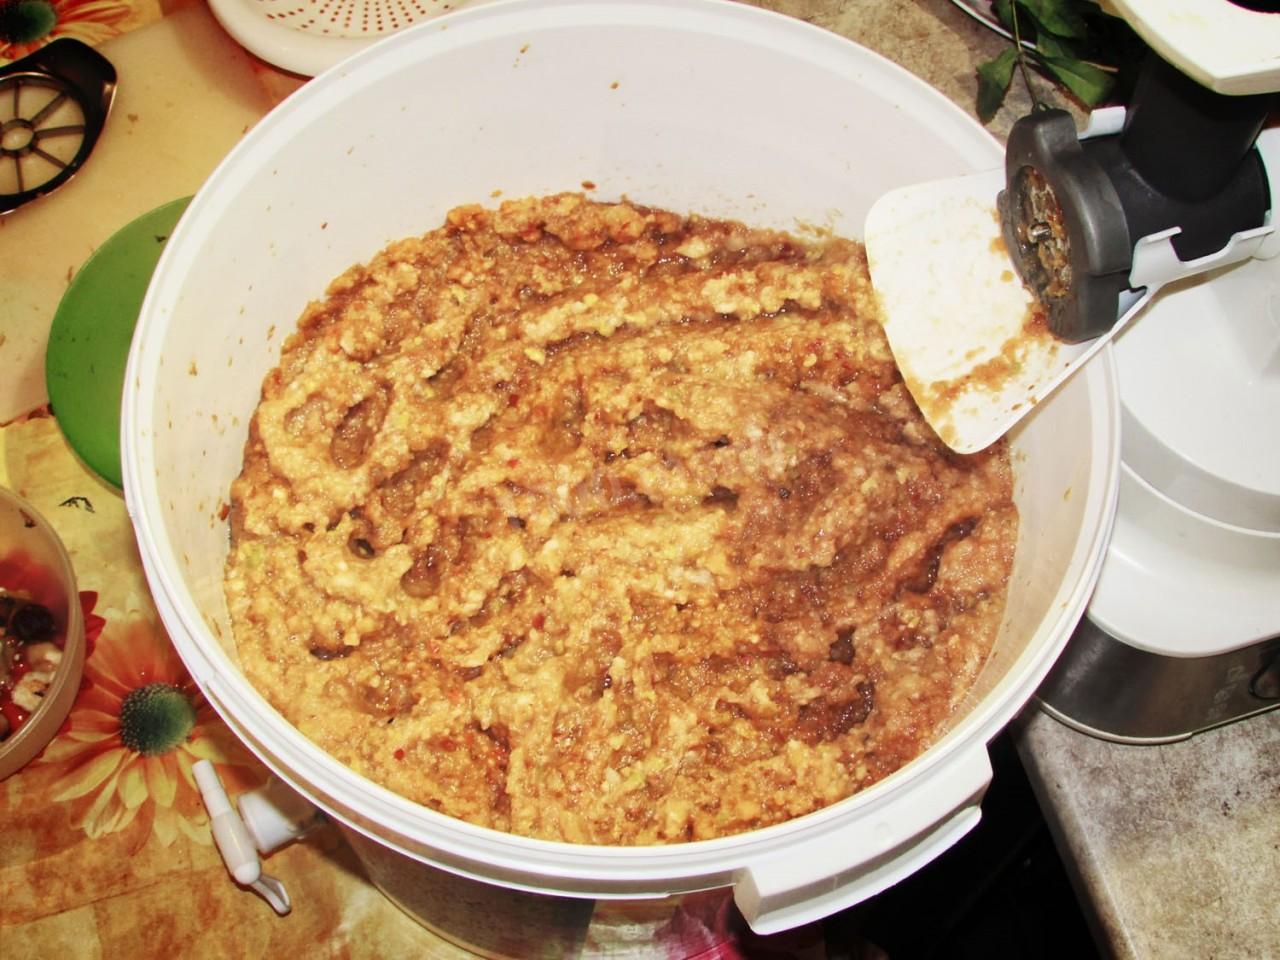
After filling the containers, I put them in a dark place at room temperature. Two or three times a day, you need to mix the contents from the bottom up. At first I tried to do it with a wooden spoon, then with a plastic slotted spoon, but as a result I came to the conclusion that there is nothing better than a thoroughly washed hand.
Step 8:

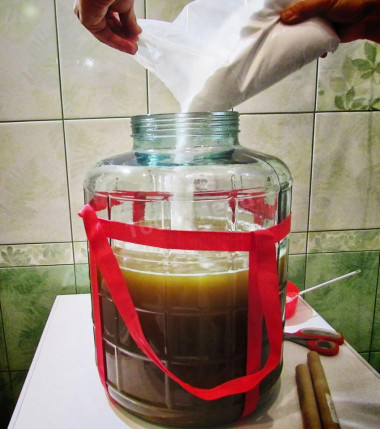
After six days, most of the juice has gone down, and it's time to separate the juice from the cake. In the absence of other options, I squeezed the cake with my hands through gauze. The method has the right to life, but it takes a lot of time and effort, if you can get juice in a different way - do it!Nevertheless, after a few hours of strength exercises, I got my jar of juice.
Step 9:

By the way, the bank should be mentioned separately. In winemaking, as well as in brewing, the issue of cleanliness is very acute. In this regard, glass, as a material for a fermentation tank, fits perfectly. But most glass bottles have one significant drawback – a narrow throat, into which the hand does not crawl. This means that it is impossible to thoroughly wash such a container from the inside. In my case, the throat of the jar is wide, it is very convenient to wash.
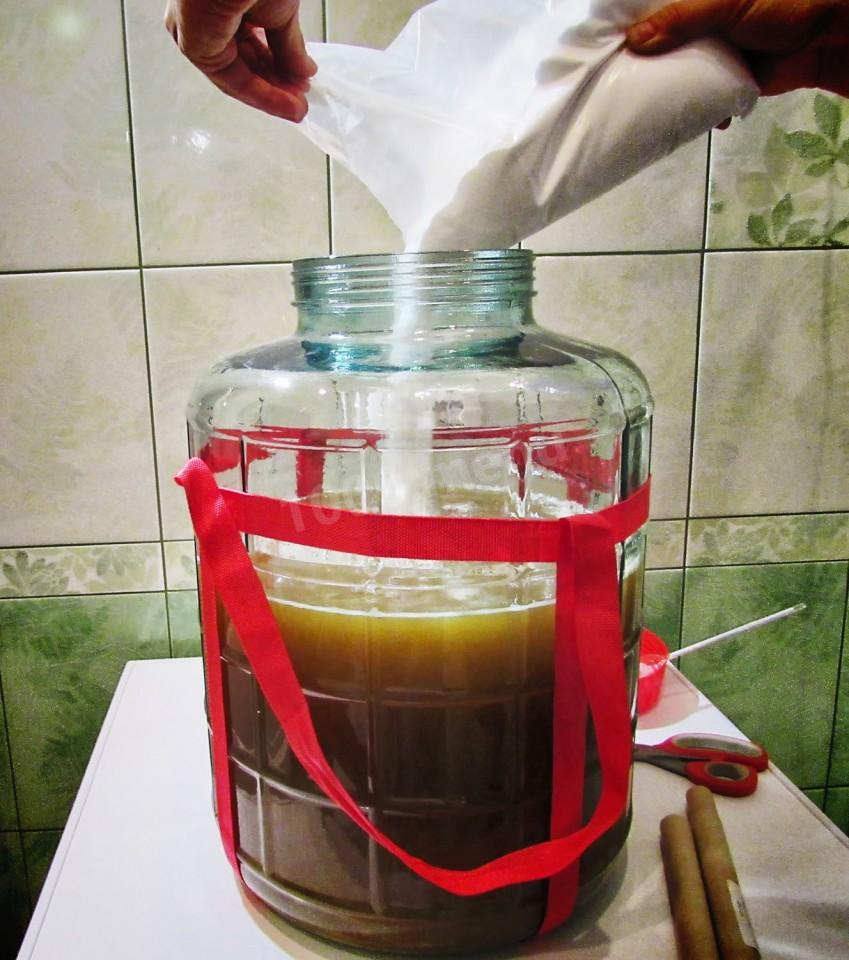
Step 10:
Here is my jar with an Easy Brew water seal. I decided that I needed to give the yeast more food and therefore added three kilograms of dextrose (you can replace it with fructose or sugar), thereby bringing the density to almost 19 units.
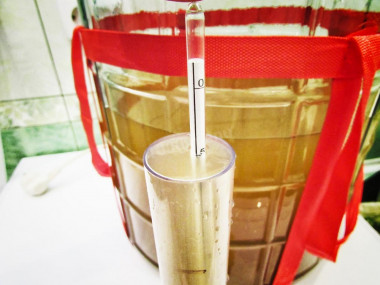
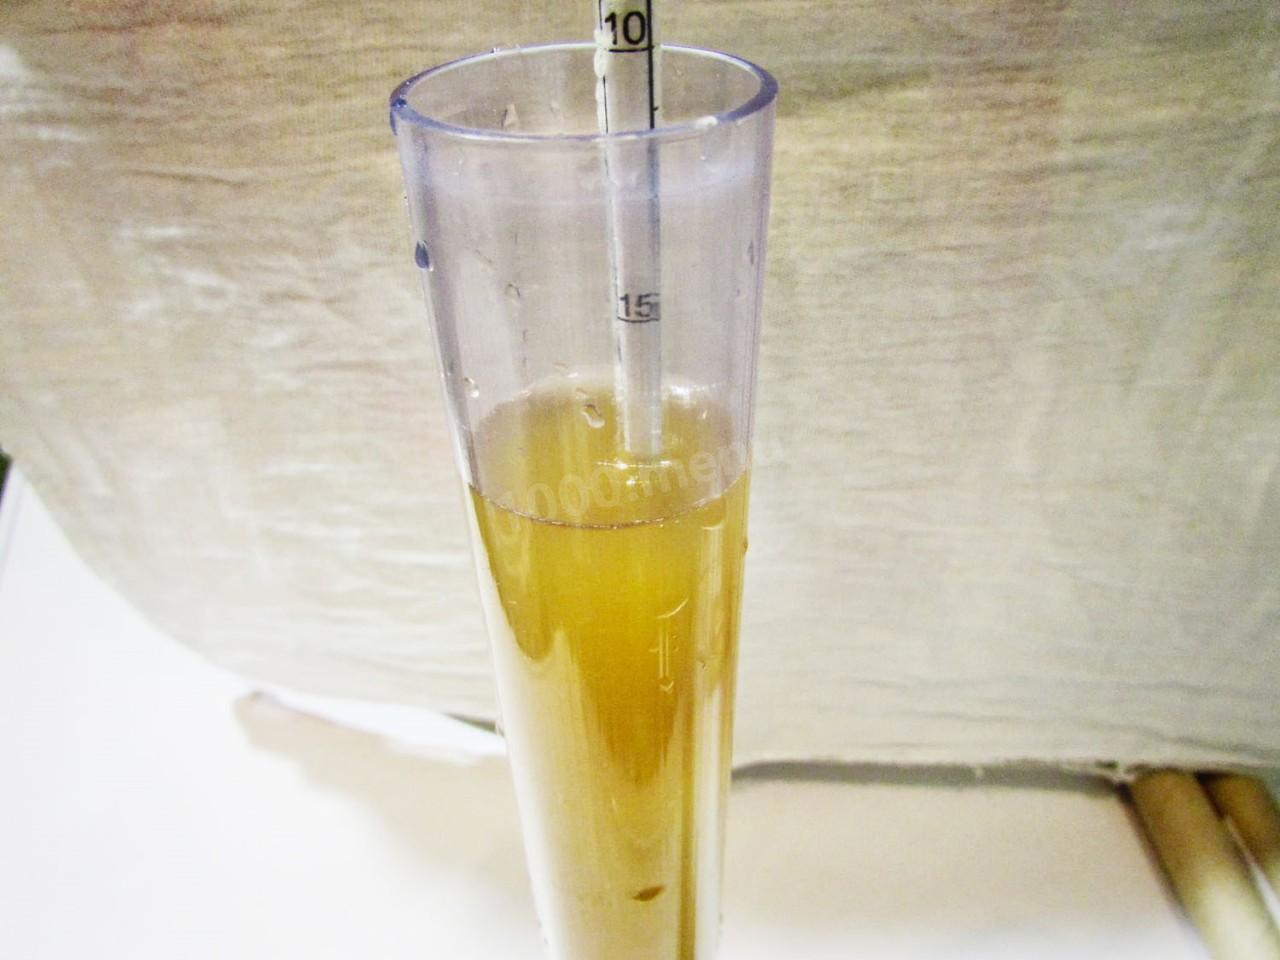
Step 11:
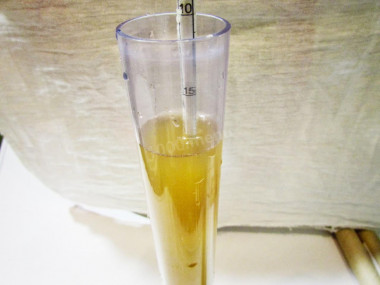
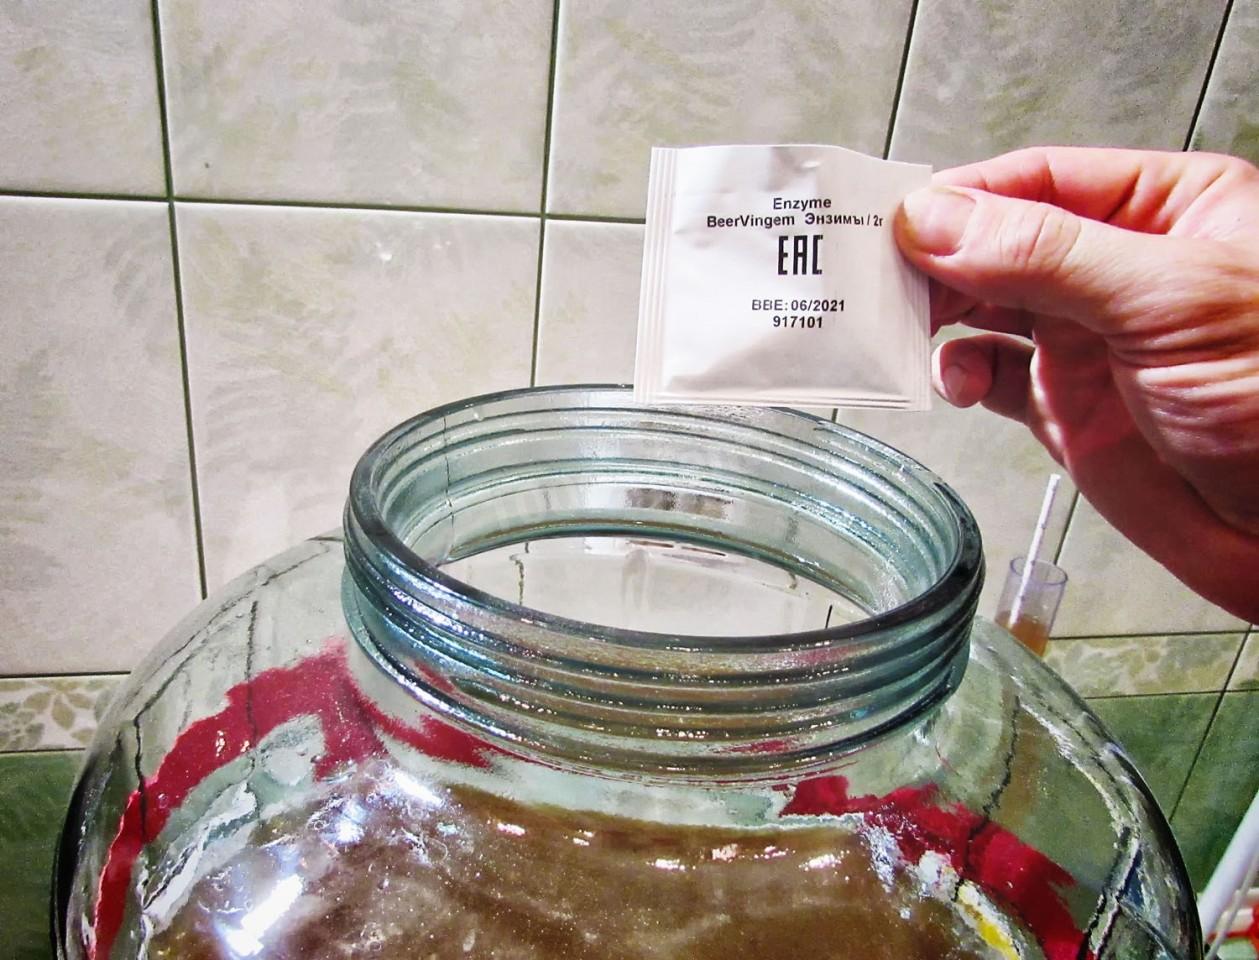
In the photo, the process of measuring the initial density. If you want to find out the strength of the wine later, then the NP value should be written down. It can be measured using an AC-3 hydrometer (0-25) and a cylinder. Next, I added enzymes, and thought that perhaps they should have been added much earlier, when I just put applesauce, maybe I would have received more juice. But what has been done cannot be redone, so I will try this option another time.
Step 12:
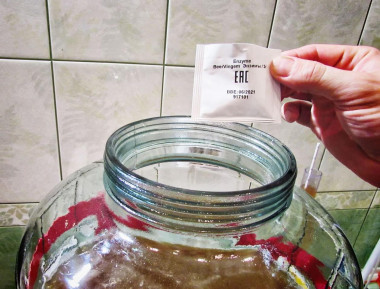
And this time I thoroughly mixed everything and left it alone for half an hour. After about thirty minutes, I added yeast, closed the jar and put it in a dark place to ferment for a long two weeks. By pouring water into the lid, I turned it into a water seal.
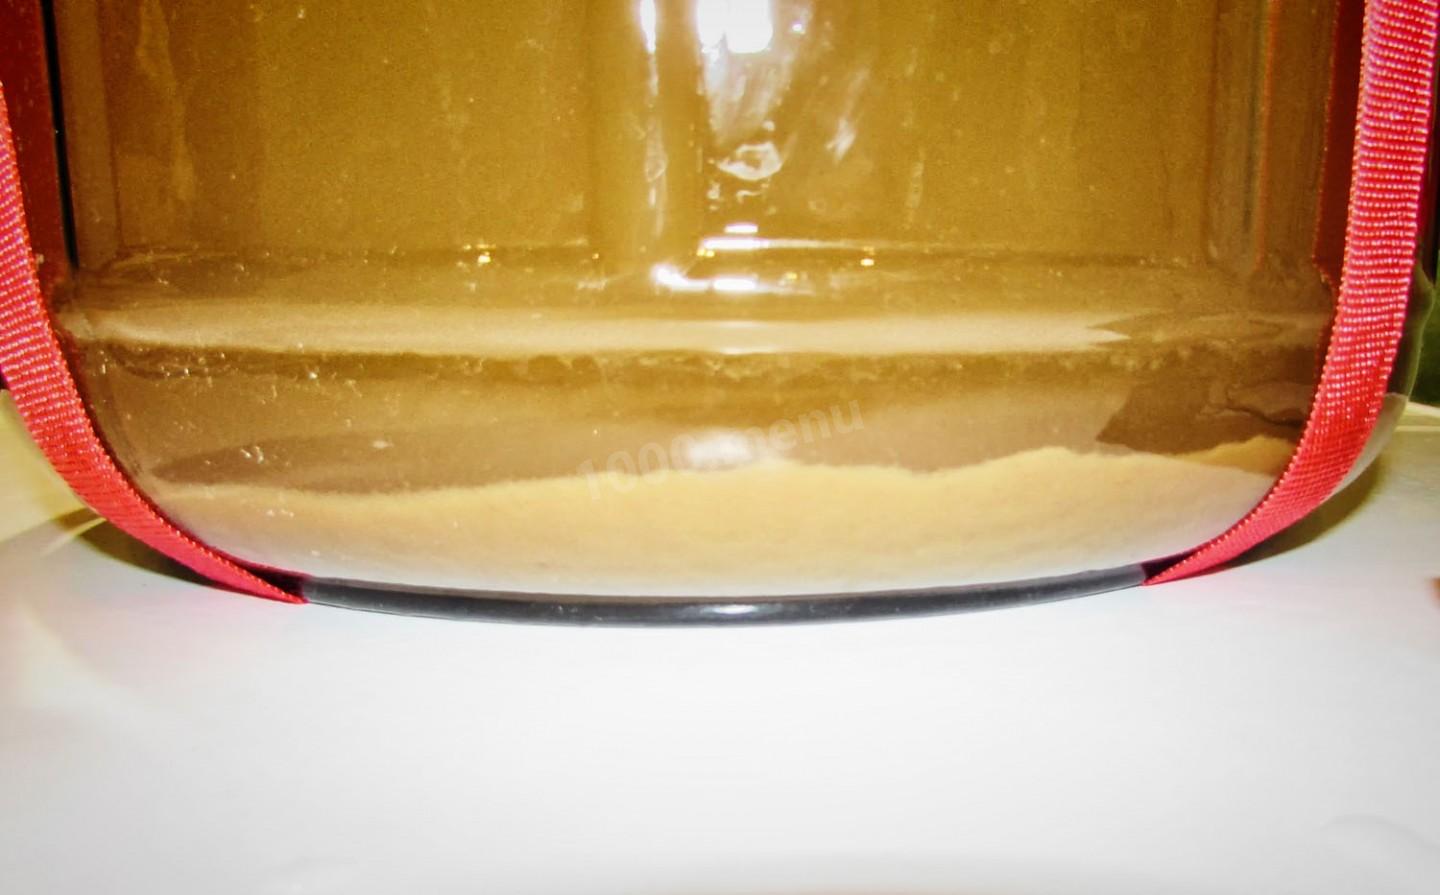
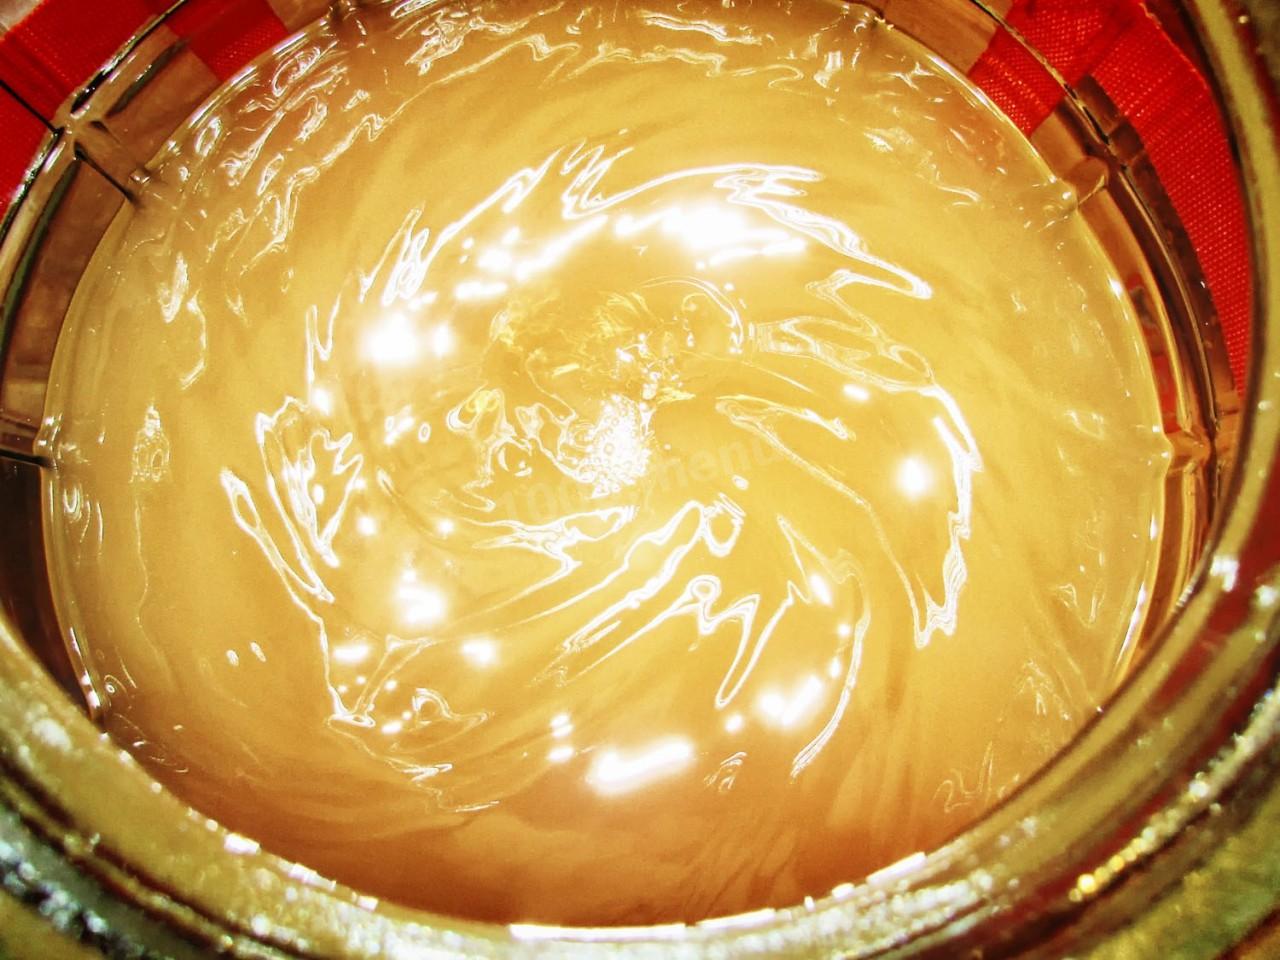
Step 13:

It always seemed to me that the most difficult thing in making homemade drinks is waiting. But, anyway, time does not stand still and two weeks have passed. Of course, I could not deny myself the pleasure of watching the process, since the transparent walls of the jar allow. Two weeks later, a very noticeable sediment formed at the bottom of the jar, from which the wine should be removed.
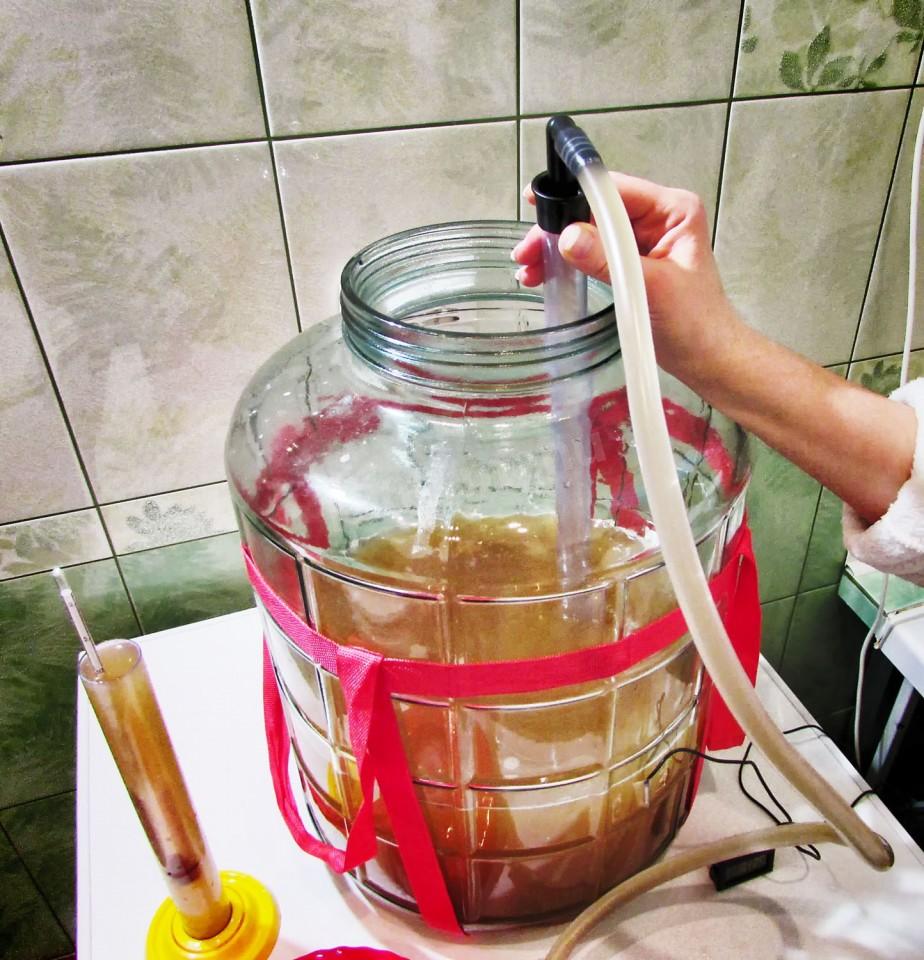
Step 14:
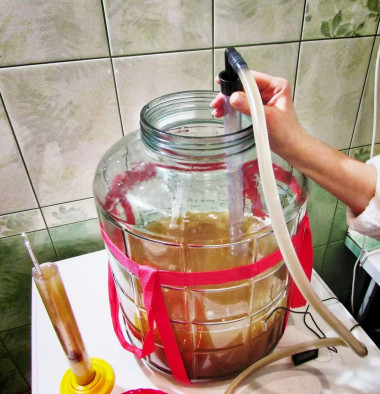
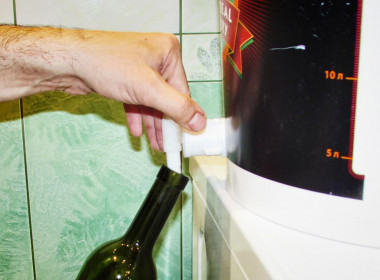
In this case, the EasyStart Medium automatic overflow siphon helped me perfectly. Of course, you can do without it by using an ordinary hose. But the siphon is much more convenient, aesthetically pleasing and safer in terms of all kinds of bacteria.
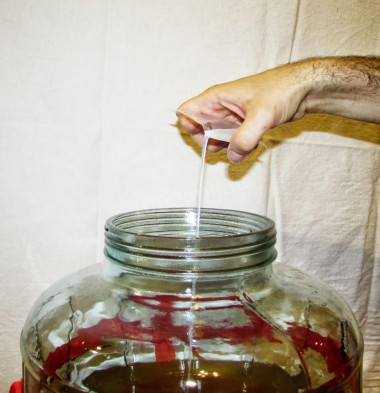
Step 15:
I pour the wine into another container and, no matter how terrible it is, I leave it for another couple of weeks. After the due time, I remove the wine from the sediment, measure the density, it should drop below 5 units by this time, which means that the wine has fermented.The amount of alcohol can be calculated using a special table, to do this, we subtract the final density readings from the initial density readings and look at what the value corresponds to.After adding the fermentation stopper.
Step 16:
Mix thoroughly and shake the container vigorously from time to time in the next two days. This is necessary in order to rid the wine of the accumulated gas in it. Now it's time to add clarifiers, which we are doing. First Kisselsul, and after a couple of hours and Kitozan.
Step 17:

Do not forget to mix the wine thoroughly after adding each ingredient. There is just a little bit left, some three days and we will try and pour. But no! I had to hold the wine for five days instead of three, it did not want to lighten in any way. To my great regret, it never became completely transparent, but, looking ahead, I will say that the taste redeemed everything. Now it remains to bottle the wine and seal them.
Step 18:
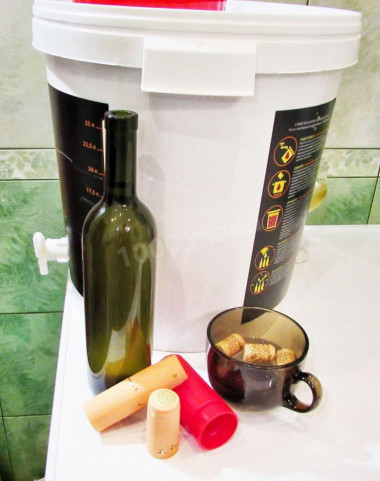
We soak the cork stoppers in boiling water and with the help of air capping we put them in their rightful place. The matter remains for a small one, to put the last gloss on. Apple wine is a drink for the soul, which means everything should be beautiful. I didn't prepare labels this time, but there were shrink caps on the farm. We put on the cap, warm with a hairdryer and voilà! And now we repeat the same thing 19 more times. I got only 15 liters of wine.
Step 19:
If there was a press and a juicer, or at least one thing, then the yield of juice, and, consequently, wine, would be greater. But if next year I do not find either one or the other, I will still repeat this feat, the drink turned out to be too delicious. Although, it seems to me that we need to wait another month, and then the wine will open in all its glory. And if he lives to see the New Year, then, with cinnamon and ginger cookies, he will be able to become a decoration for festive evenings.
Step 20:
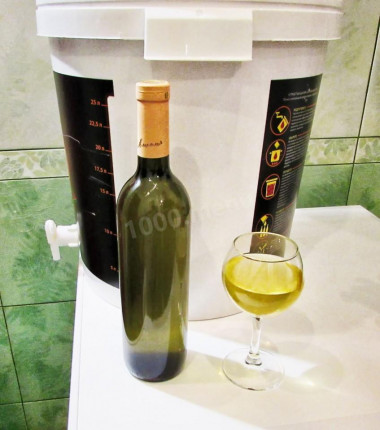
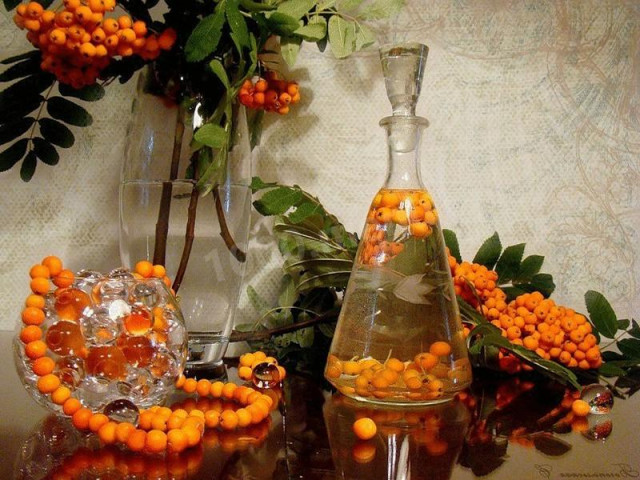
But the New Year is still far away, and now it's autumn, and the wine looks great against the background of yellow-red leaves, reminding with its color of the summer heat.


In this recipe you will find a detailed description of the preparation of homemade apple wine.
Instead of the usual jar with a glove, I used a special and very convenient jar with a water seal, it greatly simplified the washing process, plus I didn't have to wrap layers of tape as before.
This year I decided not to experiment with the so-called wild yeast. The experience of past years has shown that due to the instability of their work, wine can simply turn into vinegar. Apple cider vinegar is certainly a great thing, but 15 liters of vinegar is too much even for me!) Therefore, I used proven ingredients - cultured yeast and enzymes. I want to say right away that there is nothing terrible and even more harmful in their use, currently more than 90% of the oldest wineries use cultural strains in their production and get excellent wine.
The wine was removed from the yeast sediment with a special device - the EasyStart Medium siphon, thanks to which a minimum of yeast got into the bottles, which had a good effect on the final taste and transparency of the finished drink, and nothing superfluous got into the wine itself.
I also used natural clarifiers and a fermentation stopper that helped make the wine more transparent and stable in terms of storage. This means that I can safely put a bottle of my masterpiece for long storage and not worry that it will deteriorate after a while.
I poured the finished wine into special green glass wine bottles and capped with natural cork stoppers, and closed the top with a thermal cap. All these measures will also protect my wine from spoilage and oxidation during storage.
The whole process I controlled the density (sugar content) using a device called a hydrometer, which allowed me firstly to find out how much sugar is contained in my apples and adjust its content in the juice to get the right strength, secondly to determine the end of fermentation.
As you can see, in this recipe I tried to look at the winemaking process from a modern point of view and used proven ingredients and equipment, which together give a high-quality, safe and most importantly very tasty product.
Fortunately for me now there are no problems in finding everything you need on the Internet, the MirBir store helped me in this case ( mirbeer.ru ), in which I purchased everything I needed.
Caloric content of the products possible in the composition of the dish
- Apples - 47 kcal/100g
- Dried apples - 210 kcal/100g
- Canned apple mousse - 61 kcal/100g
- Pressed yeast - 109 kcal/100g
- Granulated sugar - 398 kcal/100g
- Sugar - 398 kcal/100g