Composition / ingredients
Step-by-step cooking
Step 1:
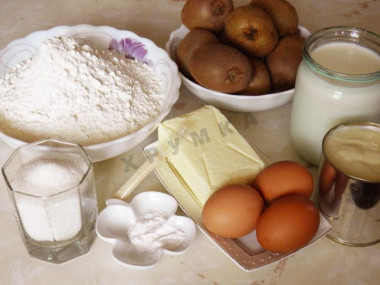
Ingredients
Step 2:
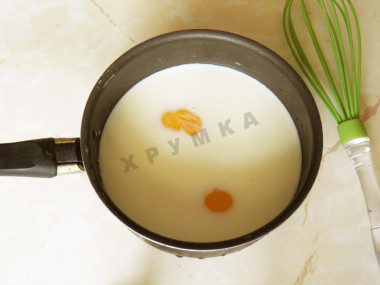
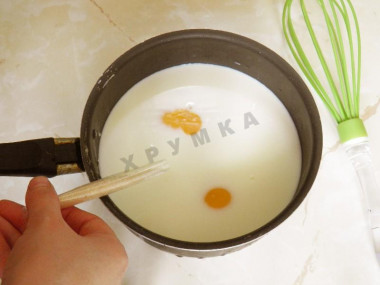
First we prepare the cream. To do this, mix all the components of the cream. Add 2 eggs to the milk,
Step 3:
Add vanilla sugar,
Step 4:
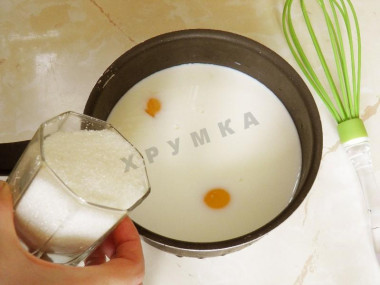
And a glass of ordinary granulated sugar,
Step 5:
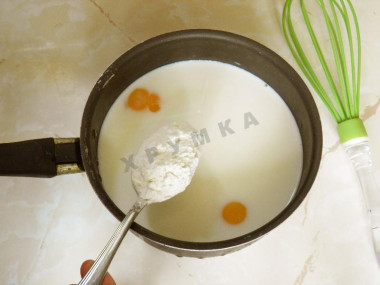
And two tablespoons of flour.
Step 6:
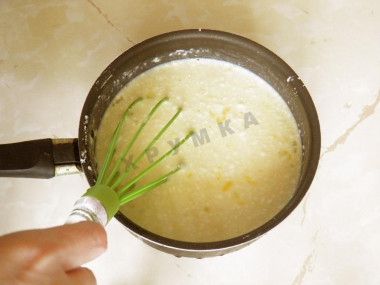
Mix everything thoroughly
Step 7:

And we will cook over low heat until thickened. I cooked for about 25 minutes
Step 8:
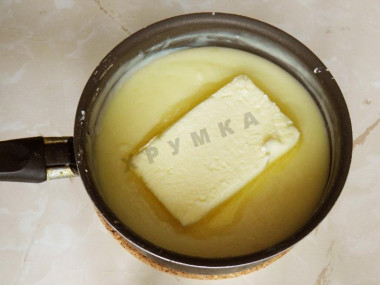
Add butter to the hot cream. Mix, close the lid, so that a crust does not form on the cream.
Step 9:

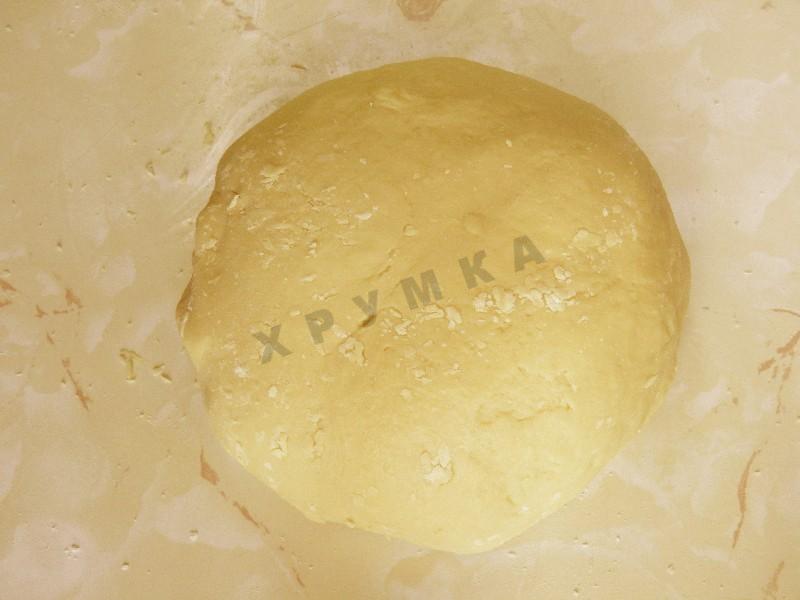
Let's start preparing the dough. Pour condensed milk into a bowl, add one egg.
Step 10:

Extinguish the soda with vinegar, and send it to the same place, in a bowl. Mix it up.
Step 11:
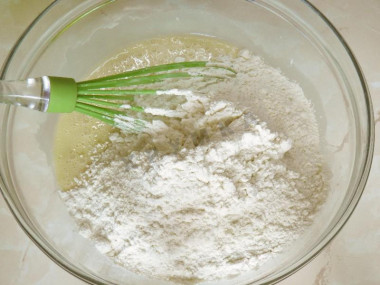
Now add flour. Flour will be added gradually. First we knead with a whisk, then with our hands.
Step 12:

The consistency of the dough will turn out to be similar to shortbread. The dough is soft, pleasant, elastic.
Step 13:

Divide the dough into several parts. I divided the dough into 2 parts. From one half I made 4 large balls, their other 4 medium and 4 small
Step 14:
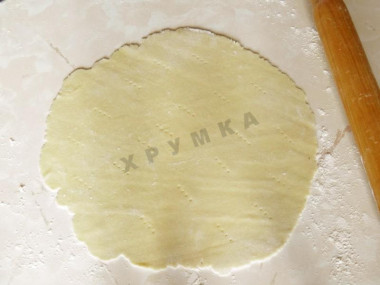
We dust the table and rolling pin thoroughly with flour, and roll out the dough into thin cakes. Do not hesitate to lightly dust the dough and the table with flour during rolling. So the dough will be easier to roll out. Prick the blanks with a fork. Before you start frying the cakes, roll out all the parts. Or it is convenient to work in tandem - one rolls out, the second roasts. This way things will go much faster.
Step 15:
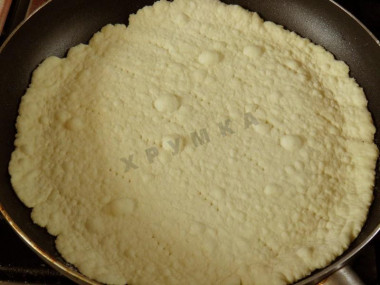
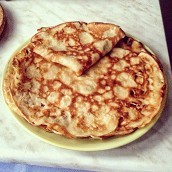
Fry in a dry frying pan. The dough will begin to increase, become thicker, funny bubbles form on the surface. Fry for 40 seconds - 1 minute and turn over.
Step 16:

Fry the same amount and remove. I don't have a 28 cm frying pan, so the large cakes were fried with an overlap on the walls, but when I took them off, they turned out to be smooth, not bent.
Step 17:
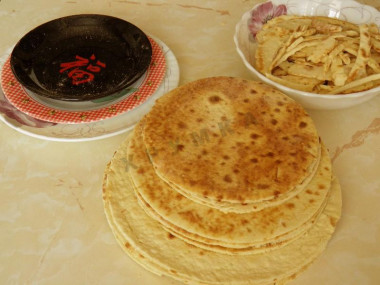
Ready-made cakes are cut with a knife on plates (or templates) of different diameters.
Step 18:

Kiwi cut into thin circles. I took hard kiwis in order to be able to slice them thinly (about 1 mm). If you use soft kiwis, then you may need 2 times more of them, because it is more difficult to thinly slice them.
Step 19:
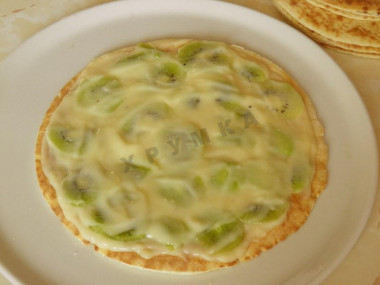
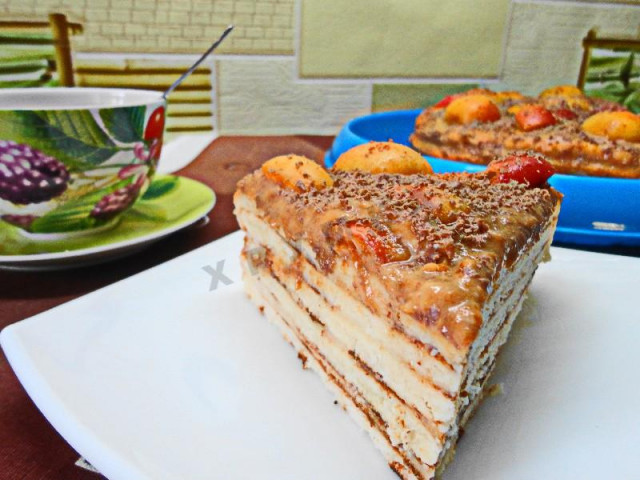
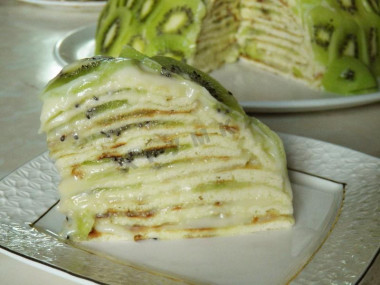
Put a large cake on a dish, cover with cream, spread kiwi, and lubricate with cream again. So we repeat with all the cakes. The last cake is simply stacked on top.
Step 20:
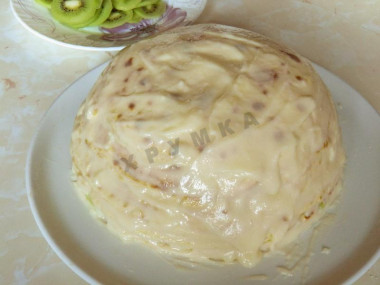
Now we take the scraps from the cakes, dip them in the cream and put them on the sides of the cake where there is a need to give the cake the shape of a hemisphere. Pour the remaining cream on the cake and coat it on all sides
Step 21:
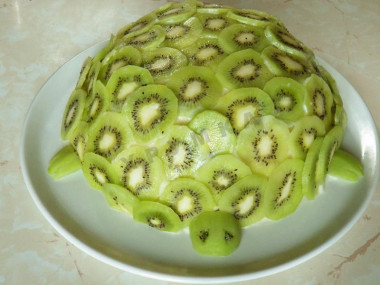
We put a circle of kiwi in the center and overlap other circles around it. So we cover the whole cake. For the top and sides, I used thin pieces of kiwi, and for the bottom, thicker so that they could stand on a platter. The thin ones tried to slide down.
Step 22:
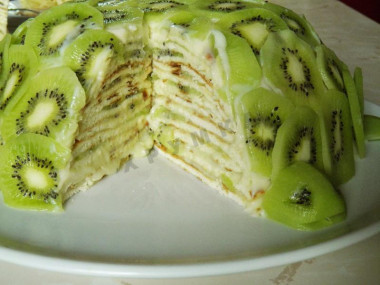
Let the cake brew a little. 20 minutes will be enough, and you can serve it to the table.
Step 23:
Bon appetit to you and your kids!


You can divide the dough into 8 equal parts, and then cut the cakes so that each subsequent one is 1.5-2 cm smaller in diameter. So the cakes will turn out thicker, and therefore it will be better to use a denser cream, for example cottage cheese.
It takes about 2 hours to prepare this cake, but if you cook together, it will turn out twice as fast, so call your husband or children for help))
The calorie content of the products possible in the composition of the dish
- Whole cow's milk - 68 kcal/100g
- Milk 3.5% fat content - 64 kcal/100g
- Milk 3.2% fat content - 60 kcal/100g
- Milk 1.5% fat content - 47 kcal/100g
- Concentrated milk 7.5% fat content - 140 kcal/100g
- Milk 2.5% fat content - 54 kcal/100g
- Whole durum wheat flour fortified - 333 kcal/100g
- Whole durum wheat flour, universal - 364 kcal/100g
- Flour krupchatka - 348 kcal/100g
- Flour - 325 kcal/100g
- Kiwi - 48 kcal/100g
- Granulated sugar - 398 kcal/100g
- Sugar - 398 kcal/100g
- Condensed milk with sugar - 324 kcal/100g
- Butter 82% - 734 kcal/100g
- Amateur unsalted butter - 709 kcal/100g
- Unsalted peasant butter - 661 kcal/100g
- Peasant salted butter - 652 kcal/100g
- Melted butter - 869 kcal/100g
- Wine vinegar (3%) - 9 kcal/100g
- Vinegar 9% - 11 kcal/100g
- Balsamic vinegar - 88 kcal/100g
- Apple vinegar - 14 kcal/100g
- Vinegar - 11 kcal/100g
- Baking soda - 0 kcal/100g
- Vanilla sugar - 379 kcal/100g
- Chicken egg - 80 kcal/100g