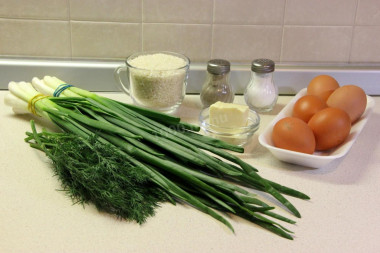
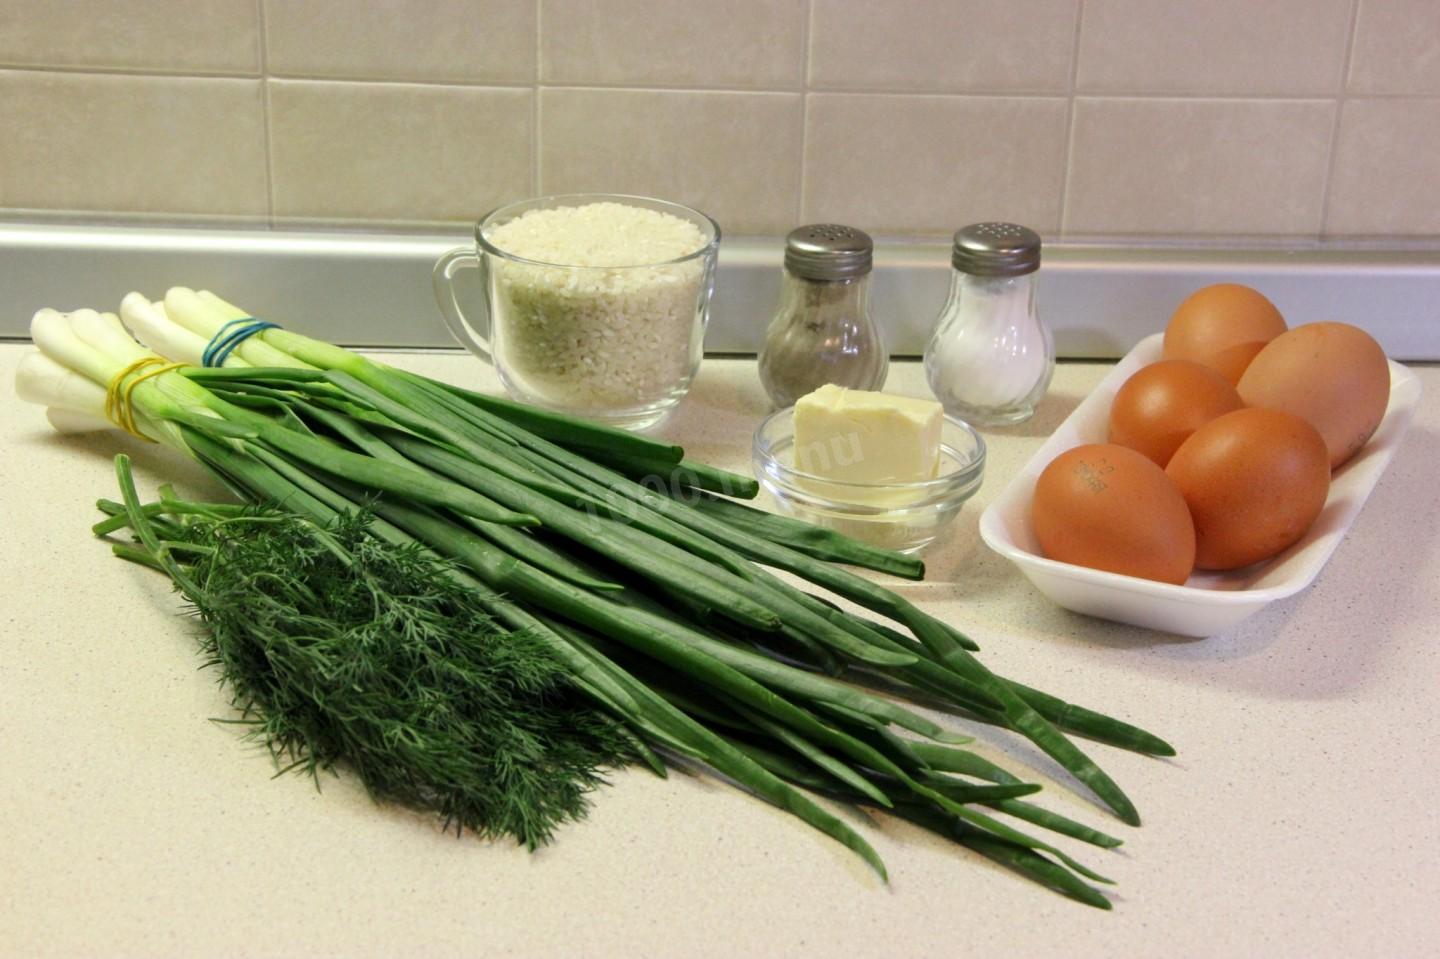
Composition / ingredients
Step-by-step cooking
Step 1:

How to bake pies with rice, green onion and egg in the oven? The ingredients for the SOURDOUGH should all be at room temperature.
Step 2:
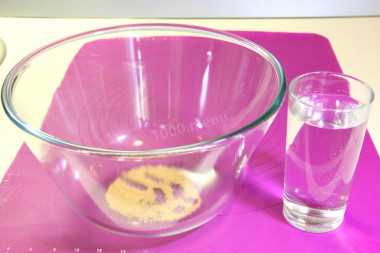
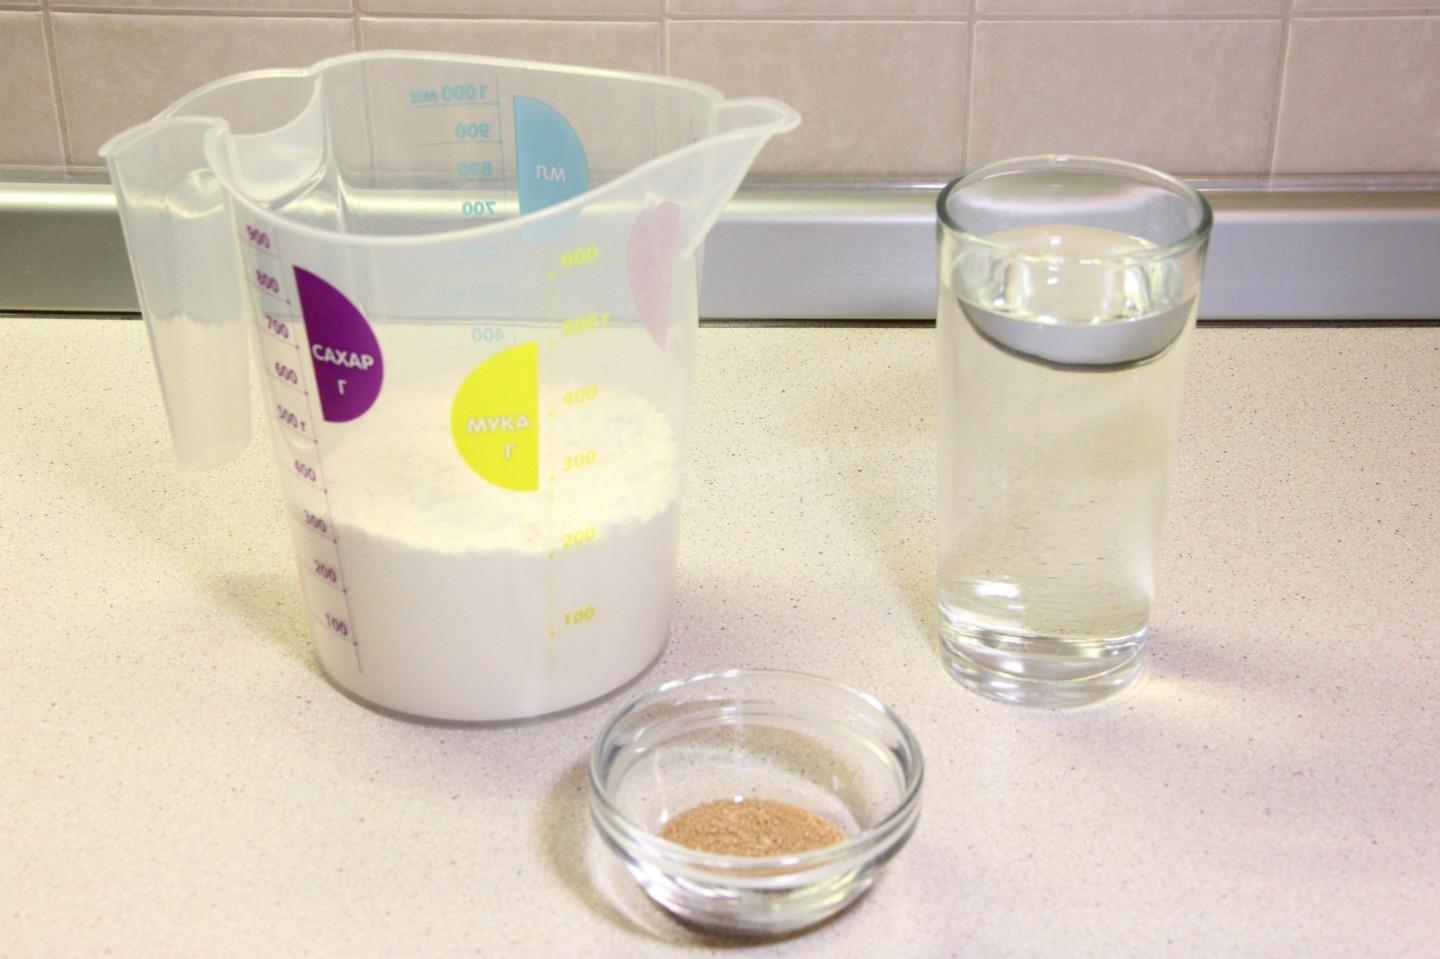
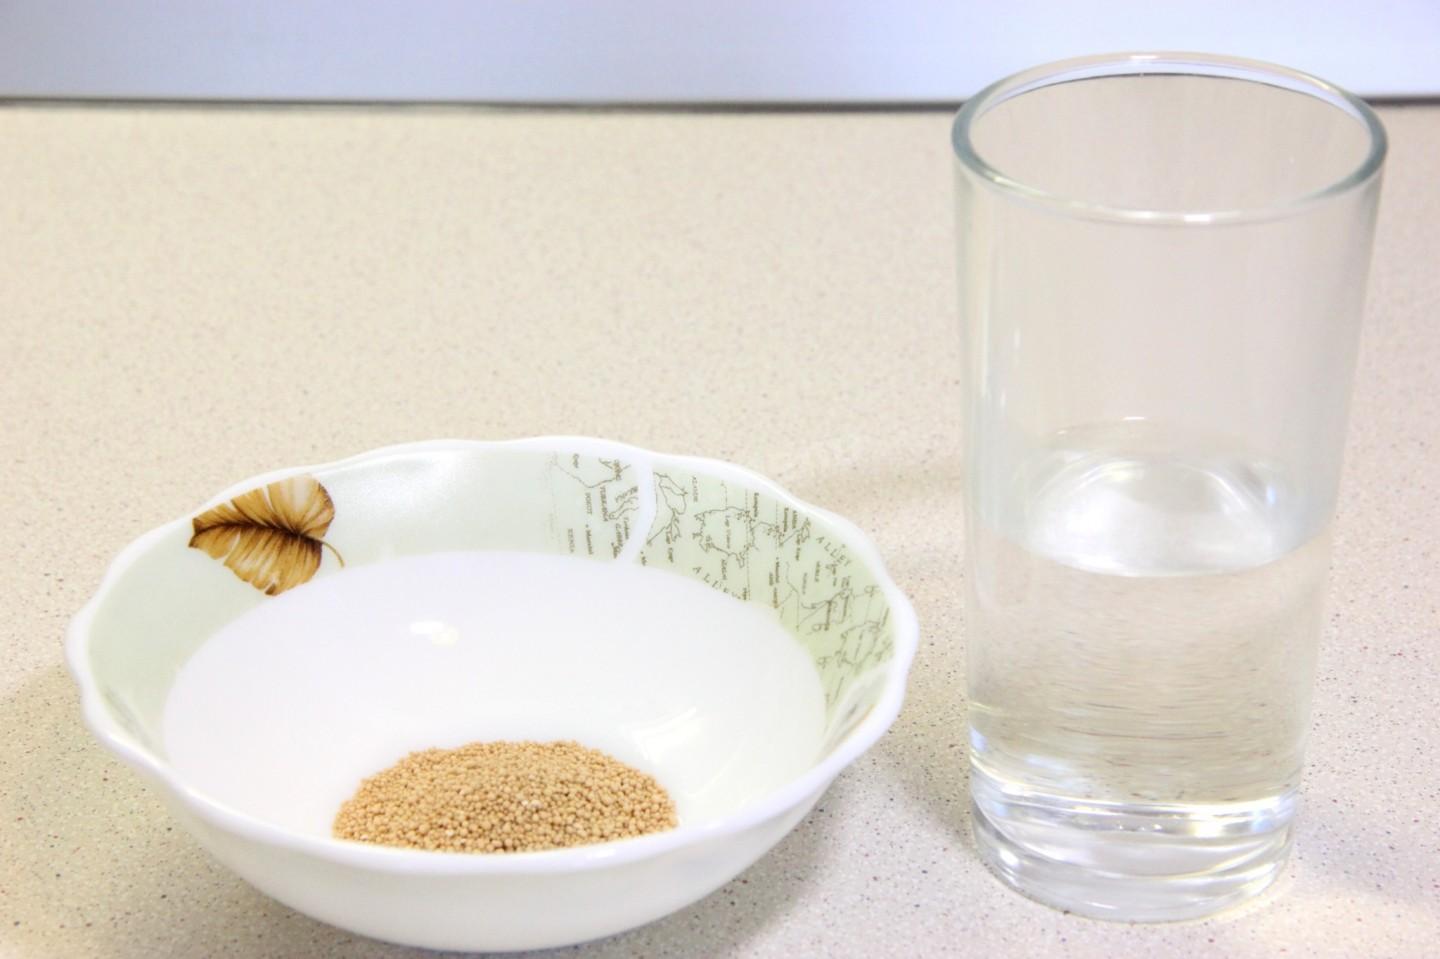
Preparing the SOURDOUGH : -Pour 2gr dry yeast into a deep bowl. Pour in slightly warmed, warm water - leave for 5 minutes so that the yeast dissolves.
Step 3:
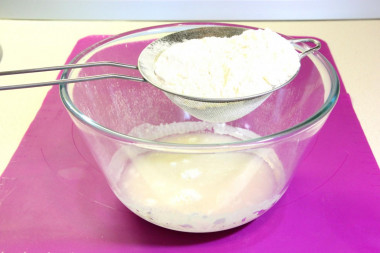
Pour in the sifted flour and stir until smooth. The sourdough will be THICK, so it should be - this is the norm.
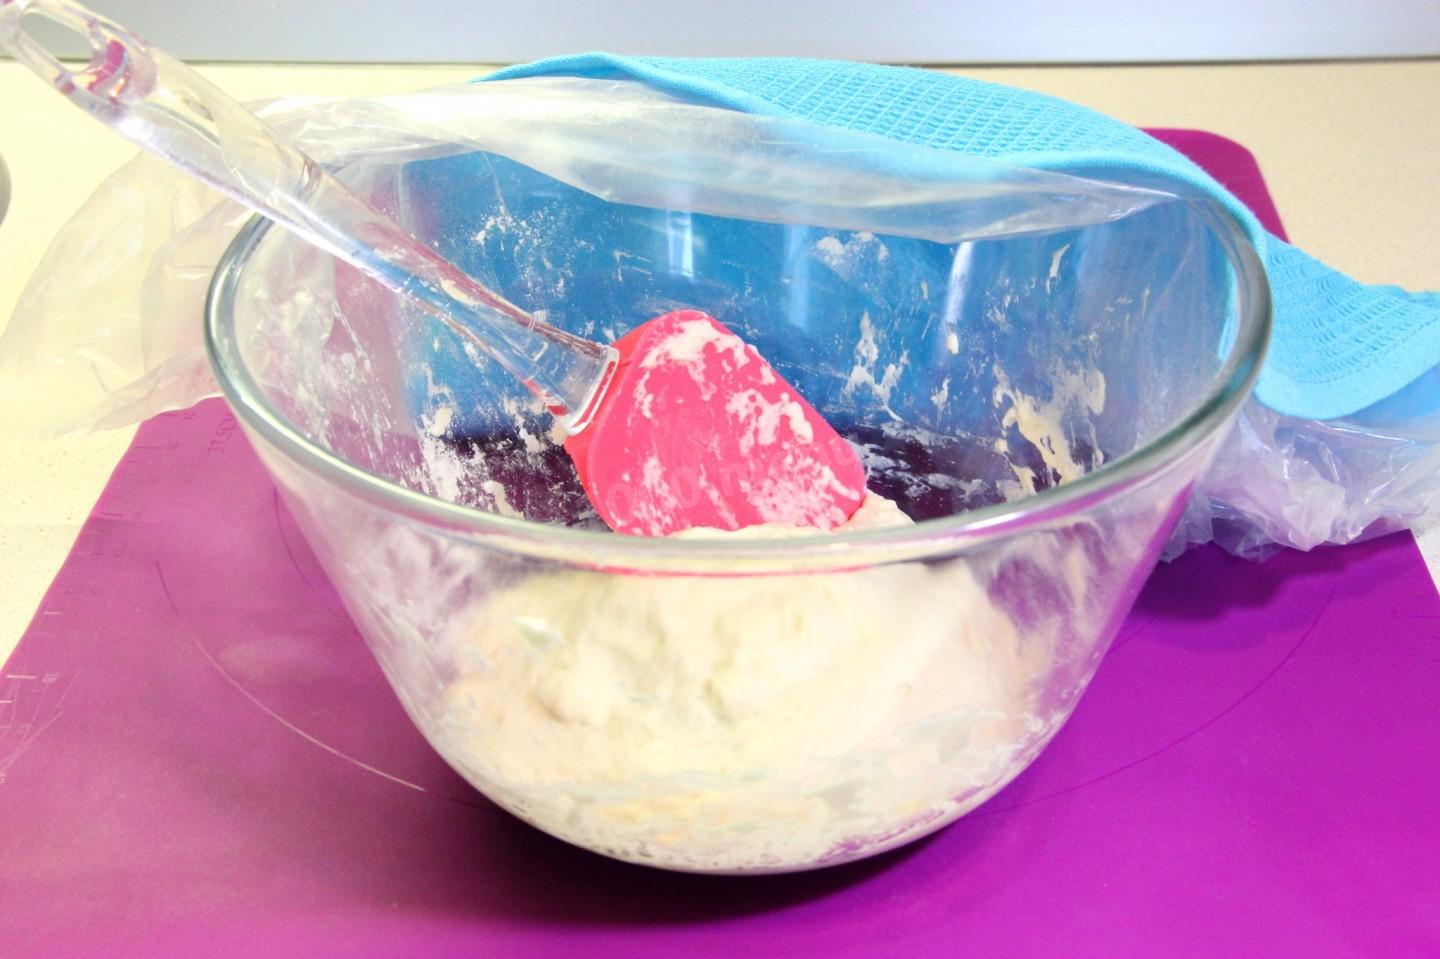
Step 4:

Cover the bowl with cling film, top with a napkin. Leave in the heat for 2.5 hours. The sourdough should rise with a magnificent hat and is about to begin to descend.
Step 5:

Ingredients on the dough.
Step 6:

Prepare the DOUGH : -Yeast 4gr., pour warm water 100ml., let them dissolve for 5 minutes.
Step 7:
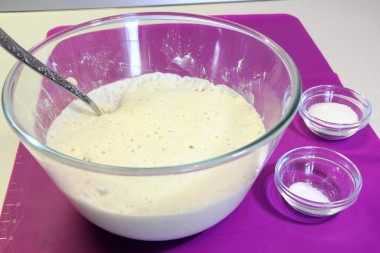
Add salt and sugar to the risen sourdough. Mix gently by simply tapping with a fork from the edge to the center.
Step 8:
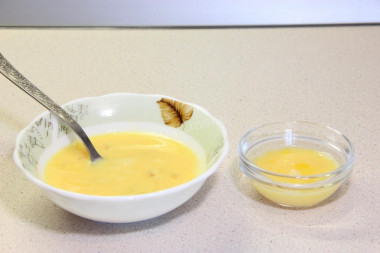
Beat eggs in a bowl with a fork until smooth. Pour 2st.l., leave them to lubricate the pies on top. / Put it in the refrigerator, but get it in advance so that the egg is warm /.
Step 9:
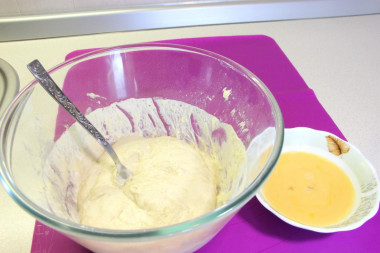
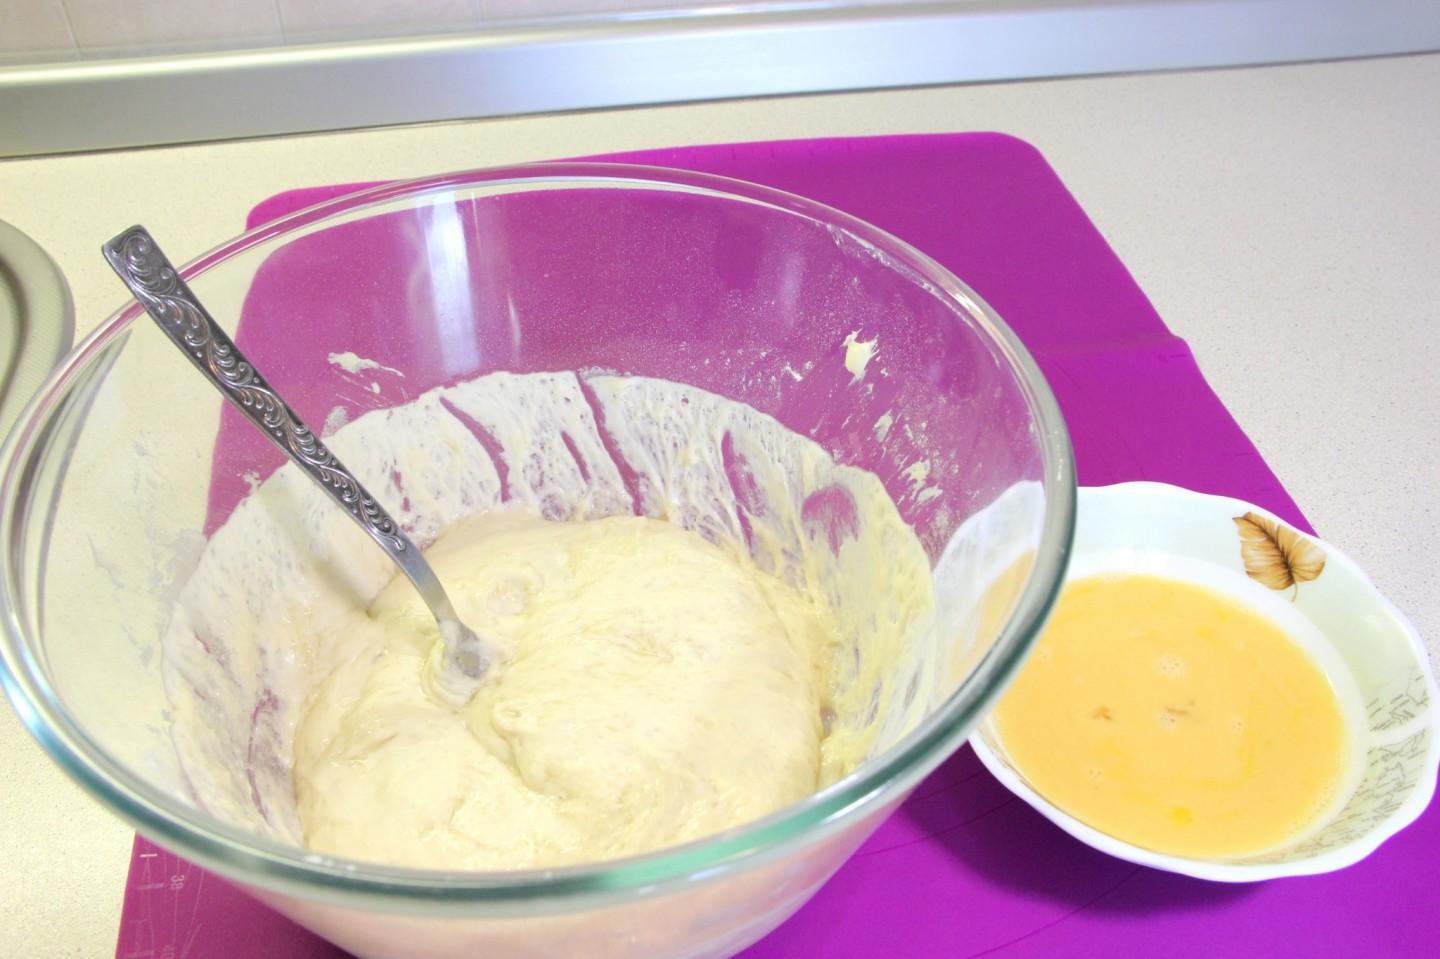
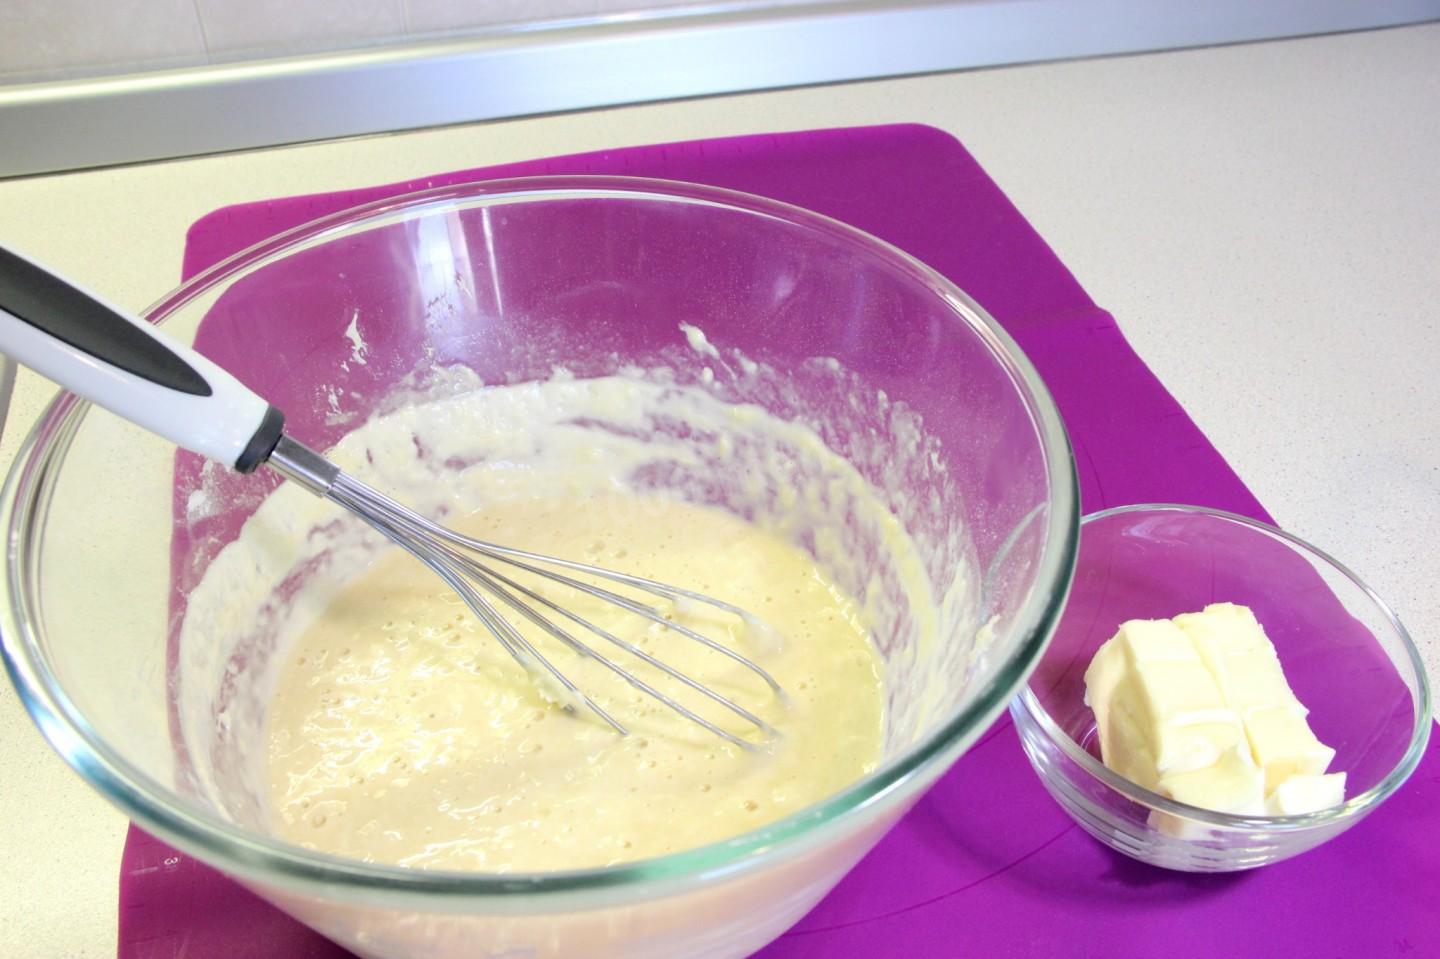
Pour the rest of the egg into the sourdough.
Step 10:
Add warm butter / cubes /. Mix it up.
Step 11:
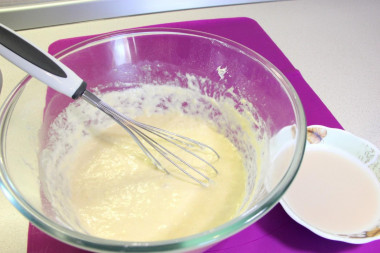
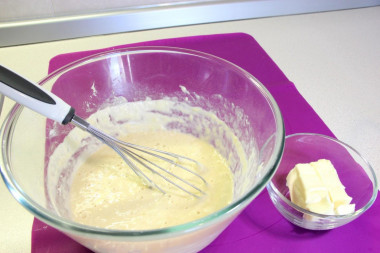
Pour in the revived yeast, mix well with a whisk. Until uniformity does not work, this is the norm.
Step 12:
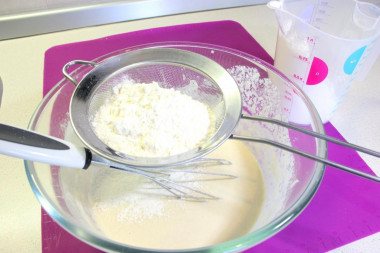
Pour the sifted flour in parts and knead the dough. First with a wooden spoon, then with your hand.
Step 13:
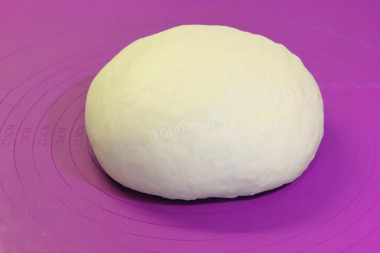
Knead on the table for 10 minutes, lightly lubricate hands and table with odorless vegetable oil. If the dough is too thin, add flour, but very gradually - do not clog the dough / +- 20gr /. Knead until the dough stops sticking to your hands and the table. The finished dough will be soft, elastic.
Step 14:
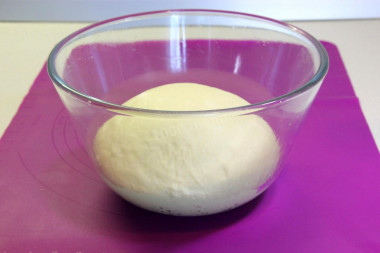
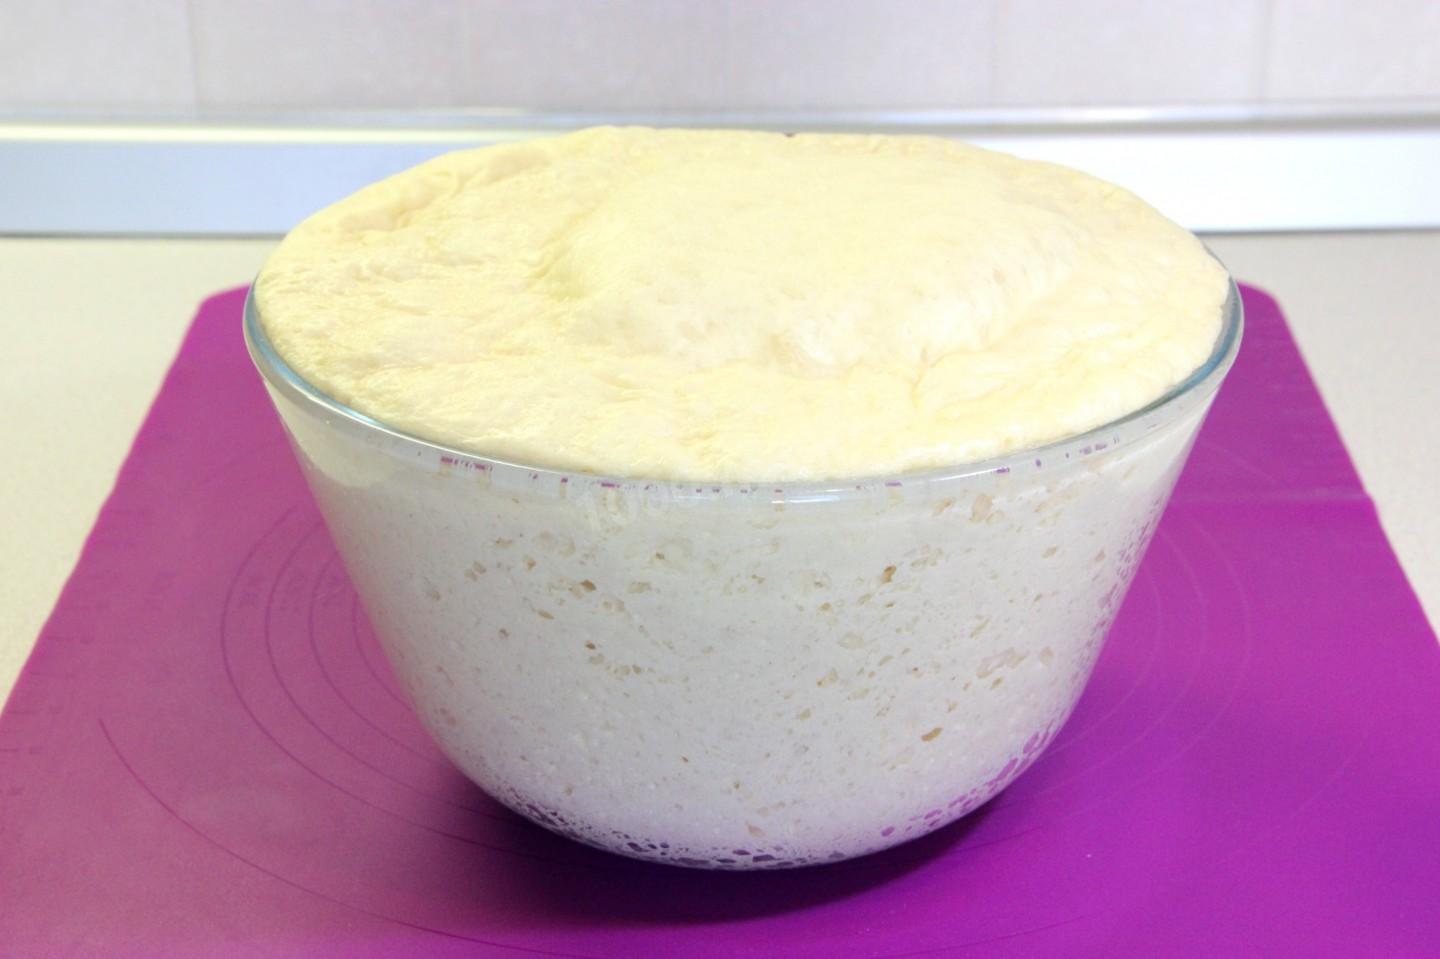
It is easy to lubricate a clean deep bowl with vegetable oil. Place the rounded dough, cover with a film and a napkin and leave to approach for 1.5 - 2 hours in a warm place without a draft. / I have it in a barely warm oven turned off, the temperature is 25 - 35 degrees no higher, at 45 - 50 degrees the yeast dies /.
Step 15:
While the dough is coming, we prepare the filling: - Finely chop boiled eggs and green onions, add rice, season with salt and pepper, mix. Add the melted and cooled butter / or 2st.l. sour cream / for viscosity and taste improvement, mix well. How to make stuffing, step-by-step photos to watch here:https://1000.menu/cooking/27367-ris-yaica-luk-nachinka-dlya-pirojkovinfo
Step 16:

The finished dough will greatly increase in volume. It is very gentle, responsive to the slightest touch. The photo shows how the edges began to fall, it was only necessary to remove the film. Now do not forget to get the left egg out of the refrigerator, by the right time it will be at room temperature.
Step 17:
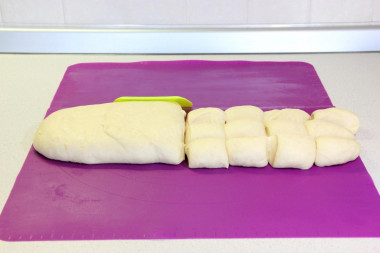
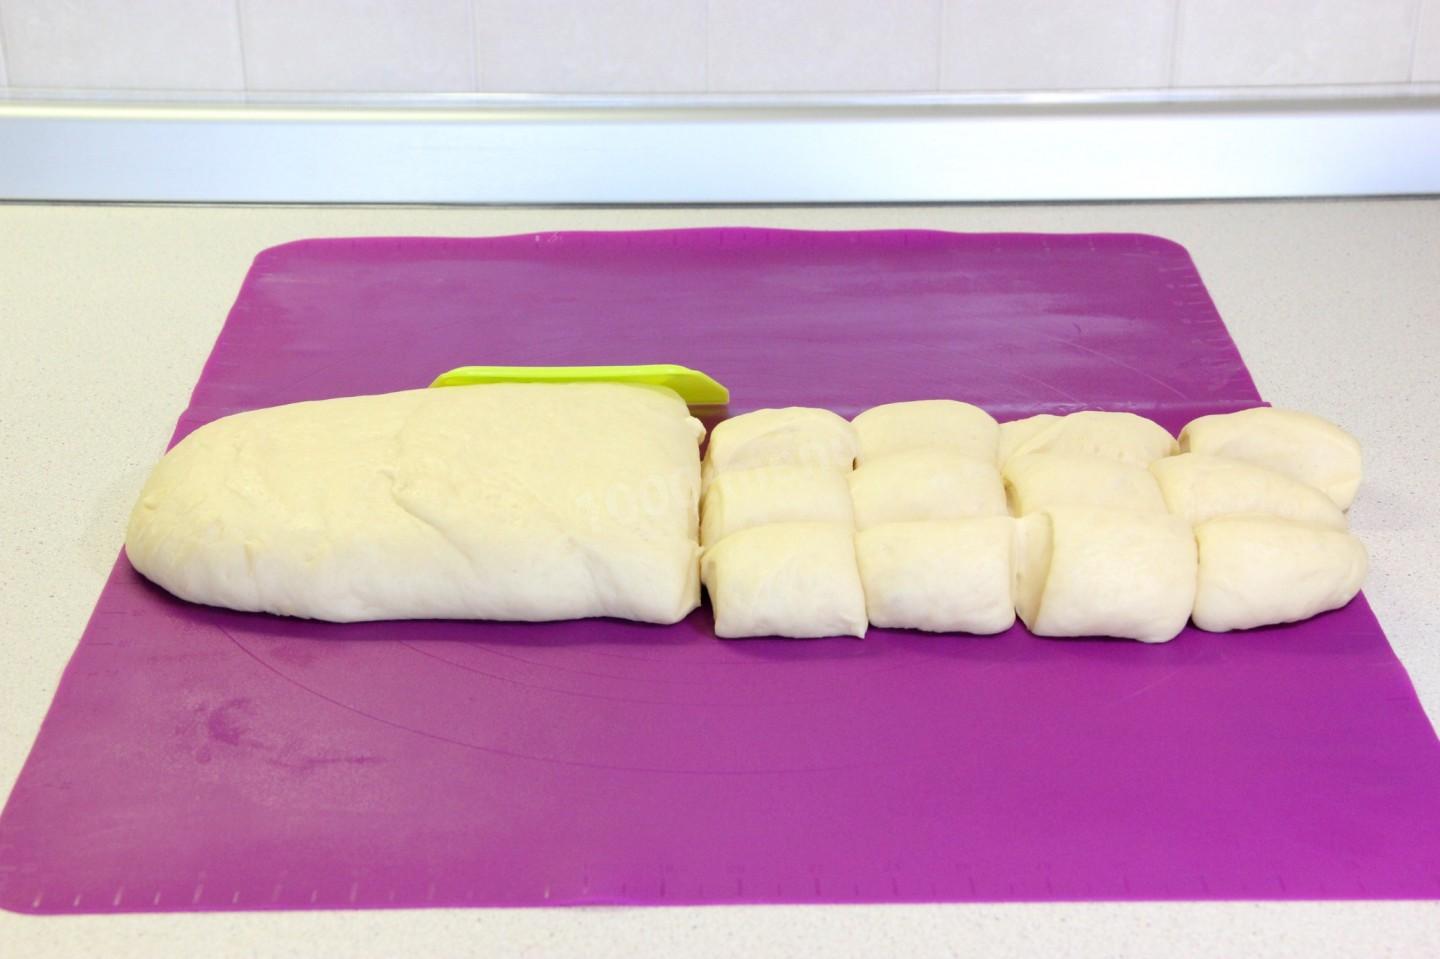
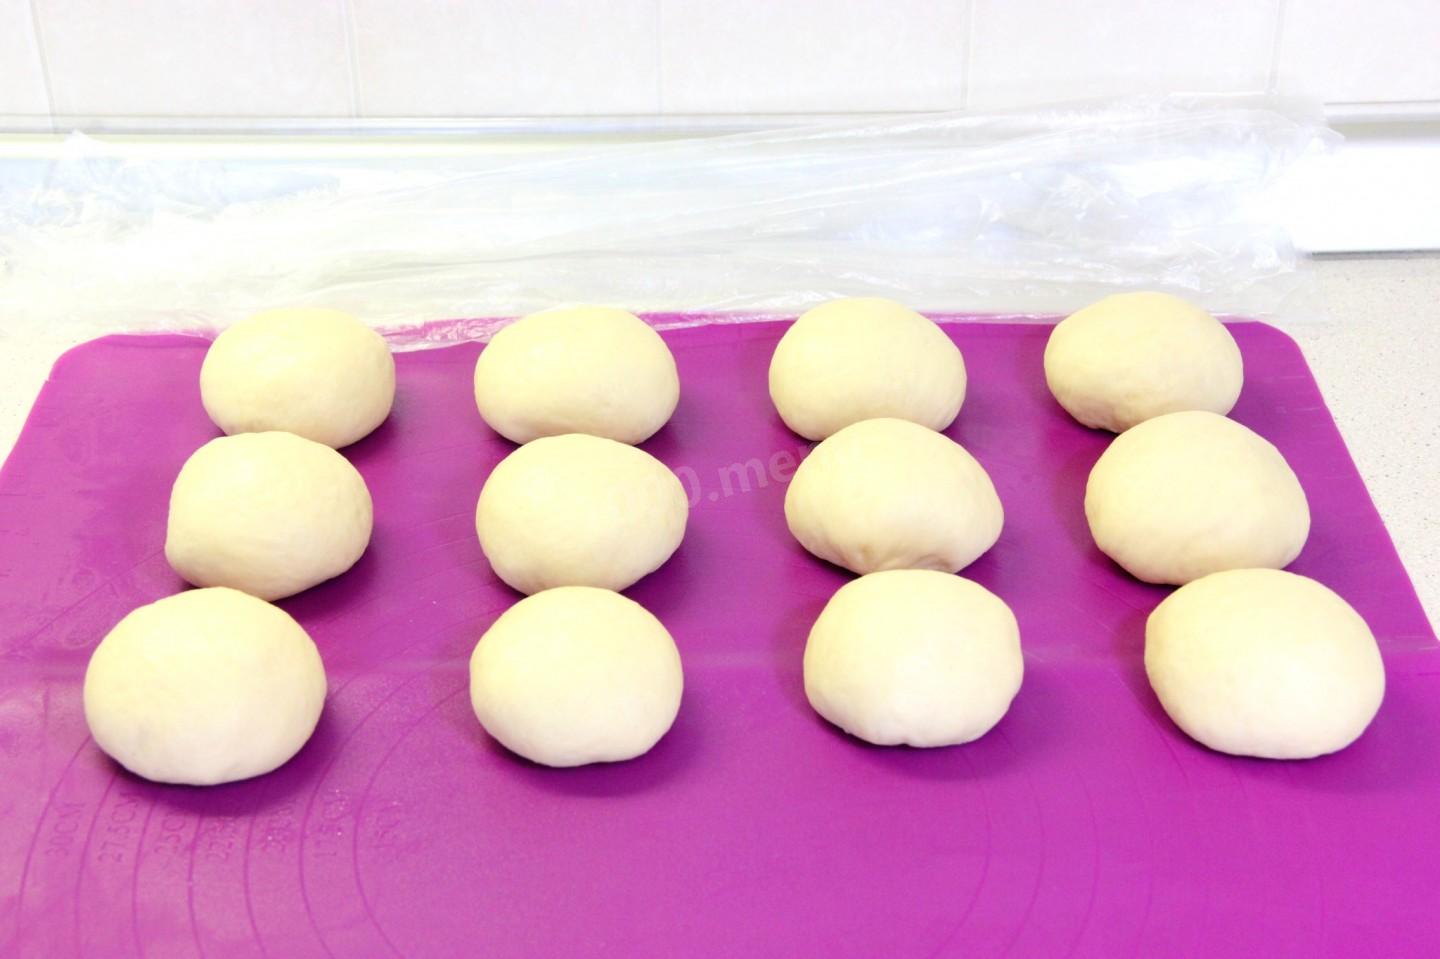
Slightly crumpling to shape the loaf, divide in half. Remove one part, cover with a film from wrapping. The other part is divided into 12 approximately equal pieces of 43 - 45gr. From this amount of dough, 24 pies are obtained, two large standard baking sheets 37x43cm.
Step 18:

Round up each piece of dough, pinching the edges down, roll out the bun on the table. / The dough will seem small, but the pies will still grow a lot and are ready just right /. Put the buns on the table, cover with a film and leave to rest for 5-10 minutes.
Step 19:

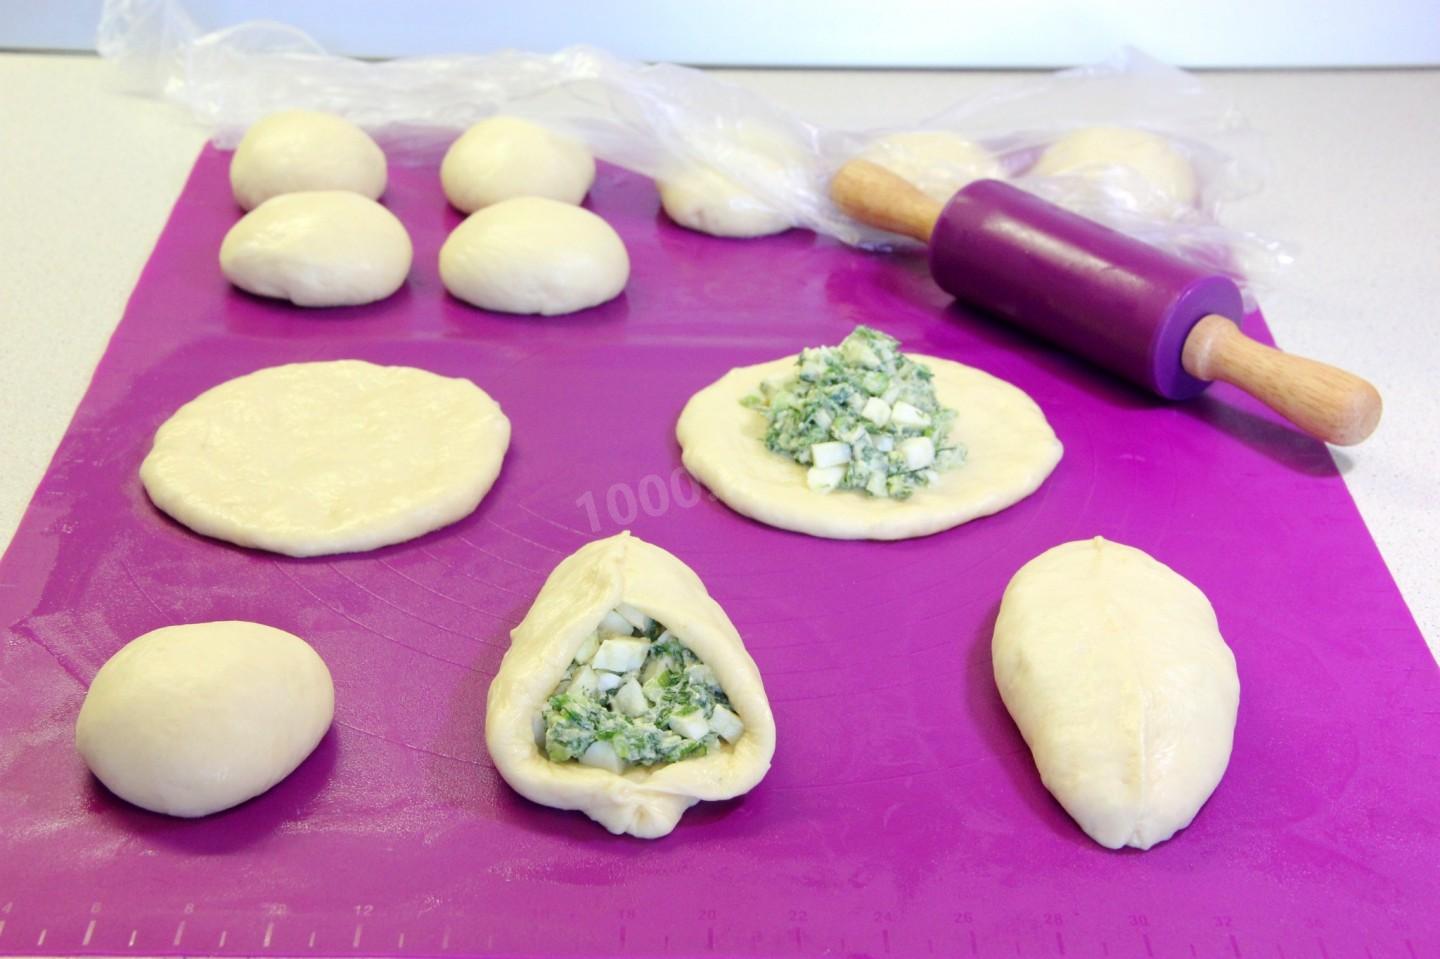
Stretch each bun with your hands or a rolling pin into a flat cake about 0.6 - 0.7 cm thick. If the dough sticks, dust the table with flour, I prefer to lightly grease vegetable oil. Turn the tortilla over / the reverse side is perfectly smooth and the pies will be more beautiful / and spread the filling in the center of the 1st.l. with a slide. Pinch the edges well. First in the center, then to one end and then from the center to the other end.
Step 20:
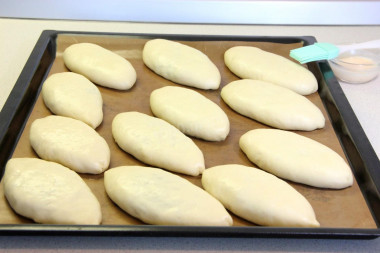
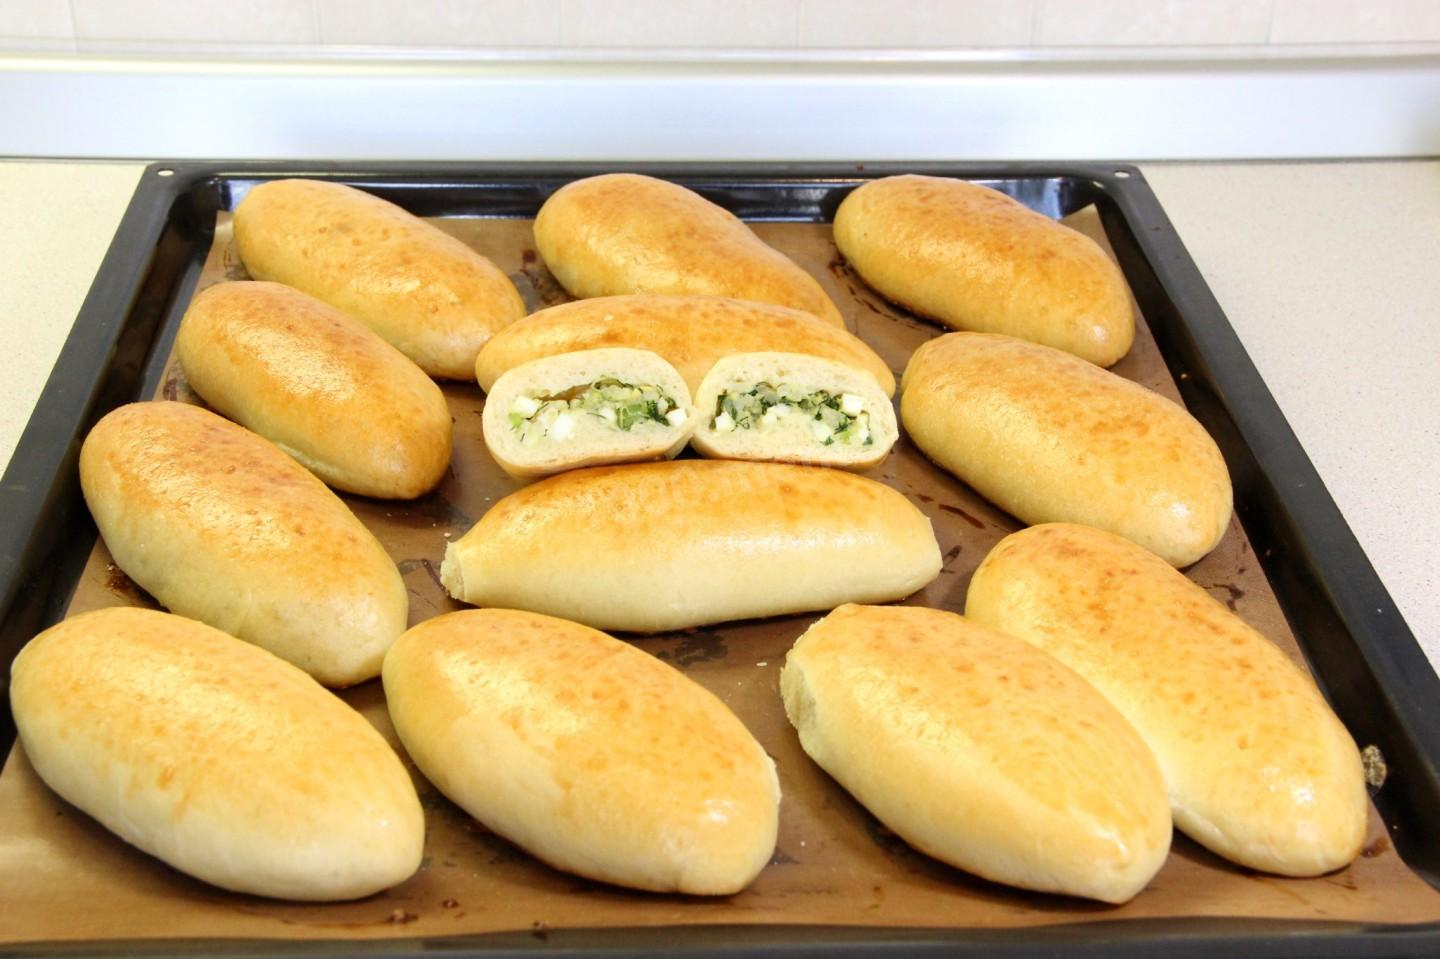
Grease the baking sheet with oil or put paper, a mat. Take the pie in your hands, pinch the seam again and slightly flatten it into an oval / especially pies with sweet filling /. Spread the seam down at a distance from each other, the pies increase greatly. So form all 12 pieces. Cover them with a film / cut the package / and leave to approach for 30 - 40 minutes. As soon as they are suitable, add 2 tsp. warm milk to the left egg, shake and gently lubricate the pies.
Step 21:

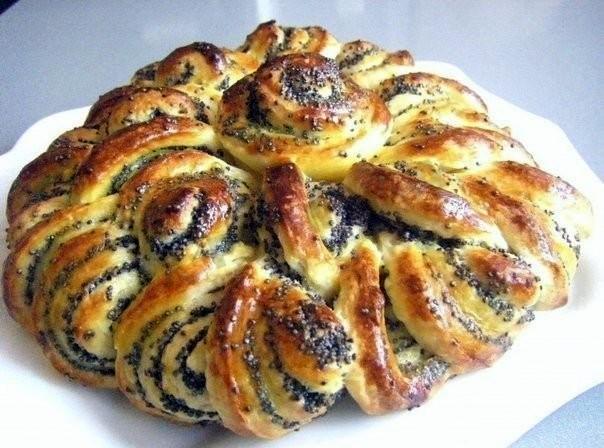
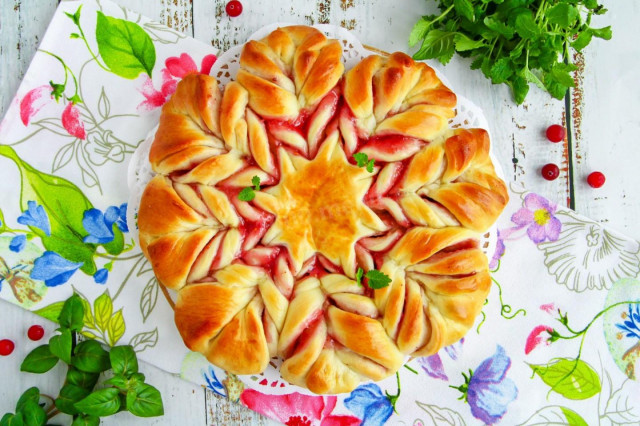
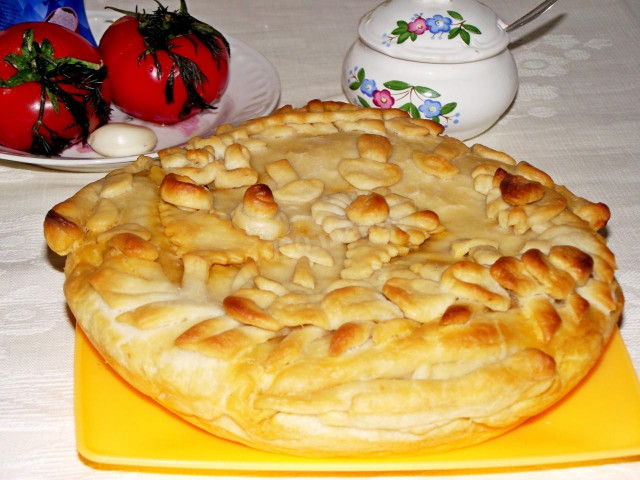
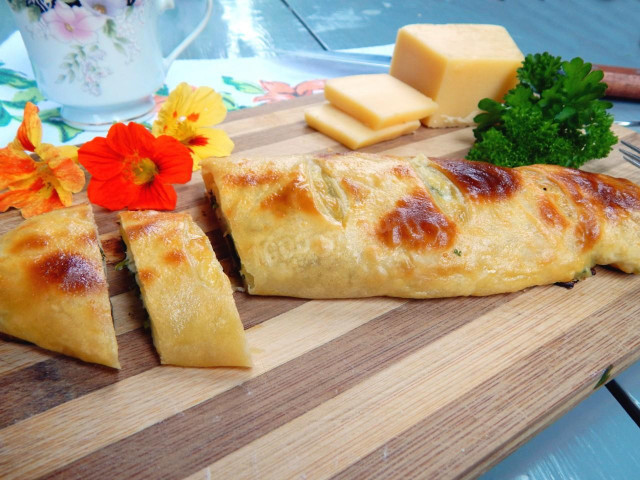
Immediately bake in a preheated oven at 220 degrees for about 15 minutes, until blush. Ready to lubricate with plain water and cover with a napkin. Soon they will soften, cool down and be sure to please you with their taste. If you cook with different fillings, change the shape of the pie or the seam to know which one with what. Bon appetit !


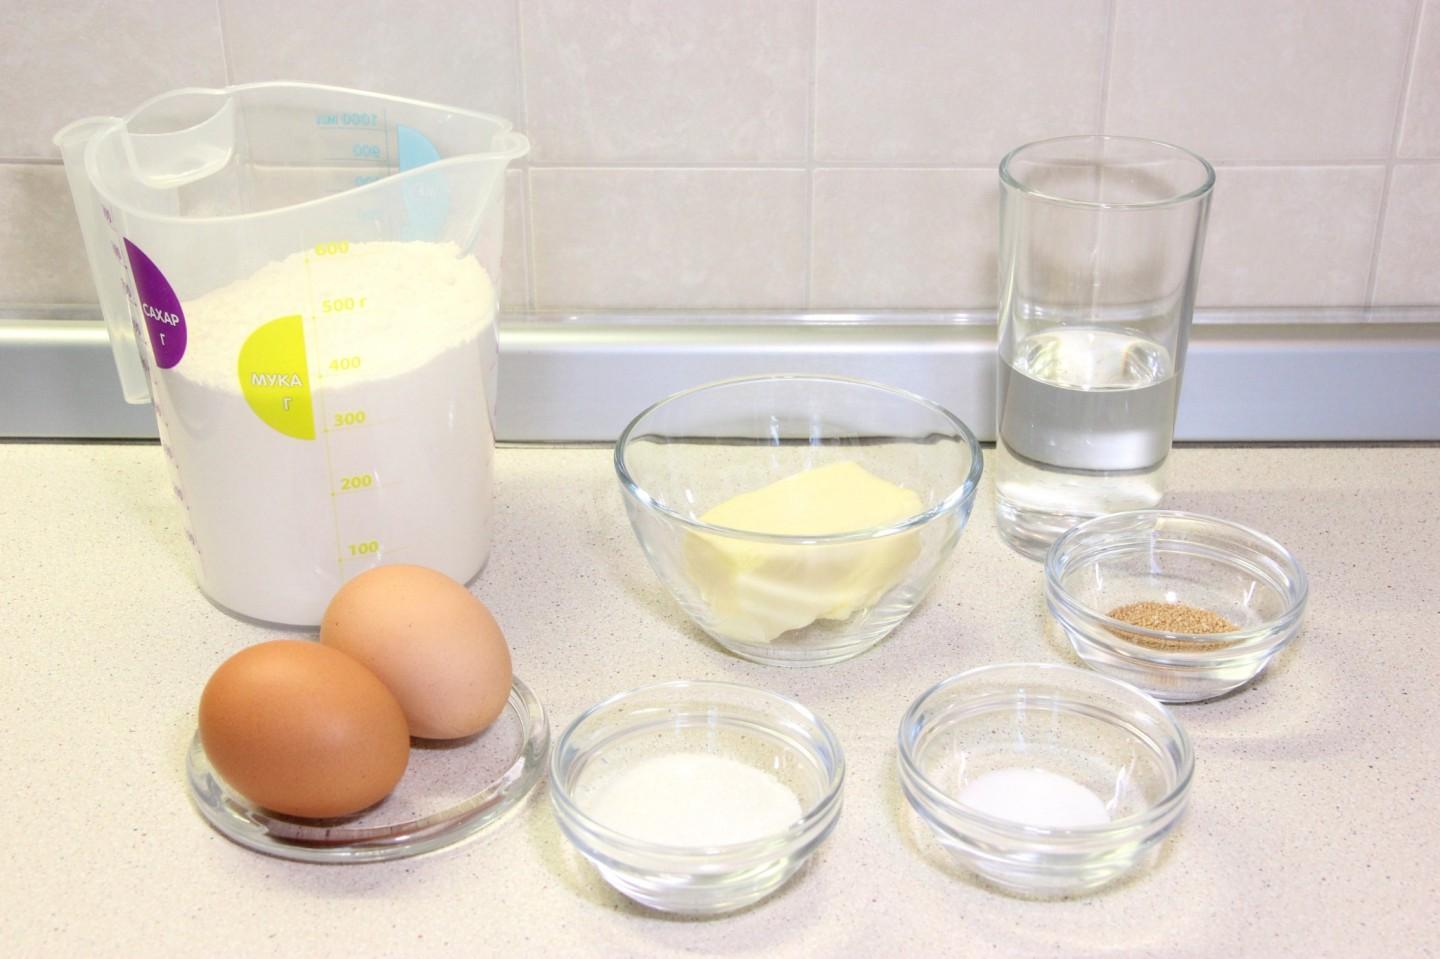


In order for the dough to turn out, it is necessary to measure the products correctly, this is half the success.
Liquid products need to fill glasses and spoons completely to the edge.
Bulk products are applied with a "slide" and the top is removed with a knife. It is necessary to fill the dishes without tamping and shaking, without preliminary loosening. This is especially true for flour. Measure, and then sift. It is necessary to use special measuring cups and spoons, scales.
Caloric content of the products possible in the composition of the dish
- Chicken egg - 157 kcal/100g
- Egg white - 45 kcal/100g
- Egg powder - 542 kcal/100g
- Egg yolk - 352 kcal/100g
- Ostrich egg - 118 kcal/100g
- Raw wild rice - 353 kcal/100g
- Brown raw rice - 360 kcal/100g
- Boiled brown rice - 119 kcal/100g
- White fortified raw rice - 363 kcal/100g
- Fortified boiled white rice - 109 kcal/100g
- White rice, steamed, with long grains raw - 369 kcal/100g
- Steamed white rice, boiled with long grains - 106 kcal/100g
- Instant dry rice - 374 kcal/100g
- Instant rice, ready to eat - 109 kcal/100g
- Fig - 344 kcal/100g
- Dill greens - 38 kcal/100g
- Whole durum wheat flour fortified - 333 kcal/100g
- Whole durum wheat flour universal - 364 kcal/100g
- Flour krupchatka - 348 kcal/100g
- Flour - 325 kcal/100g
- Granulated sugar - 398 kcal/100g
- Sugar - 398 kcal/100g
- Butter 82% - 734 kcal/100g
- Amateur unsalted butter - 709 kcal/100g
- Unsalted peasant butter - 661 kcal/100g
- Peasant salted butter - 652 kcal/100g
- Melted butter - 869 kcal/100g
- Vegetable oil - 873 kcal/100g
- Green onion - 19 kcal/100g
- Salt - 0 kcal/100g
- Water - 0 kcal/100g
- Pepper - 26 kcal/100g
- Dry yeast - 410 kcal/100g