
Composition / ingredients
Step-by-step cooking
Step 1:
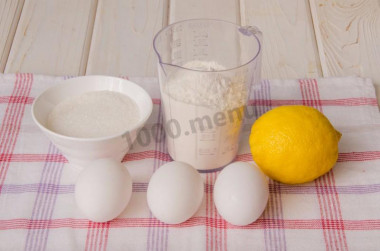
Prepare the ingredients for the sponge cake.
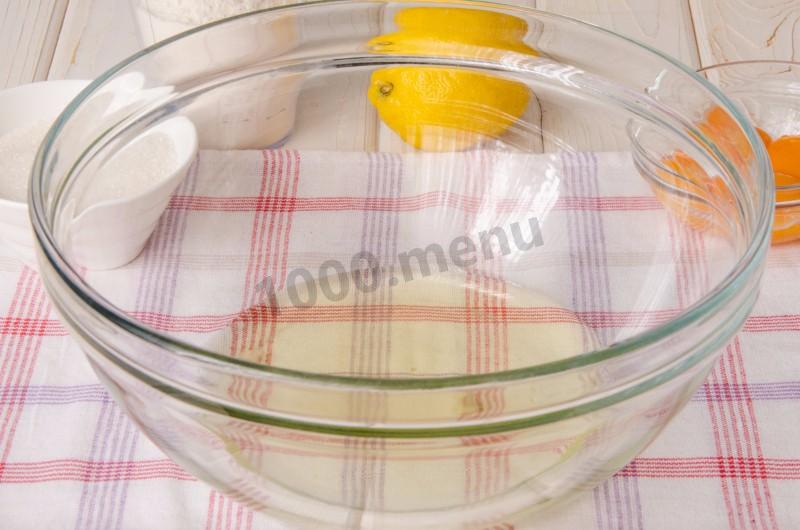
Step 2:
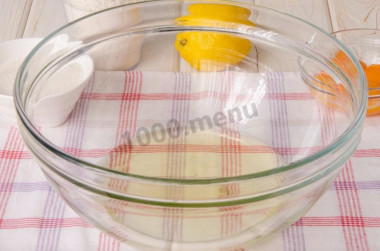
Carefully divide the eggs into whites and yolks. Pour the proteins into a large clean and dry bowl.
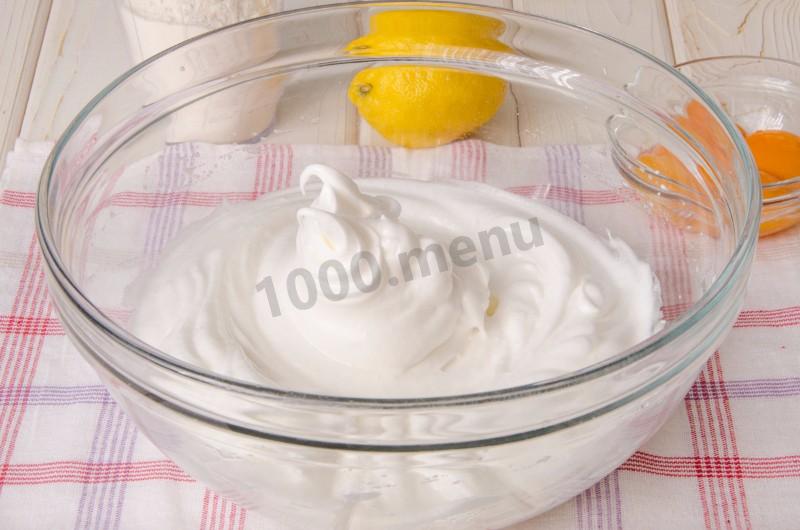
Step 3:
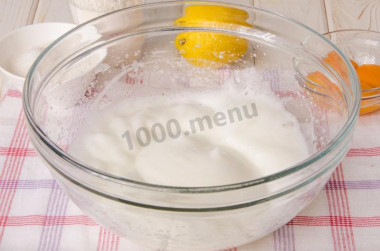
Beat the whites with a mixer until light fluffy foam. During whipping, increase the speed of the mixer as the volume of proteins increases.
Step 4:

Next, add sugar in small portions and whisk the whites to solid peaks, while the sugar should completely dissolve.
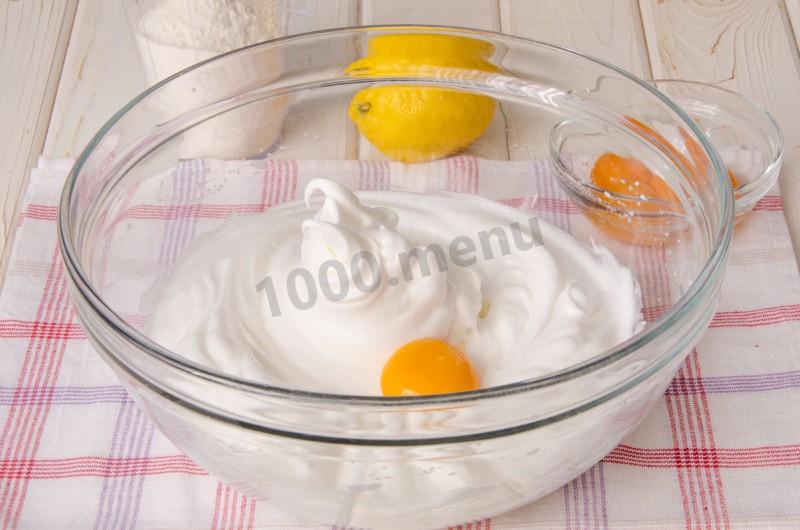
Step 5:
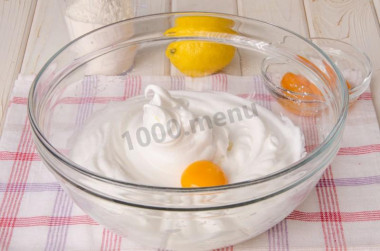
Put the yolks into the well-beaten whites one at a time.
Step 6:

Add lemon zest. By the way, remove the zest carefully, trying not to catch the white part, otherwise it can give the biscuit an unpleasant bitterness.
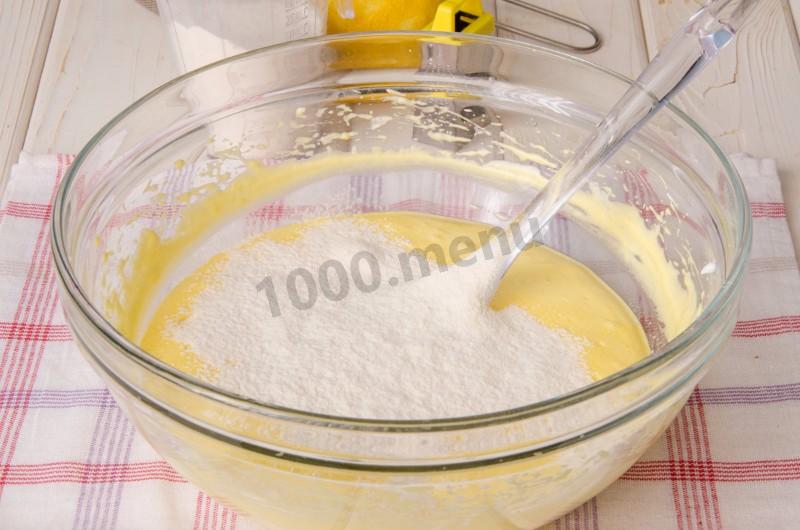
Step 7:
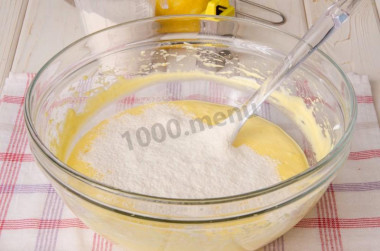
Sift the flour and mix it into the dough in small portions.
Step 8:
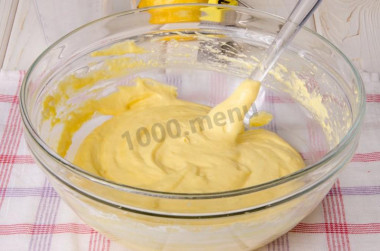
Mix the dough carefully so that it retains its volume as much as possible.
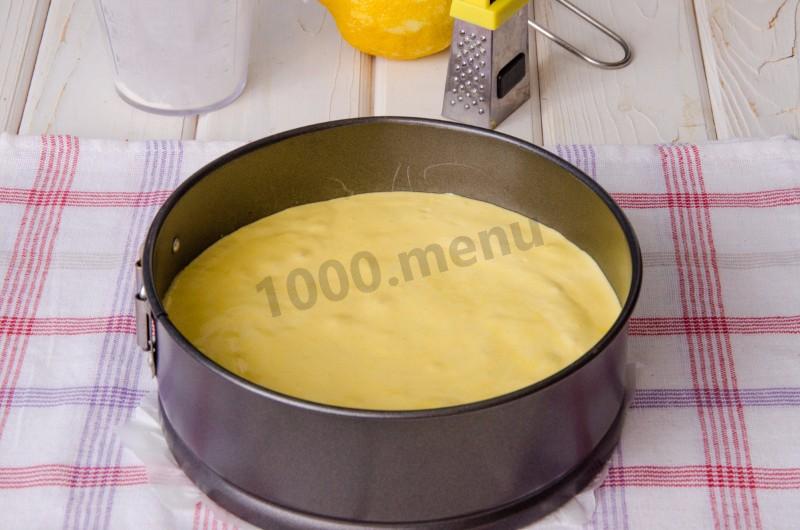
Step 9:
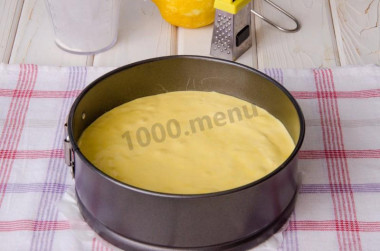
Cover the bottom of the mold (diameter 20-22 cm) with baking paper, do not lubricate the sides of the mold with anything. Put the finished dough into the prepared mold.
Step 10:
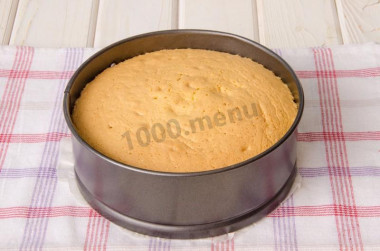
Bake the sponge cake in a preheated 180 C oven for about 25-30 minutes. Do not open the oven for the first 20 minutes, otherwise the biscuit may fall off from the temperature difference. Check the readiness of the biscuit with a wooden skewer, if you pierce the center of the biscuit with it, then it should come out without traces of sticky dough.
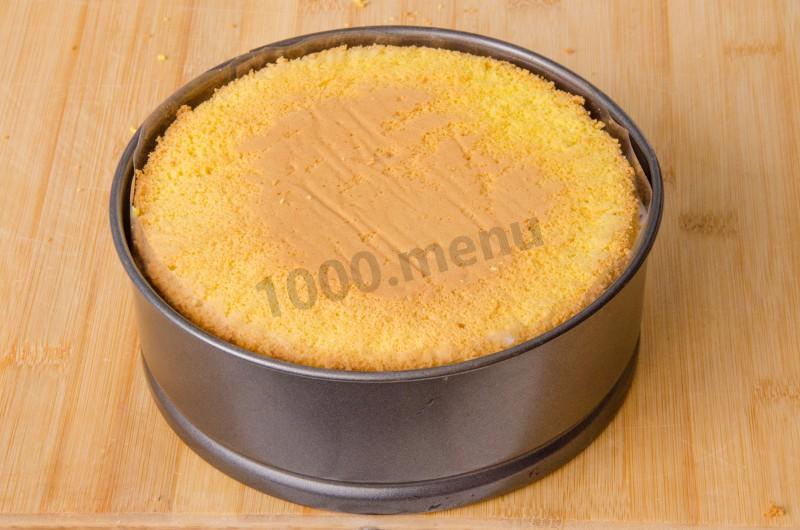
Step 11:
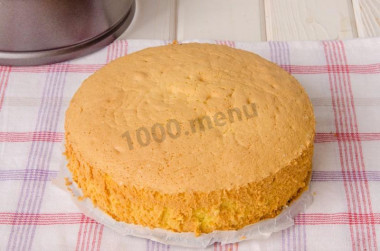
Let the finished biscuit cool down a little in the mold first, and then carefully walk with a pastry spatula or a narrow knife along the sides and remove the biscuit from the mold. Let it cool completely, and if there is time, then lie down after baking for 6-8 hours, so the sponge cake will thicken and it will be easier to work with it.
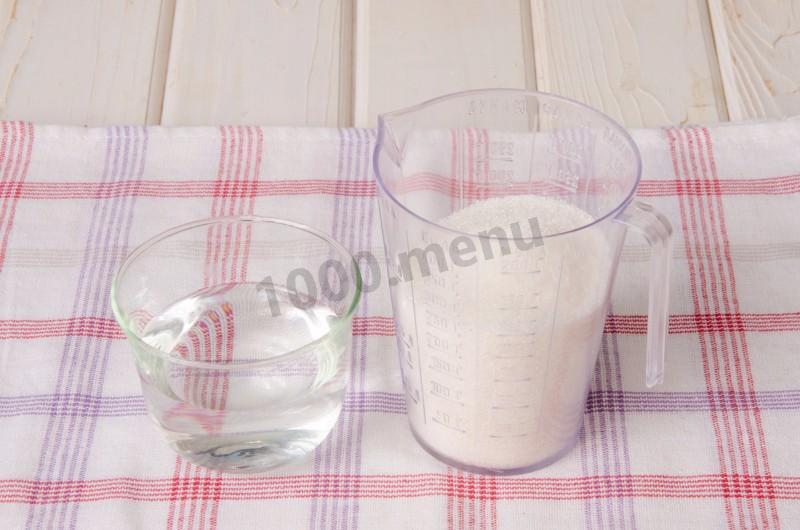
Step 12:

Prepare the ingredients for the syrup, it will be needed to prepare the filling.
Step 13:
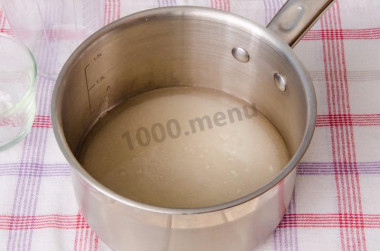
Pour water into the bottom of the saucepan, pour all the sugar into the center of the saucepan.
Step 14:
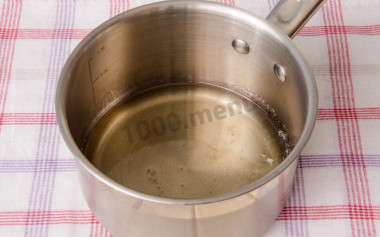
Put the saucepan on a small fire, bring the contents to a boil, cover the saucepan with a lid and boil the syrup for 20 minutes until golden brown. Do not stir the syrup during cooking.
Step 15:
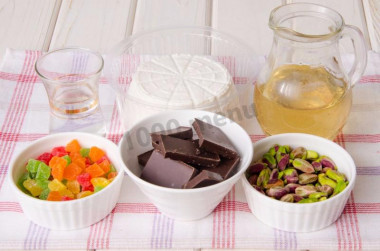
Prepare the filling.
Step 16:

Chop the dark chocolate with a knife.
Step 17:
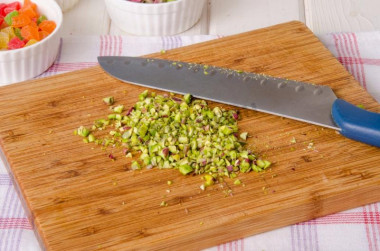
Also chop the pistachios and candied fruits (I have candied fruits of a small size, so I left them whole).
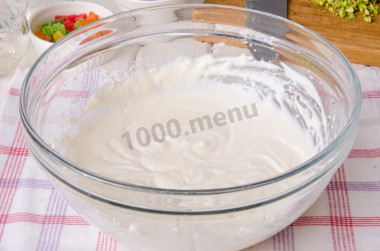
Step 18:
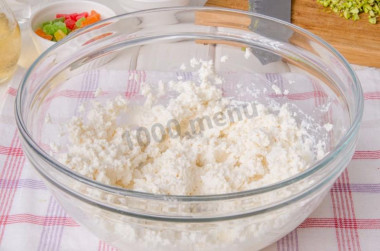
Put the ricotta in a bowl and beat with a mixer or mash with a whisk until fluffy for 1 minute.
Step 19:
Without ceasing to stir, pour in a thin stream of cooled syrup (if the syrup has thickened a lot during cooling, then gently heat it so that it becomes more liquid). By the way, as an option, I think sugar syrup can be replaced with ordinary powdered sugar.
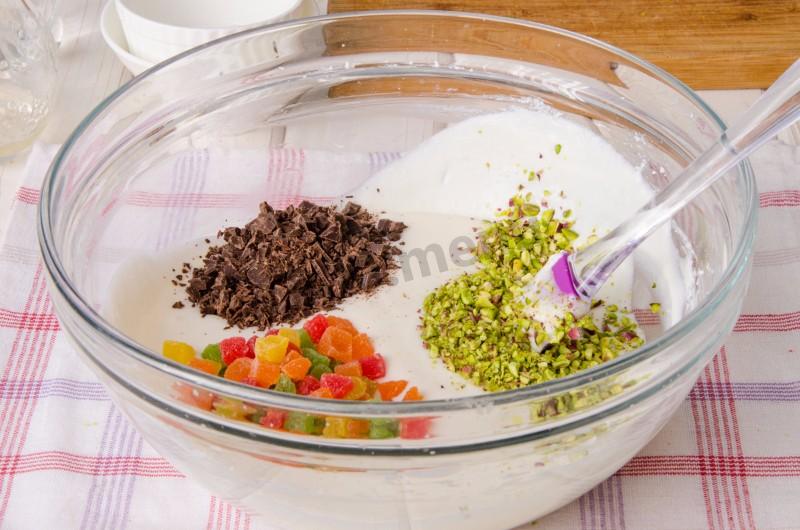
Step 20:
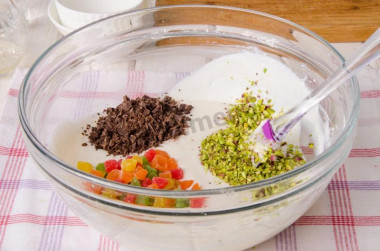
Add candied fruits, chocolate and pistachios to the ricotta.
Step 21:
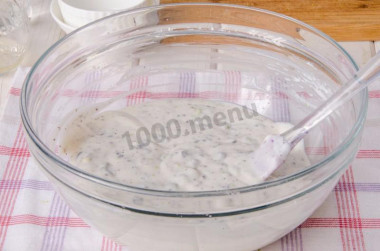
Stir thoroughly. Put the filling in the refrigerator and chill it for an hour or more.
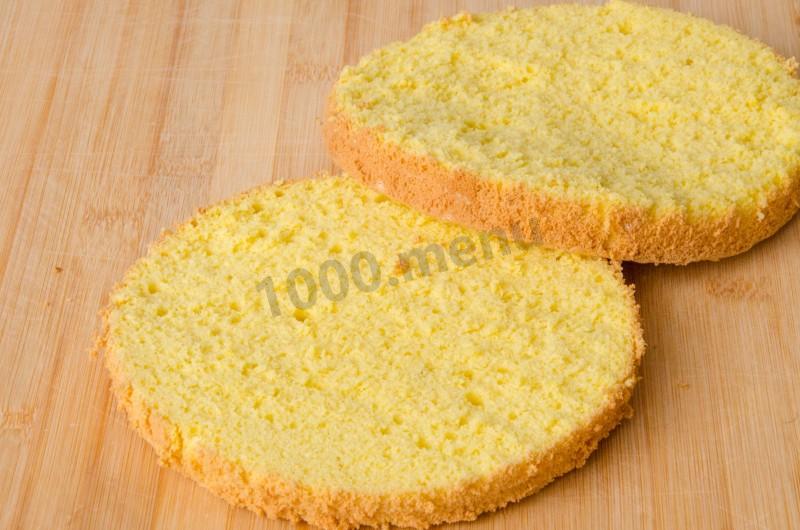
Step 22:
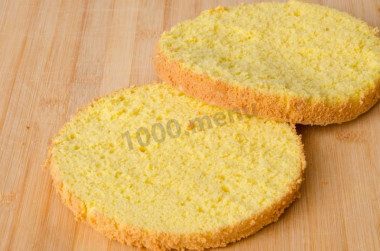
Cut the biscuit into 2 parts.
Step 23:
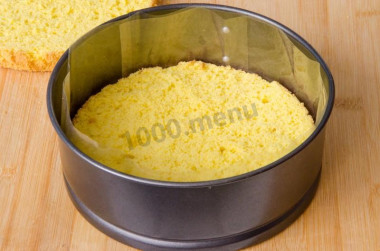
Put one part of the biscuit on the bottom of the different mold (I lined the edges of the mold with a curb tape, this is not necessary, but thanks to it the edges will be smooth and neat).
Step 24:
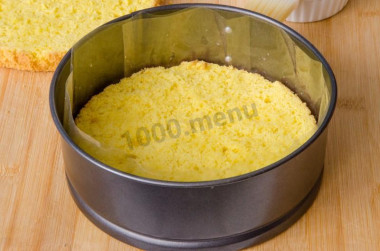
Sprinkle both halves of the sponge cake with liqueur (by the way, it is most often customary to use transparent cherry liqueur, but if there is none, then you can take any other light liqueur or use ordinary fruit syrup at all).
Step 25:
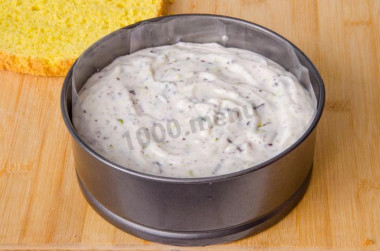
Put the filling on the sponge cake layer.
Step 26:
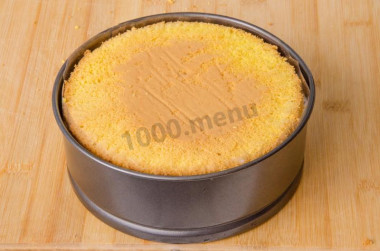
Cover the filling with the second part of the sponge cake, moistened side down. In this form, send the cake to the refrigerator for 5-7 hours (I kept it in the freezer for another hour before taking it out of the mold)
Step 27:

Remove the well-cooled cake from the mold and transfer to a dish. In general, the cake is ready, now you can decorate it.
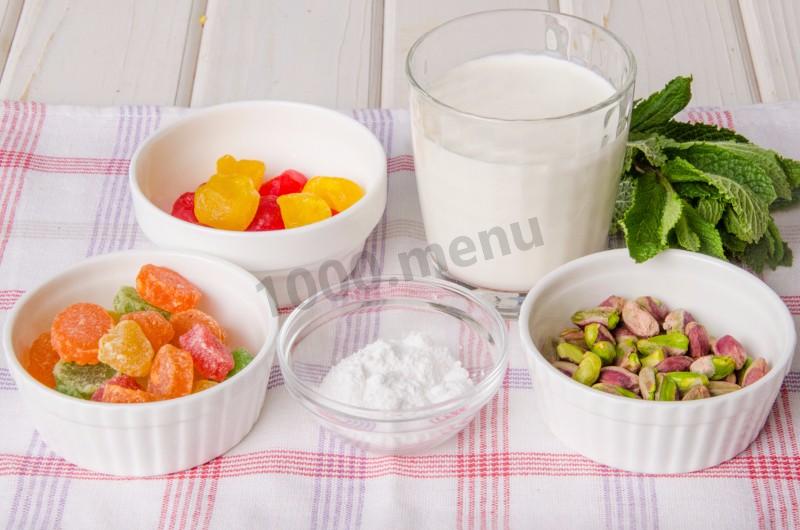
Step 28:

Prepare the ingredients.
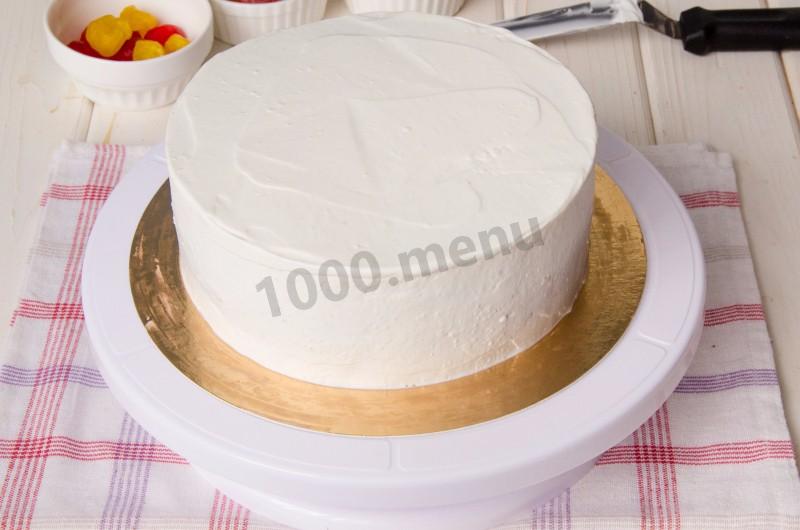
Step 29:

Beat well-cooled cream with powdered sugar (if desired, you can increase the amount of powder, but keep in mind that the cake on top will be decorated with candied fruits, which are quite sweet). By the way, if necessary, you can add a thickener to the cream, so they will keep their shape better. Coat the cake on all sides with whipped cream. Smooth the surface thoroughly.
Step 30:
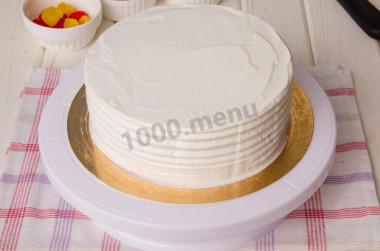
Use a curly spatula to decorate the side of the cake. If you do not have such a spatula, then you can leave the sides flat or decorate to your liking.
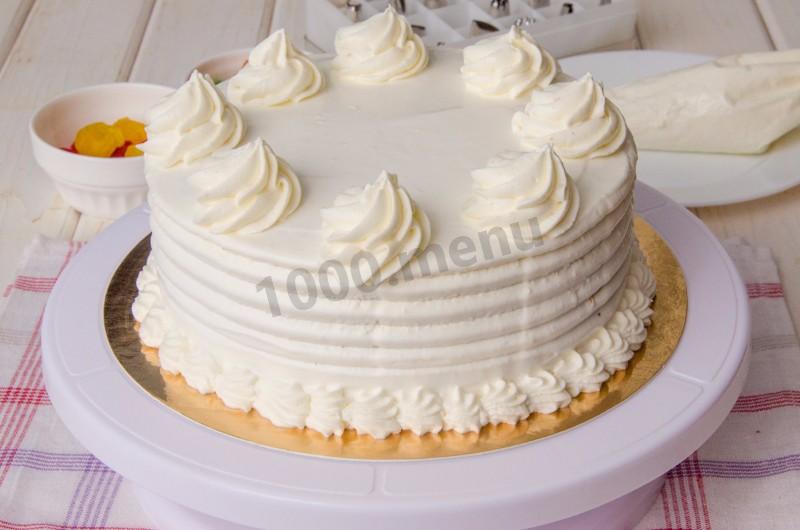
Step 31:
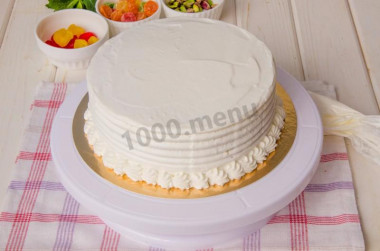
Put a small part of the whipped cream in a pastry bag with a nozzle in the form of a small star. Squeezing out the cream in small portions, decorate the cake from the bottom along the entire diameter.
Step 32:

Squeeze out the remaining cream around the cake in the form of curls, for this use a nozzle with rounded ends.
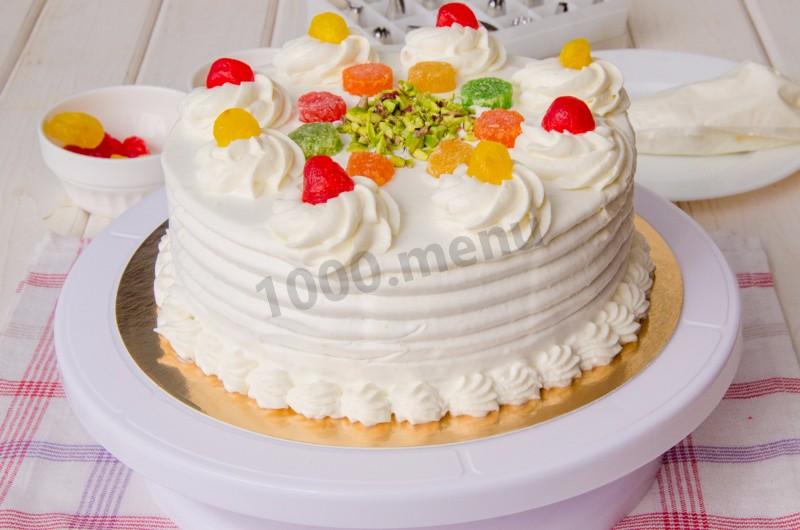
Step 33:

Decorate the top of the cake with candied fruits and nuts.
Step 34:
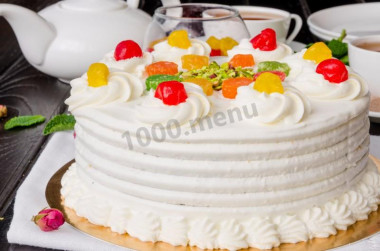
Italian Sicilian Cassata cake is ready.
Step 35:
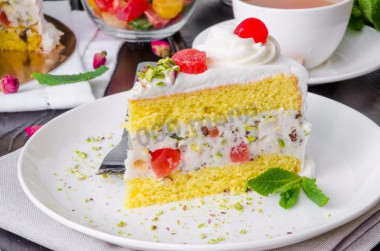
Bon appetit!


Calorie content of the products possible in the dish
- Chicken egg - 157 kcal/100g
- Egg white - 45 kcal/100g
- Egg powder - 542 kcal/100g
- Egg yolk - 352 kcal/100g
- Ostrich egg - 118 kcal/100g
- Whole durum wheat flour fortified - 333 kcal/100g
- Whole durum wheat flour, universal - 364 kcal/100g
- Flour krupchatka - 348 kcal/100g
- Flour - 325 kcal/100g
- Granulated sugar - 398 kcal/100g
- Sugar - 398 kcal/100g
- Raw California Walnut - 629 kcal/100g
- Pistachios - 638 kcal/100g
- Candied fruits - 216 kcal/100g
- Cherry liqueur - 299 kcal/100g
- Baileys Liqueur - 327 kcal/100g
- Liquor - 327 kcal/100g
- Water - 0 kcal/100g
- Cream 35% - 337 kcal/100g
- Cream 40% - 362 kcal/100g
- Bitter chocolate - 539 kcal/100g
- Powdered sugar - 374 kcal/100g
- Lemon zest - 47 kcal/100g
- Ricotta - 174 kcal/100g
- Candied fruit mixture - 216 kcal/100g