


Composition / ingredients
Step-by-step cooking
Step 1:
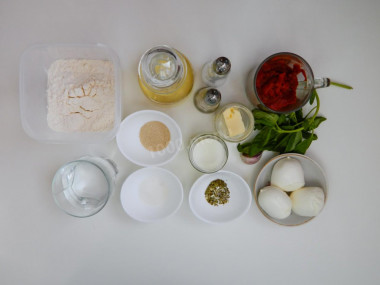
How to make pizza in a bun? Use flour of the highest grade. It must be sifted to remove small debris, saturate the dough with oxygen and it has risen well. Olive oil is used in the classic pizza dough recipe. But it can be replaced with any other refined oil. Do not throw away the mozzarella brine - it can be used to replace the water for the dough.
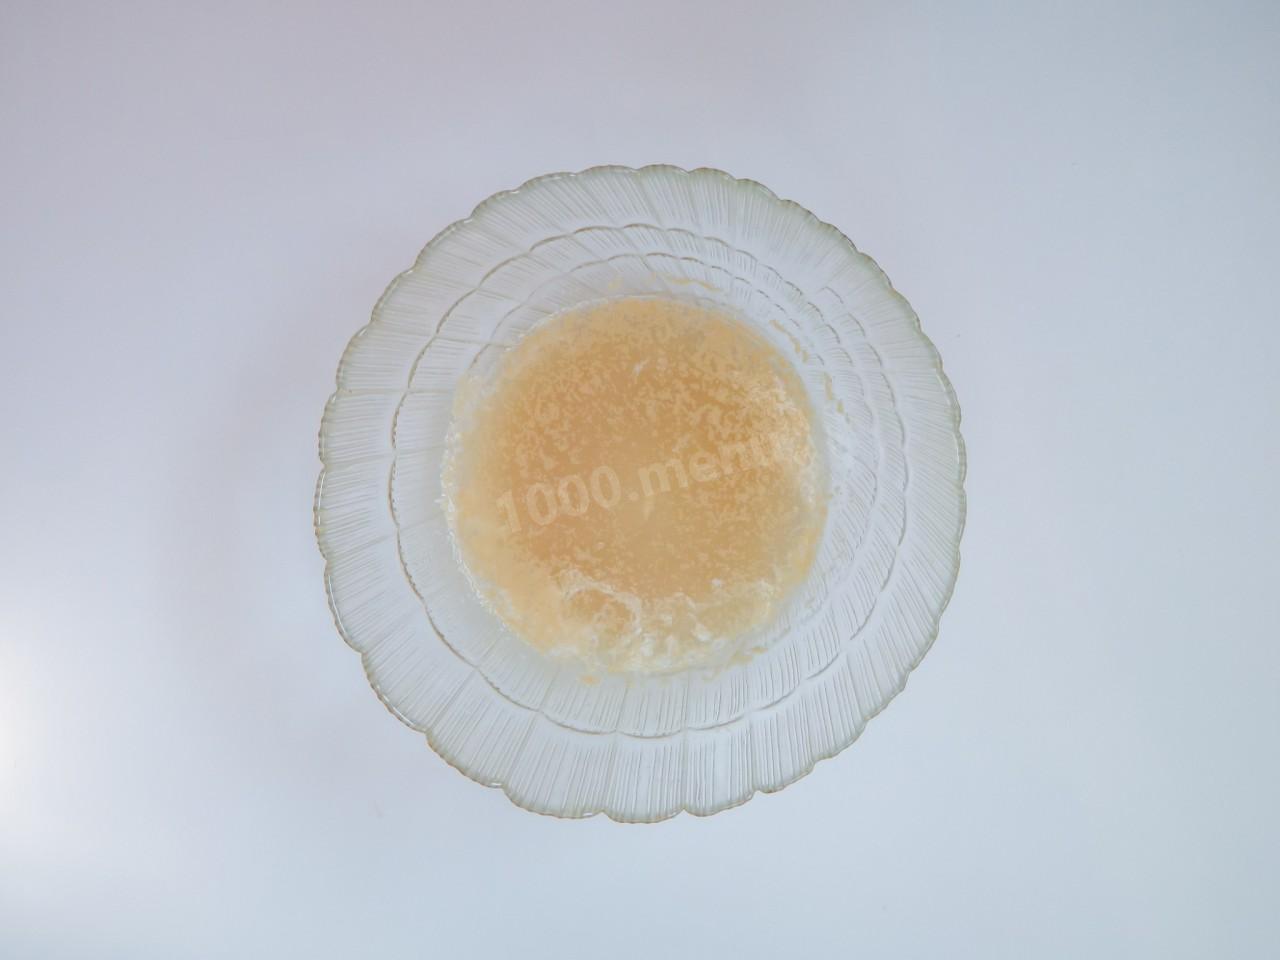
Step 2:
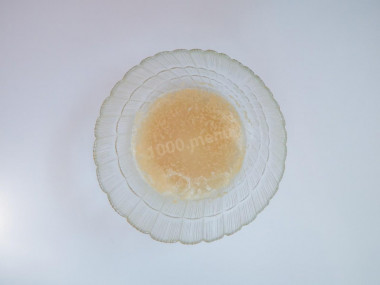
Start cooking pizza with dough. Heat the water to a temperature of 37-40 degrees. (I replaced some of the water with mozzarella brine, the dough turns out tastier with it). Dissolve the sugar in it and add yeast. If there is no cooking thermometer, determine the temperature in the following way: drop a drop of water on the inside of your wrist. If the feeling is neutral, then the temperature is correct. Leave in a warm place for 5-15 minutes to activate the yeast.
Step 3:
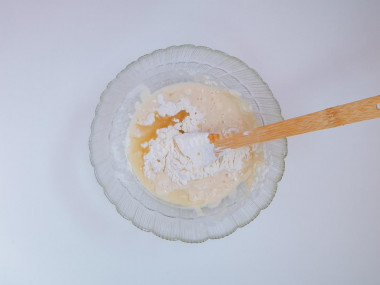
Add salt, 2 tablespoons of vegetable oil to the dough and stir well until smooth. The properties of flour of the same grade, but different manufacturers may differ. Therefore, to get the desired consistency, add flour in small portions. When it becomes difficult to knead with a spoon, start doing it with your hands. Knead the dough thoroughly.
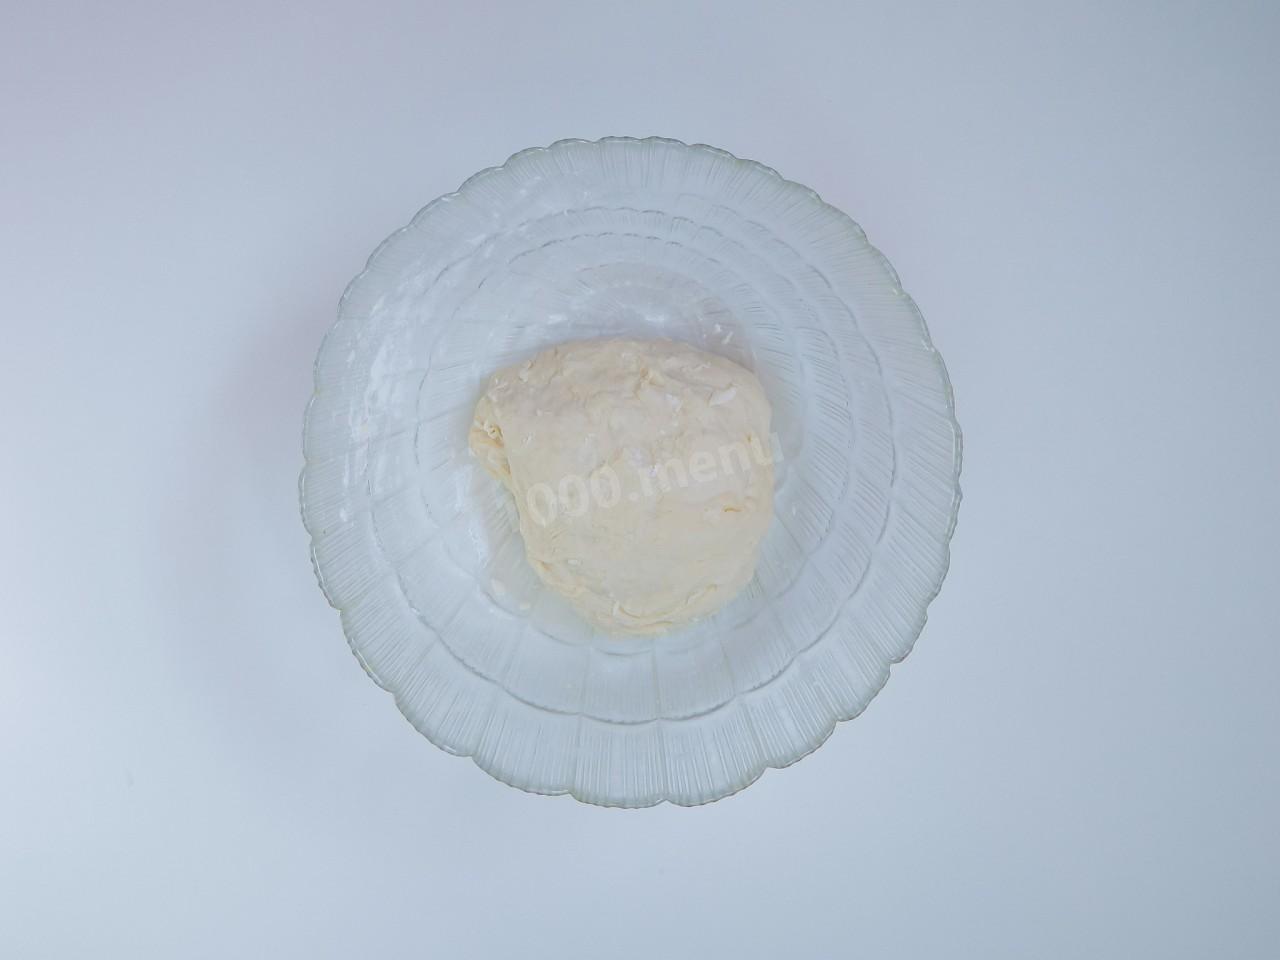
Step 4:
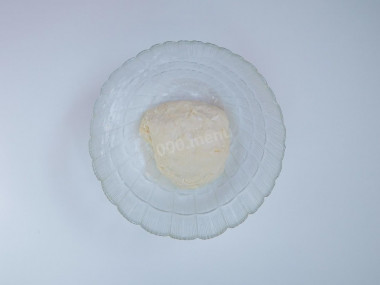
The dough should be soft, tender and slightly stick to your hands.
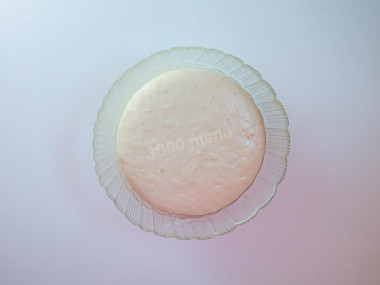
Step 5:
Lubricate the bowl and hands with vegetable oil. Form a ball from the dough, cover the bowl with cling film or a towel so that it does not dry and rises well. Leave in a warm place for about 2 hours. The time depends on the properties of the yeast and the conditions in which the dough will be located.
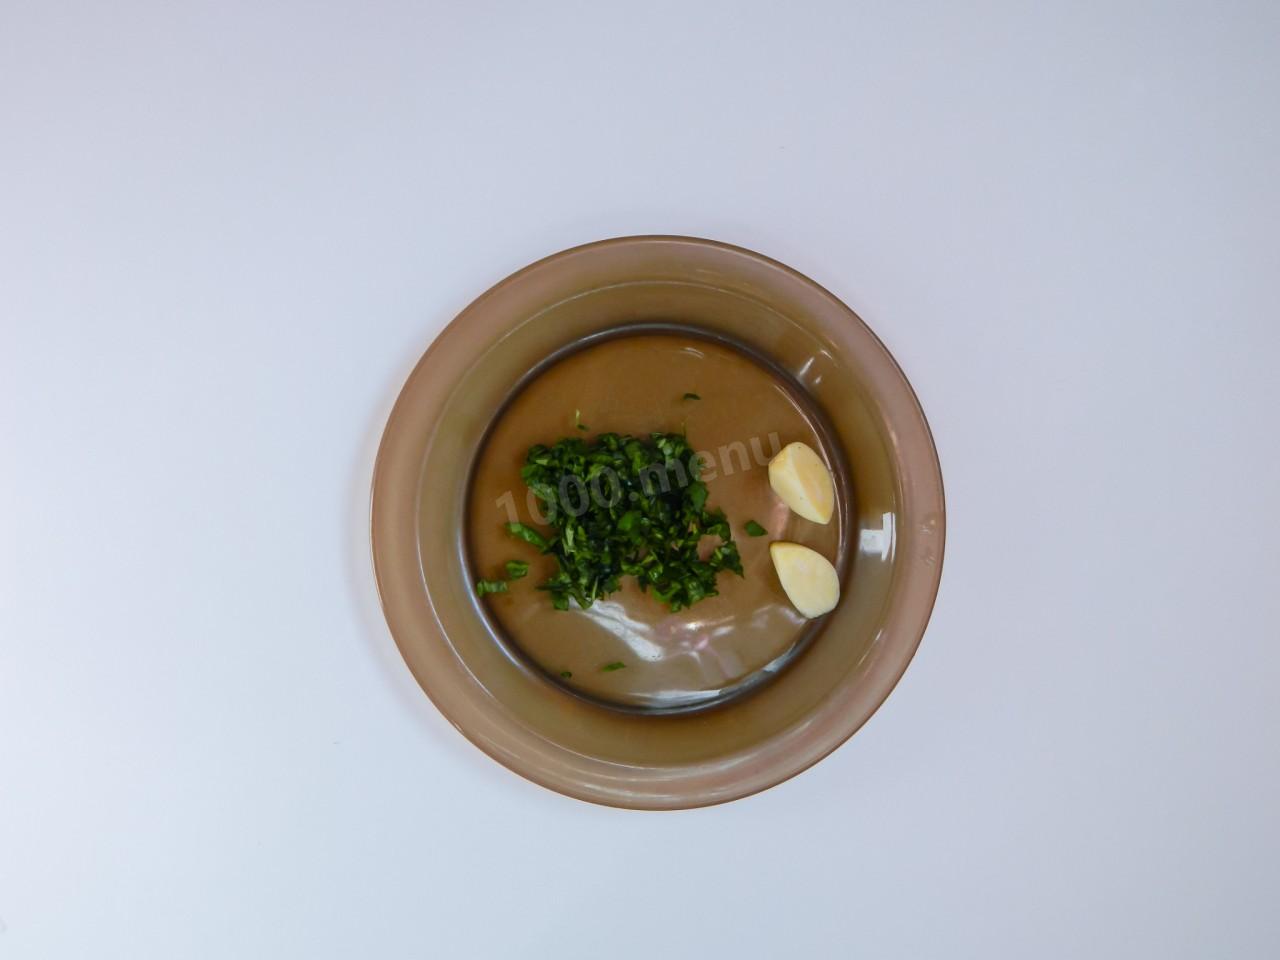
Step 6:
Prepare the filling. Remove the flaccid leaves and hard stems from the basil, rinse, dry and chop with a knife. Peel and wash the garlic, cut along the clove into 2 parts.
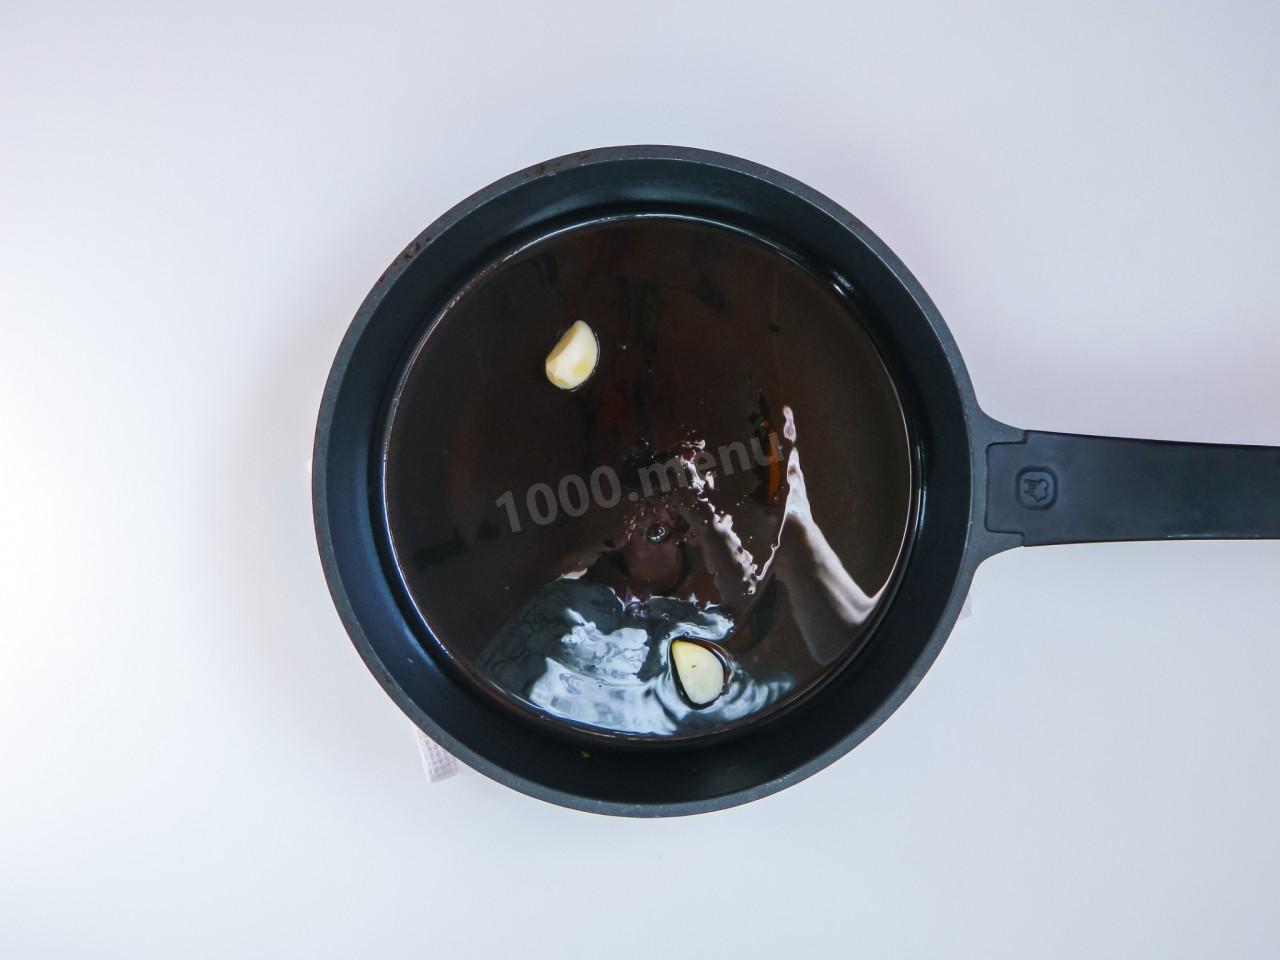
Step 7:

In a preheated frying pan, heat the vegetable oil. Fry the garlic over medium heat for 2 minutes, stirring.
Step 8:
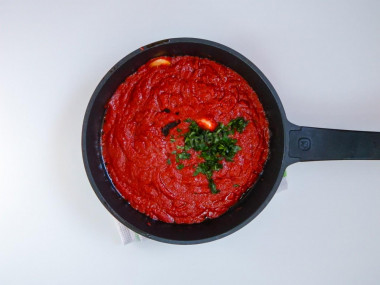
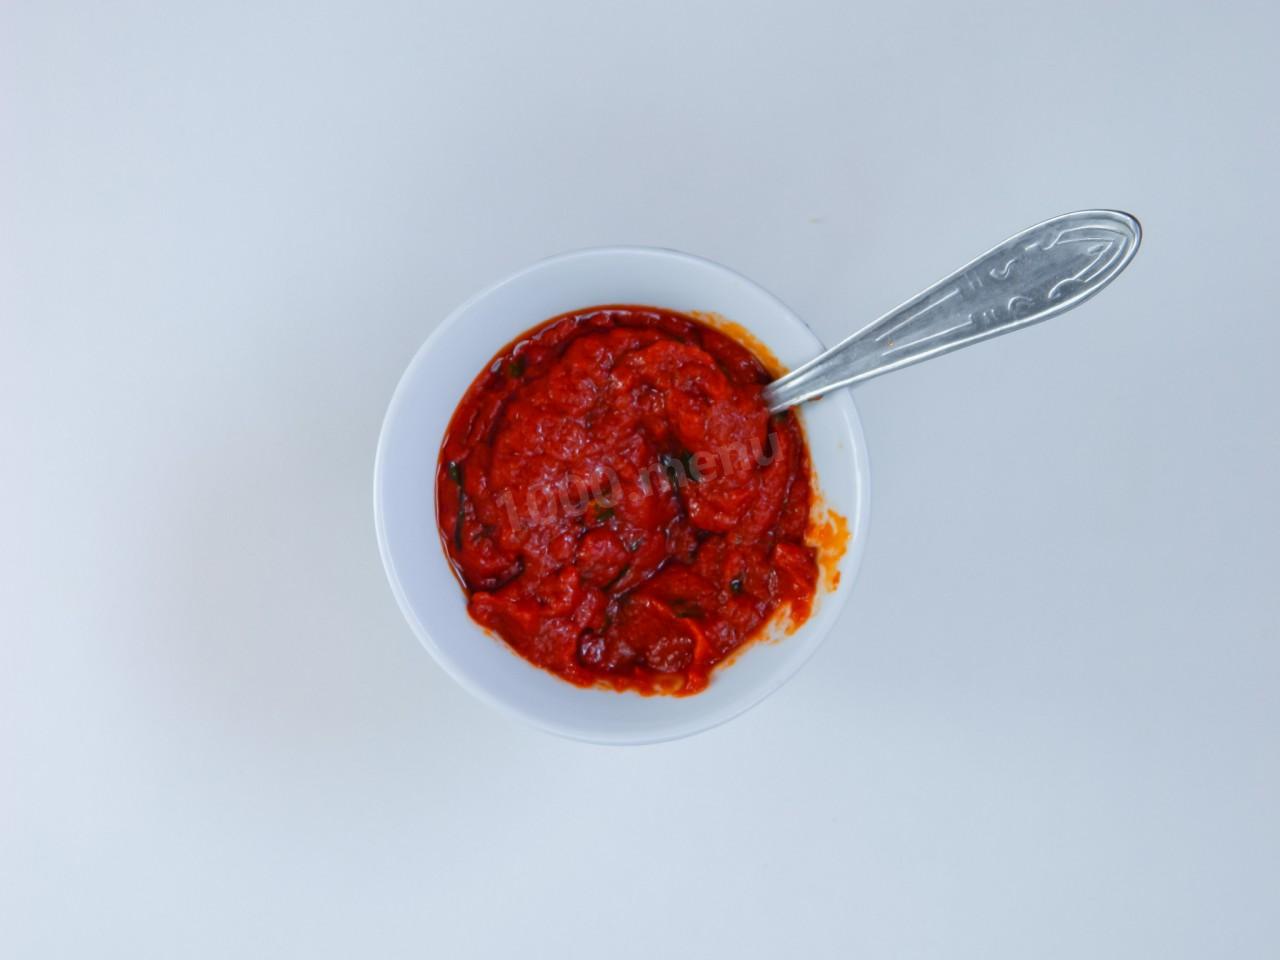
Add tomato paste to garlic. If the paste is too thick, add a little water so that you can get a homogeneous mass. Stir constantly, bring to a boil, add basil and half of the dried herbs. Let it simmer for another 2 minutes.
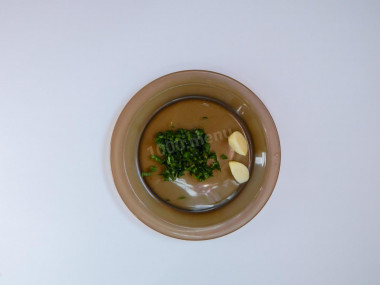
Step 9:

Transfer the resulting paste into a small container and cool. Remove the garlic, it will no longer be useful to you.
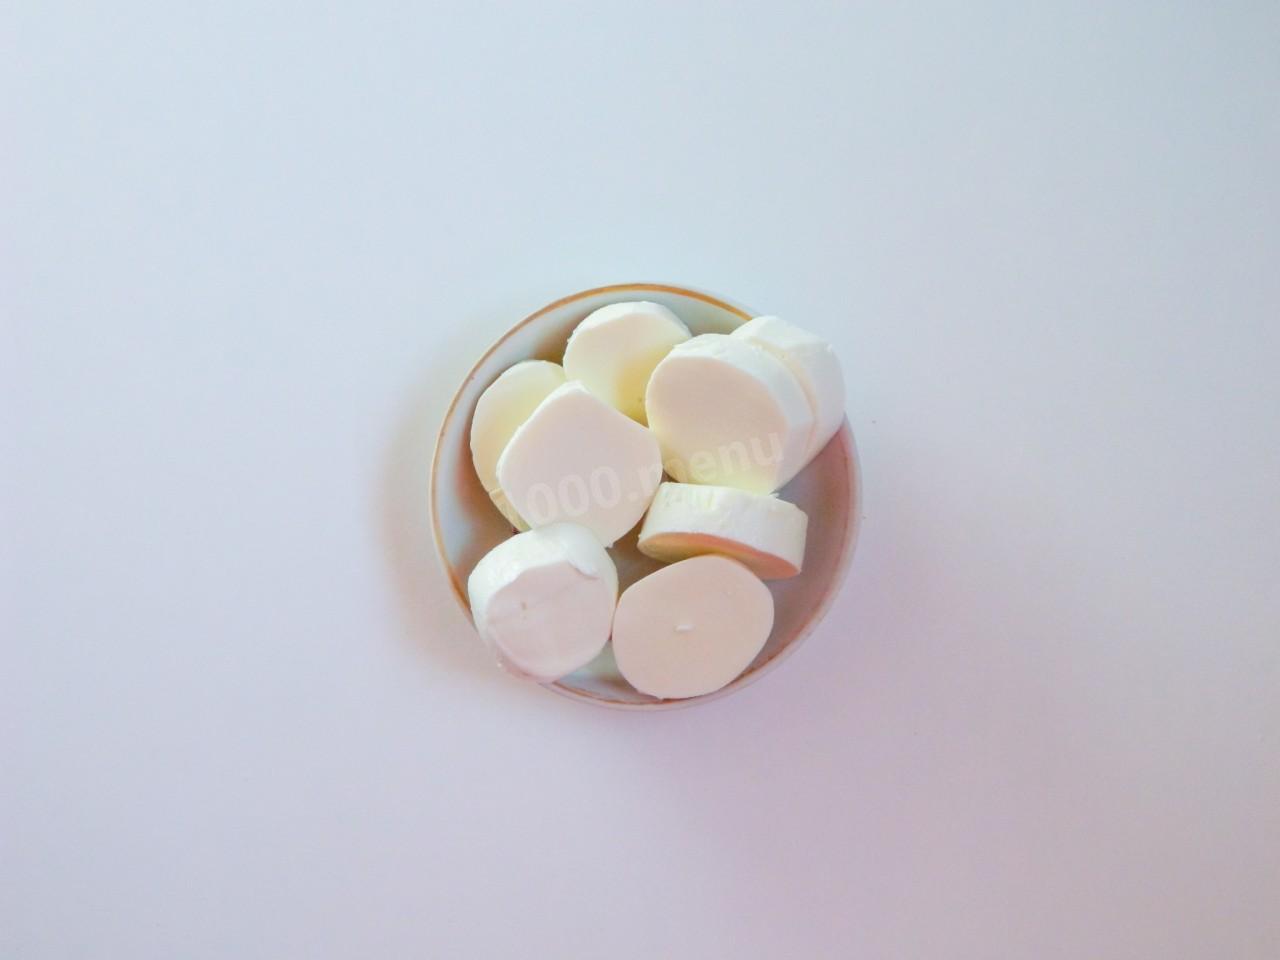
Step 10:
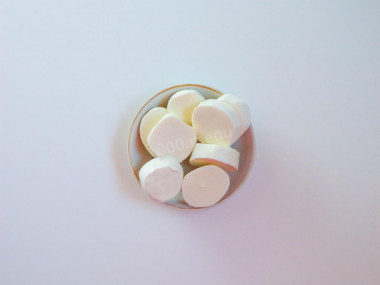
Cut the mozzarella into 8 identical pieces.
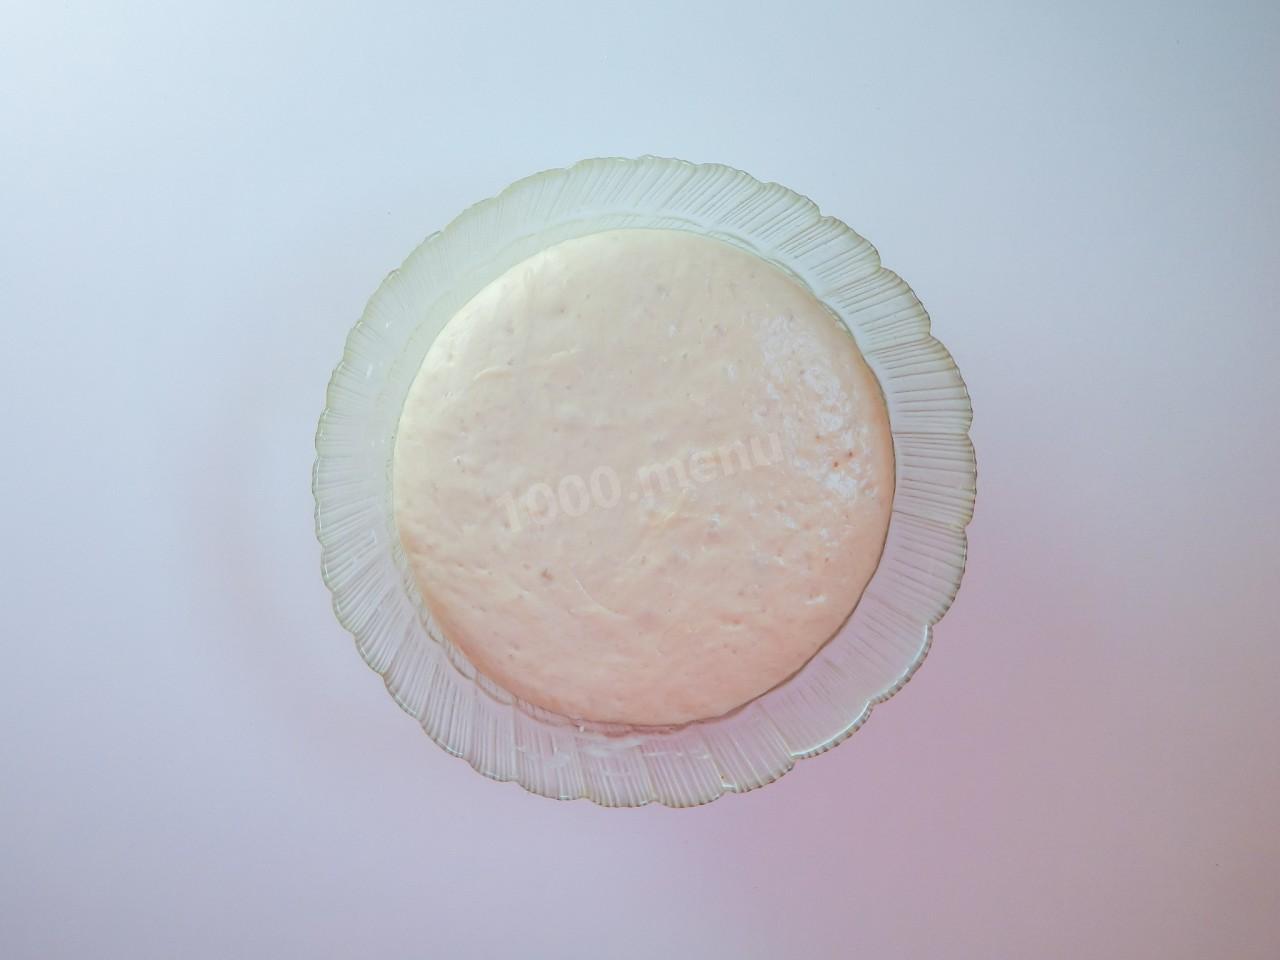
Step 11:
When the dough increases by 1.5-2 times, you can proceed to the formation of pizza. Turn on the oven to warm up to 180 degrees so that it has time to warm up.
Step 12:
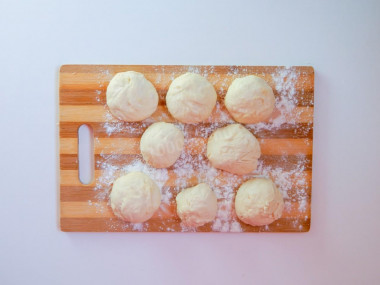
Divide the dough into 8 identical pieces. Roll them into balls. Place on a horizontal work surface, sprinkled with flour.
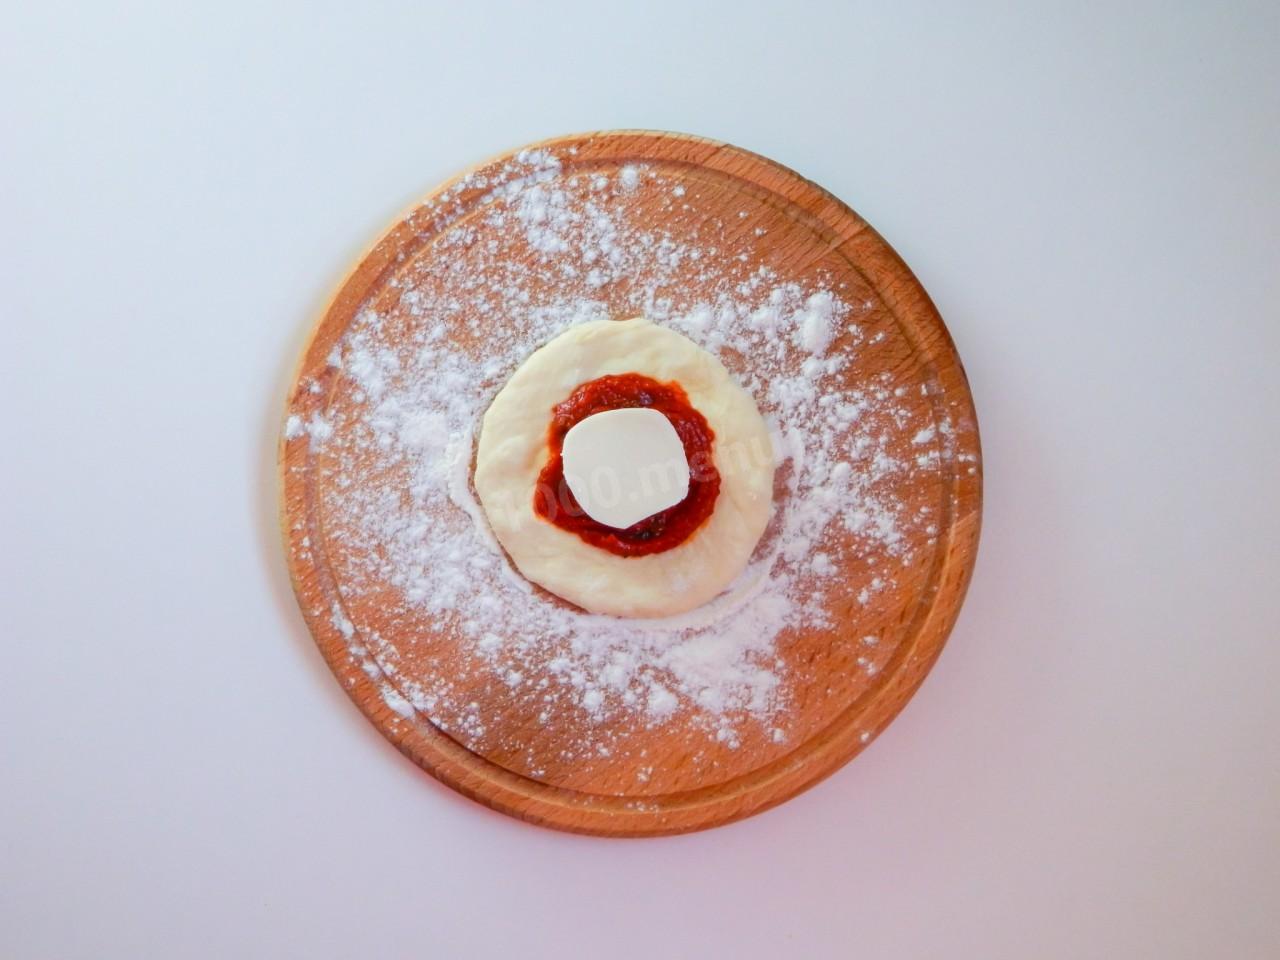
Step 13:
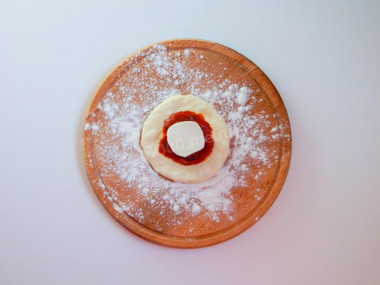
Form pizzas. Make pizzas by greasing your hands with butter or sprinkling with flour. Roll out the dough into a round layer with a diameter of 5-6 cm. Put a teaspoon of tomato paste in the middle, mozzarella on top.
Step 14:
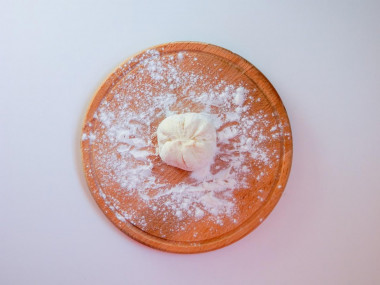
Lift the edges of the dough and pinch them together. The dough should not be too stretched, otherwise when it is baked, it may burst and the filling will leak out. I missed it and a few pizzas burst.
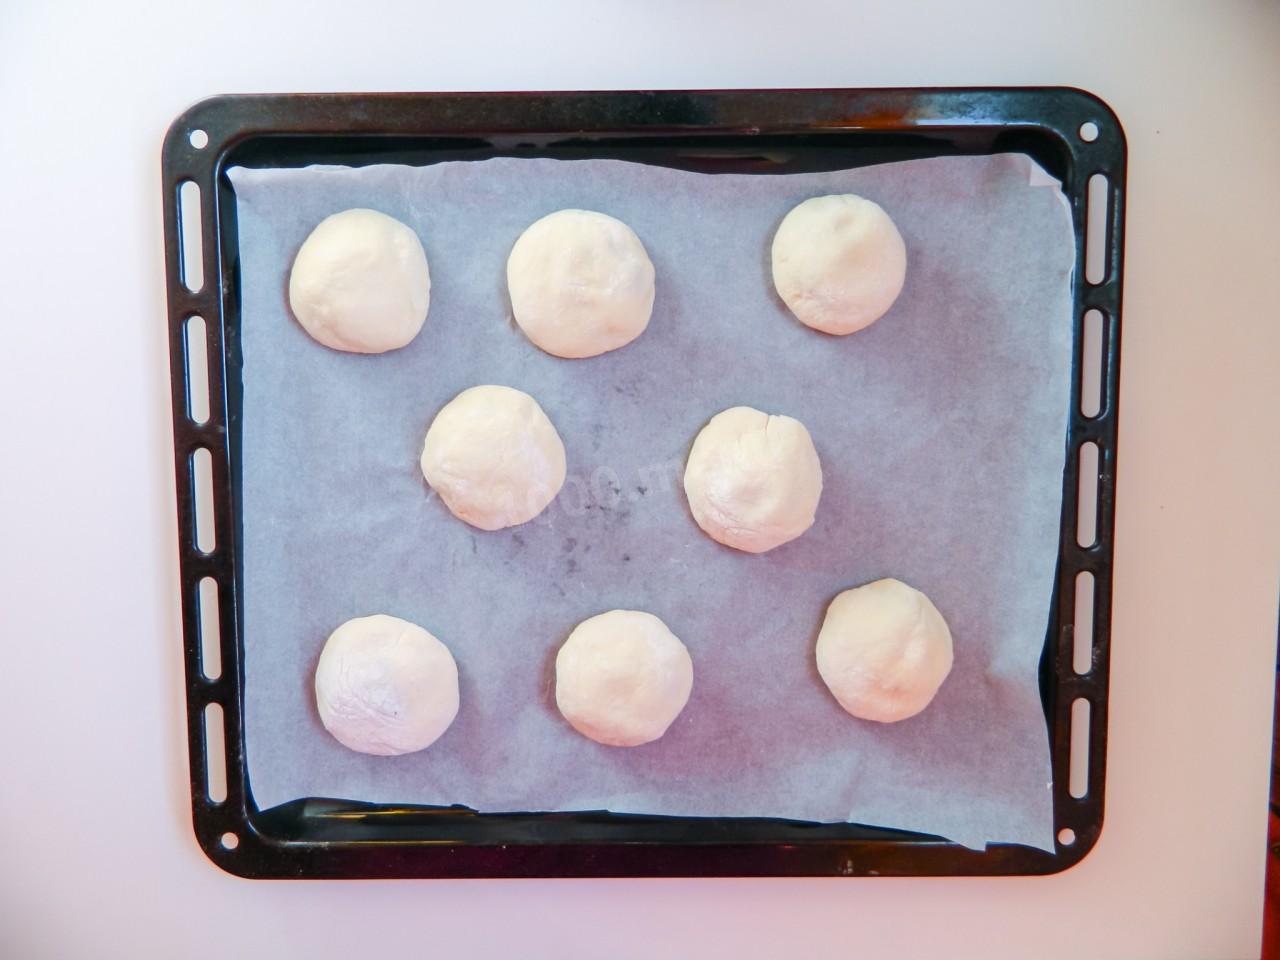
Step 15:

Ready-made pizzas once spread seam down at a distance from each other on a baking sheet covered with non-stick parchment. Brush the pizza with milk on top and put it on the middle shelf of the oven. The exact cooking time depends on the capabilities of your oven. I have them baked for 12 minutes at a temperature of 180 degrees in the upper + lower mode with convection. Mix the melted butter, the remains of vegetable oil and aromatic herbs. Brush the top of the pizzas with this mixture.


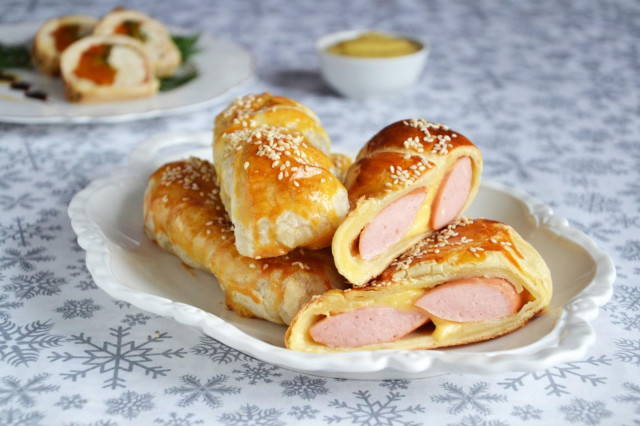
Pizzas turn out very tasty. They do not cool down as quickly as in the classic form. To diversify the taste, the filling can be changed at your discretion.
Such pizzas in a bun are very popular with both adults and children.
Keep in mind that everyone's ovens are different. The temperature and cooking time may differ from those specified in the recipe. To make any baked dish successful, use useful information about the features of ovens !
Make it a rule that the amount of flour is never determined in advance when preparing flour and bread products! This indicator will always fluctuate, since flour can be of different humidity, differ in the degree of grinding and the level of gluten, and other indicators, which inevitably affects its ability to bind to the liquid mixture in the dough. Since it is impossible to do a laboratory test at home to determine all the parameters and indicators of flour, we recommend acting on the principle of "flour in water", that is, take liquids exactly according to the recipe, and add flour to the liquid component not all at once, but in parts, achieving the desired consistency (while flour may take a little more or on the contrary, less than in the recipe). Thanks to this technique, the proportions of the ingredients are more accurately preserved and the quality of the dough is not lost.
Important! Using dry yeast, it should be borne in mind that they occur in two forms: active and instant (read the instructions carefully before use!).
Active dry yeast looks like beads or small balls. Before applying them, they must be brought out of the "sleep mode". To do this, the active yeast is diluted in warm sweet water, milk or whey. The resulting bubbles, foam or "cap" indicate that the yeast is ready for further use. Active dry yeast must be brought to complete dissolution in the liquid, otherwise, due to the remaining grains, the dough may not rise and the baking will be spoiled (yeast grains that have not dissolved in the liquid and got into the dough will not disperse on their own, which means they will not work).
Instant dry yeast is easier to use. They do not need to be activated before use. Such yeast, along with other ingredients, is simply added to the dough. As a result, the baking time is reduced.
It should also be remembered that both types of dry yeast may differ in their activity from different manufacturers.
Caloric content of the products possible in the composition of the dish
- Whole cow's milk - 68 kcal/100g
- Milk 3.5% fat content - 64 kcal/100g
- Milk 3.2% fat content - 60 kcal/100g
- Milk 1.5% fat content - 47 kcal/100g
- Concentrated milk 7.5% fat content - 140 kcal/100g
- Milk 2.5% fat content - 54 kcal/100g
- Garlic - 143 kcal/100g
- Fresh basil - 27 kcal/100g
- Dried basil - 251 kcal/100g
- Granulated sugar - 398 kcal/100g
- Sugar - 398 kcal/100g
- Butter 82% - 734 kcal/100g
- Amateur unsalted butter - 709 kcal/100g
- Unsalted peasant butter - 661 kcal/100g
- Peasant salted butter - 652 kcal/100g
- Melted butter - 869 kcal/100g
- Vegetable oil - 873 kcal/100g
- Tomato paste - 28 kcal/100g
- Salt - 0 kcal/100g
- Water - 0 kcal/100g
- Wheat flour - 325 kcal/100g
- Mozzarella - 280 kcal/100g
- Dry yeast - 410 kcal/100g
- Italian herbs blend - 259 kcal/100g