
Composition / ingredients
Step-by-step cooking
Step 1:
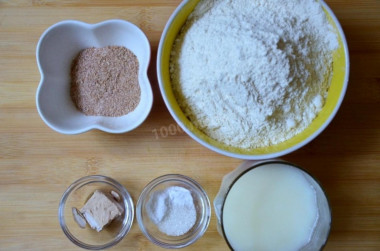
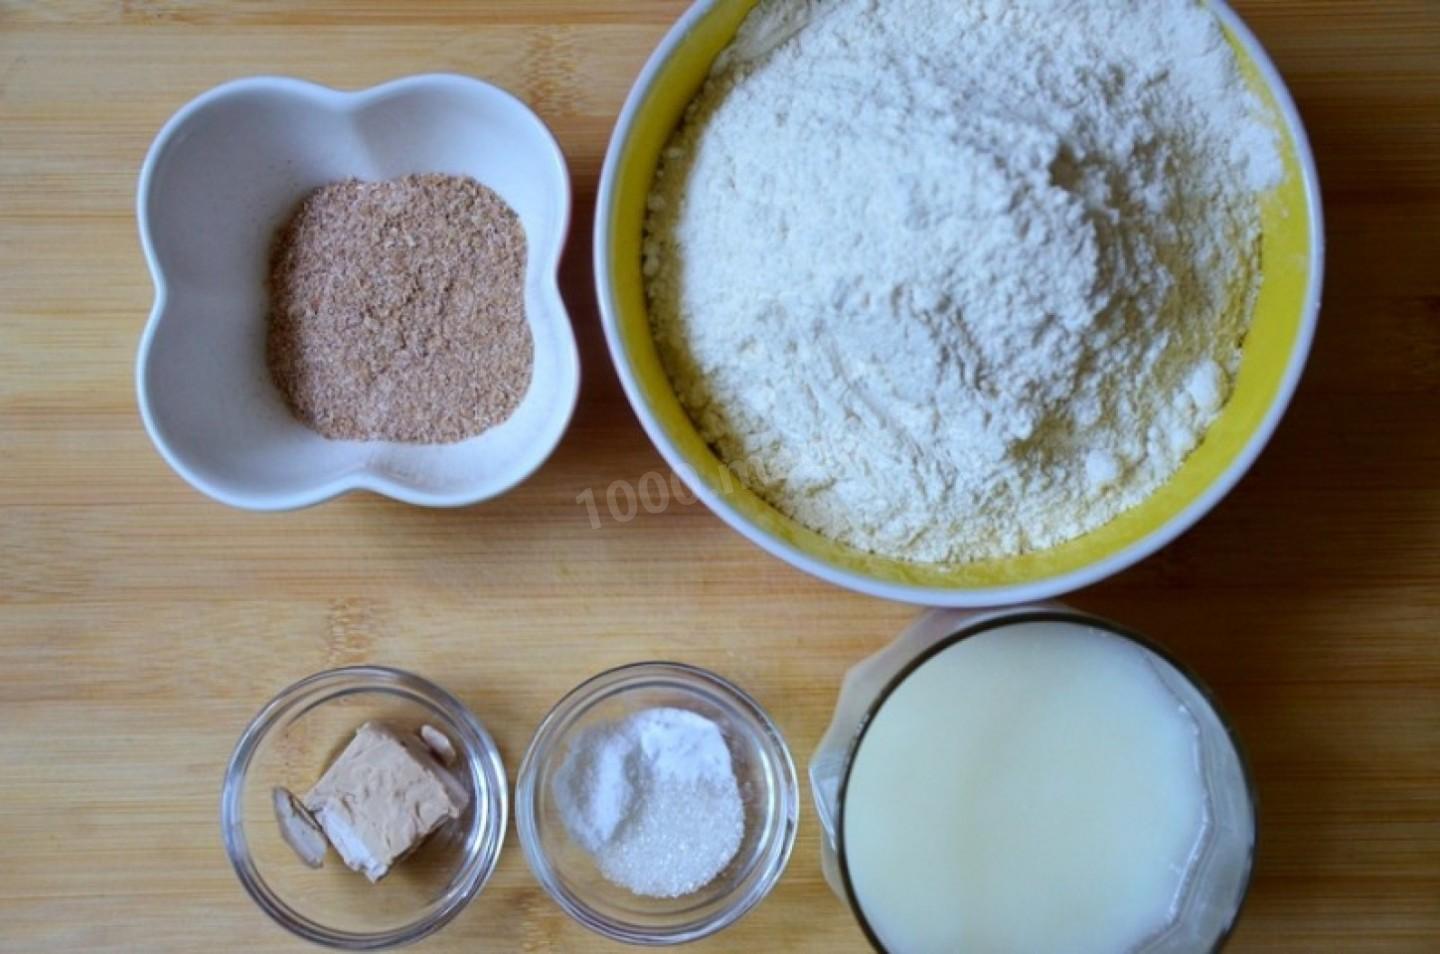
How to make a pita tortilla? Prepare the products according to the list. Sift the flour through a sieve (take the highest grade). I use fresh yeast. If you take dry ones, you need less of them - read the instructions on the package and focus on the volume of flour.
Step 2:

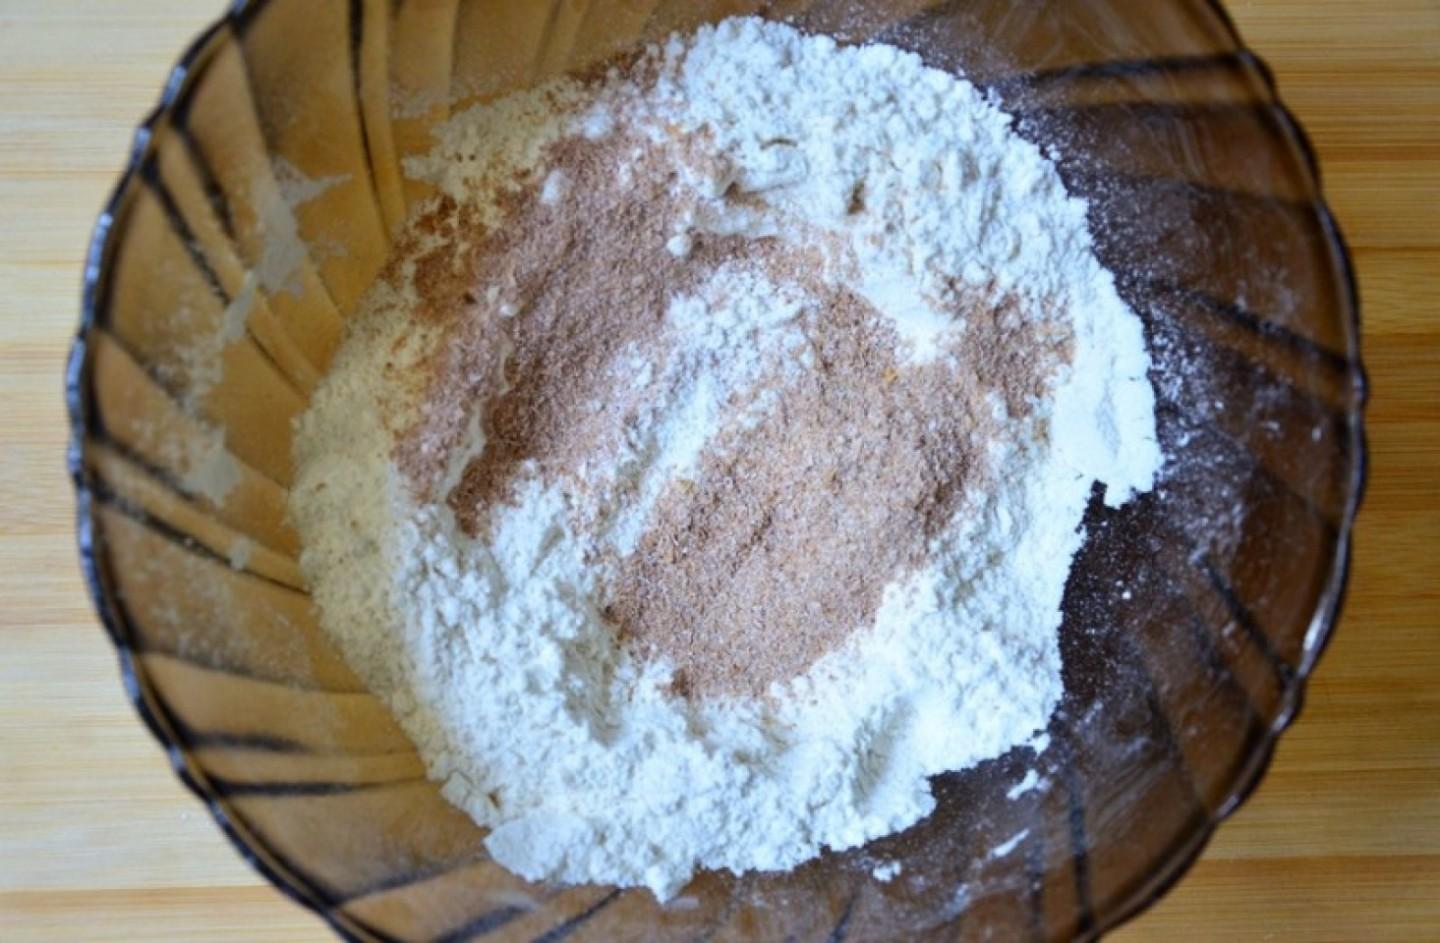
Grind the flour with yeast to the state of crumbs. Add salt, sugar, soda and bran, mix everything thoroughly.
Step 3:
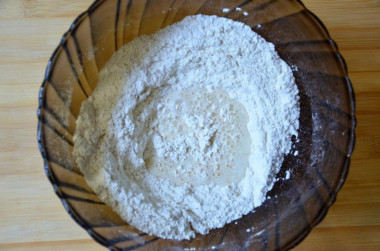
Make a hole in the flour mixture and pour warm water into it. Knead a soft dough. During kneading, add vegetable oil and knead the dough thoroughly. It should not stick to your hands.
Step 4:

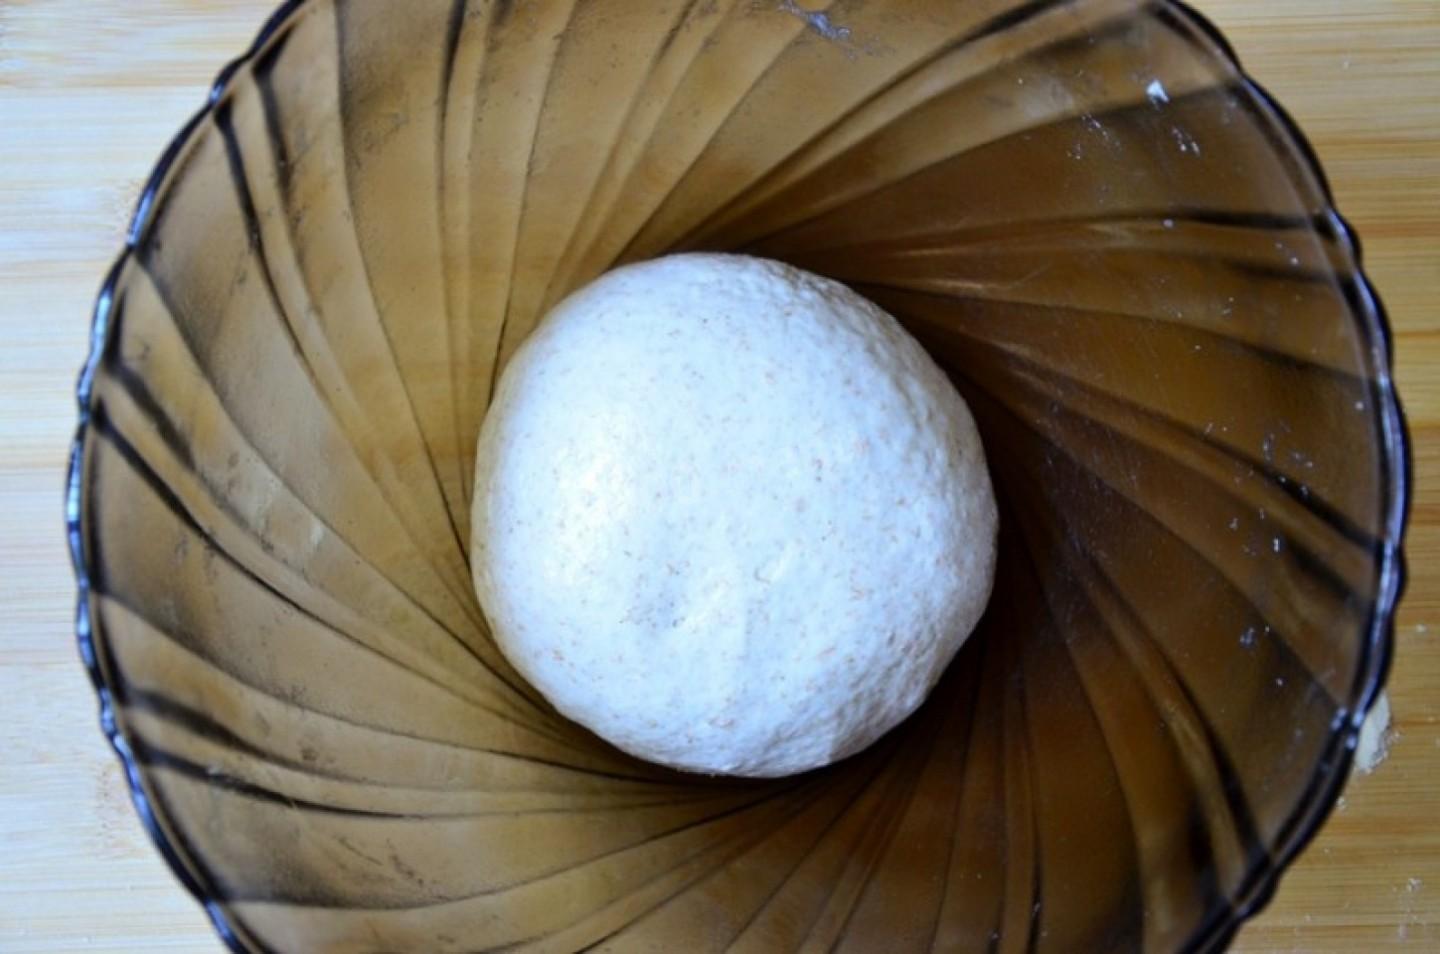
Put the dough in a bowl and leave in a warm place for 40-60 minutes to rise. The dough should increase 2-3 times.
Step 5:
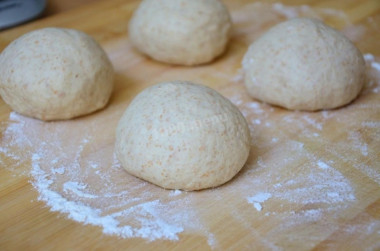
Knead the dough with your hands and divide it into 4 equal parts, carefully roll each part into a smooth bun.
Step 6:
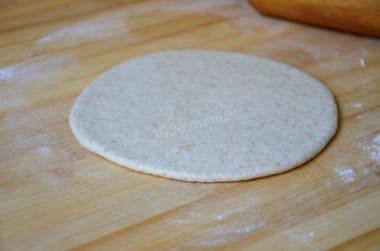
Roll out each bun into a flat cake about 3-4 mm thick on the work surface of a table sprinkled with flour. Transfer the tortillas to baking paper and leave for 20-30 minutes to rise.
Step 7:
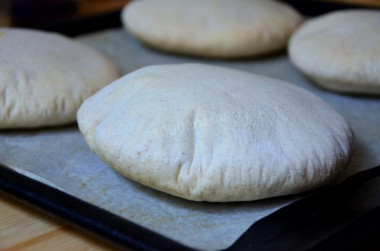
Bake pita cakes on a preheated baking sheet in a preheated oven at maximum temperature (I have 240 C). It is very important to heat both the oven and the baking sheet well! Before baking, carefully drag the paper with the tortillas onto a preheated baking sheet and bake for 4-5 minutes. The tortillas will remain light on top, they will be ruddy only from below. Remove the tortillas from the oven, cover them with a towel directly on the baking sheet and let them cool completely.
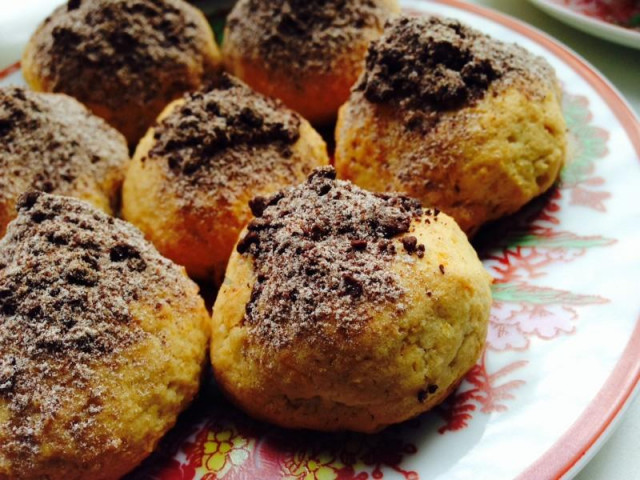
Step 8:
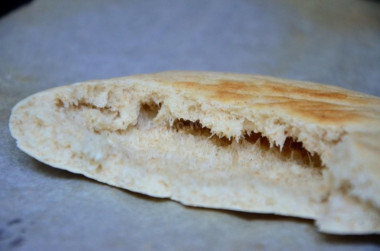
And these are the tortillas obtained in the section, more precisely in the fault. They are hollow inside. Serve the tortillas with the first courses or stuff with all kinds of fillings. Bon appetit!


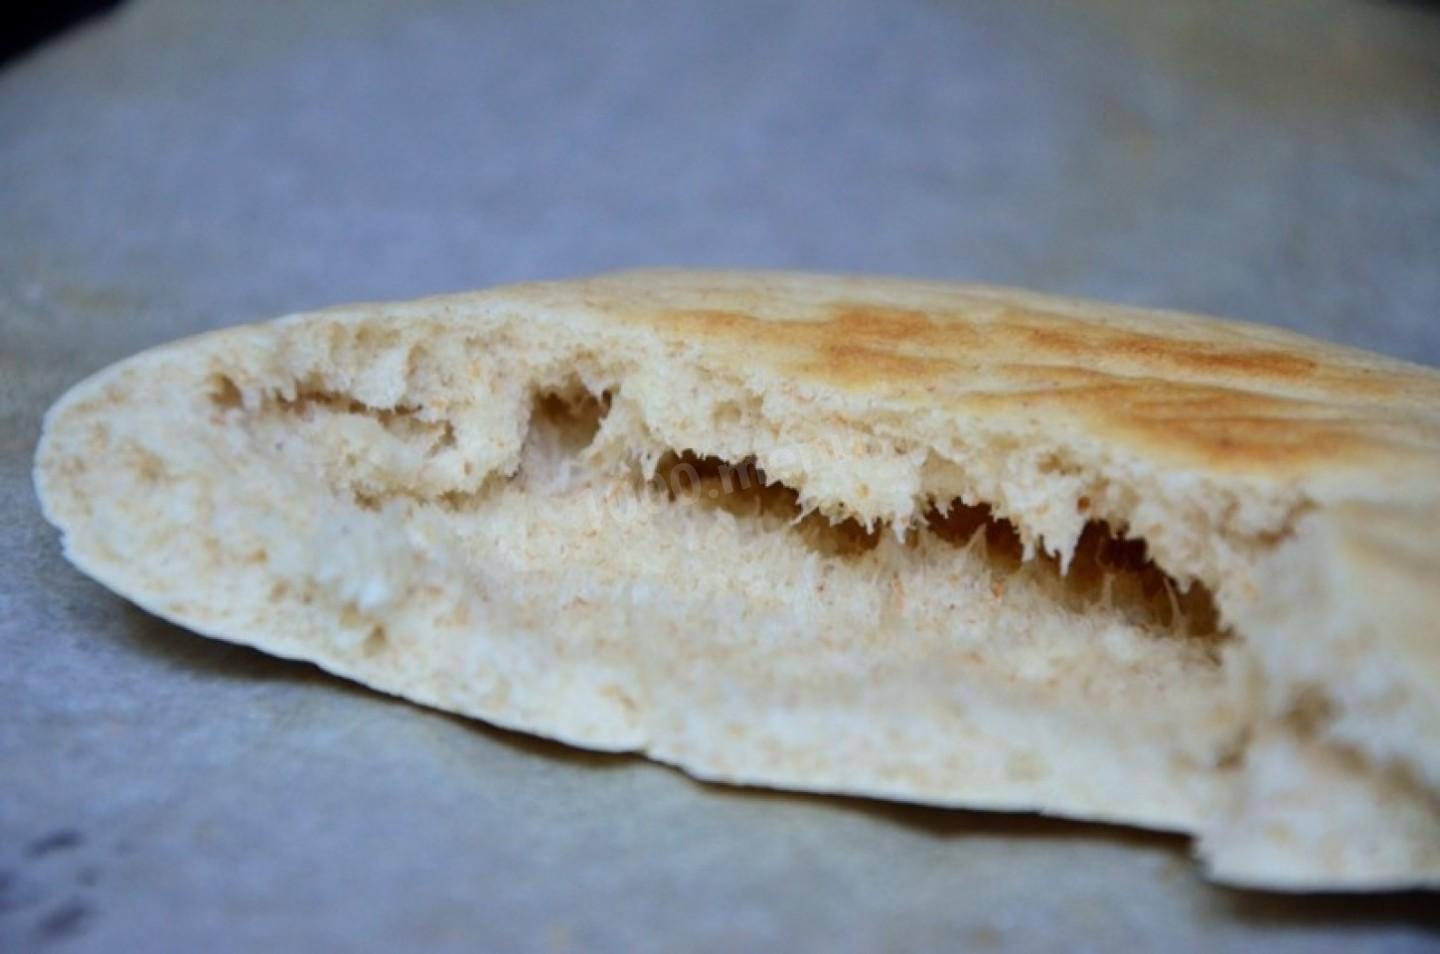
The main difference of pita is that it turns out to be hollow inside and thanks to this it can easily be filled with any filling. Pita is prepared very simply, the most important thing is to observe all the subtleties during baking, since if the oven is poorly heated, there is a chance that the pita will not inflate, but will remain a flatbread (but still very tasty). Try it, you'll like it!
Be prepared for the fact that you may need more or less flour than indicated in the recipe. Focus not on the amount of flour, but on the desired consistency of the dough. To avoid mistakes, read about flour and its properties!
Keep in mind that everyone's ovens are different. The temperature and cooking time may differ from those specified in the recipe. To make any baked dish successful, use useful information about the features of ovens !
Caloric content of the products possible in the composition of the dish
- Pressed yeast - 109 kcal/100g
- Whole durum wheat flour fortified - 333 kcal/100g
- Whole durum wheat flour, universal - 364 kcal/100g
- Flour krupchatka - 348 kcal/100g
- Flour - 325 kcal/100g
- Granulated sugar - 398 kcal/100g
- Sugar - 398 kcal/100g
- Vegetable oil - 873 kcal/100g
- Salt - 0 kcal/100g
- Water - 0 kcal/100g
- Baking soda - 0 kcal/100g
- Bran - 165 kcal/100g