


Composition / ingredients
Step-by-step cooking
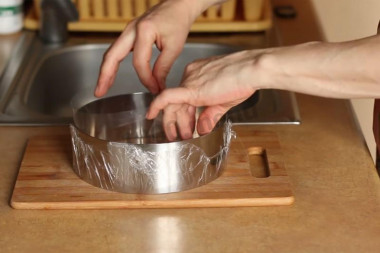
Step 1:

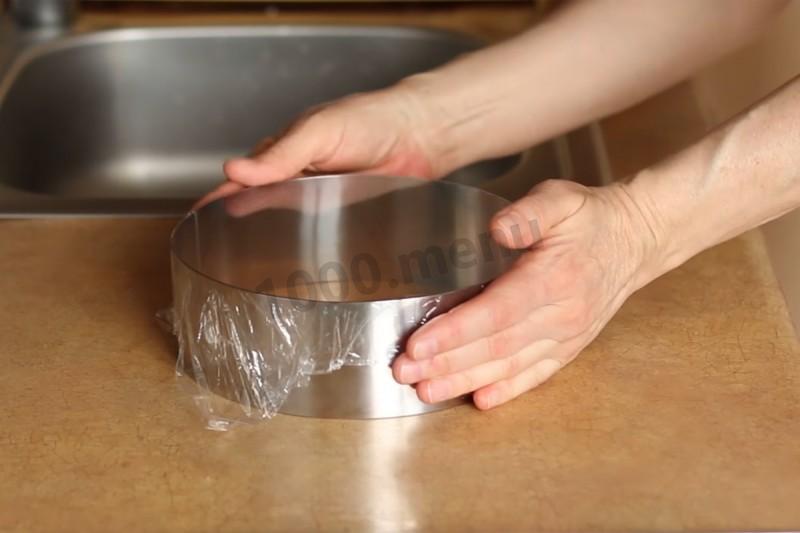
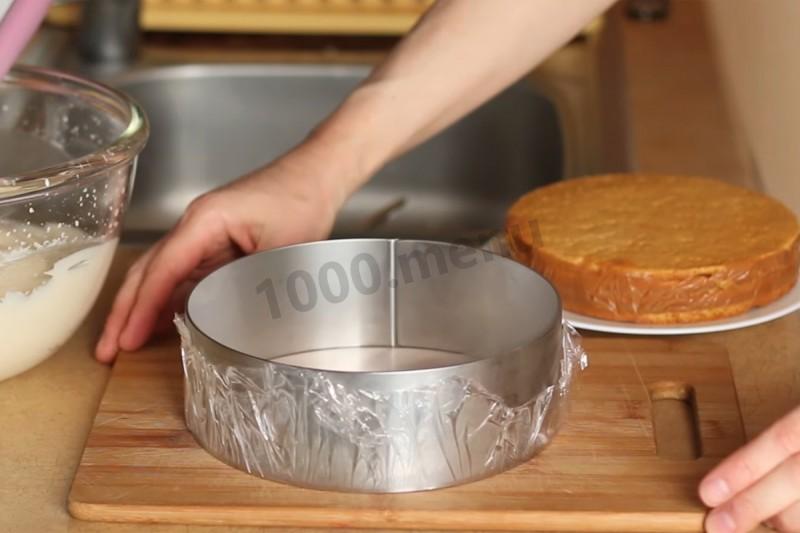
---PRELIMINARY. Prepare the mold for assembling the cake. To do this, cover the outside of the ring with a diameter of 18 cm with cling film. Make sure that the film is laid flat and tight.
Step 2:
Flip the ring onto the board and lay out the inner wall with a pastry tape. 10 minutes before use, put the ring together with the board in the refrigerator.
Step 3:

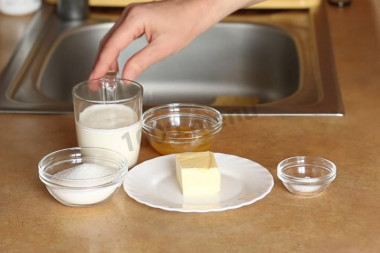
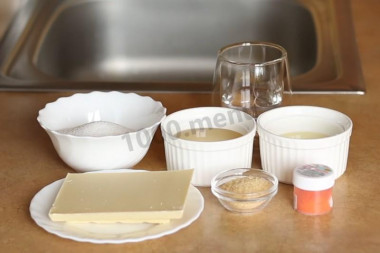
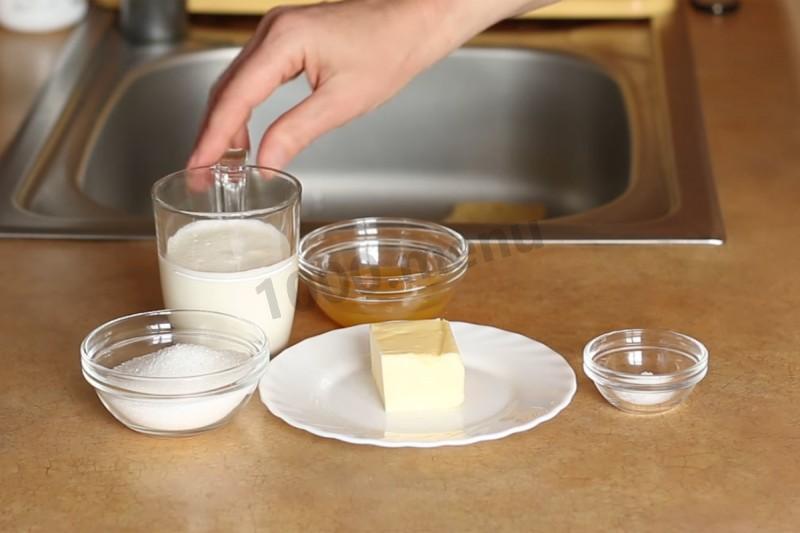
---DOUGH. Ingredients for the dough.
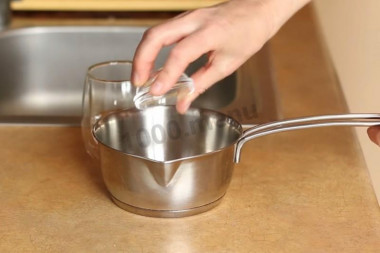
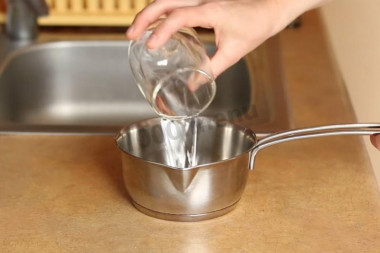
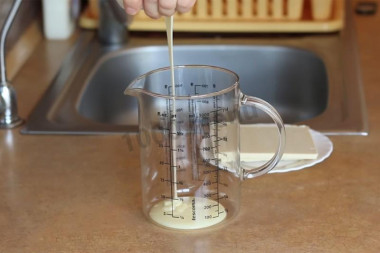
Step 4:
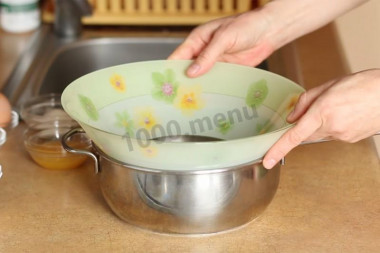
The dough is prepared in a steam bath, so you need to choose such a bowl for the dough and such a volume of water in the pan that the bowl does not touch the water. It is important.
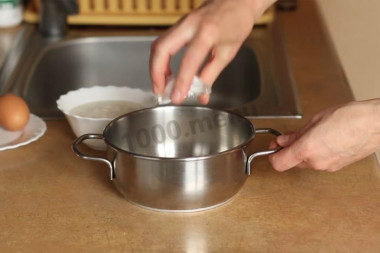
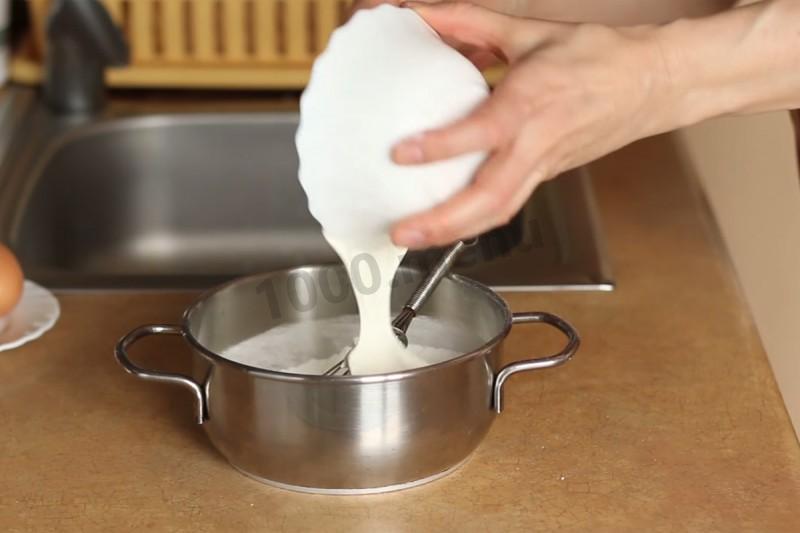
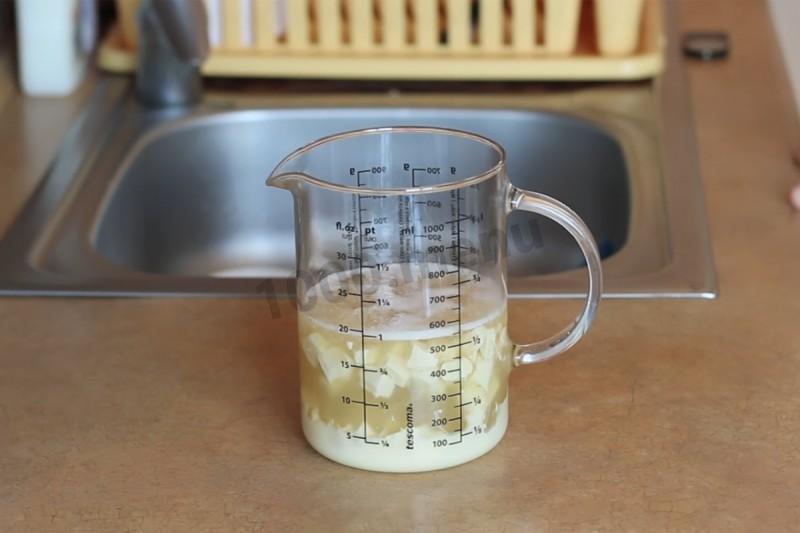
Step 5:
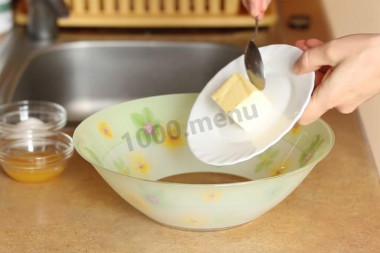
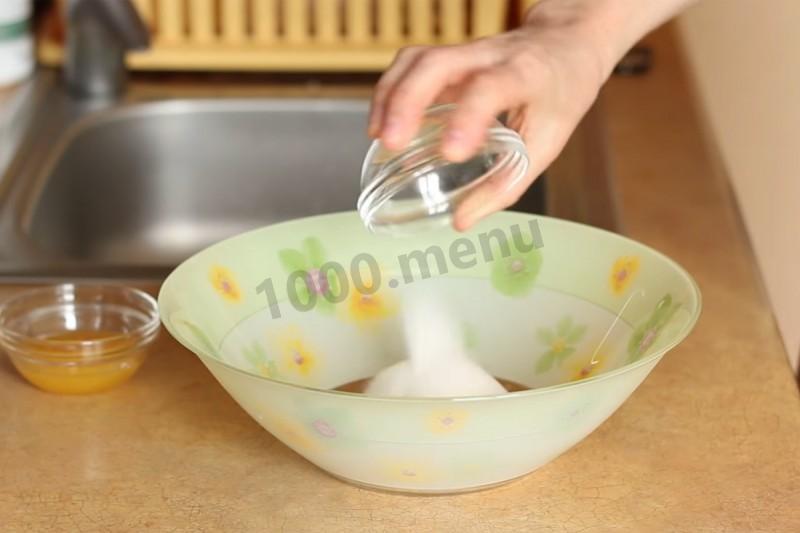
Put the butter in a bowl.
Step 6:

Add sugar to the butter.
Step 7:

Add honey.
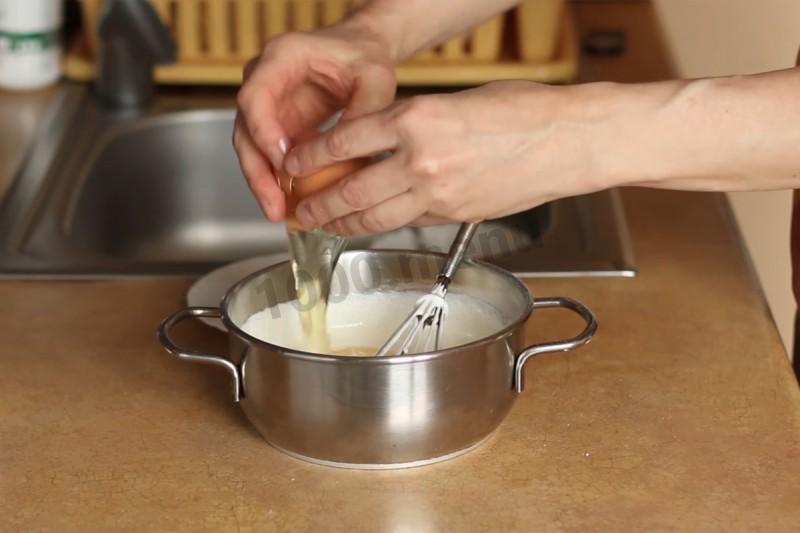
Step 8:

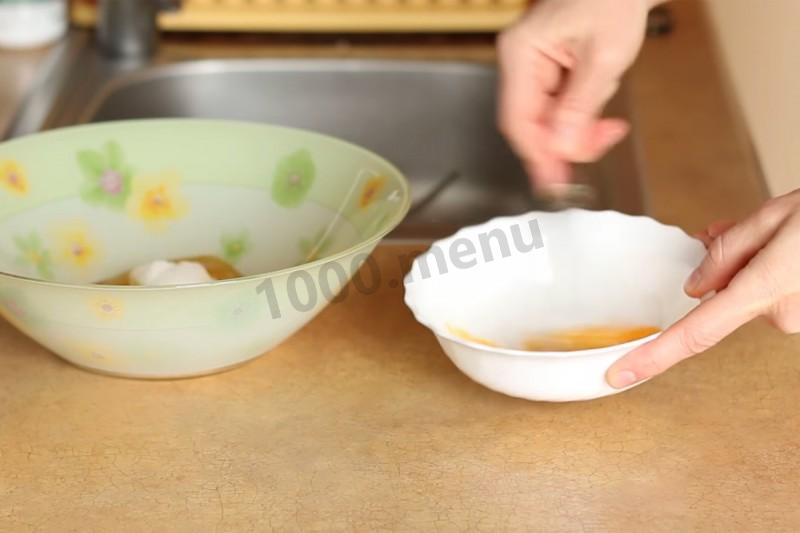
Break the eggs into a separate bowl and shake them.
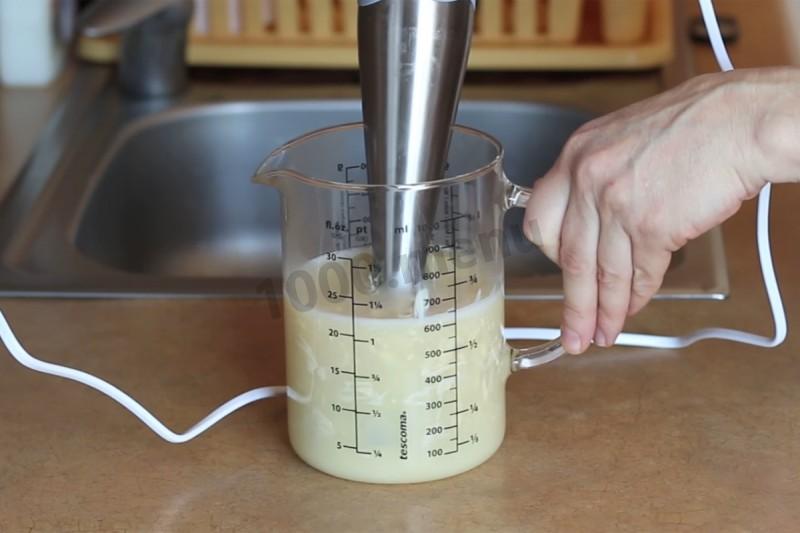
Step 9:
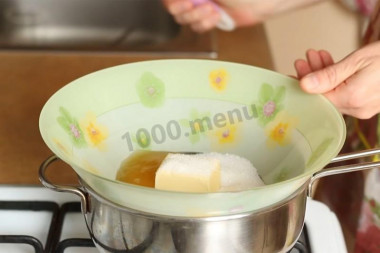
Put a bowl with sugar, butter and honey on the bath and wait until the butter dissolves and the honey and sugar melt.
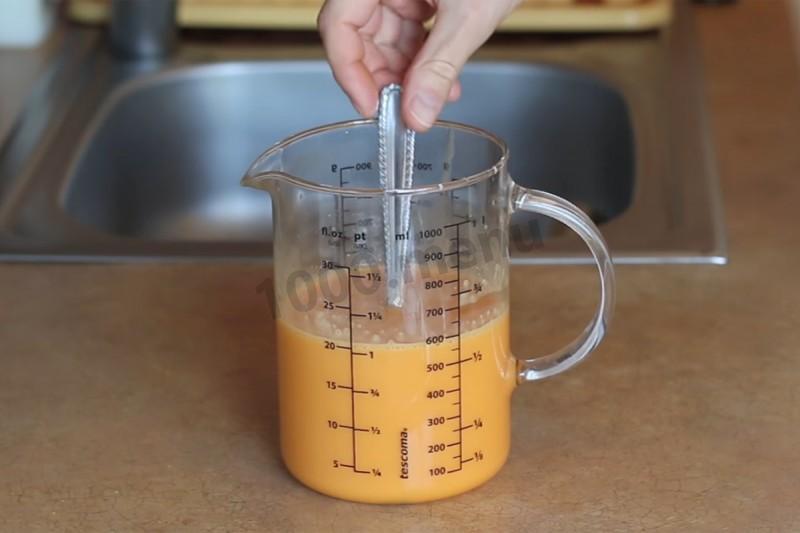
Step 10:
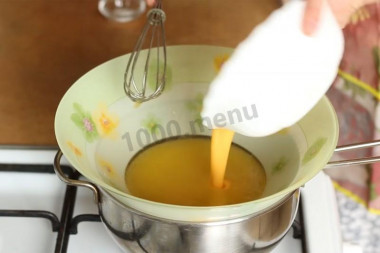
Add eggs and mix.
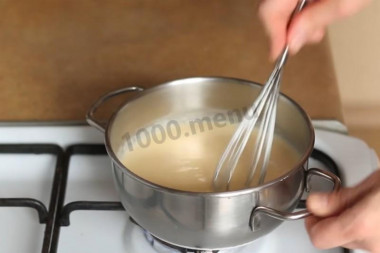
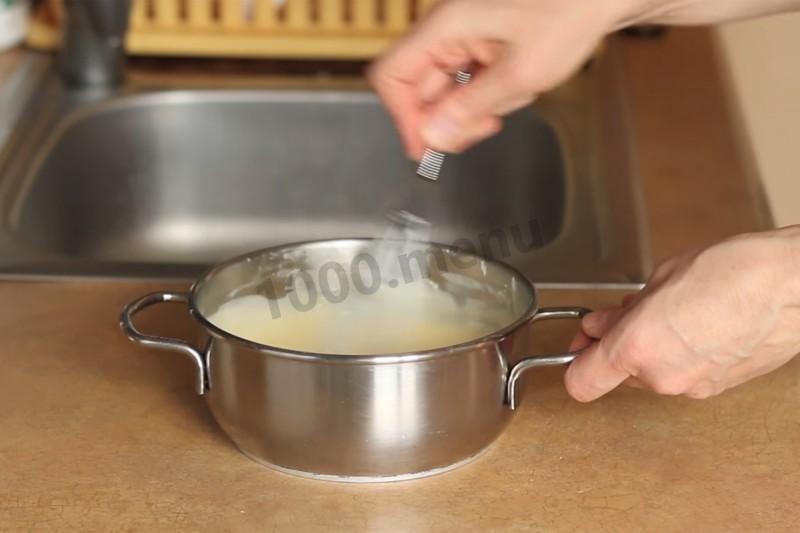
Step 11:
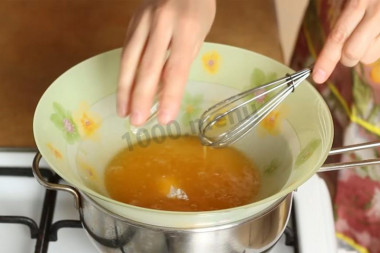
Add soda. Stir and keep in the bath, stirring, until active foaming. This means that the basis for the test is ready.
Step 12:
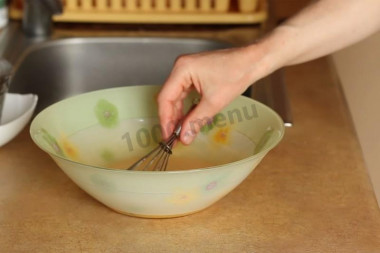
Remove the bowl from the bath and let it cool down a little, 5 minutes.
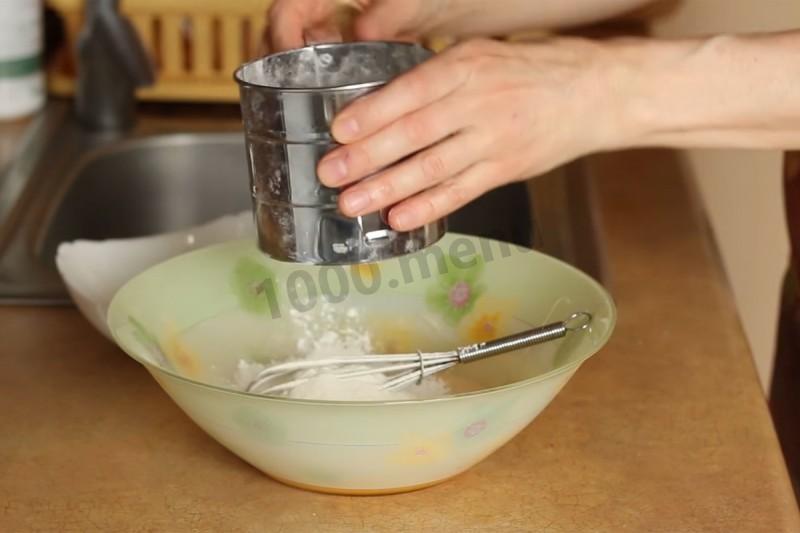
Step 13:
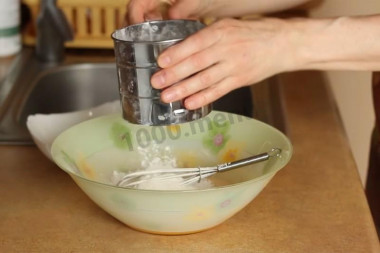
Sift flour into a bowl and knead the dough.
Step 14:
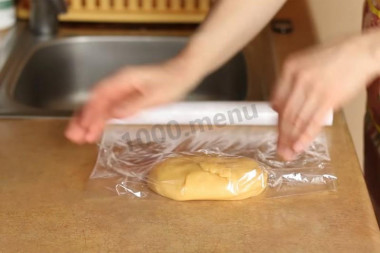
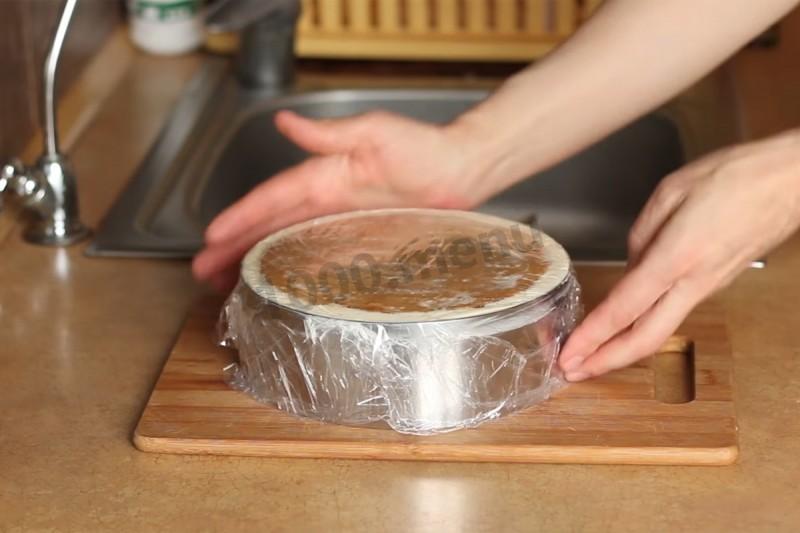
Wrap the dough with plastic wrap.
Step 15:
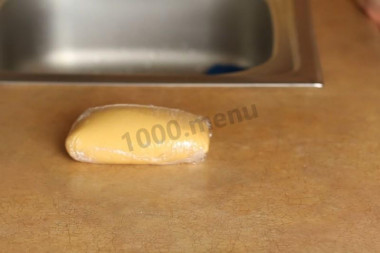
Put the dough in the cold for at least 1 hour.
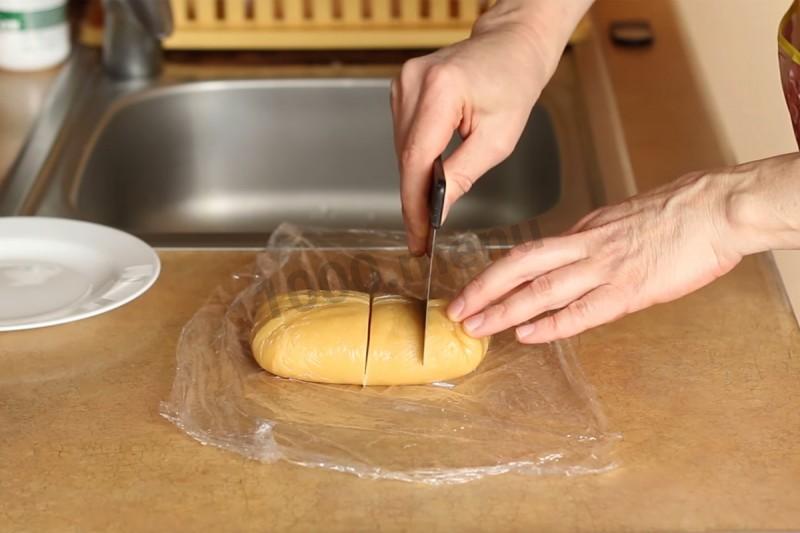
Step 16:
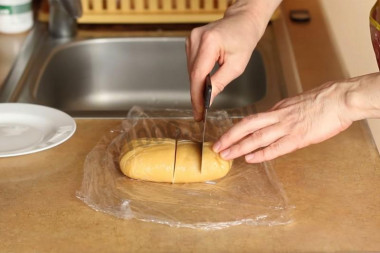
Divide the cooled dough into 4 parts. There will be 4 cakes.
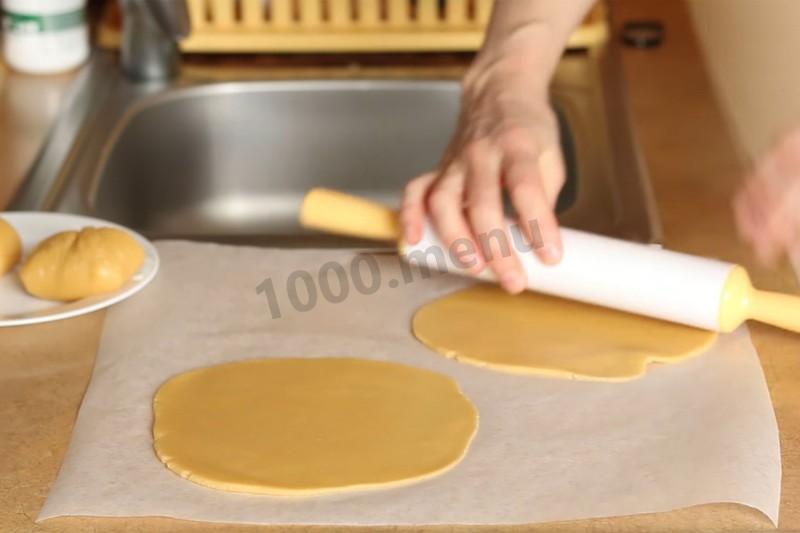
Step 17:

Form koloboks from pieces of dough, and then roll out circles-cakes on parchment.
Step 18:
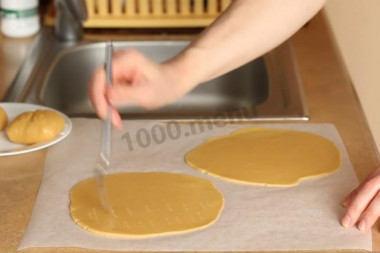
Prick the cakes with a fork.
Step 19:

Transfer to a baking sheet.
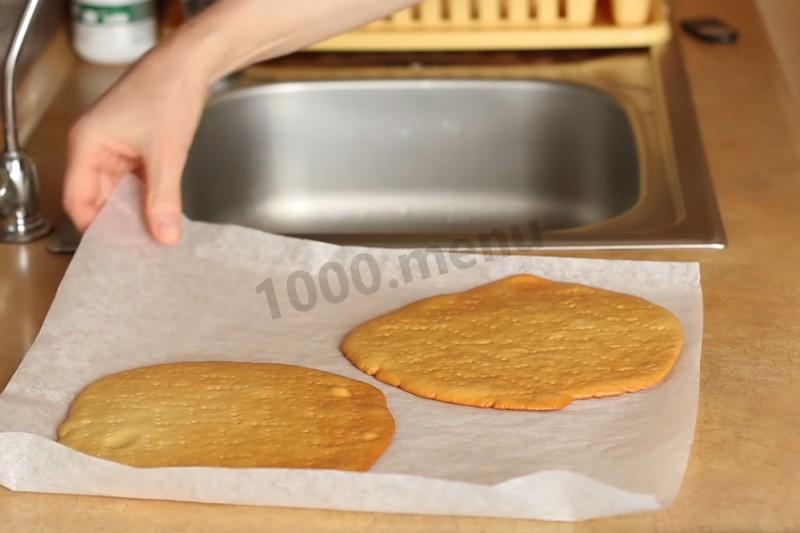
Step 20:

Bake for 5-7 minutes at 180 degrees. So bake all 4 cakes.
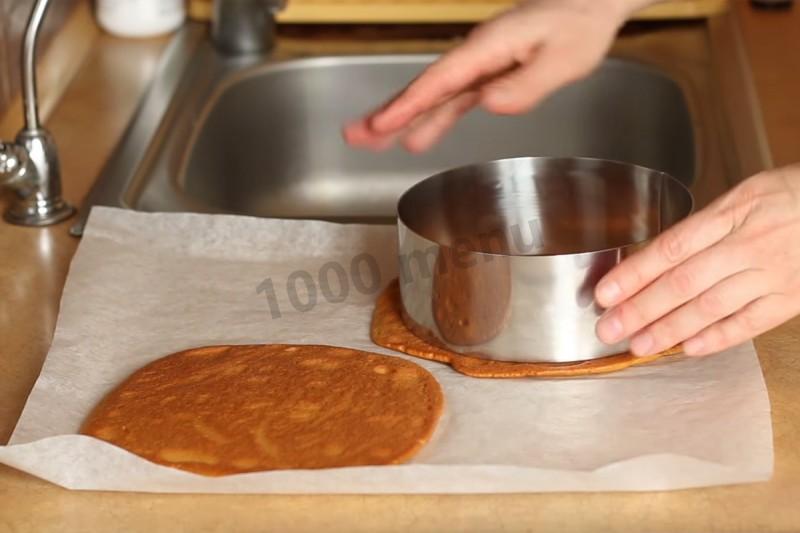
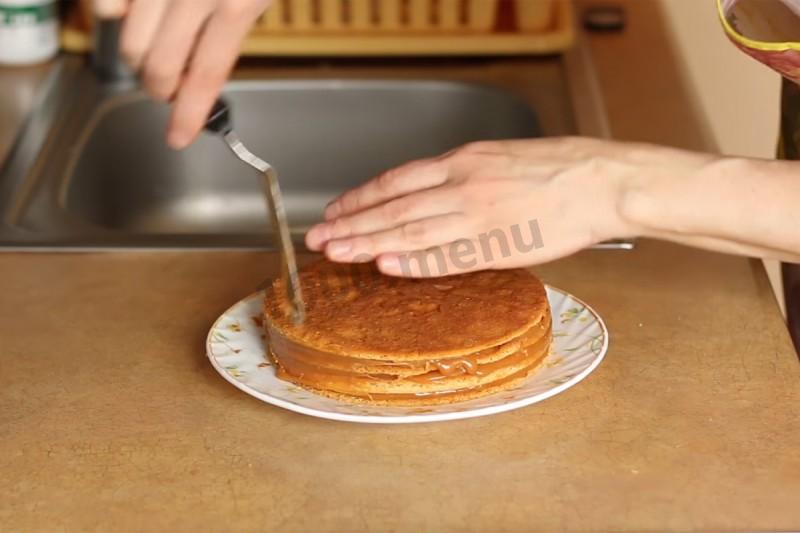
Step 21:

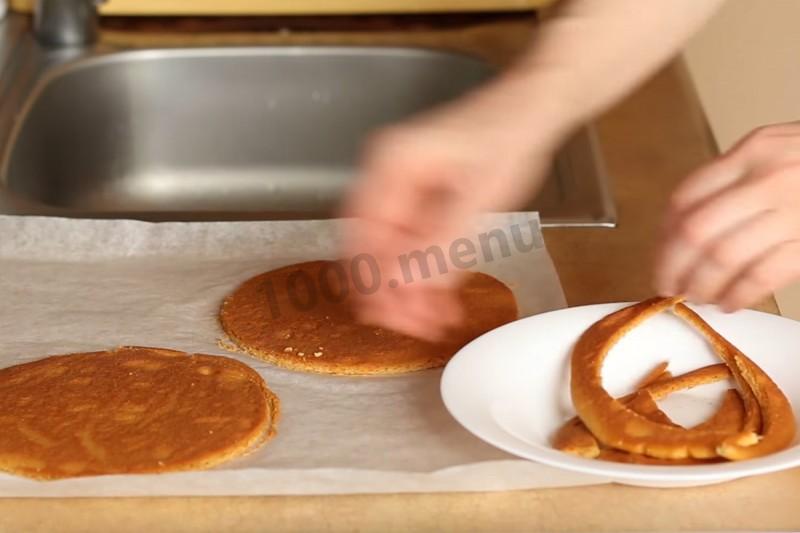
Separate the finished cakes from the paper and turn them over, let them cool. Cut smooth circles out of them (with a ring or a knife on a plate). The author has a diameter of 16 cm cakes.
Step 22:

Pruning will come in handy. You can dry them and decorate the cake with them, and also leave them for later, and when this cake is over, cook something like honey tiramisu with them.
Step 23:
---CARAMEL. Ingredients for caramel.
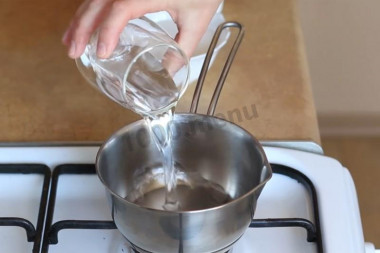
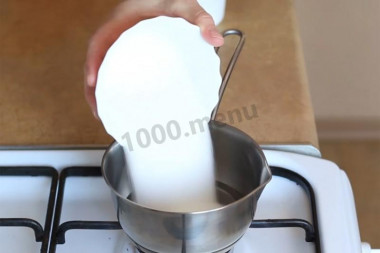
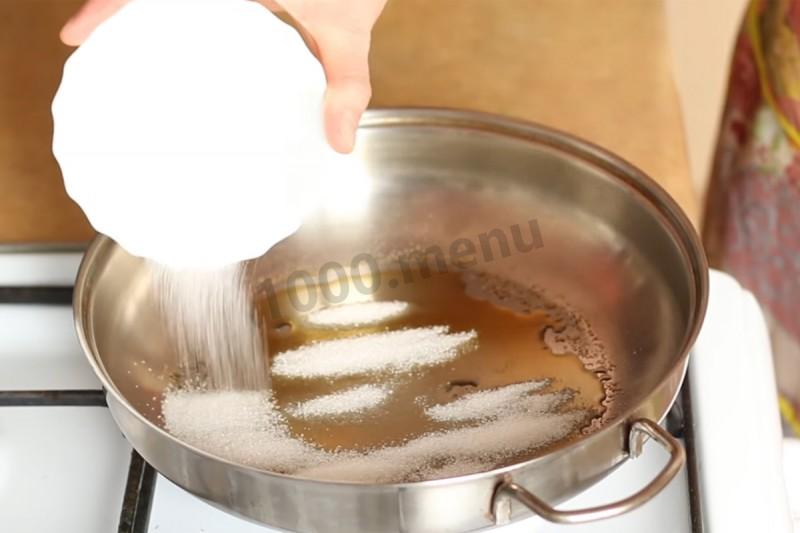
Step 24:

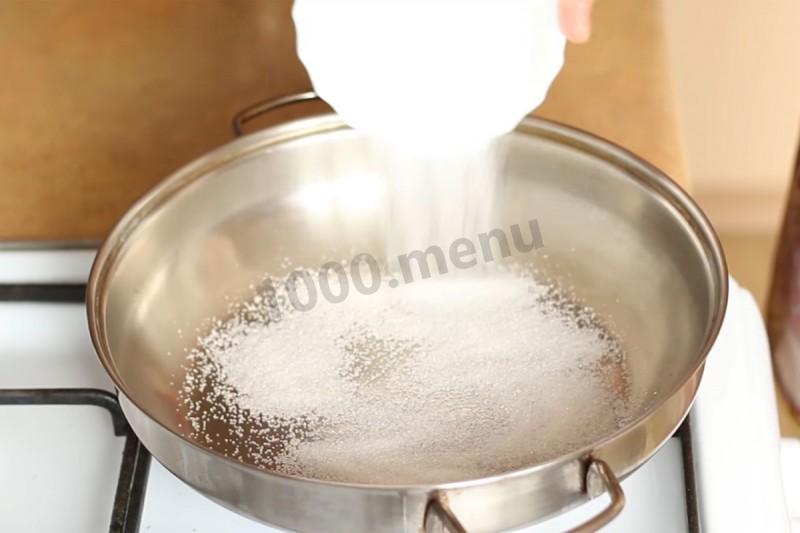
Preheat a frying pan and pour sugar on it in a thin layer (the whole will not fit right away).
Step 25:
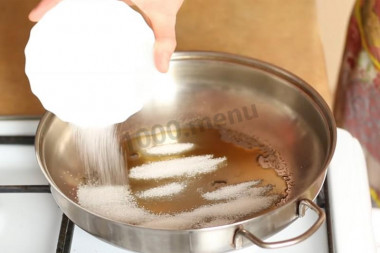
When the sugar has started to melt, add more sugar to the liquid places until it is all in the pan.
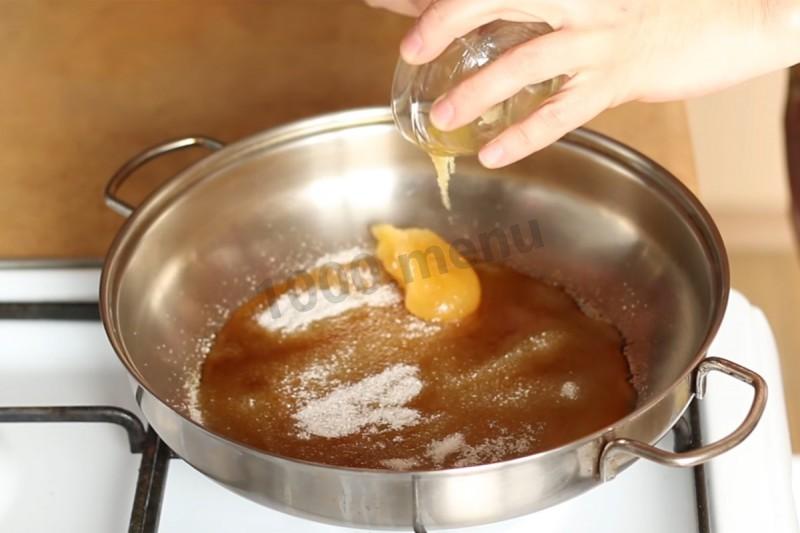
Step 26:

When almost all the sugar has melted, add honey.
Step 27:

When the honey began to melt, stir gently. Be careful - the caramel is very hot.
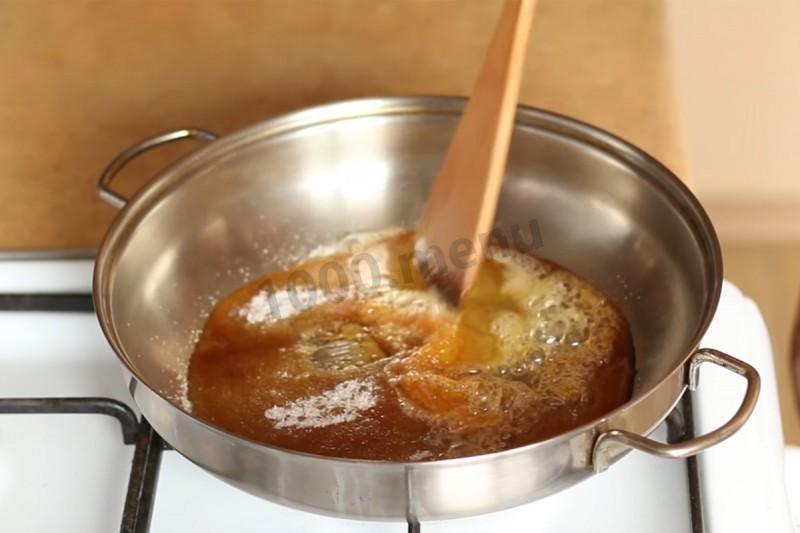
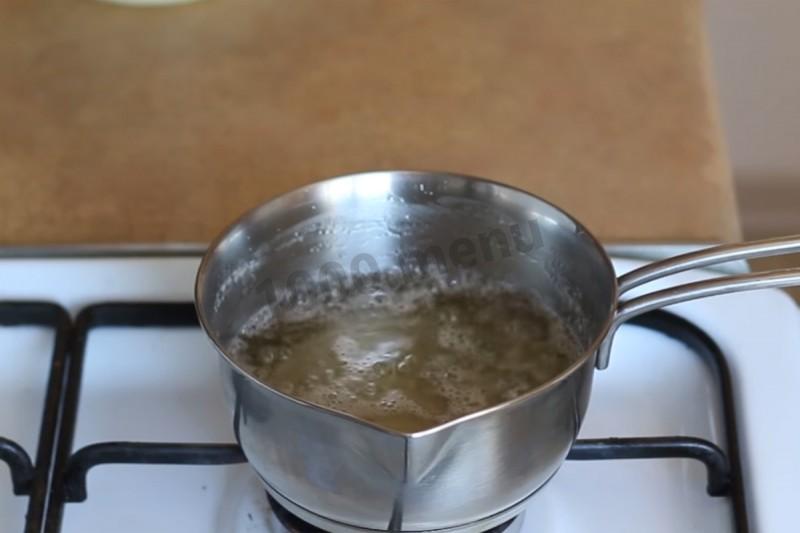
Step 28:
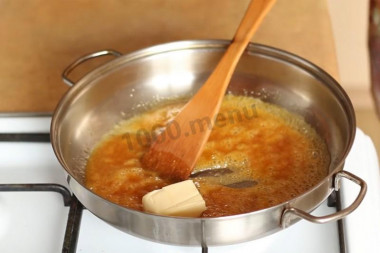
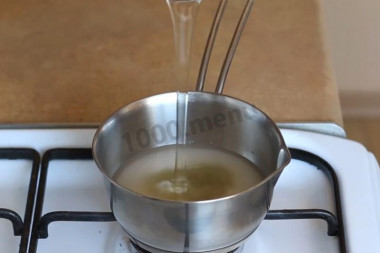
Add butter to the pan. Put the cream in a saucepan on the fire. They are needed in a boiling state.
Step 29:
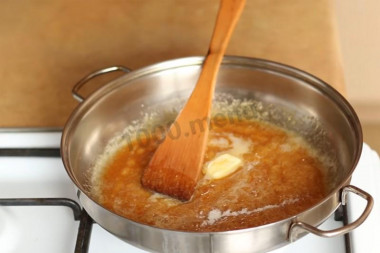
Wait until the butter is dissolved, mix the caramel well. Add salt.
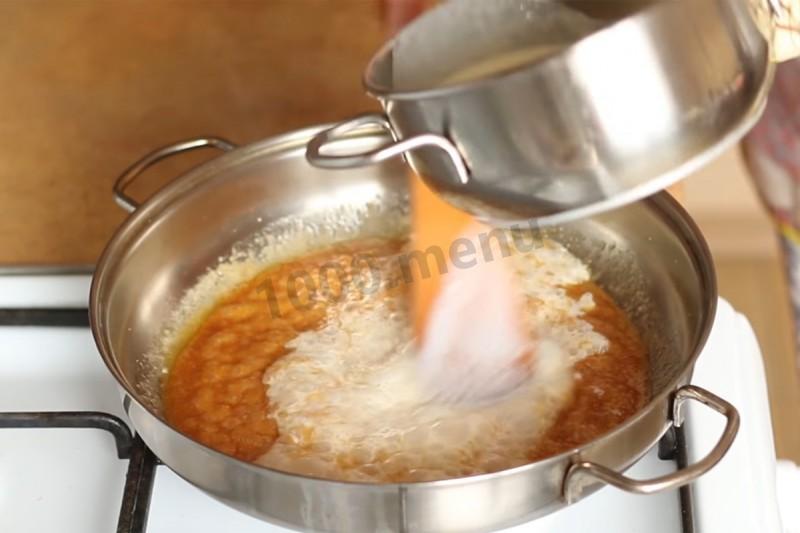
Step 30:
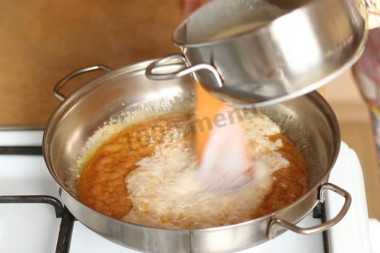
Gradually pour in the cream and stir.
Step 31:
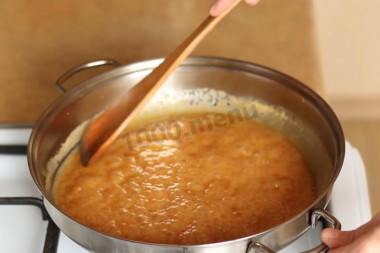
Cook, stirring, for about three minutes after boiling or up to 108 degrees.
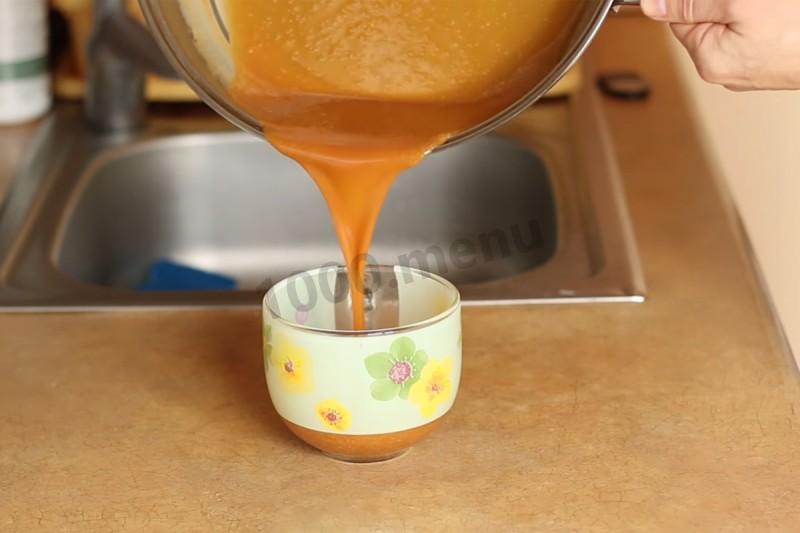
Step 32:

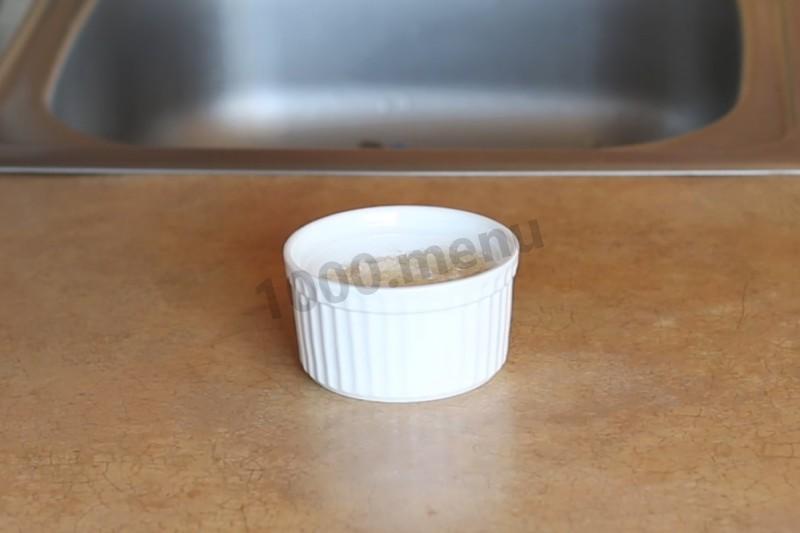
Pour the finished caramel into a cup (bowl) and let cool. You can put it in the cold, or you can stir it to cool down faster.
Step 33:
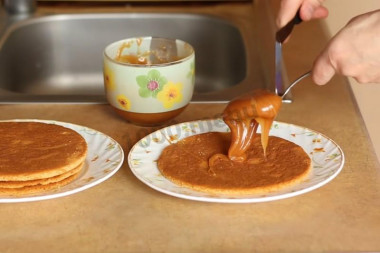
---ASSEMBLING CARAMEL CAKES. Put the first cake on a flat plate and smear with caramel.
Step 34:
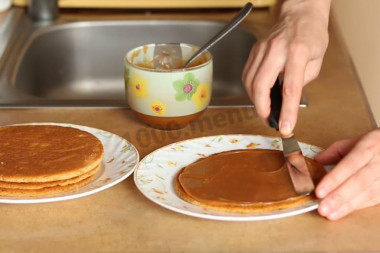
The layer should be smooth. Each cake will take a third of the caramel.
Step 35:
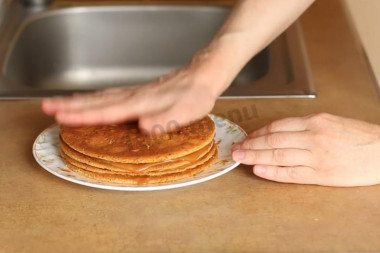
Do not lubricate the top cake. Strongly, but gently, press down the cakes so that the caramel is distributed evenly.
Step 36:

Smooth the sides.
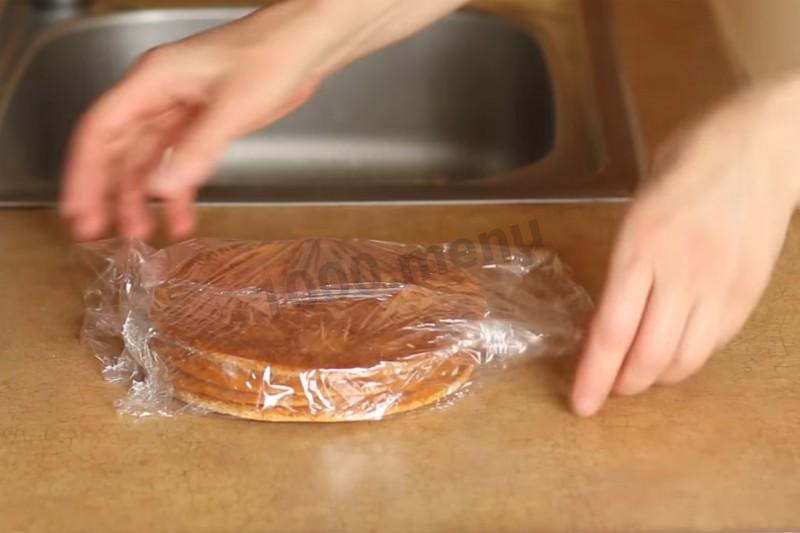
Step 37:

Pack in foil and put in the freezer for 4-6 hours or overnight.
Step 38:

---MOUSSE. Ingredients for mousse.
Step 39:
Soak gelatin. To do this, pour 2 tsp. with a slide of gelatin into a saucepan.
Step 40:
Pour them 60 ml of cold water. Leave to swell.
Step 41:

Pour sugar into another saucepan.
Step 42:
Deliver starch to sugar and mix well.
Step 43:

Add sour cream.
Step 44:

Add eggs and mix everything well.
Step 45:
Put the saucepan on low heat and cook, stirring constantly, until it thickens. There should be good traces of the corolla or scapula on the cream. Turn off the fire.
Step 46:
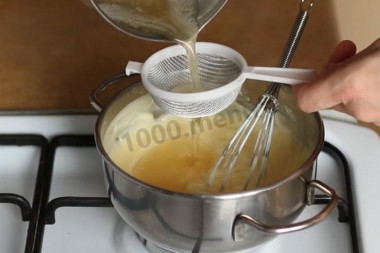
Dissolve the pre-soaked gelatin to a liquid state and add it to a saucepan with sour cream mixture. It is better to strain it. Mix well.
Step 47:

The resulting cream should be cooled to room temperature - either stirring constantly with a whisk, or covering with a film in contact with the surface and sending it to a cool place.
Step 48:
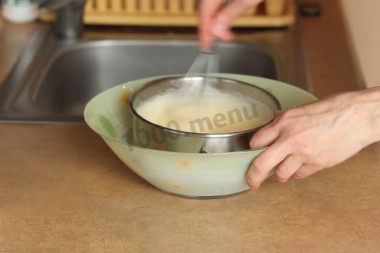
Can be cooled by putting a saucepan in a bowl of cold water.
Step 49:
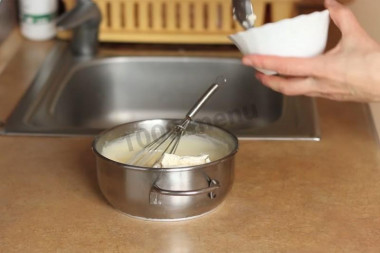
Add cream cheese and mix well.
Step 50:
It turns out a smooth and very beautiful mass.
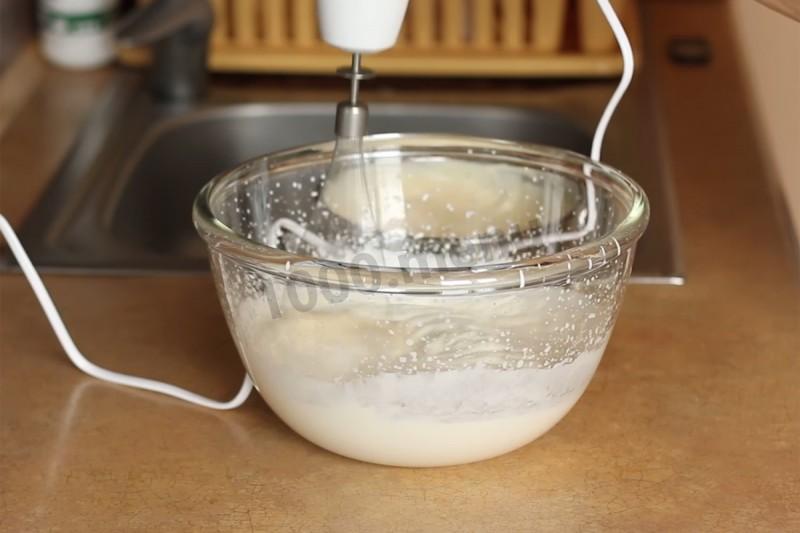
Step 51:
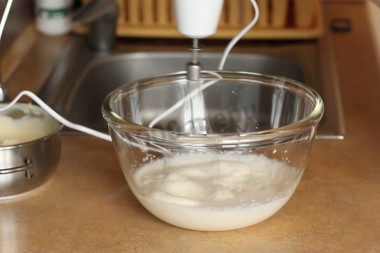
In a cold bowl, beat the cold cream.
Step 52:

You need to beat up to a light foam. Spades are not needed.
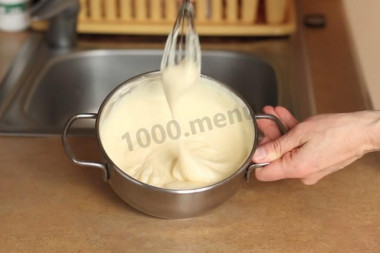
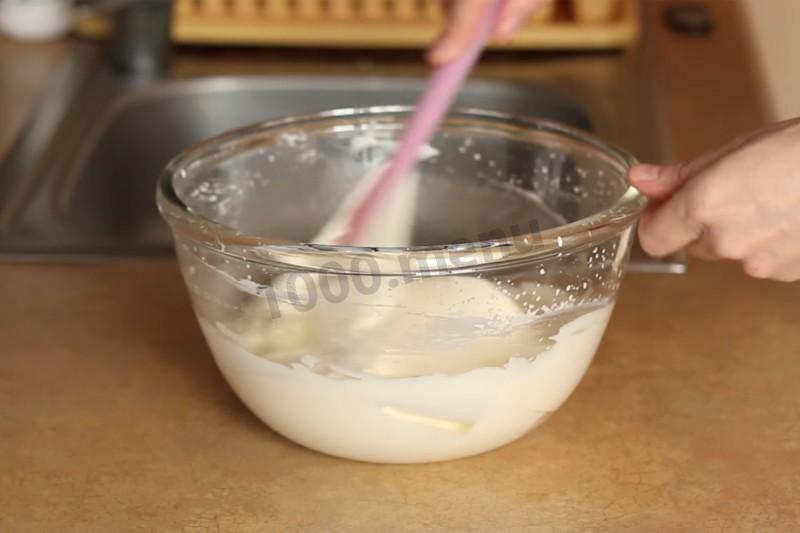
Step 53:
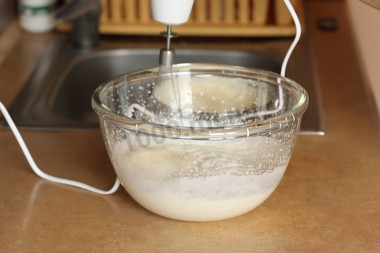
Continuing to beat at a minimum speed, add custard with cream cheese by spoonful.
Step 54:

Cream mousse is ready.
Step 55:

---ASSEMBLING THE CAKE. Get the assembly ring and caramel cakes from the freezer.
Step 56:
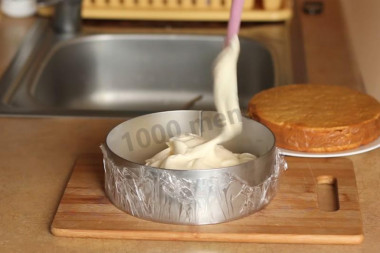
Put the whole mousse in the ring.
Step 57:
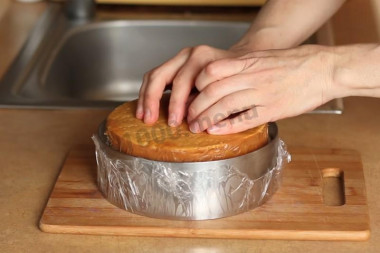
Drown cakes in mousse.
Step 58:

Align the edge with a spatula and wrap the top tightly with a film. Put the ring with the board in the freezer for at least 6 hours, preferably overnight.
Step 59:
---GLAZE. Ingredients for the glaze.
Step 60:

Add 70 ml of cold water to 12 g of gelatin and leave to swell.
Step 61:
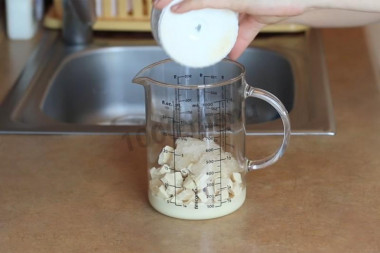
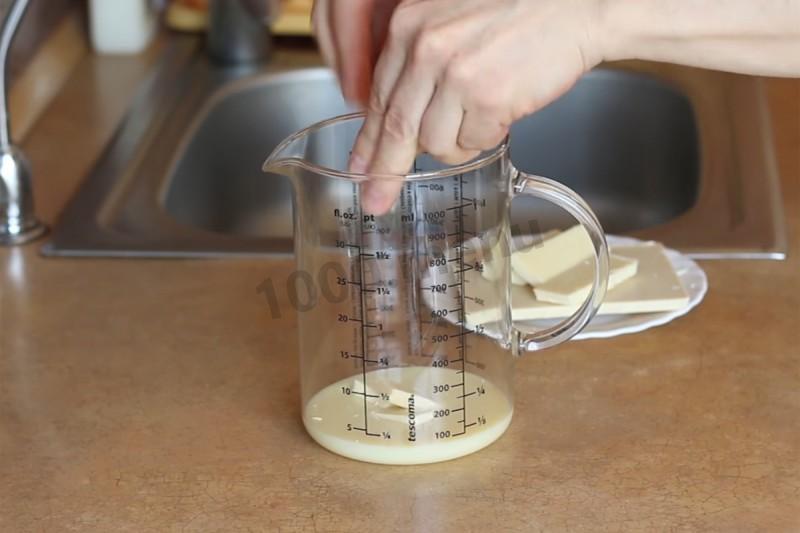
Pour condensed milk into a glass.
Step 62:

To the condensed milk, break the white chocolate into pieces.
Step 63:
Pour water into a saucepan.
Step 64:
Add sugar and mix.
Step 65:
Put on the stove and add invert syrup or glucose syrup.
Step 66:

Cook to a temperature of 103 degrees or 2-3 minutes after boiling.
Step 67:
Add gelatin to a glass with milk and chocolate.
Step 68:

Pour boiling syrup and let stand for a while.
Step 69:

Using a blender, bring the mixture to uniformity. Hold the blender so that the glaze does not foam.
Step 70:

Add the dye and stir. The glaze is ready. For the best effect, it needs to be covered with a film in contact with the surface and put in the refrigerator for a day. Then preheat to 35 degrees. If there is no time - after cooking, the glaze is cooled to 35 degrees and the cake is poured.
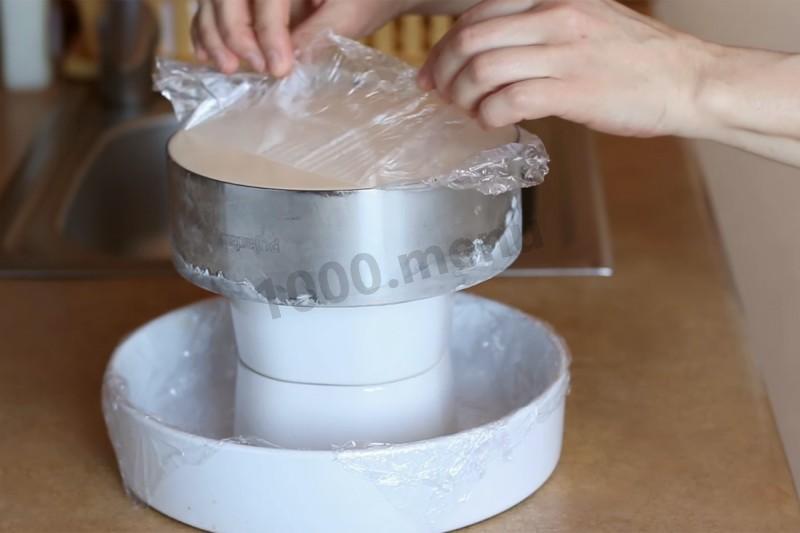
Step 71:
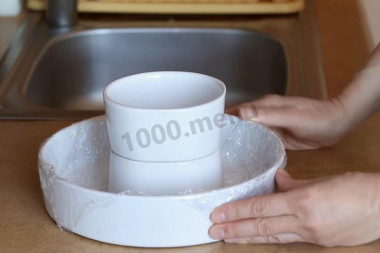
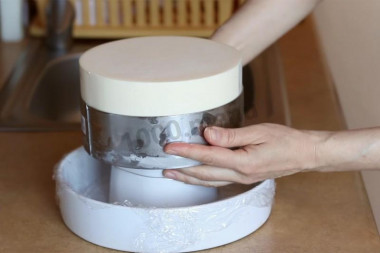
---CAKE GLAZING. Build a pedestal to cover the cake with icing. At the bottom there should be a form for collecting excess glaze (it is usually lined with a film), and in it there is a cake stand with a diameter smaller than the cake itself (for example, bowls or salad bowls, or a confectionery ring of small diameter, children's cubes-cylinders are also suitable).
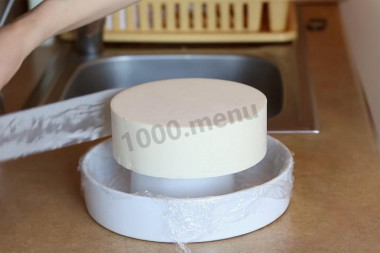
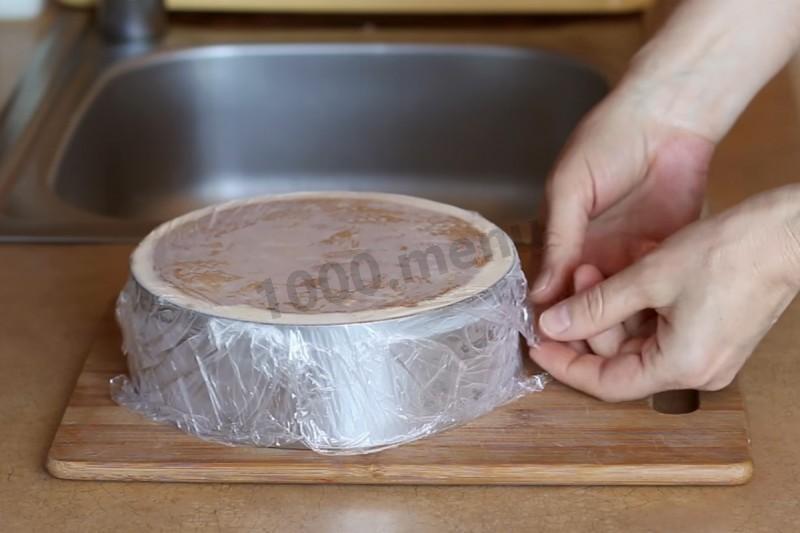
Step 72:

When everything is ready - get the cake out of the freezer. Remove the film from the bottom.
Step 73:

Turn the cake over and put it on the stand. Remove the top film.
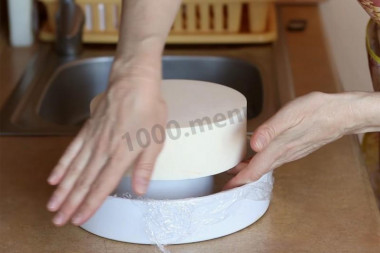
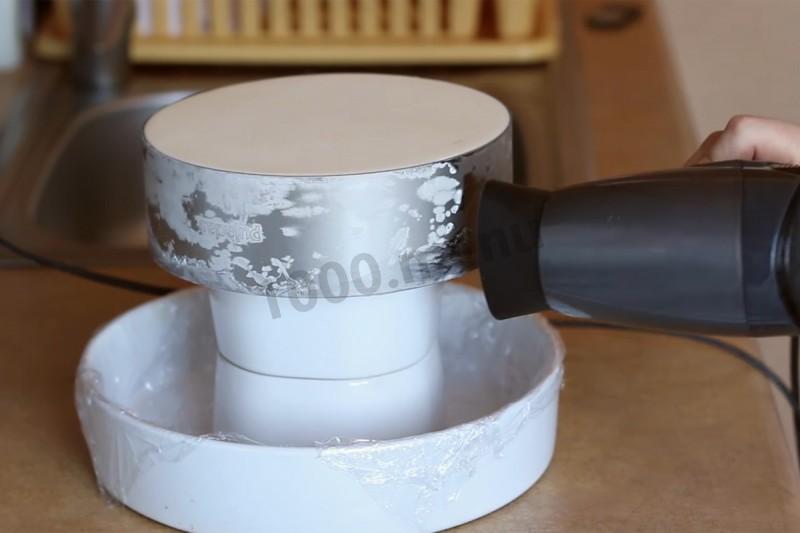
Step 74:

Use a hair dryer to warm up the ring from all sides.
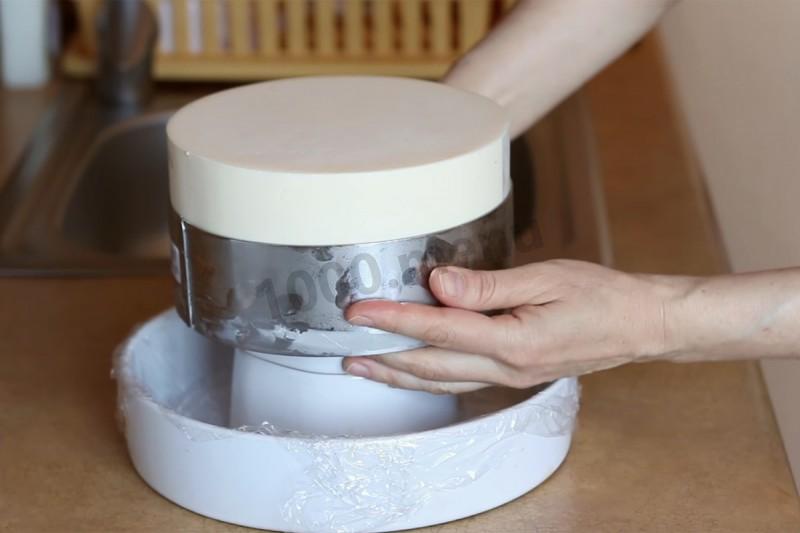
Step 75:
Remove the ring with a light movement. Lift the cake and remove the ring. Return the cake to its place.
Step 76:
Remove the pastry ribbon from the cake.
Step 77:
Smooth out the corner of the cake with the base of your palm so that the angle is not so sharp.
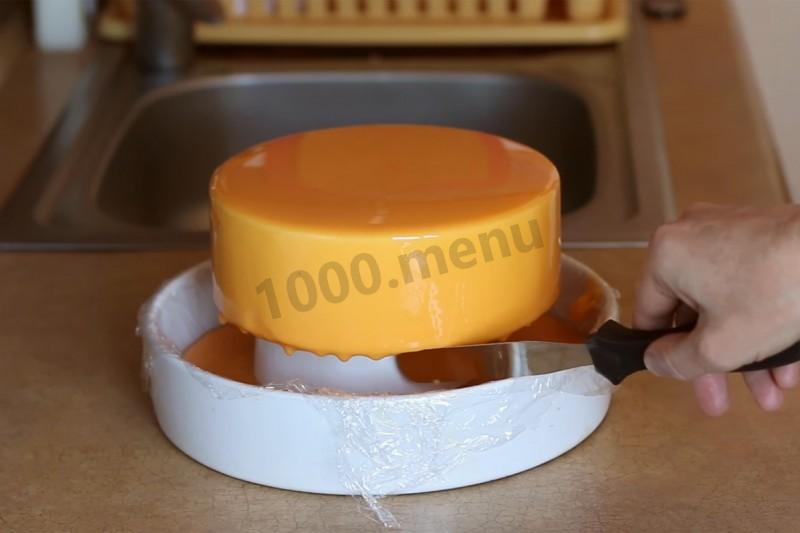
Step 78:
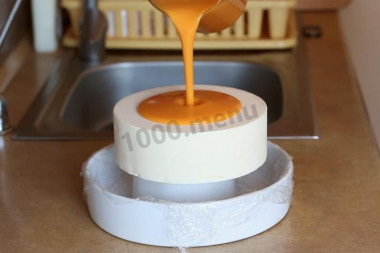
Starting from the center, pour the icing over the cake. First half and wait until the first layer almost settles.
Step 79:
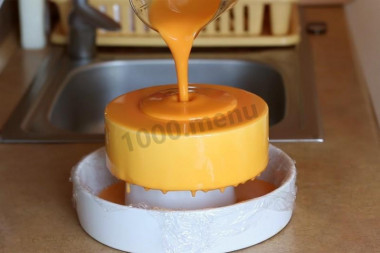
Then pour the second layer from the center as well.
Step 80:

When the glaze has stopped dripping, remove the drops from below with a knife or a spatula.
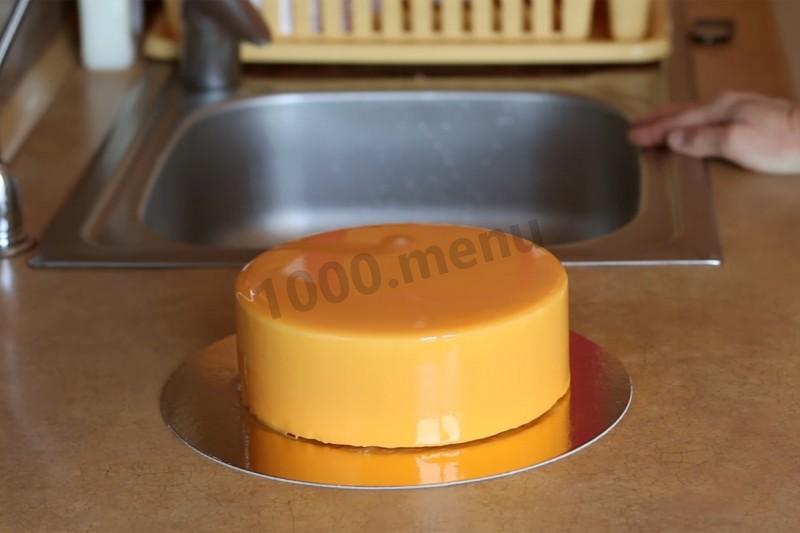
Step 81:
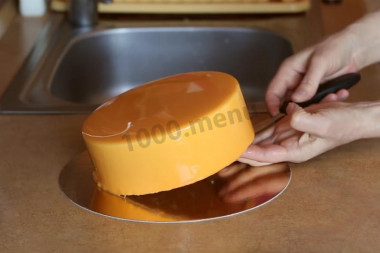
Put the cake on the base. In order not to leave finger marks, it is good to help with a knife or a spatula.
Step 82:

It is no longer possible to move the cake - the glaze will reach for it, and the view will deteriorate.
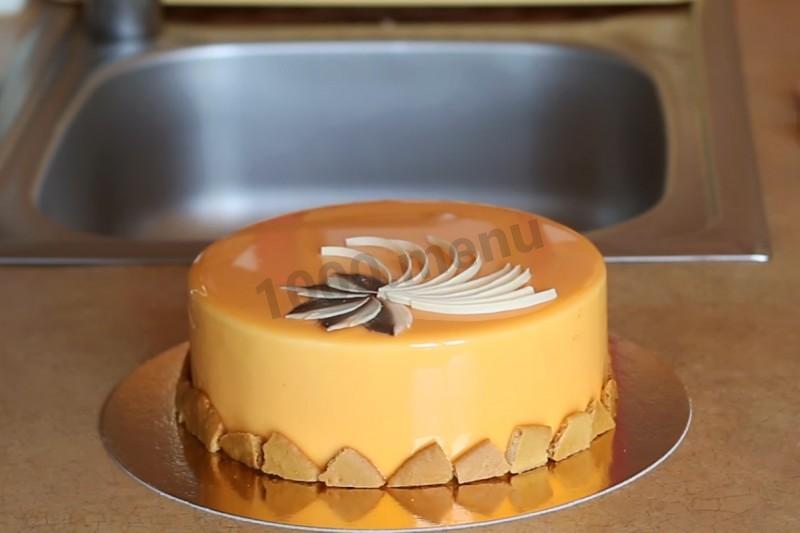
Step 83:
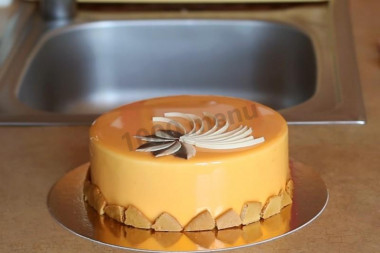
Decorate the cake as desired. It depends on your imagination, free time, and also on the reason for which this cake is baked (or do you just cook such cakes like that?)
Step 84:
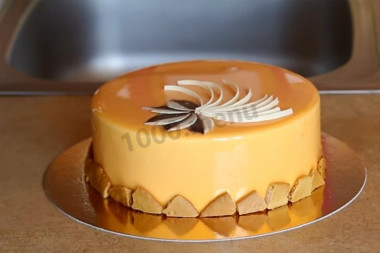
2 hours after glazing, the cake can be cut, eaten, treated ...
Step 85:
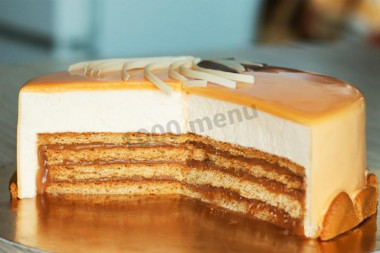
And admire where without it!
Step 86:
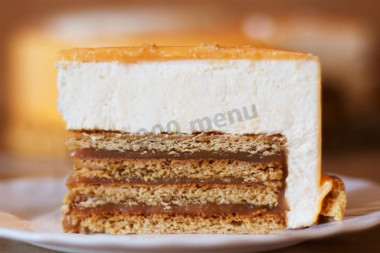
Delicious piece, really!?


Have fun!
Calorie content of the products possible in the composition of the dish
- Sour cream with 30 % fat content - 340 kcal/100g
- Sour cream of 25% fat content - 284 kcal/100g
- Sour cream with 20% fat content - 210 kcal/100g
- Sour cream of 10% fat content - 115 kcal/100g
- Sour cream - 210 kcal/100g
- Honey - 400 kcal/100g
- Granulated sugar - 398 kcal/100g
- Sugar - 398 kcal/100g
- Condensed milk with sugar - 324 kcal/100g
- Butter 82% - 734 kcal/100g
- Amateur unsalted butter - 709 kcal/100g
- Unsalted peasant butter - 661 kcal/100g
- Peasant salted butter - 652 kcal/100g
- Melted butter - 869 kcal/100g
- Gelatin - 355 kcal/100g
- Salt - 0 kcal/100g
- Water - 0 kcal/100g
- Wheat flour - 325 kcal/100g
- Cream 35% - 337 kcal/100g
- Cream 40% - 362 kcal/100g
- Cream cheese with 50% fat content - 349 kcal/100g
- Baking soda - 0 kcal/100g
- Chicken egg - 80 kcal/100g
- White chocolate - 554 kcal/100g
- Corn starch - 329 kcal/100g
- Food coloring - 0 kcal/100g
- Invert syrup - 400 kcal/100g