

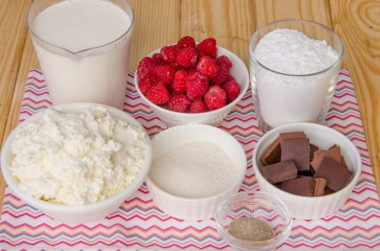
Composition / ingredients
Step-by-step cooking
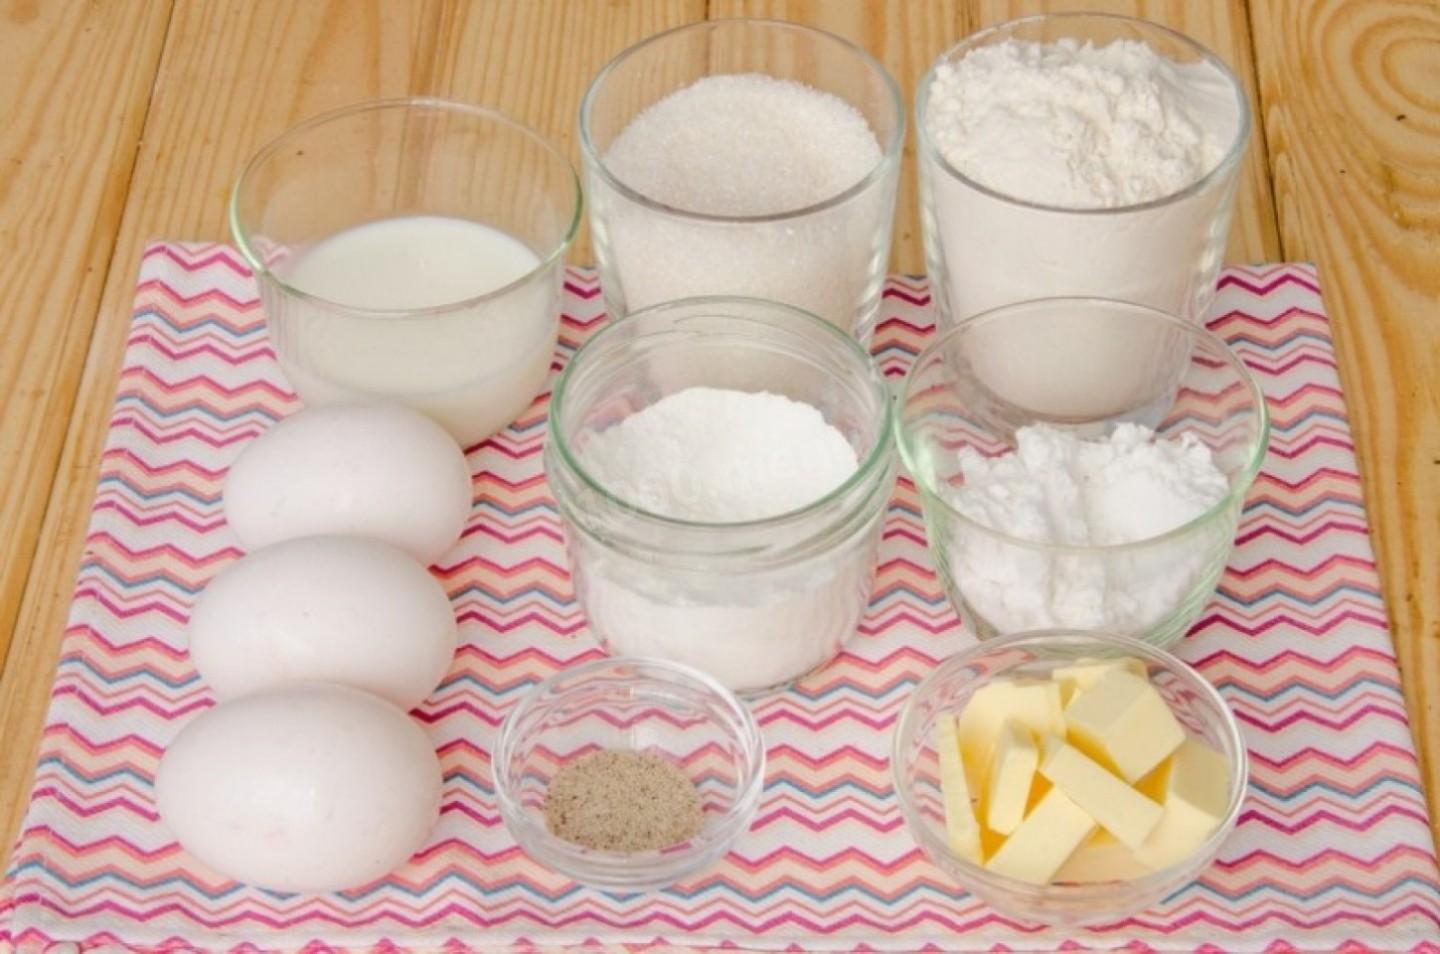
Step 1:

Let's start with a biscuit. All the ingredients for it should be at room temperature, so we get eggs, milk and butter in advance.
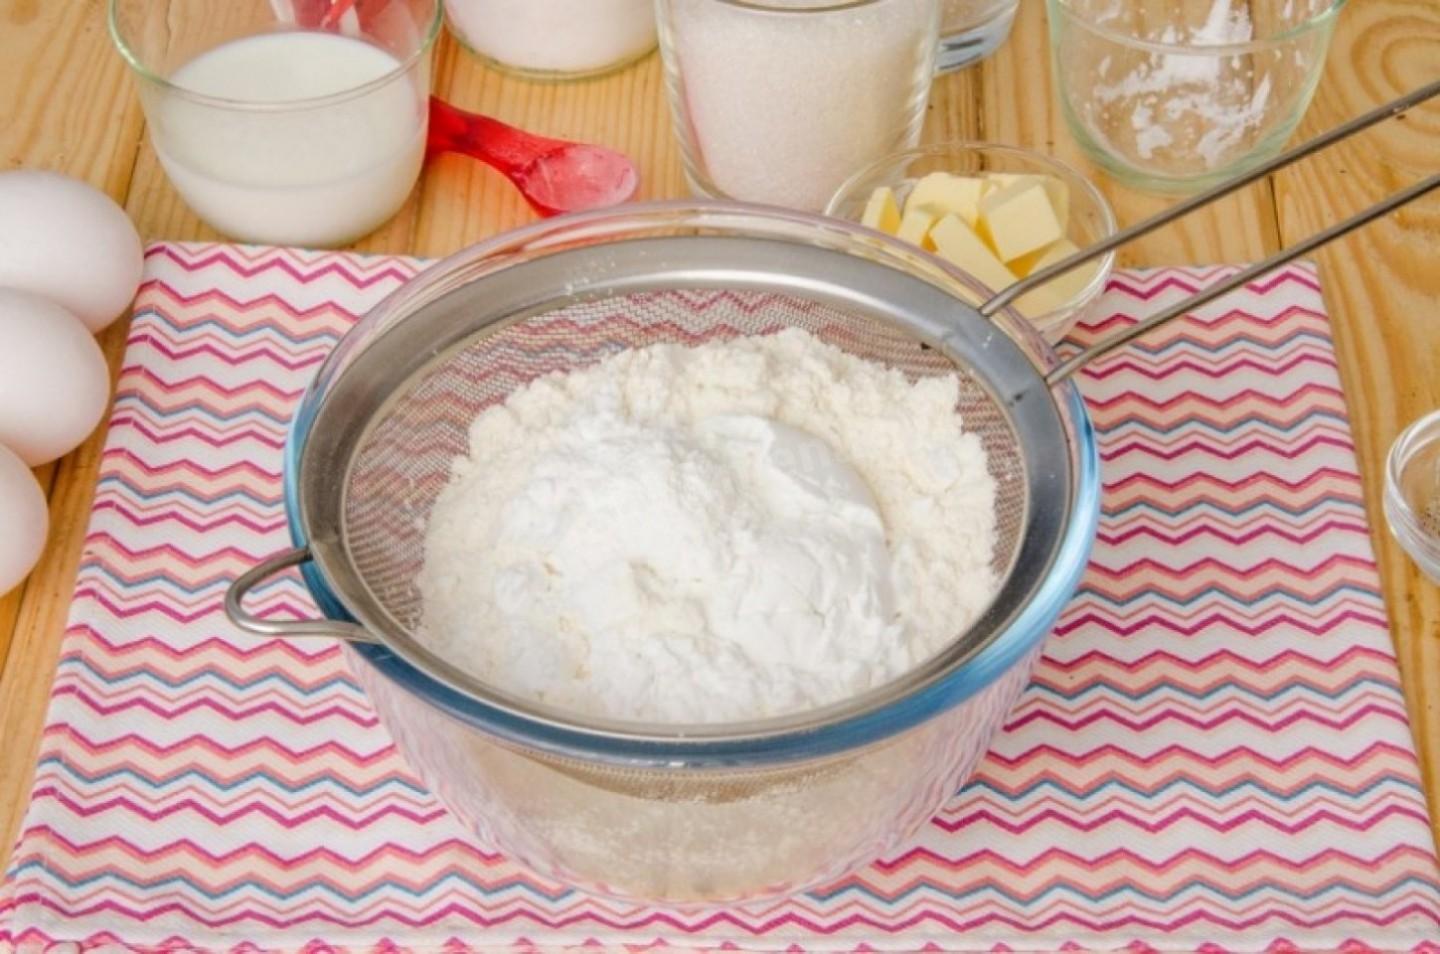
Step 2:
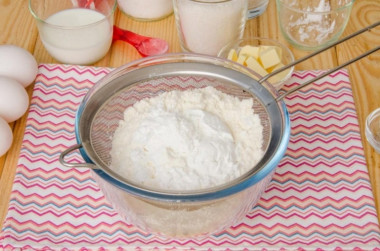
In a separate container, sift together flour, starch and baking powder.
Step 3:

Melt the butter in the microwave or on the stove and mix with milk, the resulting mixture is set aside for now.
Step 4:
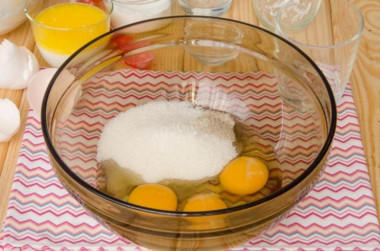
In a bowl, break three large or four medium-sized chicken eggs and add to them regular and vanilla sugar.
Step 5:
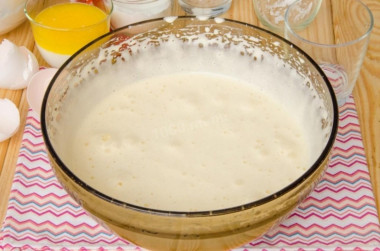
Beat eggs with sugar for 7-10 minutes. During this time, they should turn into a very lush, thick and light foam.
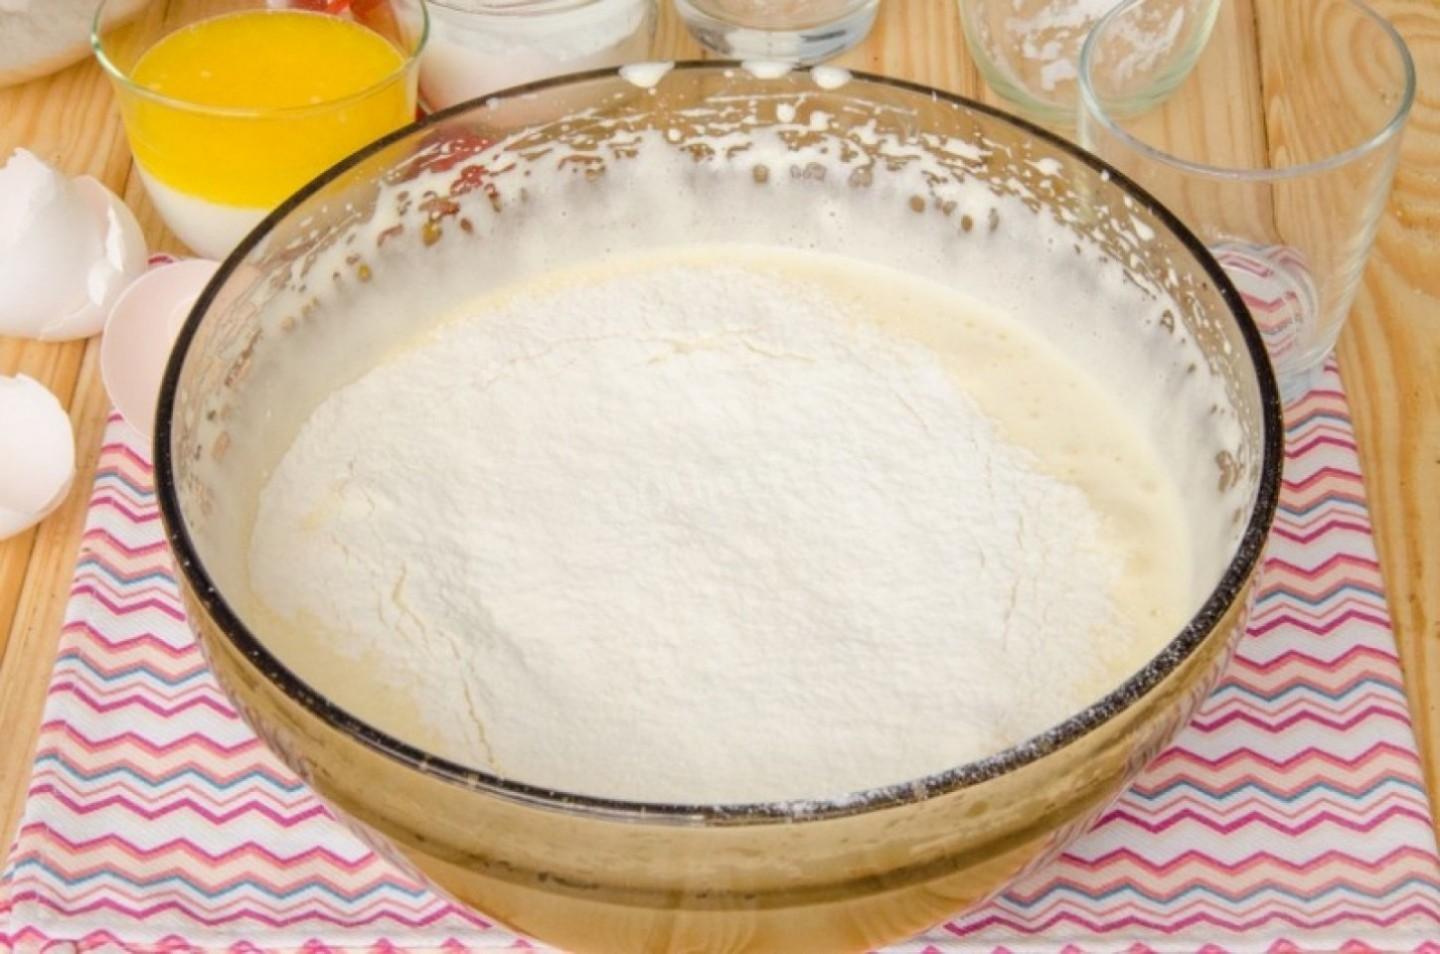
Step 6:

Add flour in two steps.
Step 7:
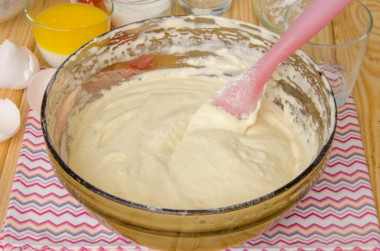
Mix the dough gently with a spatula or whisk.
Step 8:

At the end, pour in a mixture of milk and butter in small portions.
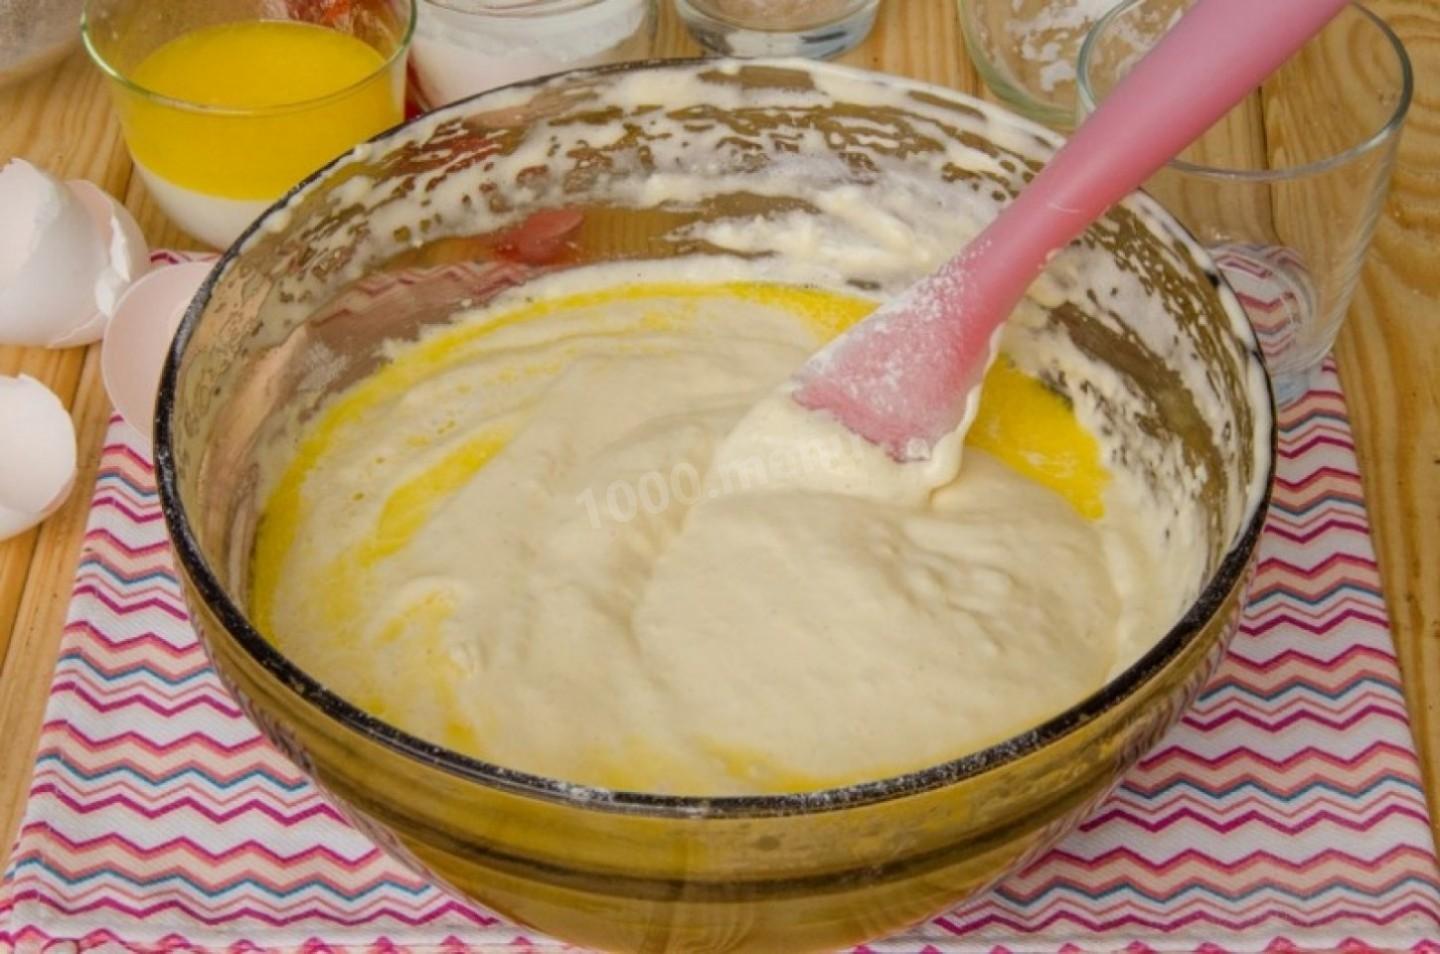
Step 9:
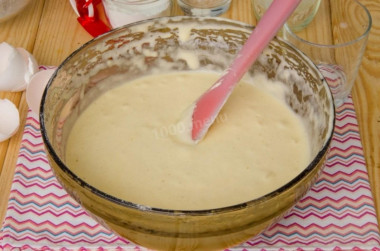
Mix until smooth and our biscuit dough is ready.
Step 10:
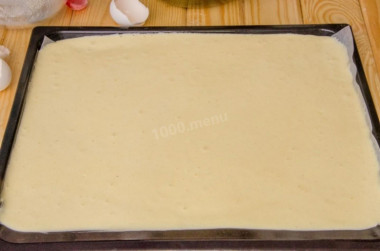
Pour it on a baking sheet covered with baking paper.
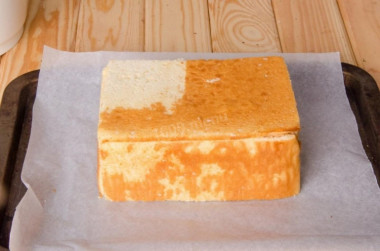
Step 11:

And bake in a preheated 180 C oven for 10-12 minutes. The biscuit should be slightly browned during this time and, of course, completely baked. We check the readiness with a wooden skewer. Let the finished biscuit cool completely.
Step 12:
Now let's do the stuffing. To do this, we will prepare ice cream with three flavors - the usual vanilla, chocolate and raspberry. If desired, you can buy ready-made ice cream, and not cook it yourself.
Step 13:
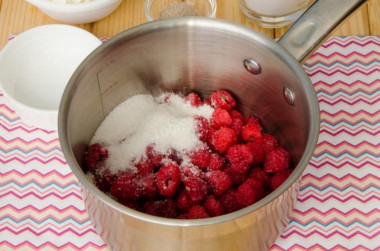
Combine raspberries and granulated sugar in a saucepan. If you do not like too sweet filling or you have a sweet berry by itself, the amount of sugar for raspberries can be reduced.
Step 14:
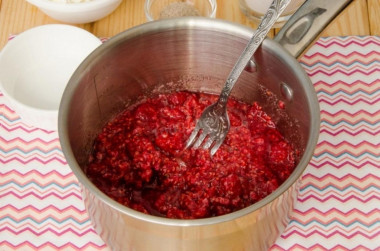
With a fork, we knead the berries with sugar. By the way, if your raspberries are very sweet, then I advise you to add a couple of spoons of lemon juice for sourness, then the ice cream will turn out to be moderately sweet.
Step 15:
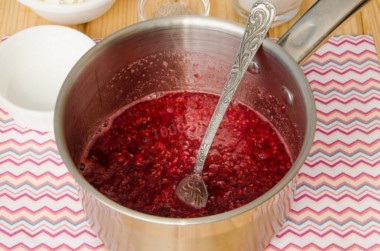
Put the saucepan on the fire, bring the raspberries to a boil and boil for 3-4 minutes.
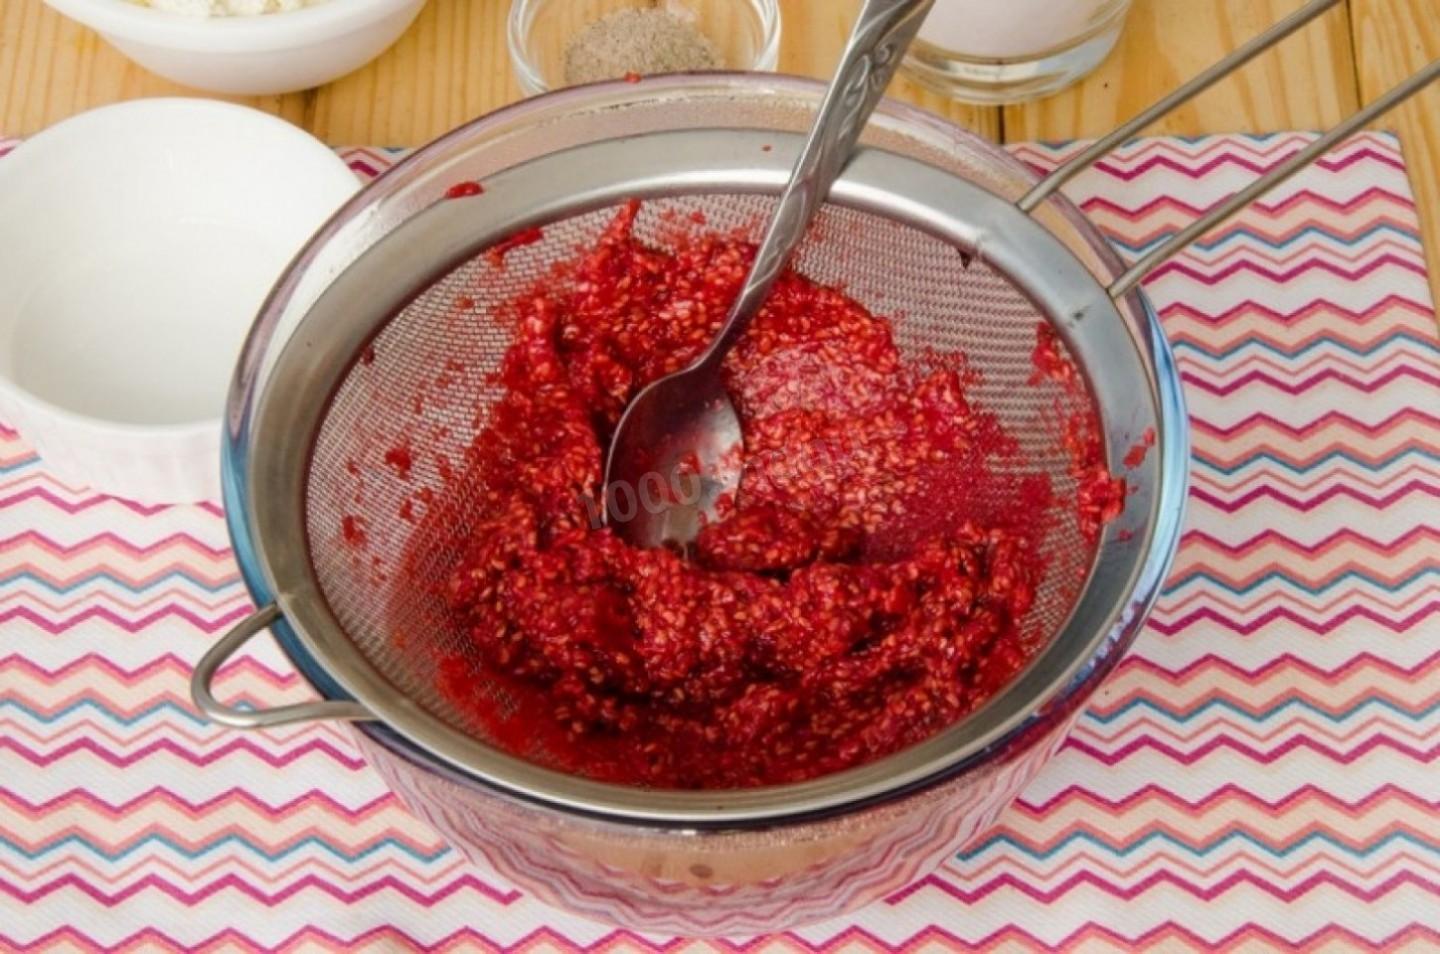
Step 16:

Rub the resulting mass through a sieve to get rid of the bones. In general, the filler for raspberry ice cream is ready, but if you have a very liquid mass, then I strongly advise you to return it to the saucepan and boil it until you get a thick syrup, and if you don't want to boil for a long time, then thicken the mass with starch. If this is not done, then the ice cream may turn out to be too soft. Raspberry puree is allowed to cool completely.
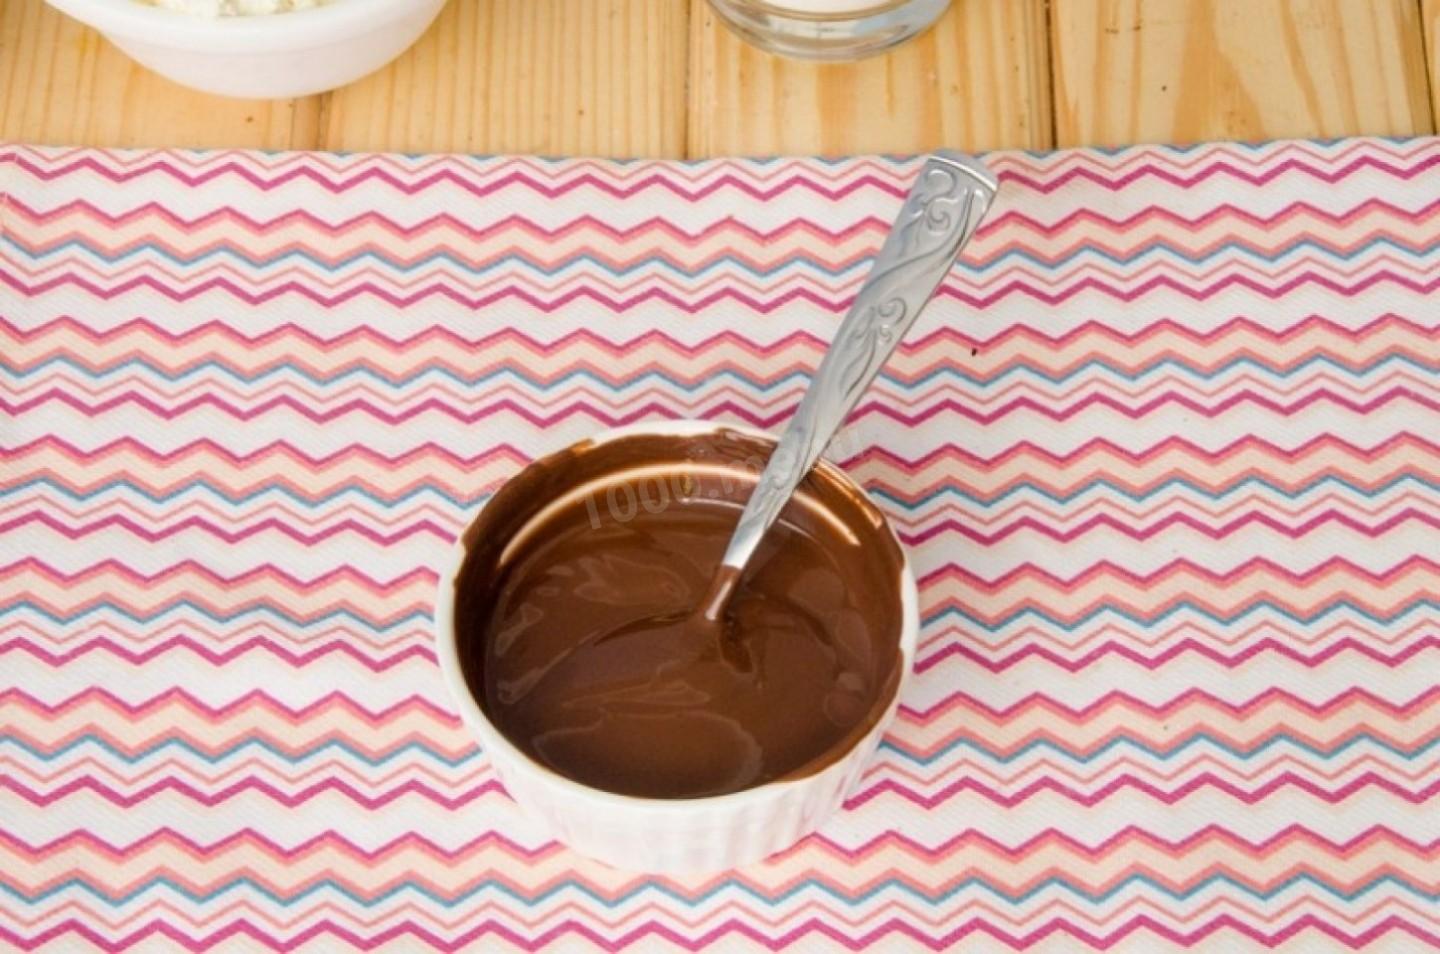
Step 17:
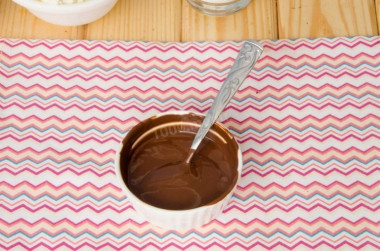
Break the chocolate into small pieces and melt it in the microwave or in a steam bath.
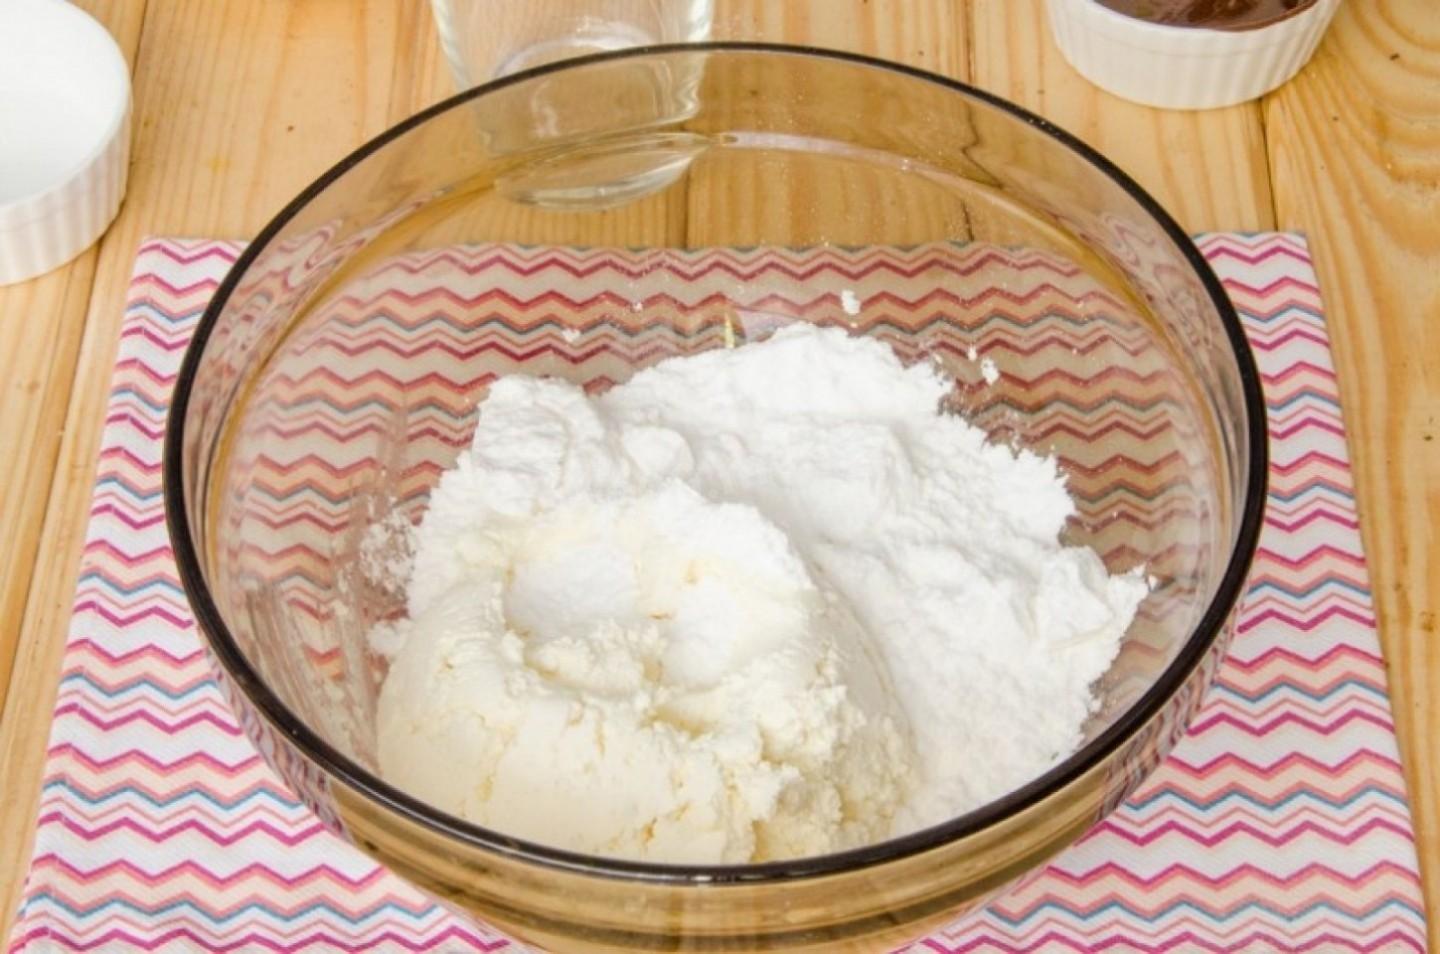
Step 18:

The fillers are ready, we will prepare the base. To do this, combine ricotta (or cream cheese, or very soft and tender cottage cheese) and powdered sugar in a bowl.
Step 19:
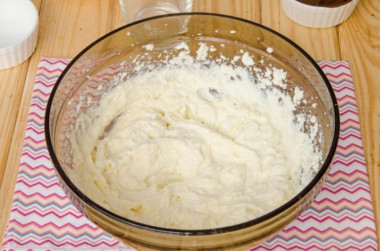
Beat with a mixer for 1-2 minutes so that the mass becomes lush.
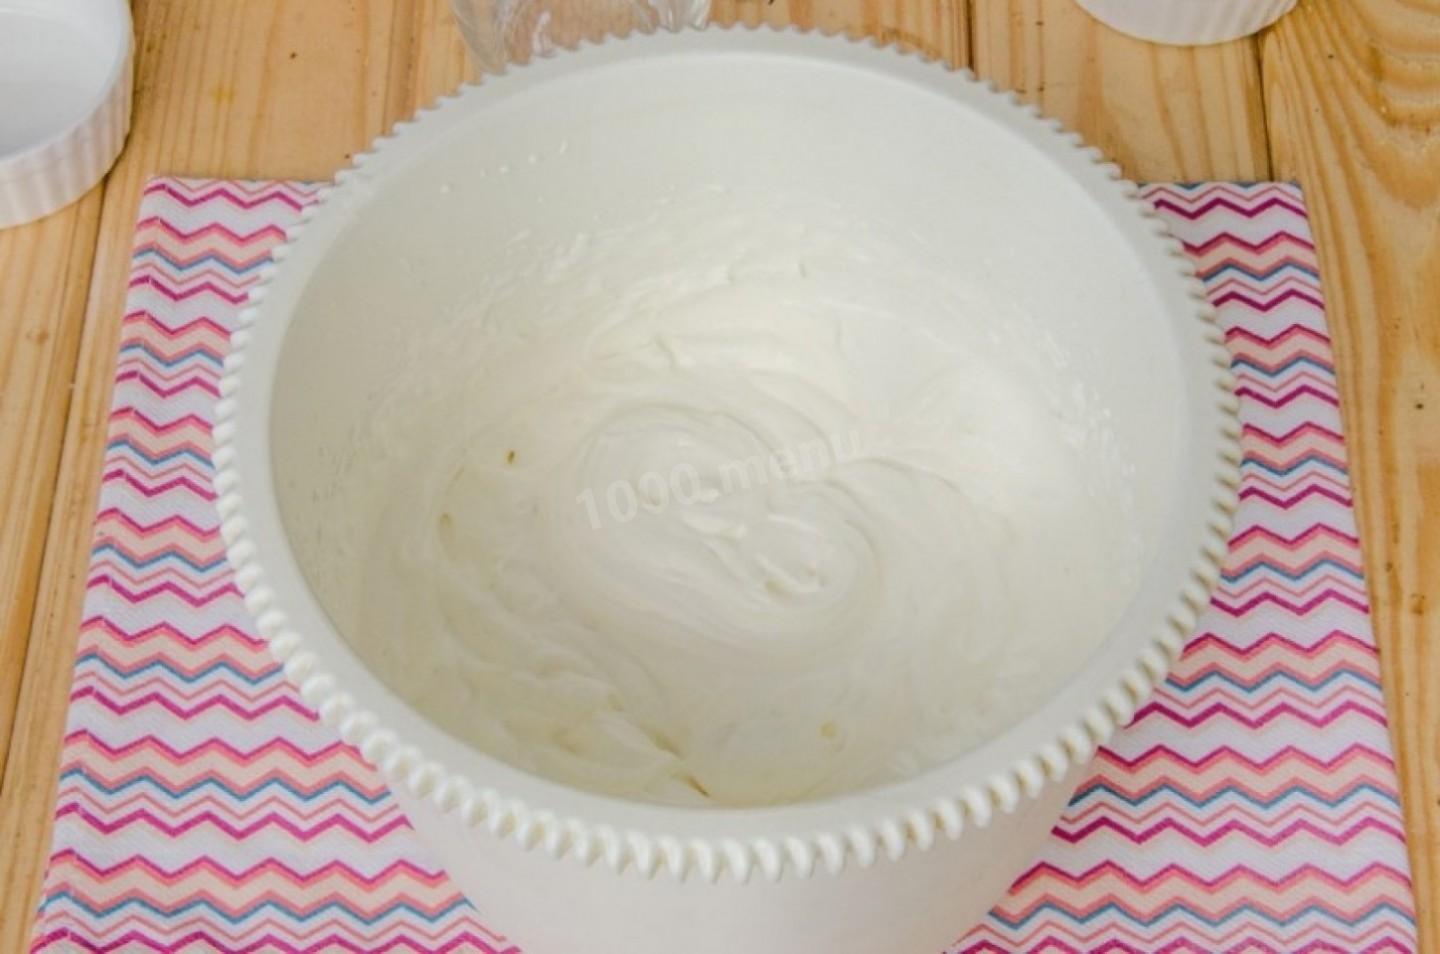
Step 20:
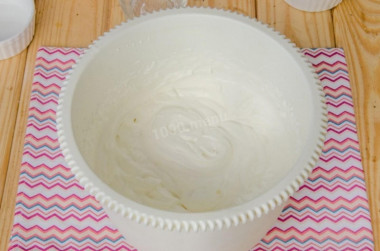
In a separate container, whisk the heavy cream to a dense foam. By the way, take the cream container as high as possible, since the cream splashes very much at first.
Step 21:
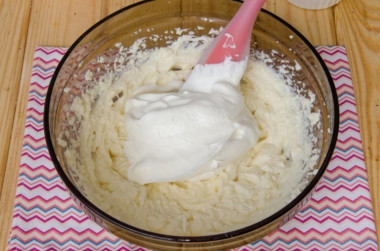
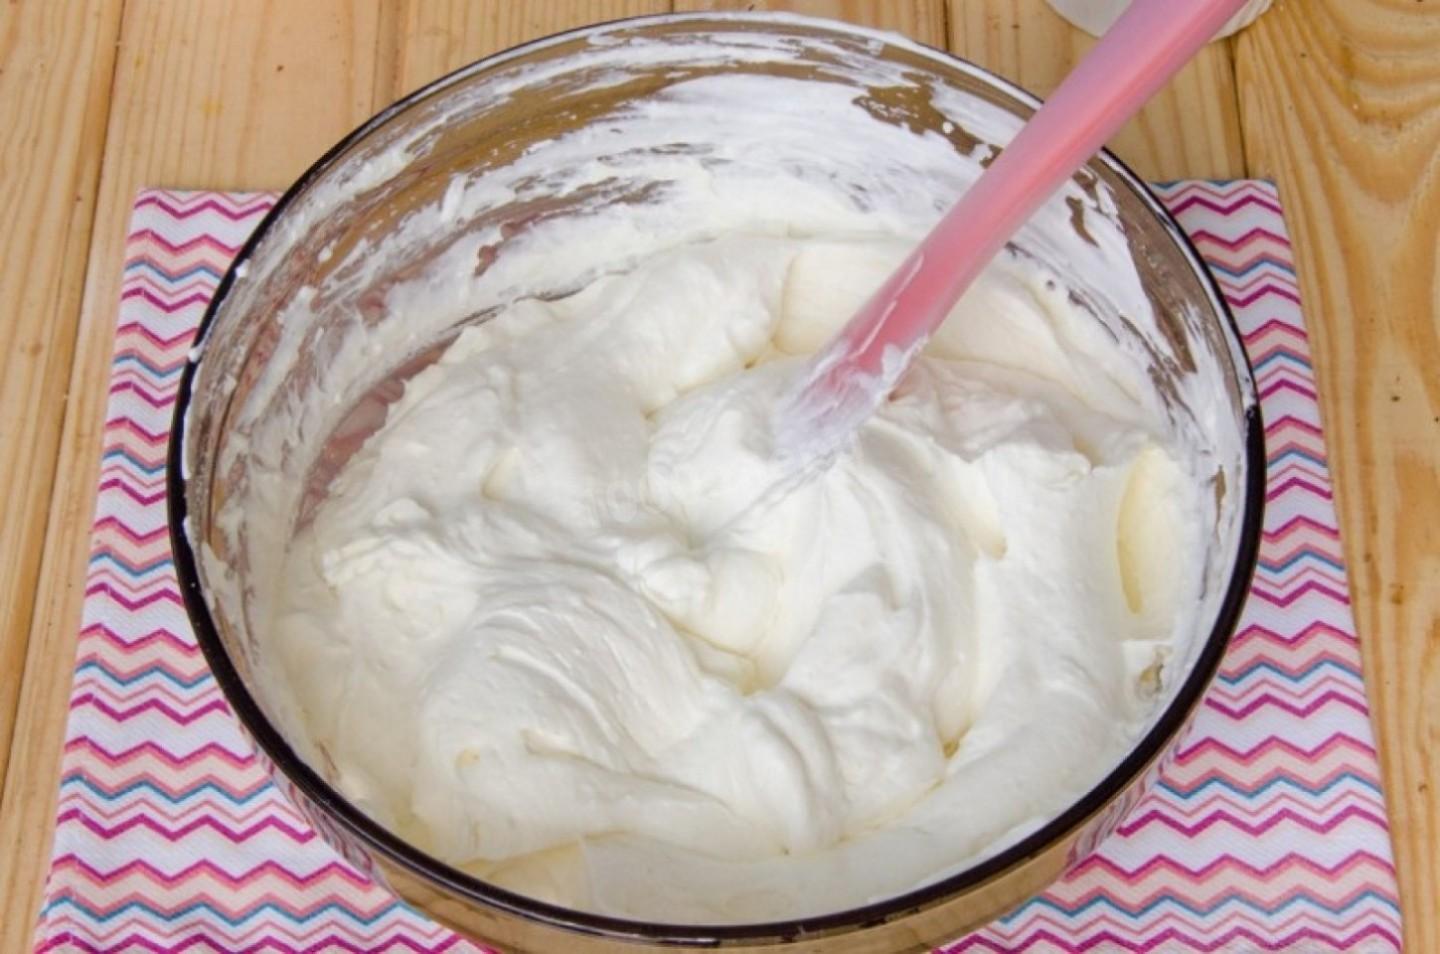
Whipped cream is mixed into the cheese mass.
Step 22:

We should get a very light and tender mass - this is our base for ice cream.
Step 23:
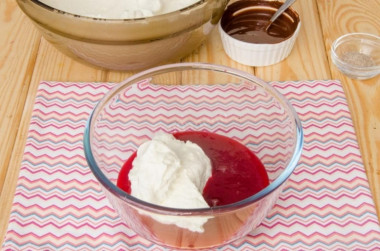
Now we are preparing raspberry ice cream. To do this, we introduce a third of the entire base for ice cream into the completely cooled raspberry puree. By the way, if desired, instead of raspberry, you can prepare any other fruit and berry ice cream, depending on your taste.
Step 24:
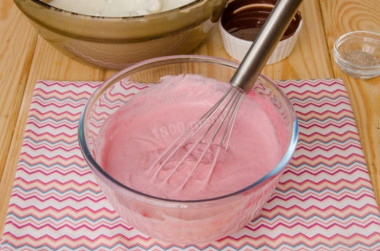
Mix the mass thoroughly with a whisk.
Step 25:

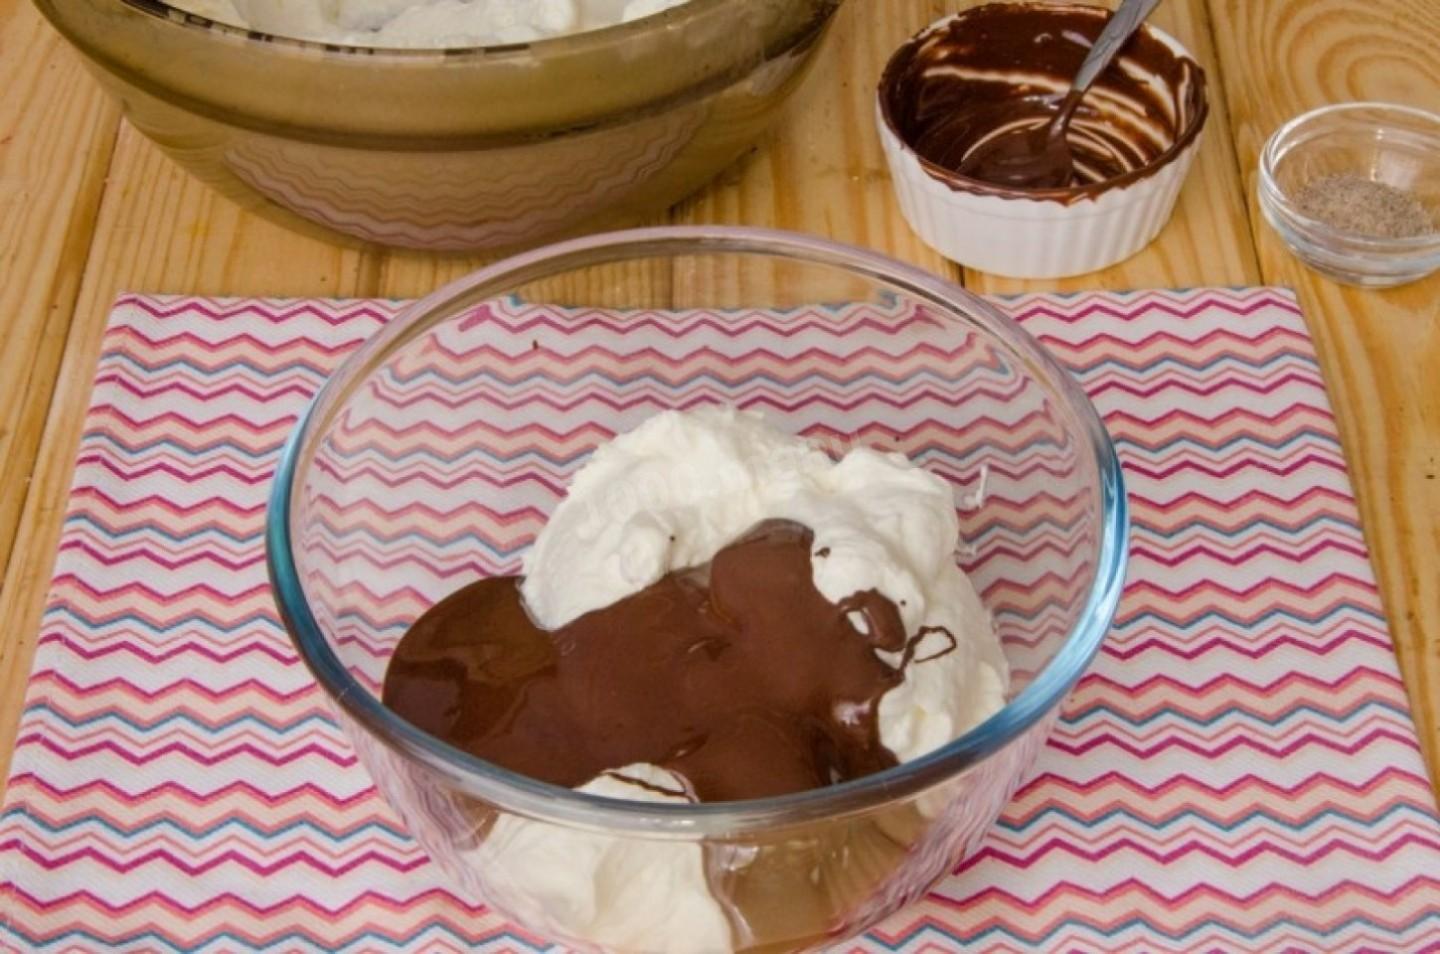
For chocolate ice cream, we introduce melted chocolate into the second third of the ice cream base.
Step 26:

Mix thoroughly - that's the chocolate ice cream is ready.
Step 27:
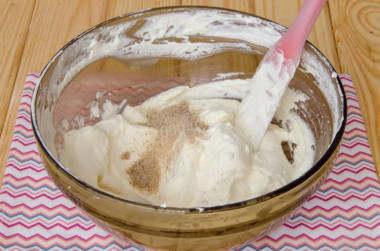
In the remaining base, we introduce vanilla sugar and mix, this will be our vanilla ice cream.
Step 28:

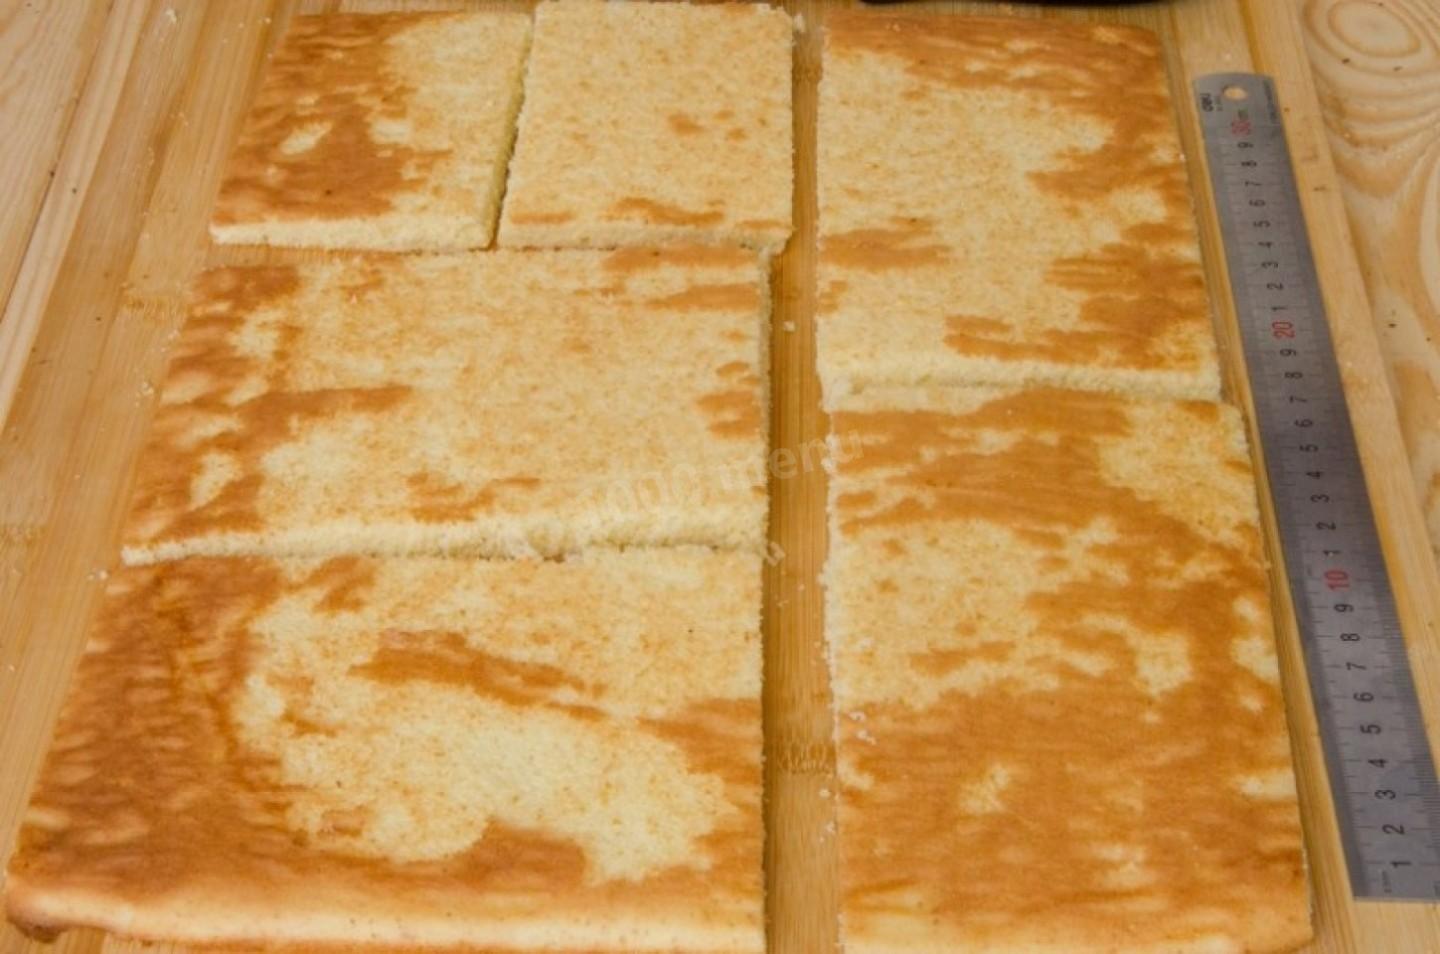
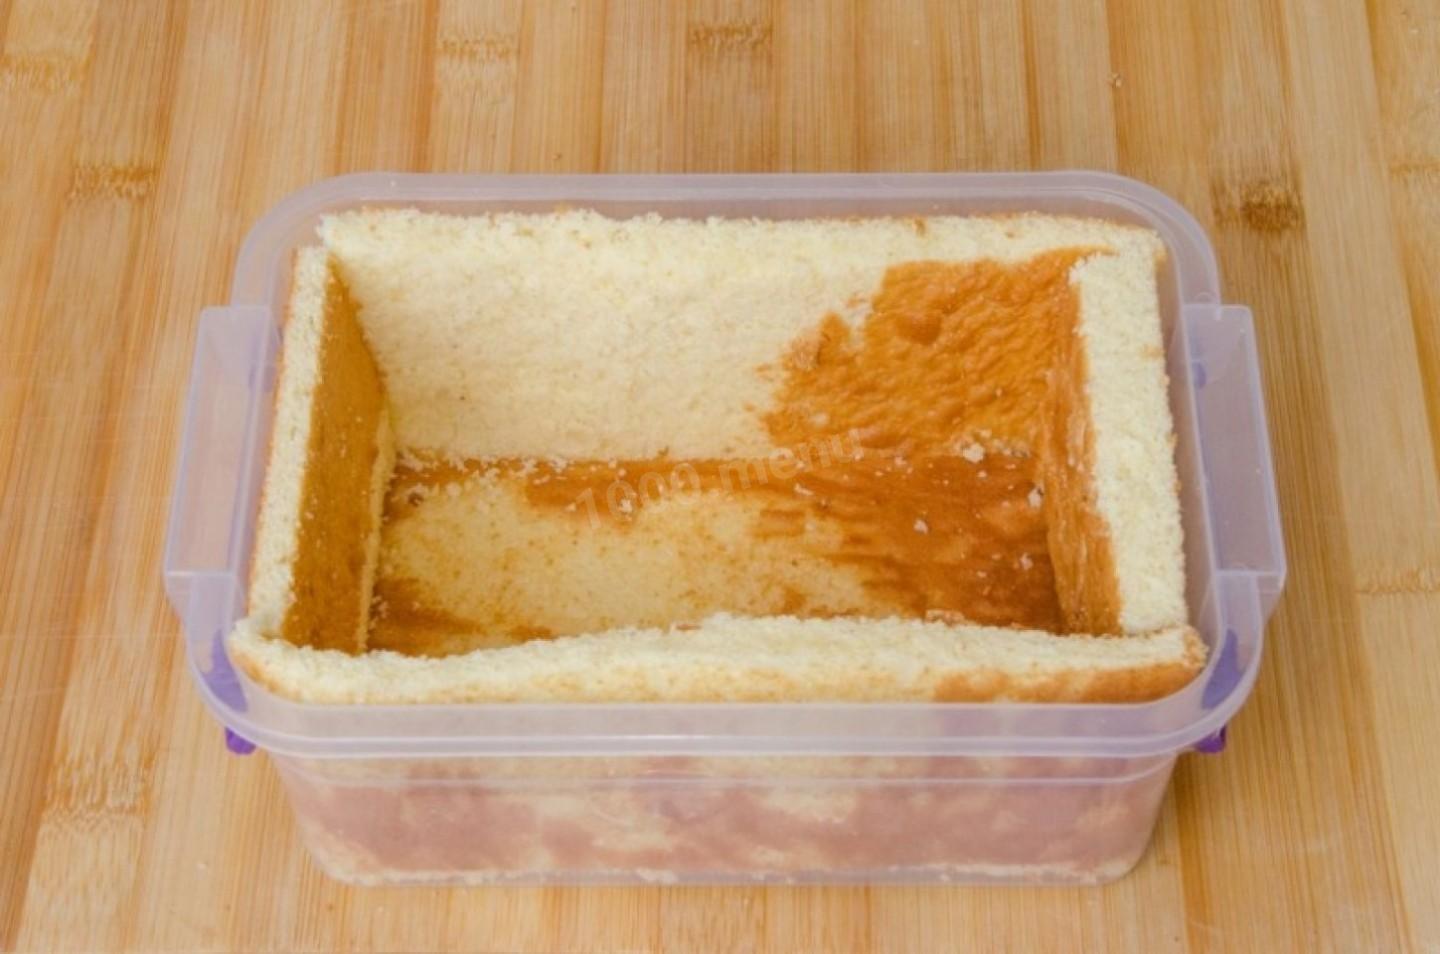
The biscuit has cooled down, the ice cream is ready, you can form a cake. I formed the cake in a plastic container measuring 11x17 cm and 7 cm deep, but you can take any other shape slightly larger or smaller. The cooled biscuit is cut into pieces, so that they can be overlaid with the mold from all sides. By the way, if desired, you can lay out only the bottom of the cake with a sponge cake, and set aside the cake naked from the sides, so act as it will be easier for you.
Step 29:
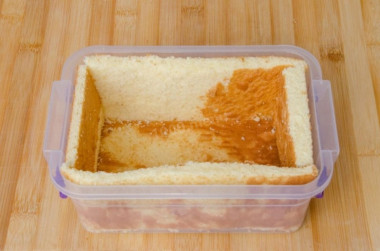
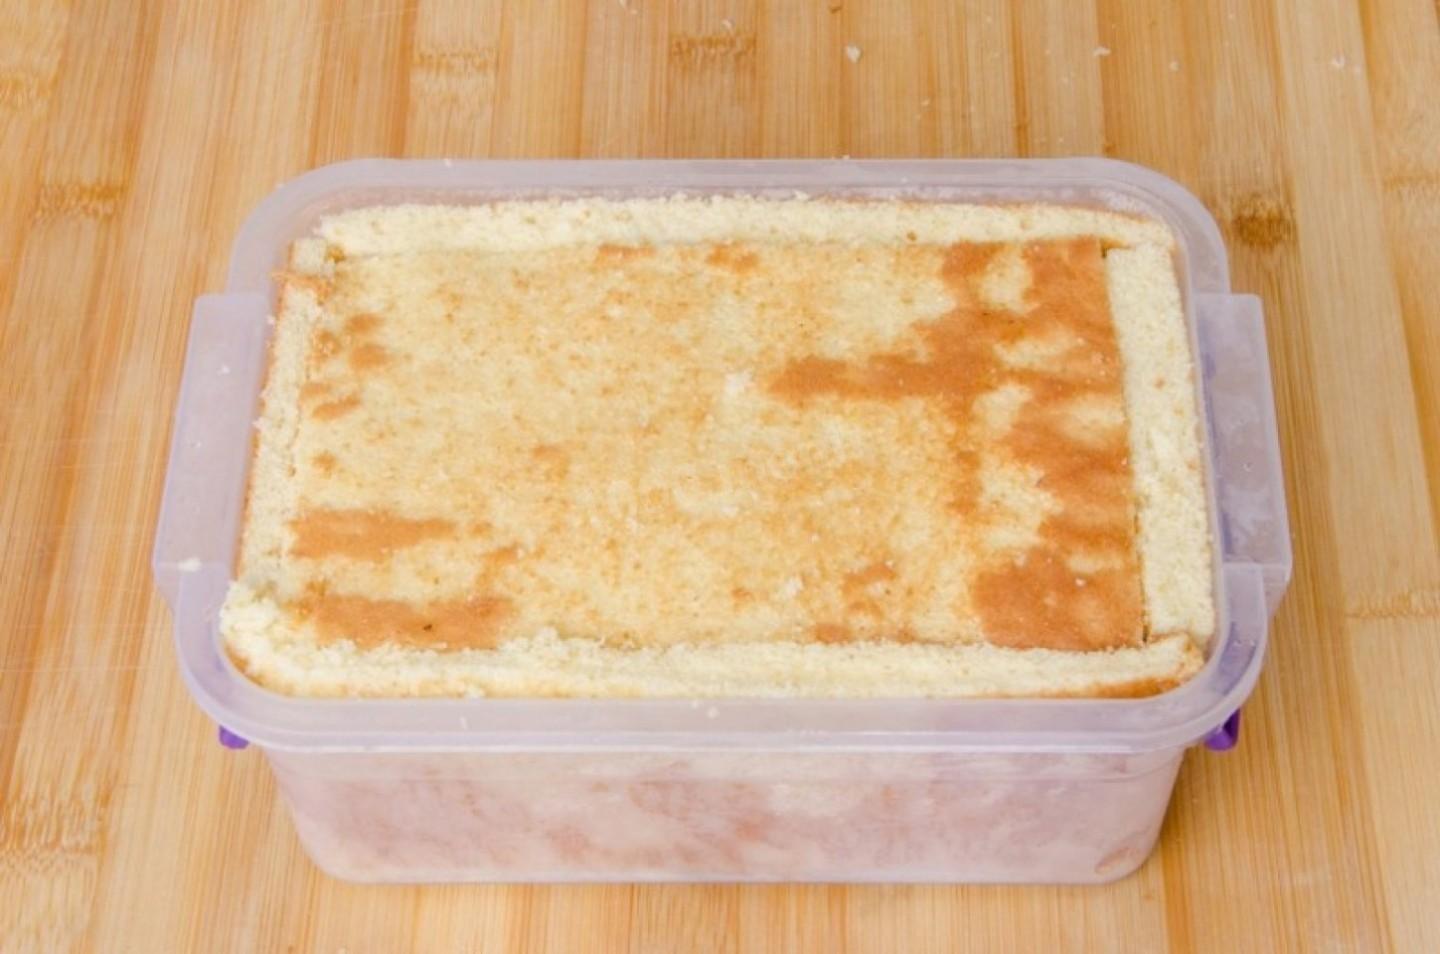
So, we spread the bottom and sides of the freezing mold with pieces of sponge cake. We should have one piece of sponge cake left, we will cover the layers of ice cream on top with it.
Step 30:

We fill the resulting biscuit basket with ice cream, lay it out in layers in any order. I put vanilla first, then raspberry and finally chocolate. To prevent the layers from mixing, before laying out the next layer, we send the cake to the freezer for about 1 hour so that the first layer of ice cream grabs, and then we lay out the next layer of ice cream.
Step 31:

After the last layer of ice cream has been laid out, we close the cake with the last piece of sponge cake - this will be the bottom of the cake. We close our cake mold with a lid or food wrap and send the cake to the freezer for 5-6 hours, or better for the whole night, so that the ice cream freezes thoroughly.
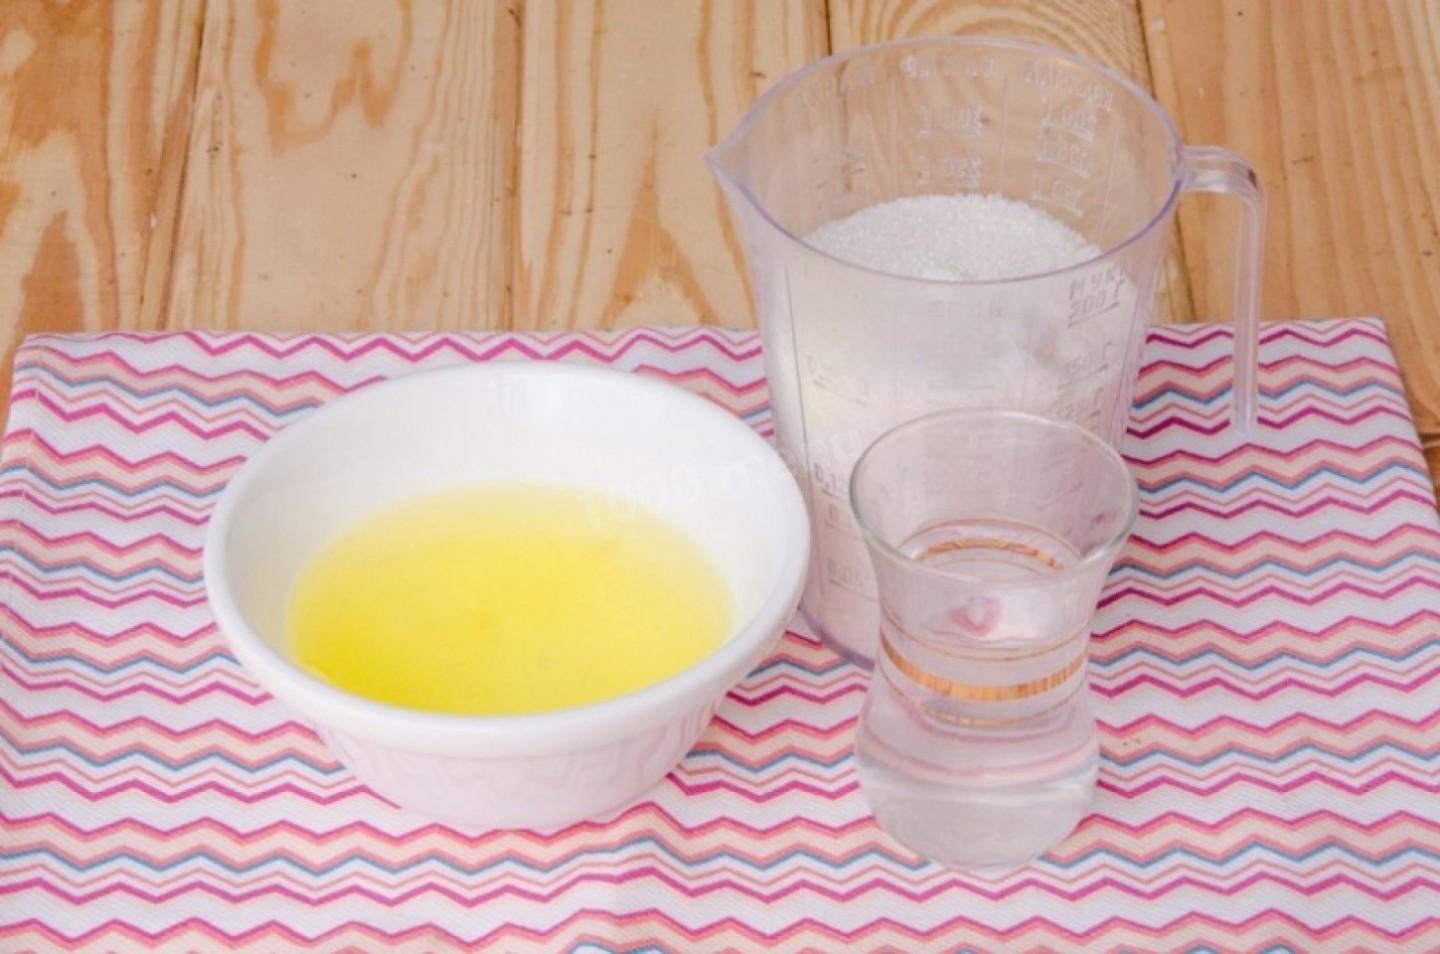
Step 32:

After our cake is well frozen, we will prepare meringue. The classic ratio for meringue cooked on syrup: for 1 part of proteins, take 2 parts of sugar and 0.5 parts of water. To make the meringue, I highly recommend observing these proportions and, if possible, weighing the proteins on the kitchen scales.
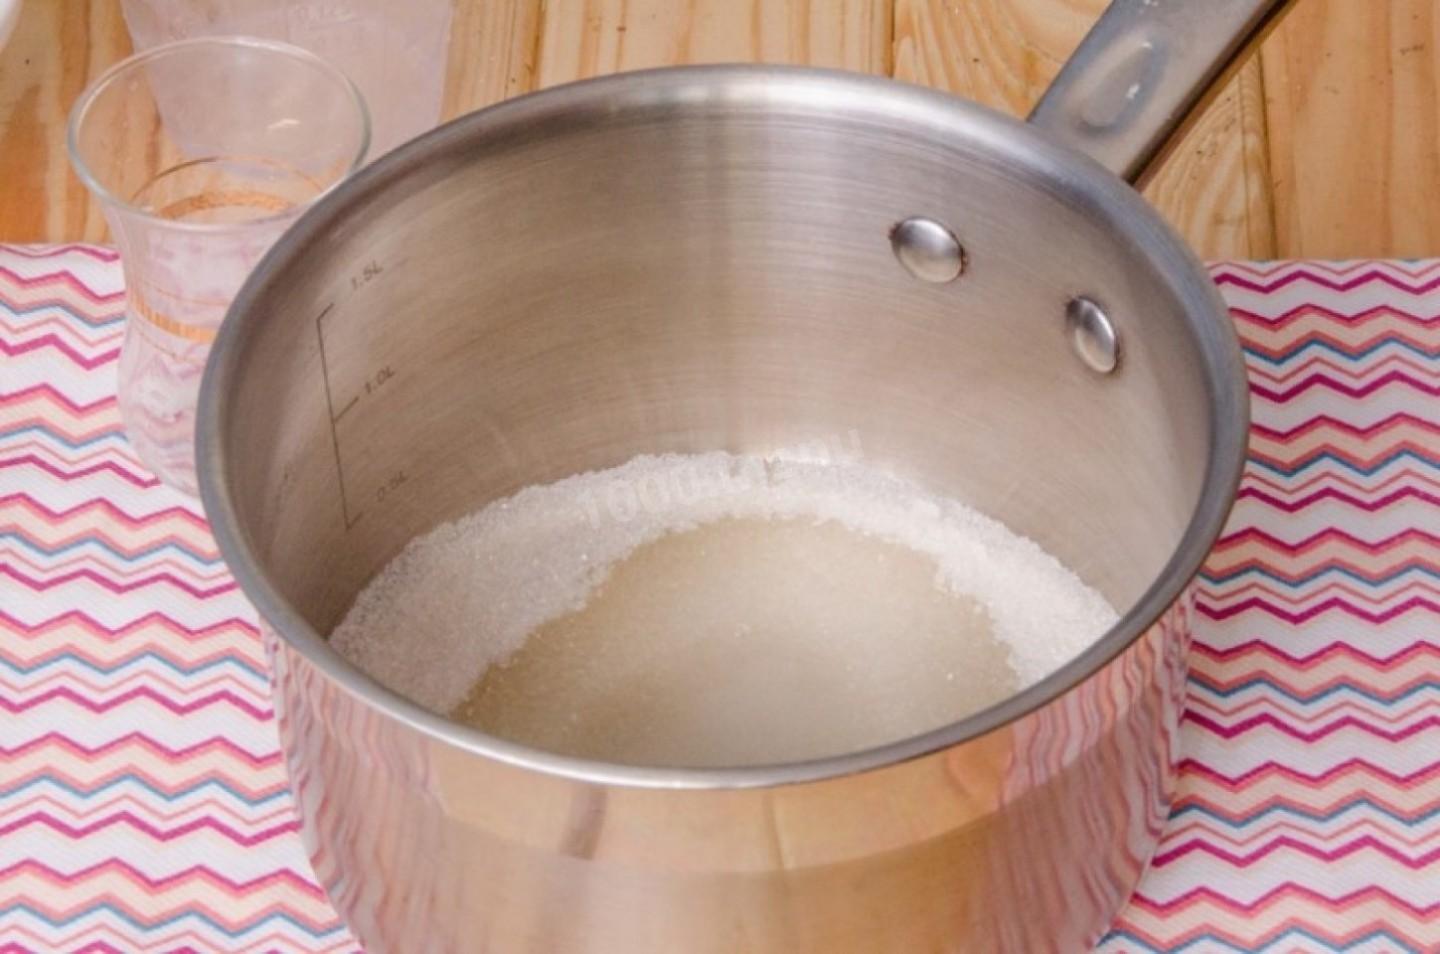
Step 33:

In a saucepan with a thick bottom, pour out the sugar and pour out the water.
Step 34:
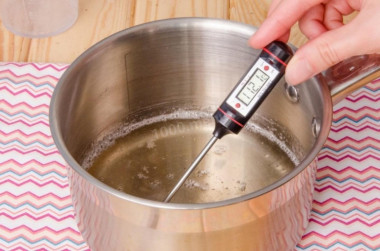
Put the saucepan on the fire, gently stirring, bring the syrup to a boil, after the syrup boils, stop stirring, otherwise the syrup may start to crystallize and cook it to a temperature of 117-118 degrees C, controlling the temperature with a thermometer. If suddenly there is no thermometer, then the syrup should be boiled over medium heat for about 5 minutes. To understand whether the syrup is ready, you can make a test for a soft ball. Prepare ice water in advance.
Step 35:
When 3-4 minutes have passed since the syrup was boiled, scoop up a little syrup with a spoon and dip the spoon into ice water. Now try to roll a soft ball out of the sugar mass. If it turns out, then the syrup is ready. If the syrup just dissolves, it means it's too early. If the sugar mass hardens in cold water, then the syrup is overcooked. While the syrup is being cooked, we begin to beat the proteins. First, beat them yourself to soft peaks.
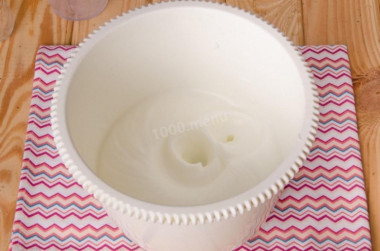
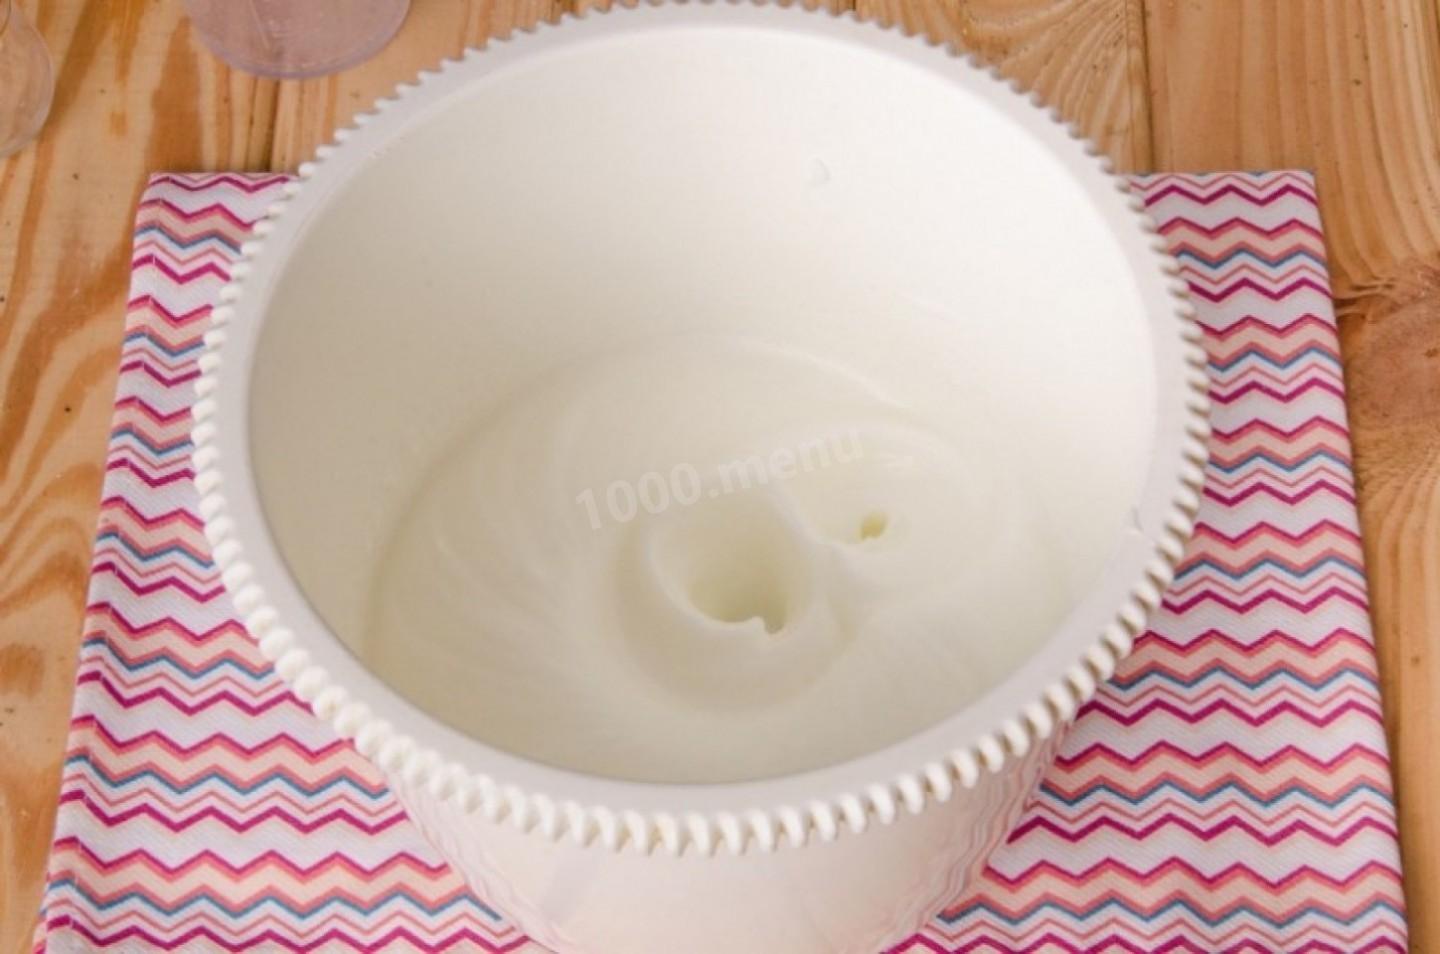
Step 36:

Remove the finished syrup from the heat and inject it into the proteins with a thin trickle, beating them at the maximum speed of the mixer. We continue to beat the whites until they cool down to room temperature. We should have a very dense and stable mass. Our meringue is ready.
Step 37:
We take our cake out of the freezer and put it on a baking sheet covered with baking paper.
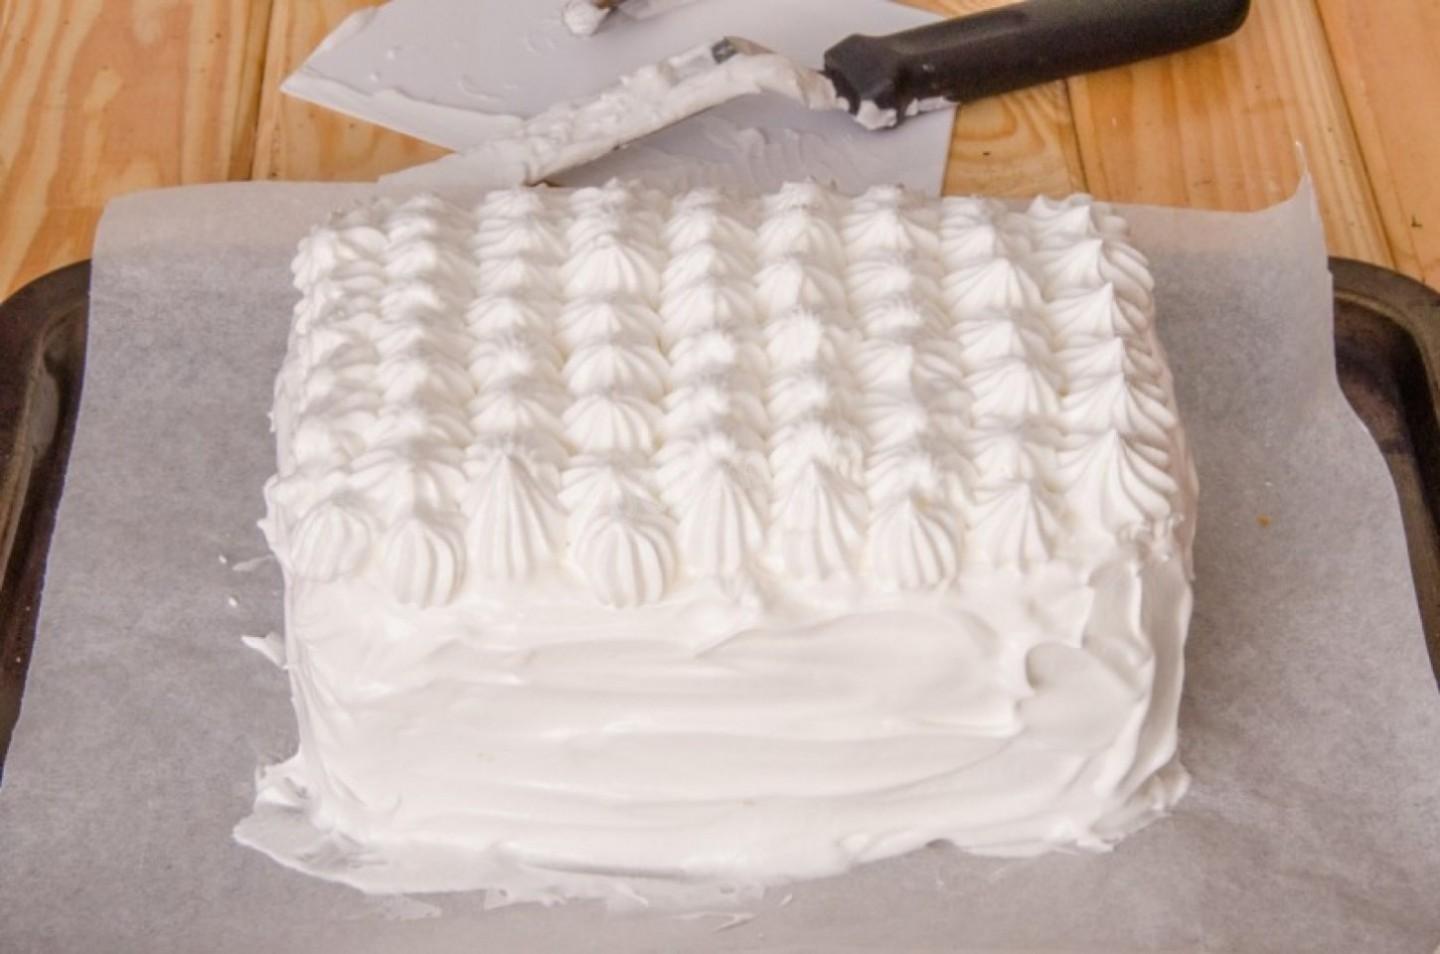
Step 38:
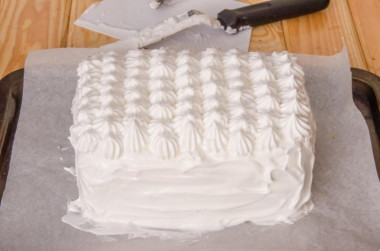
We apply a thick layer of meringue on the cake from all sides. While figuratively applying the meringue, turn on the oven to heat up to a temperature of 240-260 C.
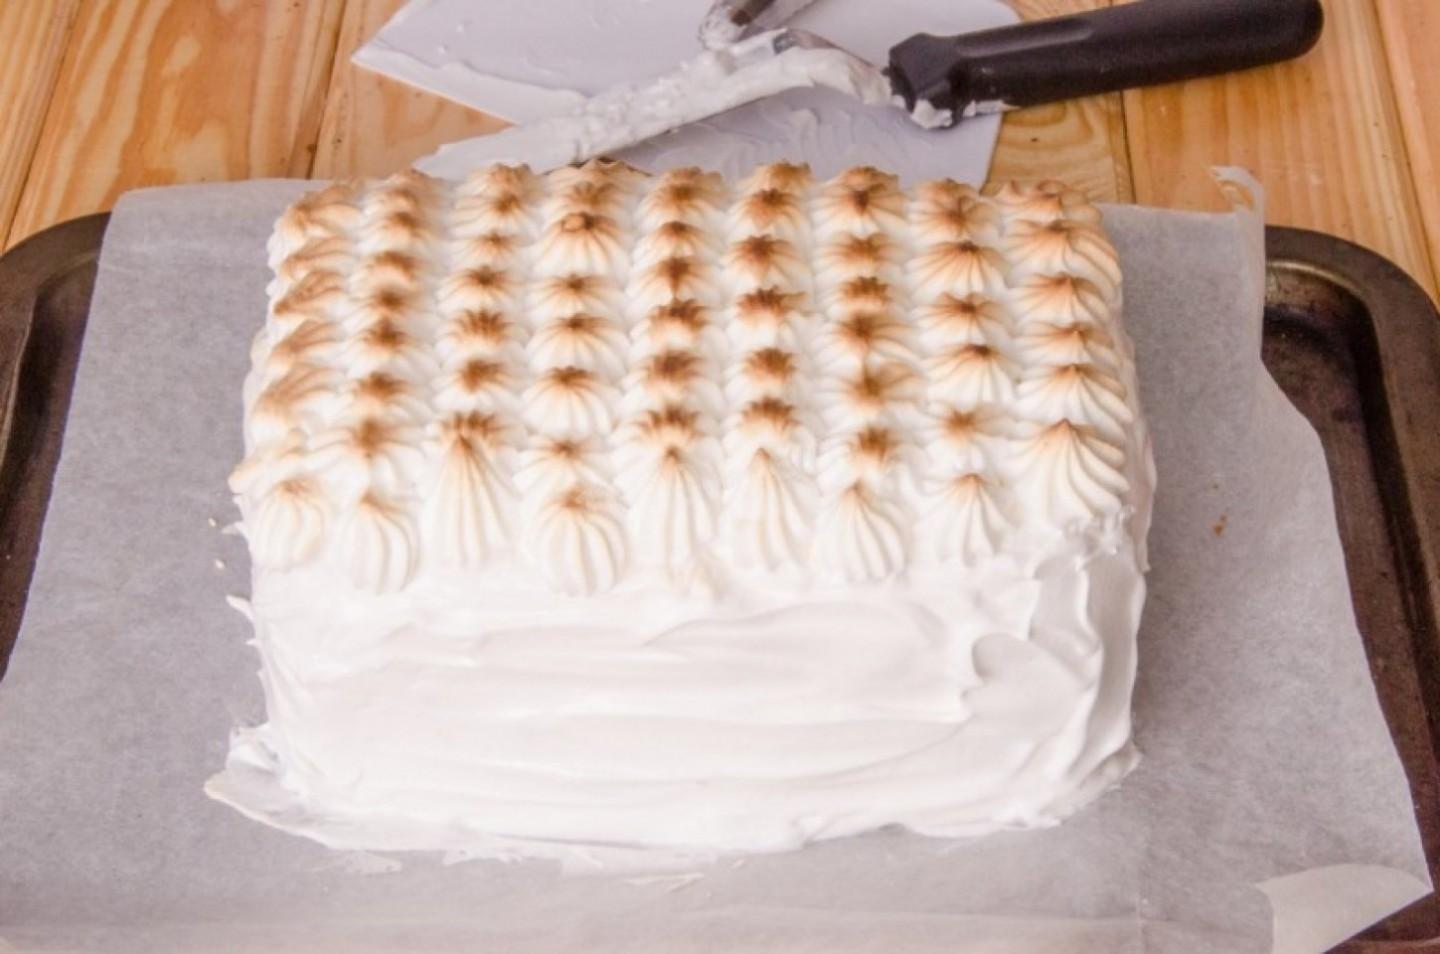
Step 39:
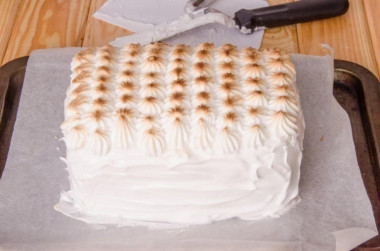
Put a baking sheet with a cake in a well-heated oven and brown the meringue for 1-2 minutes. Be careful the meringue blushes very quickly, so watch it so that it does not burn. The finished cake is carefully transferred to a dish and sent to the freezer.
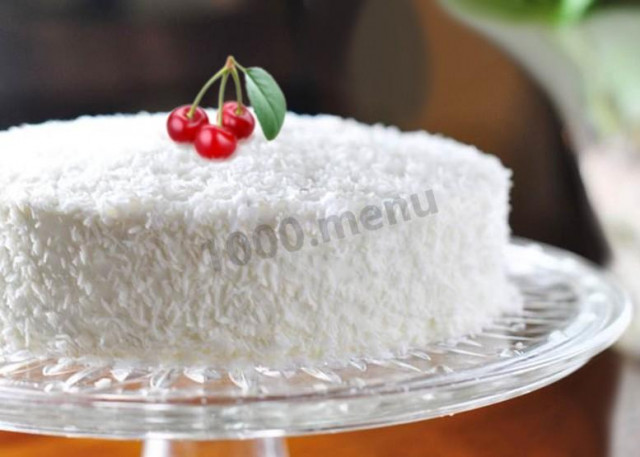
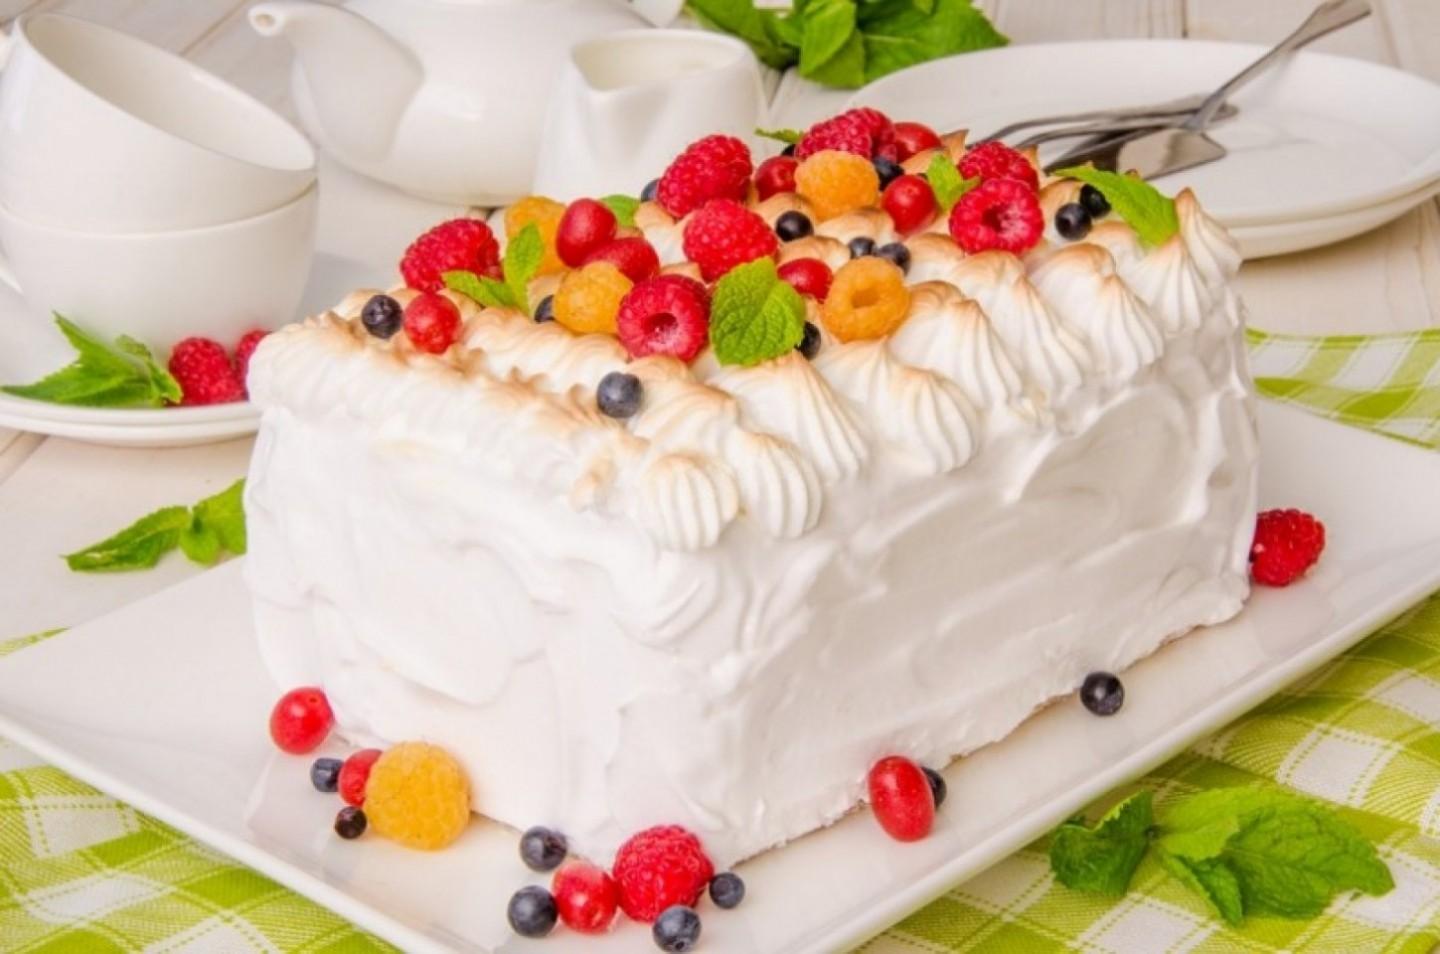
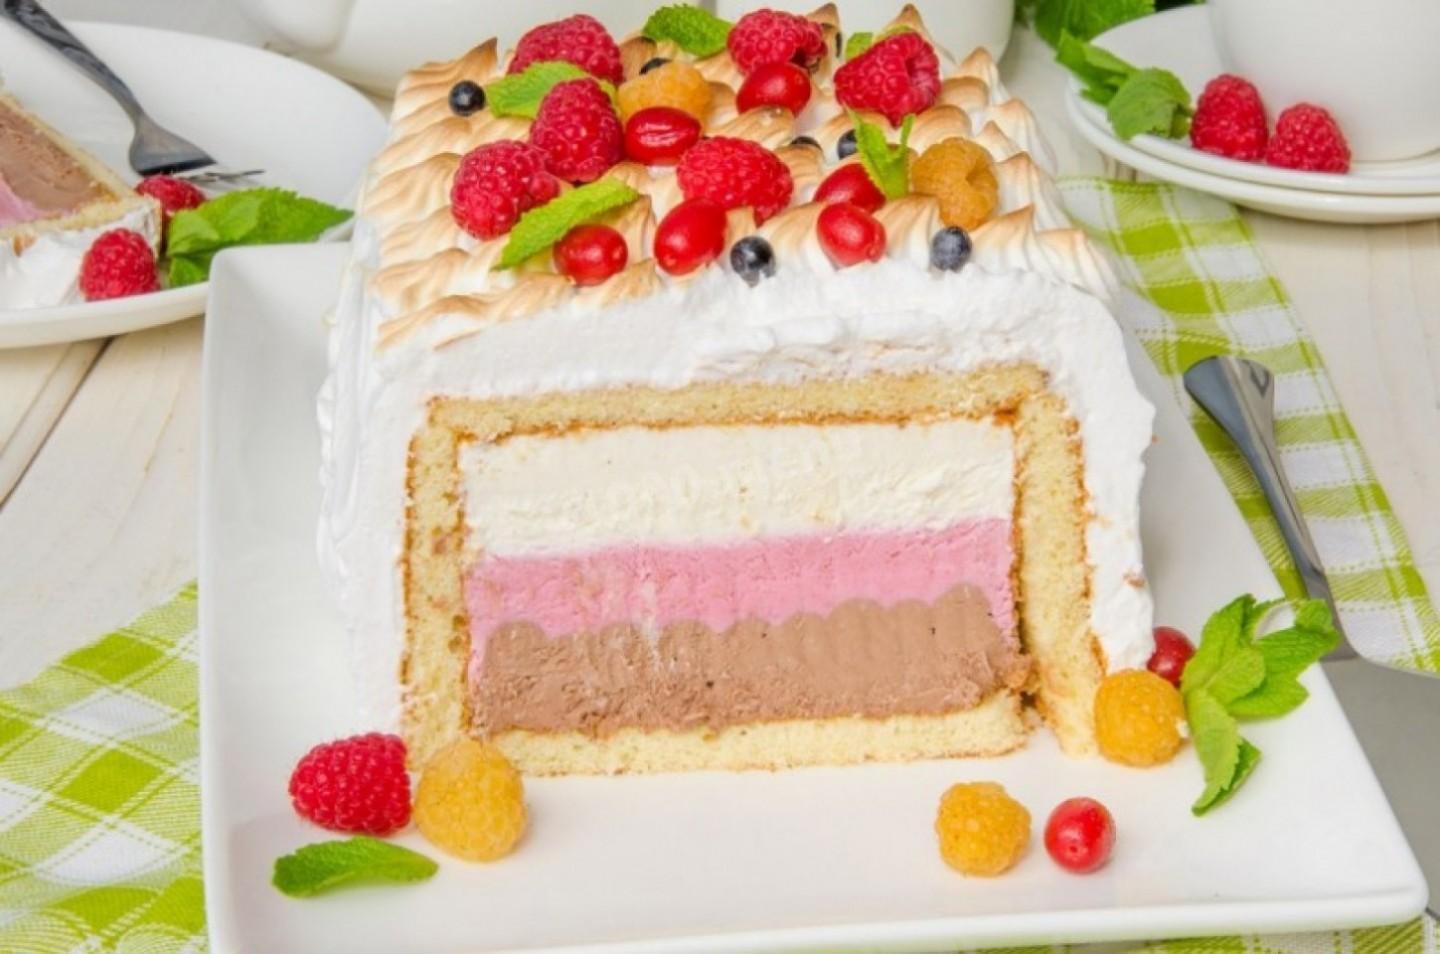
Step 40:

Our Alaska ice cream cake is ready. Before serving, if desired, decorate it with berries and mint leaves.
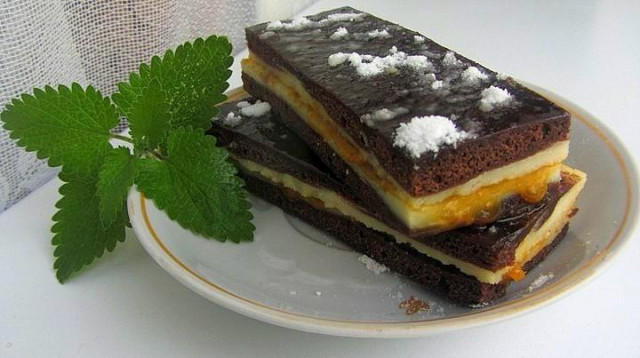
Step 41:

This is our cake obtained in the section. Enjoy your meal!


Be prepared for the fact that you may need more or less flour than indicated in the recipe. Focus not on the amount of flour, but on the desired consistency of the dough. To avoid mistakes, read about flour and its properties!
How to whip cream correctly? It is important that the cream is fat, at least 33%. The whipping dishes and the cream themselves should be cold, keep them in the refrigerator for at least 1-2 hours. Beat with a mixer at minimum speed, gradually increasing the speed. How do I know if the cream is whipped enough? The creamy mass should retain its shape and not spread. At this point, stop whipping. Otherwise, the cream will turn into butter.
Caloric content of the products possible in the composition of the dish
- Whole cow's milk - 68 kcal/100g
- Milk 3.5% fat content - 64 kcal/100g
- Milk 3.2% fat content - 60 kcal/100g
- Milk 1.5% fat content - 47 kcal/100g
- Concentrated milk 7.5% fat content - 140 kcal/100g
- Milk 2.5% fat content - 54 kcal/100g
- Chicken egg - 157 kcal/100g
- Egg white - 45 kcal/100g
- Egg powder - 542 kcal/100g
- Egg yolk - 352 kcal/100g
- Ostrich egg - 118 kcal/100g
- Milk-nut chocolate - 542 kcal/100g
- Nutty chocolate - 580 kcal/100g
- Porous milk chocolate - 506 kcal/100g
- Creamy chocolate - 560 kcal/100g
- Chocolate - 550 kcal/100g
- Raspberry - 42 kcal/100g
- Fresh frozen sweet raspberries - 50 kcal/100g
- Whole durum wheat flour fortified - 333 kcal/100g
- Whole durum wheat flour universal - 364 kcal/100g
- Flour krupchatka - 348 kcal/100g
- Flour - 325 kcal/100g
- Granulated sugar - 398 kcal/100g
- Sugar - 398 kcal/100g
- Vanilla - 288 kcal/100g
- Starch - 320 kcal/100g
- Butter 82% - 734 kcal/100g
- Amateur unsalted butter - 709 kcal/100g
- Unsalted peasant butter - 661 kcal/100g
- Peasant salted butter - 652 kcal/100g
- Melted butter - 869 kcal/100g
- Water - 0 kcal/100g
- Cream 35% - 337 kcal/100g
- Cream 40% - 362 kcal/100g
- Baking powder - 79 kcal/100g
- Powdered sugar - 374 kcal/100g
- Egg whites - 44 kcal/100g
- Ricotta - 174 kcal/100g