


Composition / ingredients
Step-by-step cooking
Step 1:

How to make an Easter cake with raisins in a bread maker? Prepare the products. Butter should be of high quality, corresponding to GOST. Take it out of the refrigerator in advance so that it becomes soft. Choose fast-acting yeast, such as those that are immediately mixed with flour, without prior activation. All products must be at room temperature.
Step 2:
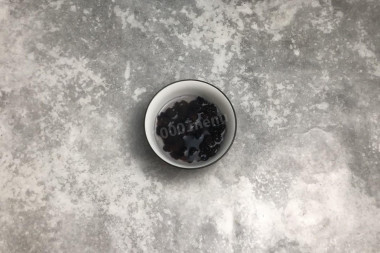
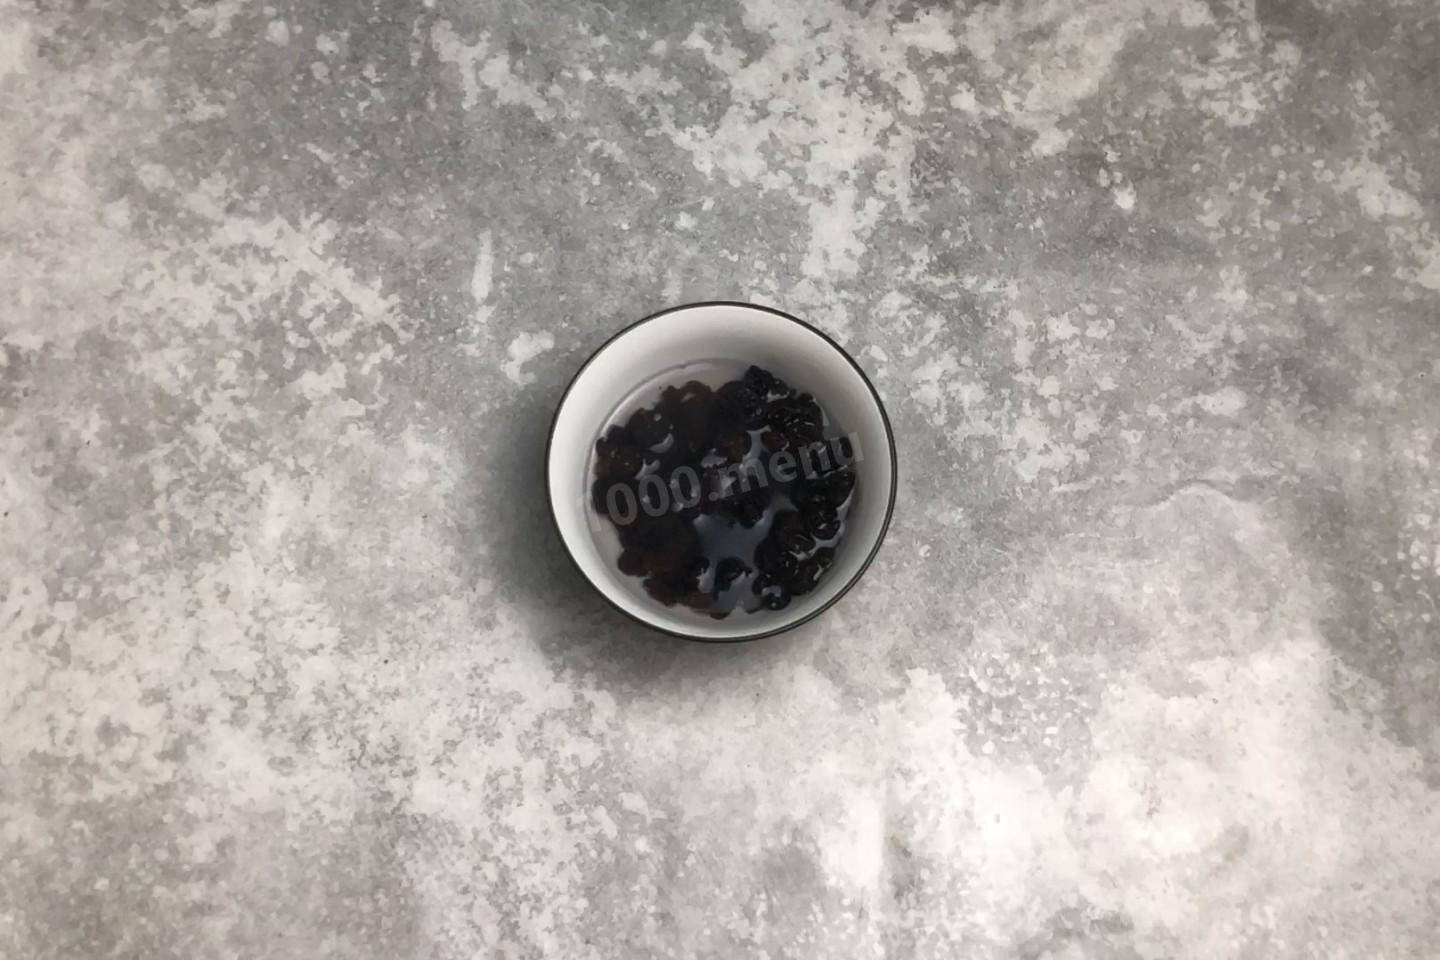
Pour boiling water over the raisins for 10 minutes. Heat the milk to a warm state, about 38 ° C, it should become exactly warm, not hot — hot milk will kill the yeast living organism.
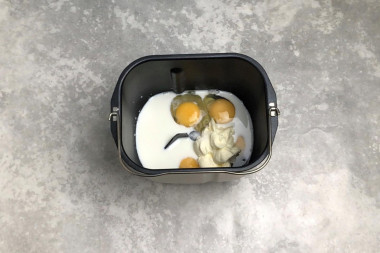
Step 3:
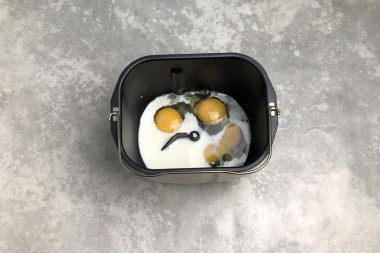
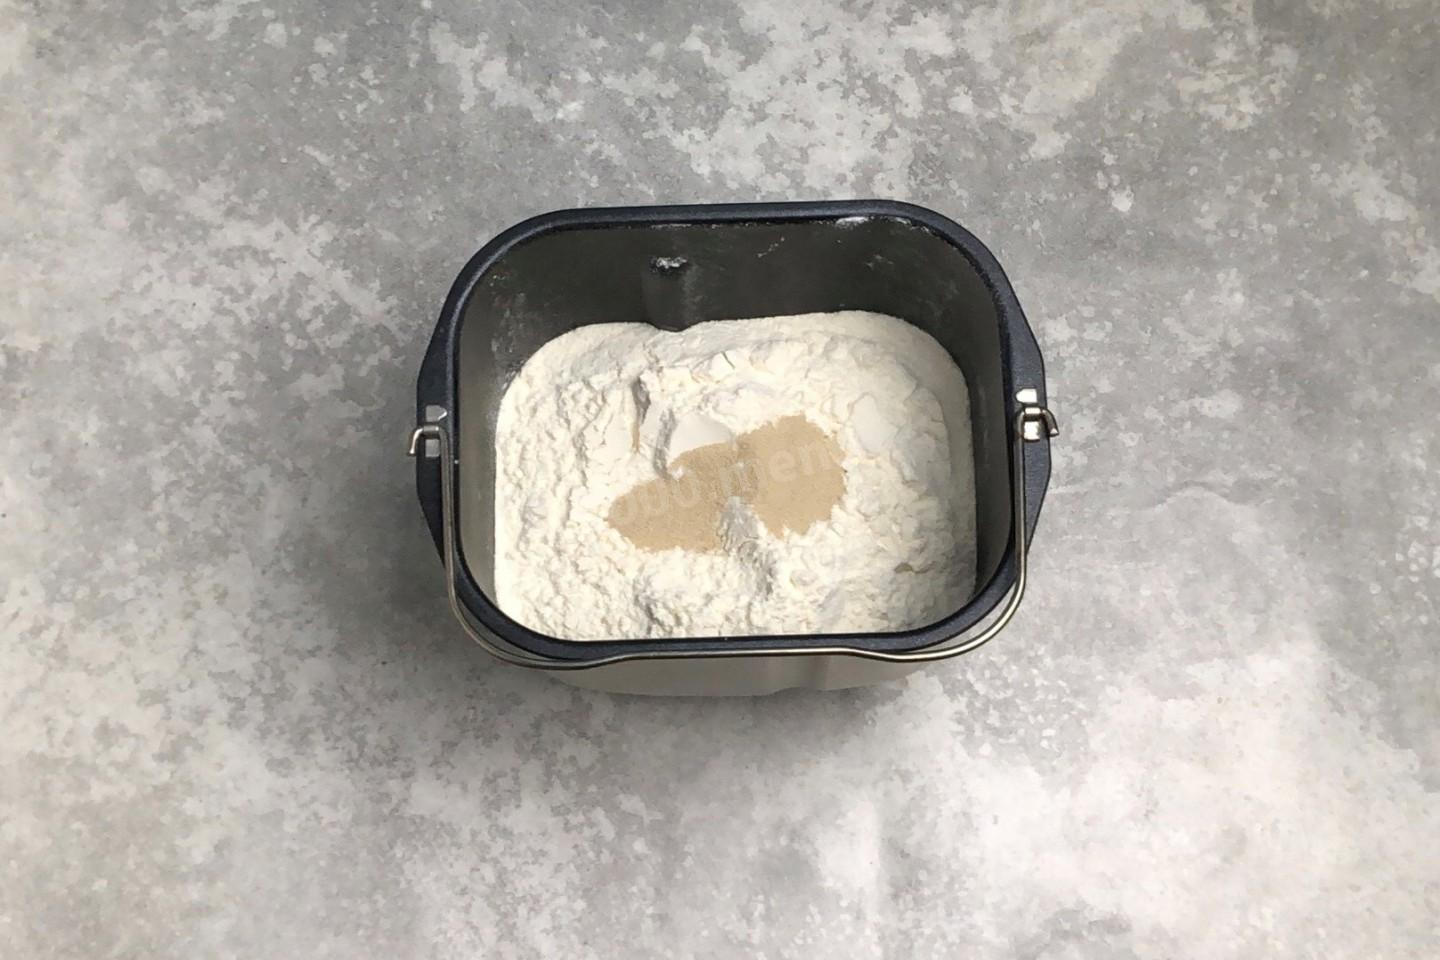
Take the bread maker bucket, install the stirrer blade. In my model, the products for the dough are laid in the following way — liquid ingredients go first, then dry ingredients are filled in. In other models, the order of bookmarks may differ, see the instructions for your bread maker. Pour warm milk into a bucket, break the eggs.
Step 4:
Put soft butter. Add sugar, salt and vanilla.
Step 5:
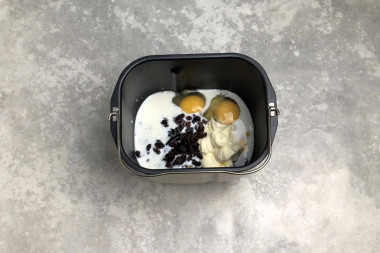
Put the steamed raisins on a sieve and rinse under running water, then put it on a paper towel. Dry the raisins and put them in a bucket.
Step 6:
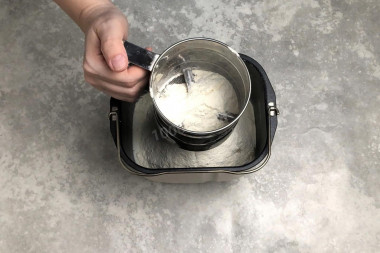
Sift the flour, I do it directly over the bucket, you can sift the flour first over the bowl.
Step 7:
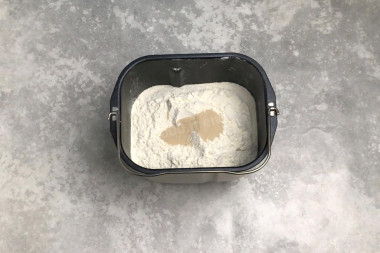
Pour yeast on top. Install the bucket in the bread maker. Choose the program "French bread or bread", depending on the model. The weight is 500 grams, I always put a light crust, my bread maker strongly roasts any pastry. You look at your model, you can make a medium-rare crust.
Step 8:

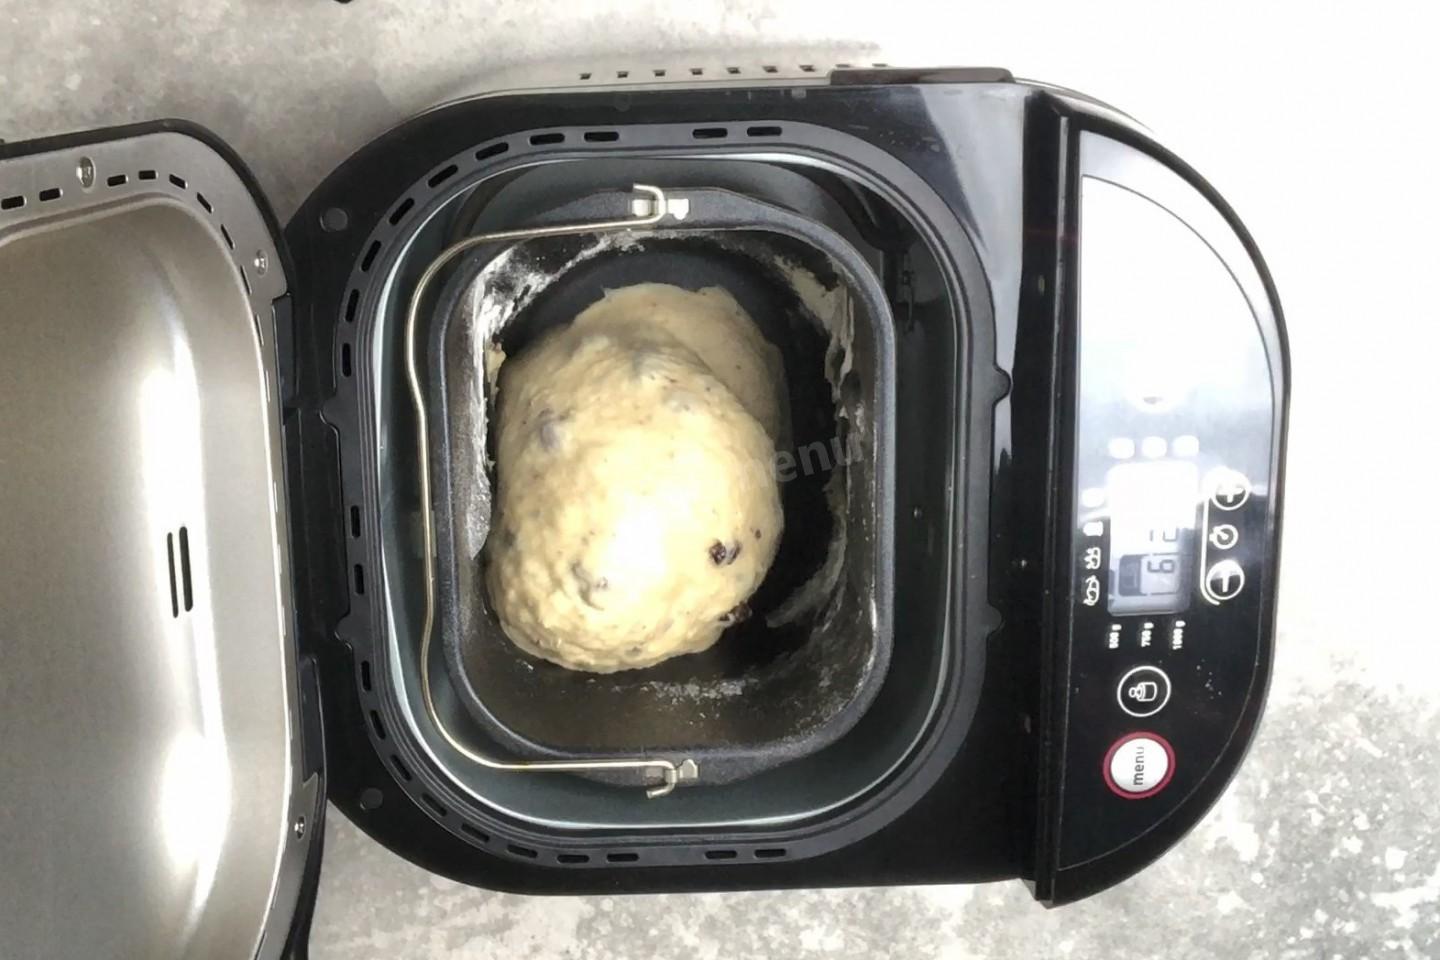
Turn on the program. First comes the kneading of the dough. I always help with a spatula, scraping the flour off the walls, and look at the consistency of the dough. Mine this time was very liquid, I poured about 4 more spoons of flour. The correct dough should gather into a lump and completely move away from the walls. When the dough reaches such a condition, close the lid and do not open any more — the dough will begin to rise.
Step 9:
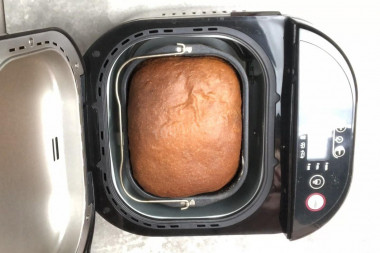
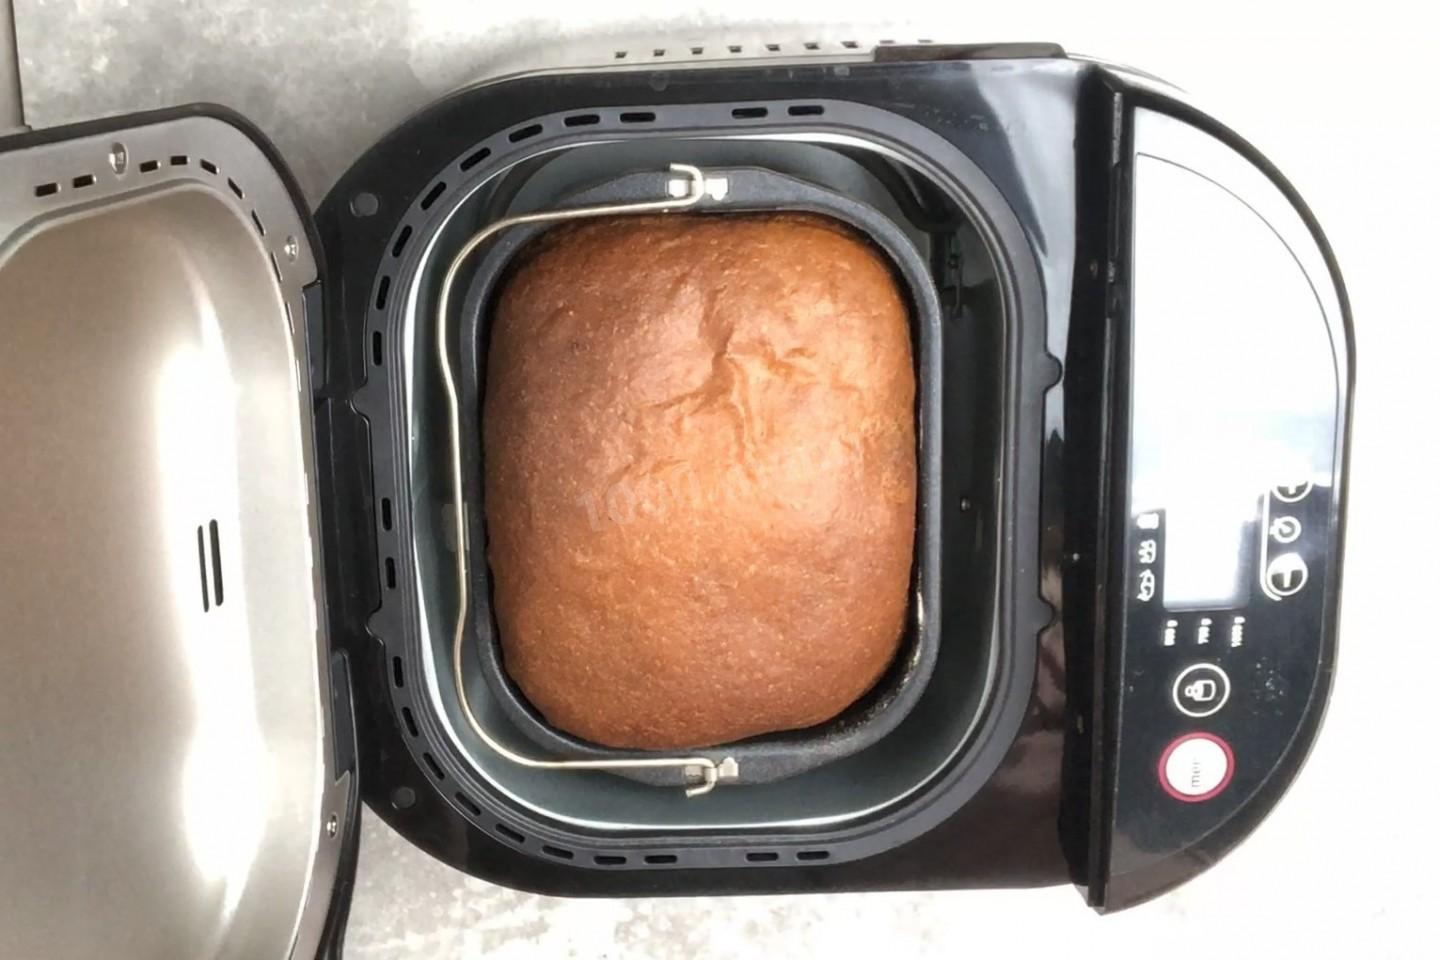
My program lasted about 3 hours, the cake grew very much, almost to the lid. After the end signal, open the lid and leave for 10 minutes. Then take out the bucket and shake the cake out of it. Please note, with the correct consistency of the dough, the blade should remain in the bucket, and not get stuck in the product.
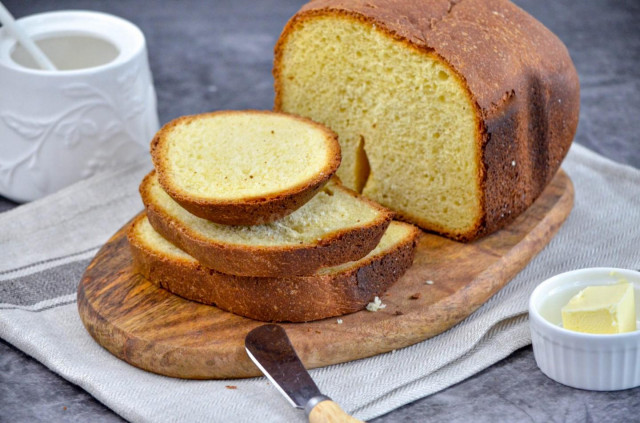
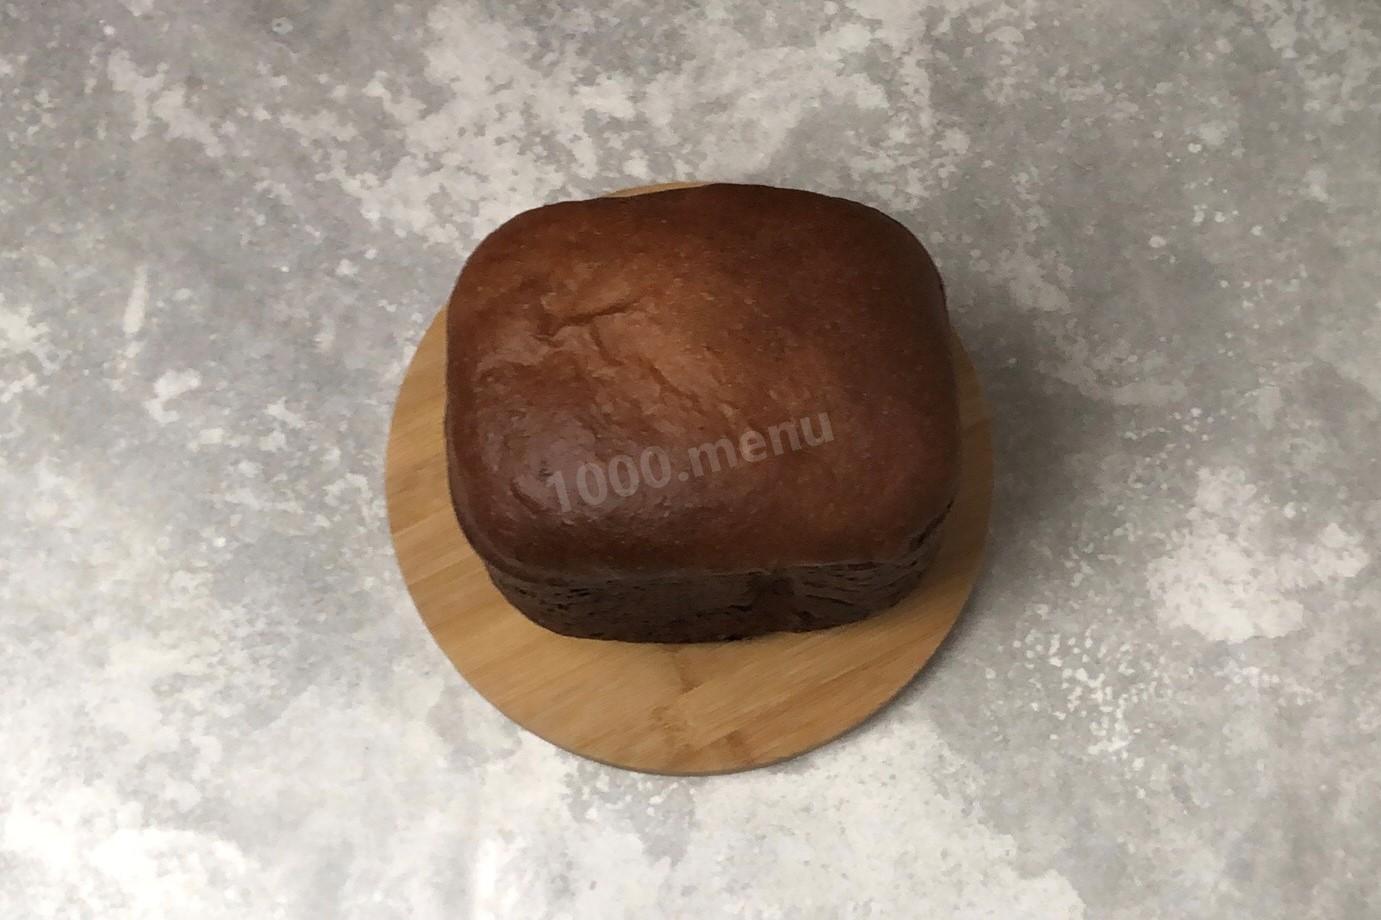
Step 10:
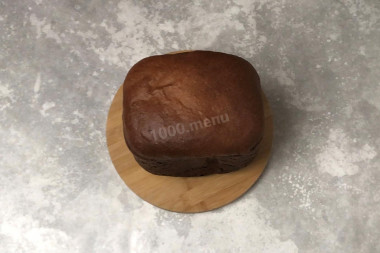
My cake, as always, was slightly tanned, but this did not affect the taste in any way. Cool the cake and decorate to your liking. I made a glaze of protein and powder. Enjoy your meal!


Be sure to wash the eggs before use, as even the seemingly clean shell may contain harmful bacteria. It is best to use food detergents and a brush.
Be prepared for the fact that flour may need more or less than indicated in the recipe. Focus not on the amount of flour, but on the desired consistency of the dough. To avoid mistakes, read about flour and its properties!
Important! Using dry yeast, it should be borne in mind that they occur in two forms: active and instant (read the instructions carefully before use!).
Active dry yeast looks like beads or small balls. Before applying them, they must be brought out of the "sleep mode". To do this, the active yeast is diluted in warm sweet water, milk or whey. The formed bubbles, foam or "cap" indicate that the yeast is ready for further use. Active dry yeast must be brought to complete dissolution in the liquid, otherwise, due to the remaining grains, the dough may not rise and the baking will be spoiled (yeast grains that have not dissolved in the liquid and got into the dough will not disperse on their own, which means they will not work).
Instant dry yeast is easier to use. They do not need to be activated before use. Such yeast, along with other ingredients, is simply added to the dough. As a result, the baking time is reduced.
It should also be remembered that both types of dry yeast may differ in their activity from different manufacturers.
Caloric content of the products possible in the composition of the dish
- Whole cow's milk - 68 kcal/100g
- Milk 3.5% fat content - 64 kcal/100g
- Milk 3.2% fat content - 60 kcal/100g
- Milk 1.5% fat content - 47 kcal/100g
- Concentrated milk 7.5% fat content - 140 kcal/100g
- Milk 2.5% fat content - 54 kcal/100g
- Chicken egg - 157 kcal/100g
- Egg white - 45 kcal/100g
- Egg powder - 542 kcal/100g
- Egg yolk - 352 kcal/100g
- Ostrich egg - 118 kcal/100g
- Granulated sugar - 398 kcal/100g
- Sugar - 398 kcal/100g
- Butter 82% - 734 kcal/100g
- Amateur unsalted butter - 709 kcal/100g
- Unsalted peasant butter - 661 kcal/100g
- Peasant salted butter - 652 kcal/100g
- Melted butter - 869 kcal/100g
- Raisins - 280 kcal/100g
- Kishmish - 279 kcal/100g
- Salt - 0 kcal/100g
- Wheat flour - 325 kcal/100g
- Vanillin - 288 kcal/100g
- Dry yeast - 410 kcal/100g