


Composition / ingredients
Step-by-step cooking
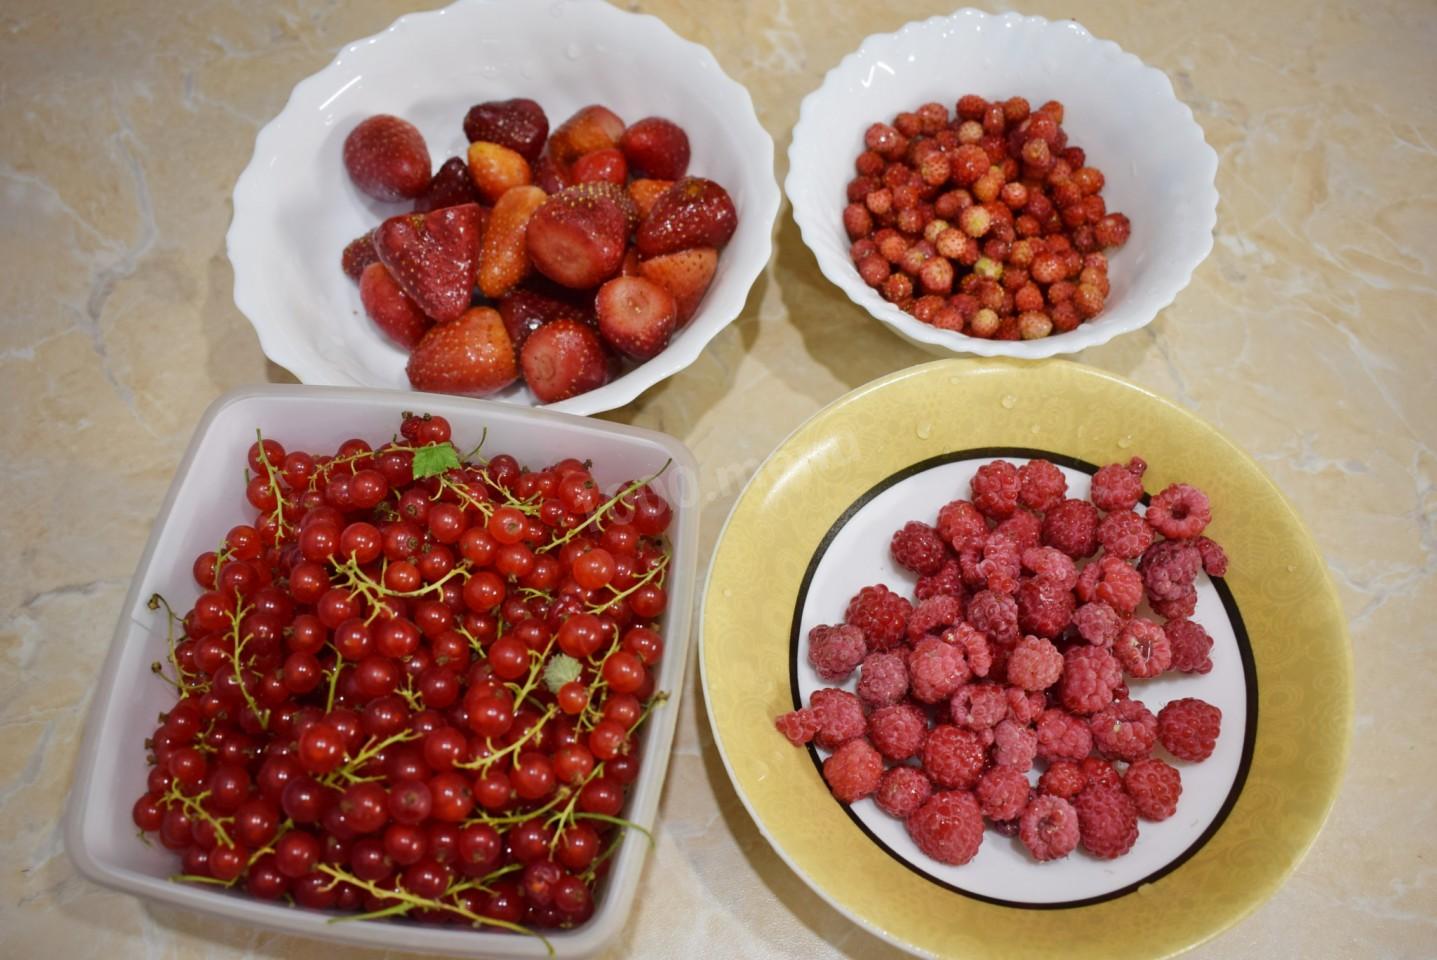
Step 1:

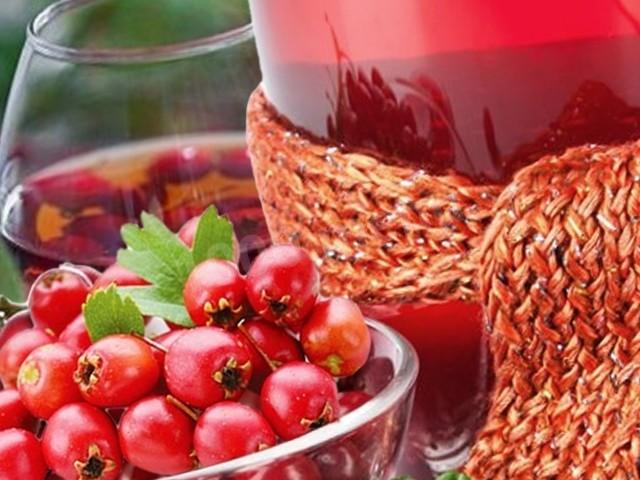
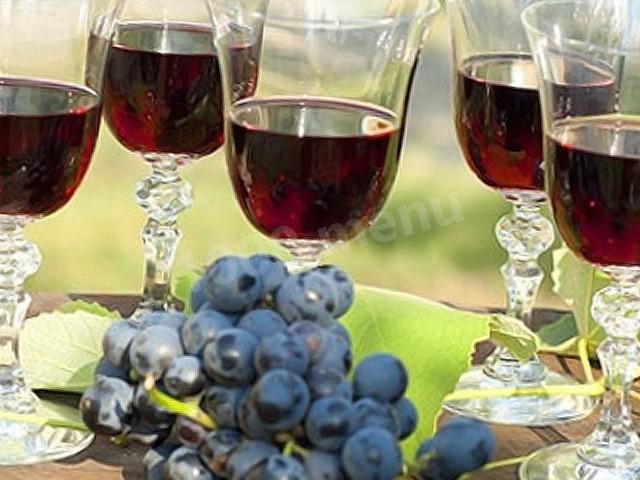
How to make berry wine? For cooking, you can use any kind of berries and in any proportions. They will fit from their site or bought in a store. There is no need to wash the berries. The only exception is when they are clearly contaminated, for example, with sand after rain. All berries should be well ripened, without rot. Mash the prepared berries a little so that the juice goes from them and put them in a spacious bottle.
Step 2:

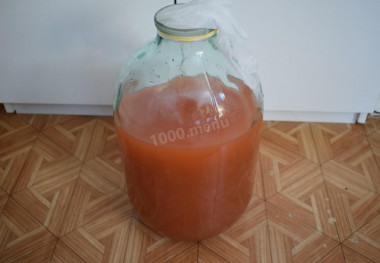
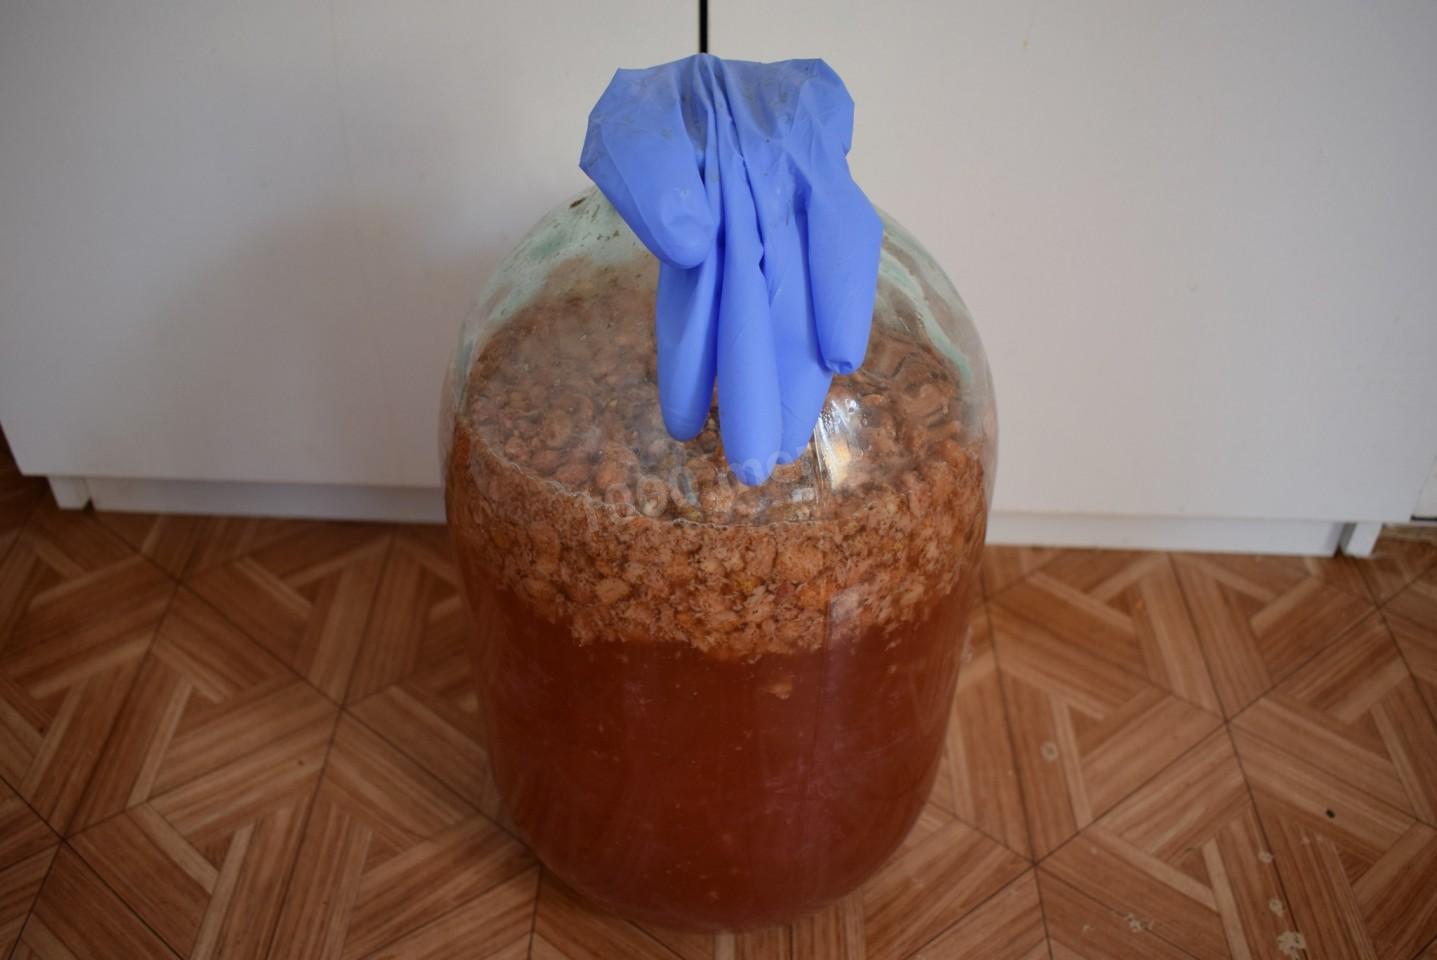
The number of berries will be approximately 1/3 of the total volume. Add sugar to the berries and pour boiled, cooled water over everything. The total quantity should not fill the whole bottle. Since during fermentation, the berries will rise up. Mix everything together. I determine the amount of sugar by eye. Initially, fill in most of it. Instead of a water seal, you can use a rubber glove. Put it on the neck of the bottle. And leave it in this form for a month.
Step 3:

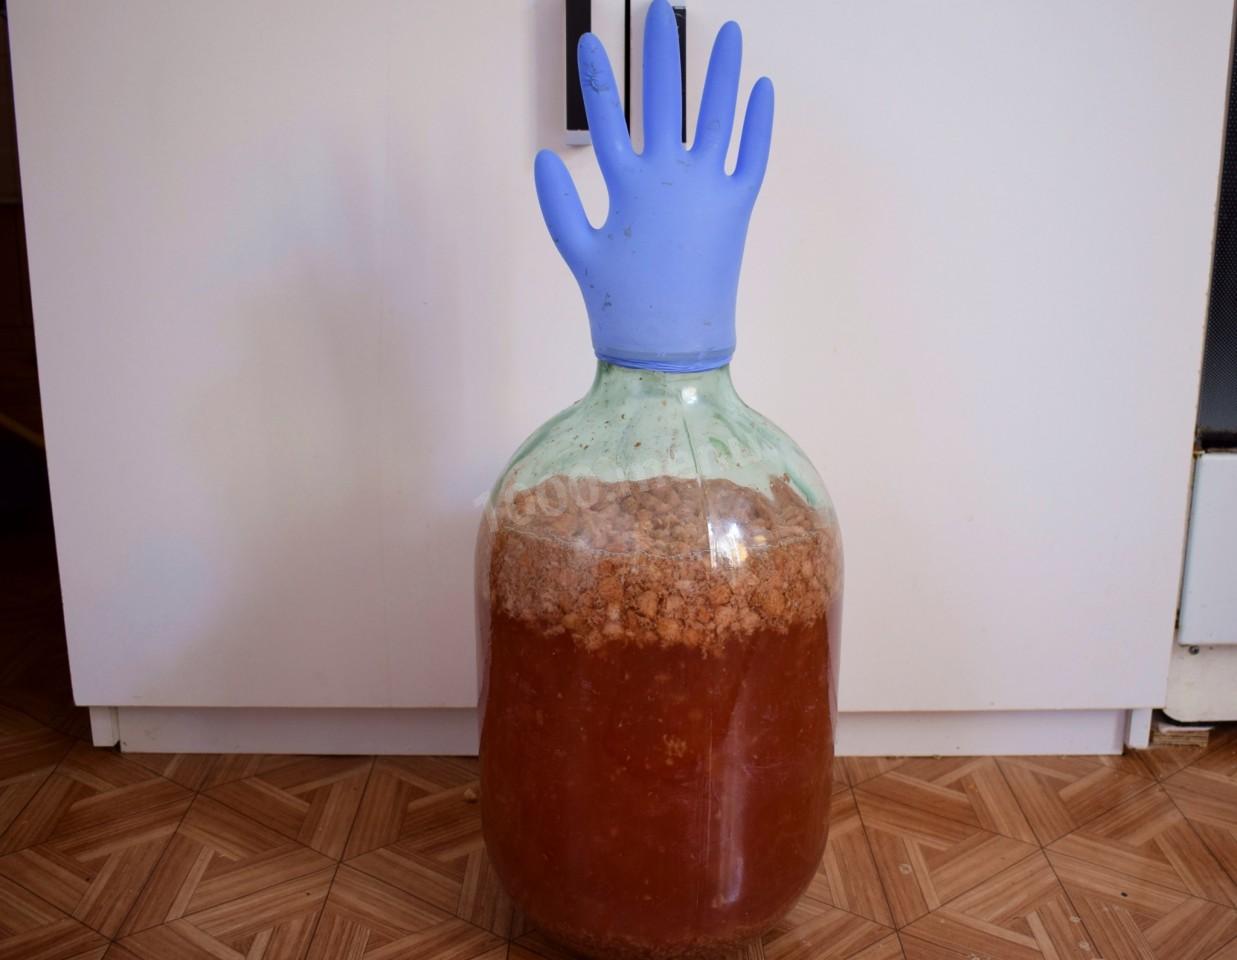
But this does not mean that you can forget about wine for this time. The bottle must be shaken periodically. For the first few days, this must be done every day. When fermentation is in full swing, stir as little as possible. A swollen glove will tell you about the degree of fermentation.
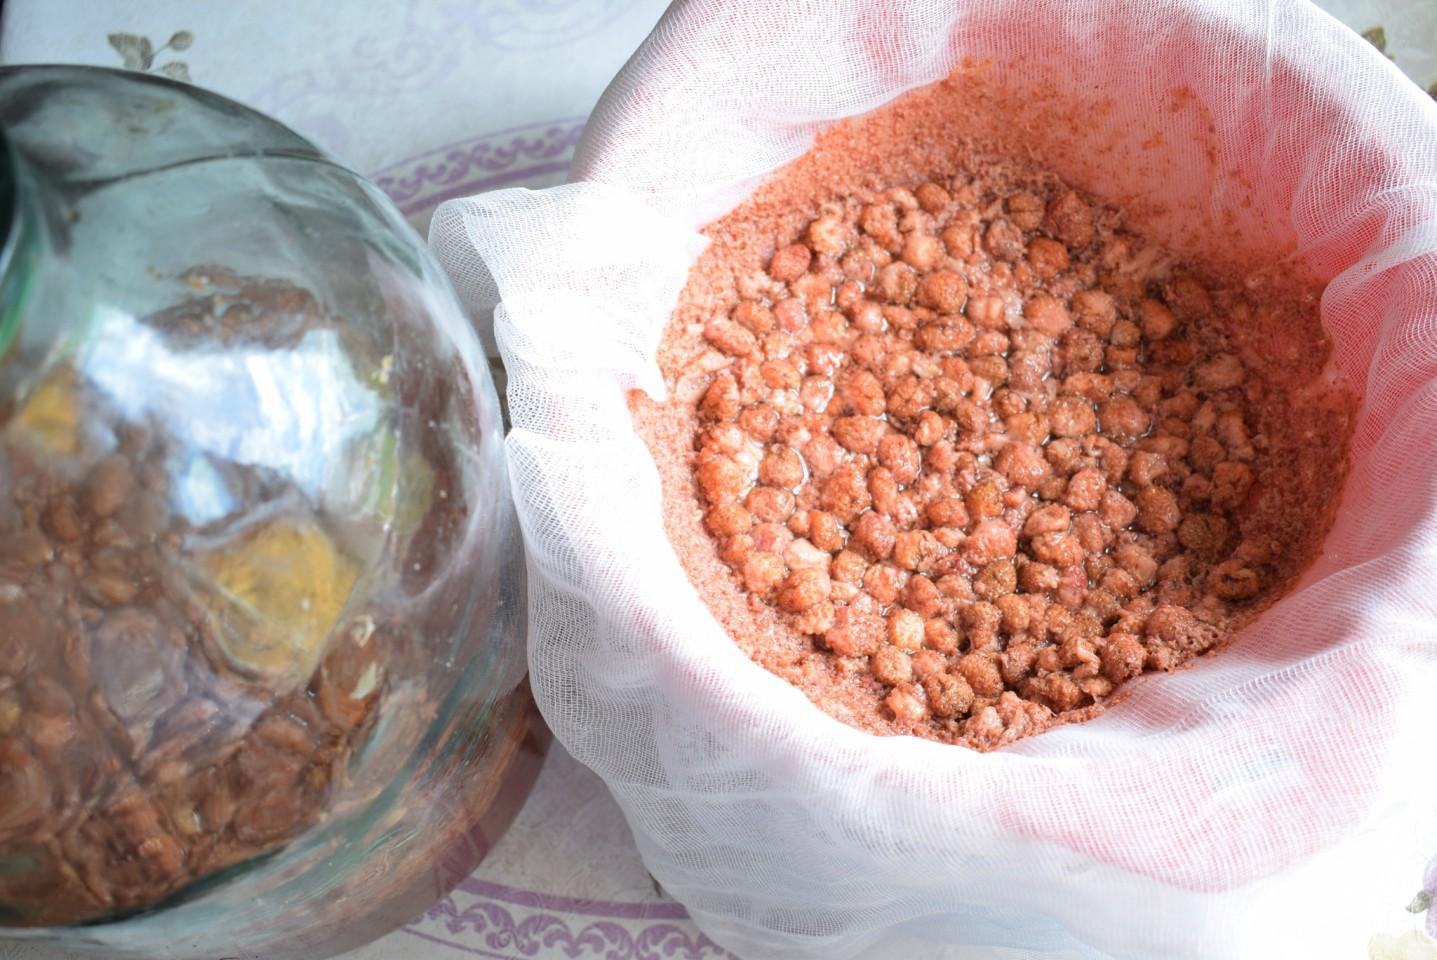
Step 4:

After a month, strain the wine through several layers of gauze. Taste it. At this stage, you can add some more sugar.
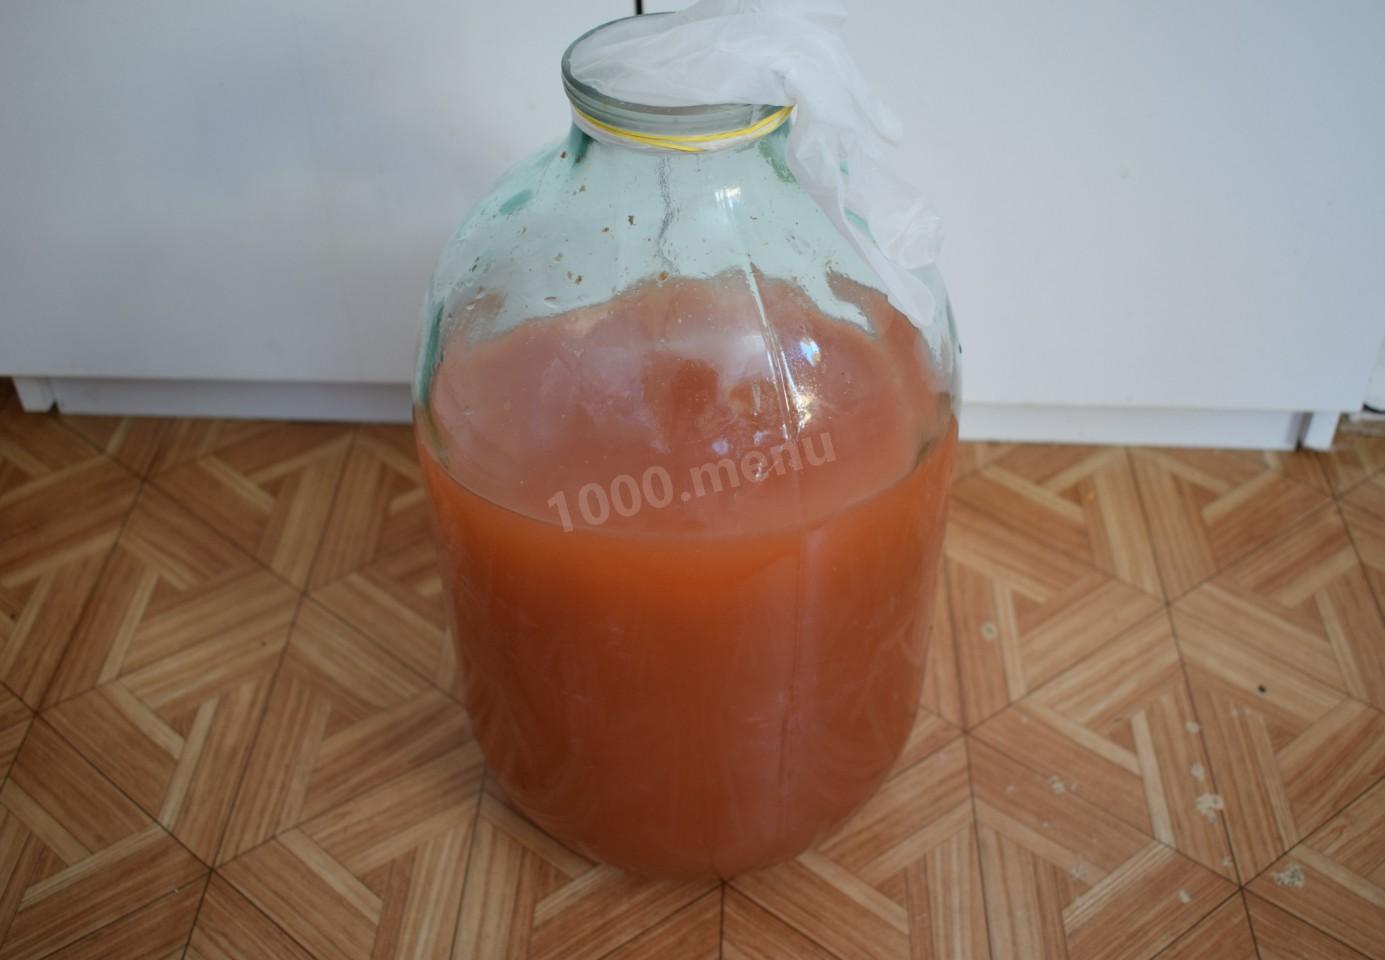
Step 5:
Pour the strained wine back into the bottle and put on a glove. It so happens that it is not a little good. Leave it to stand in this form for 1-3 weeks. If the glove will rise, then fermentation is still going on. Follow the process.
Step 6:
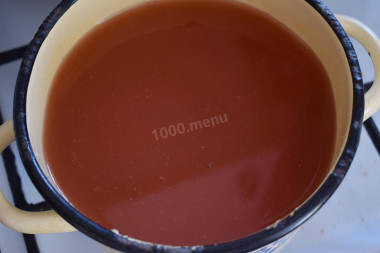
In general, the wine is ready. But I'm still pasteurizing it. To do this, the wine must be heated to 55-60 degrees. This kills the microorganisms in the wine, accelerates its maturation and improves the taste. At the same time, the wine becomes more transparent.
Step 7:

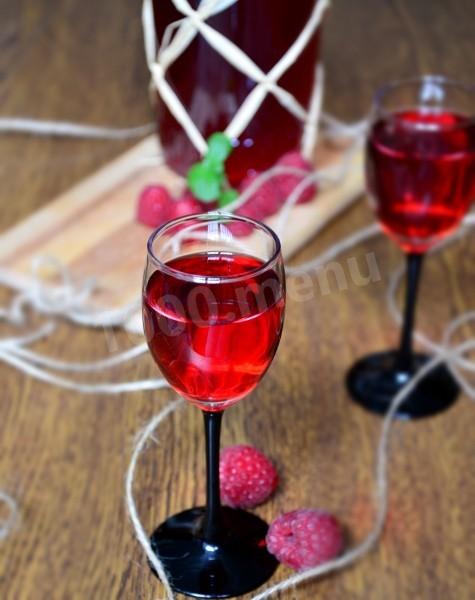
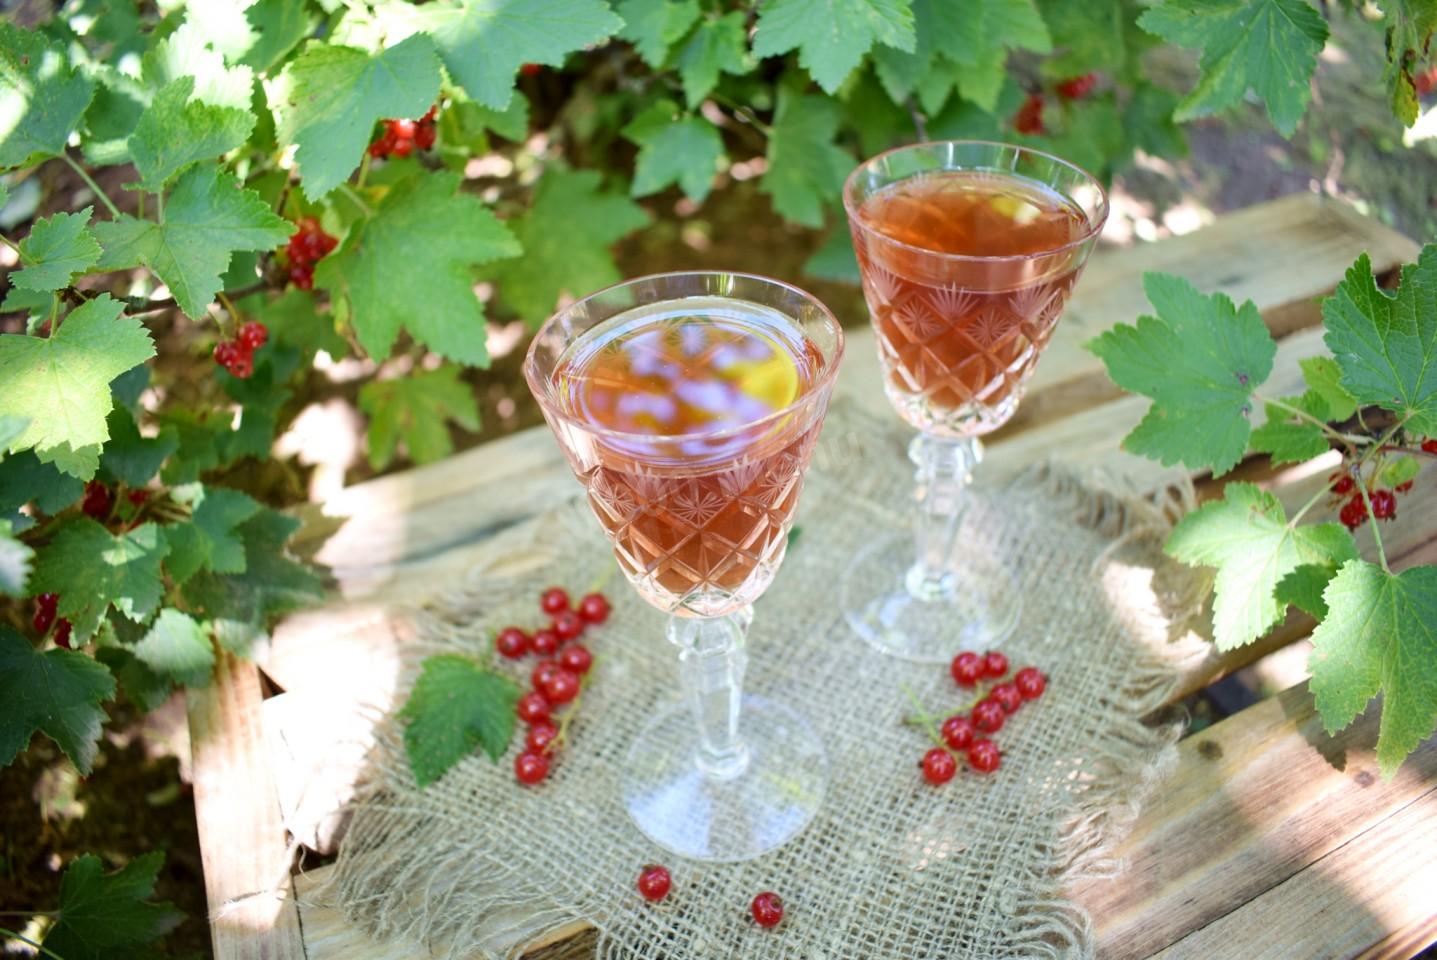
Pour the finished, cooled wine into bottles and send it to a cool place for storage. It tastes sweet and very pleasant. It is rather a female light drink. Have a nice treat!

When preparing homemade wine, proportions, of course, have some significance, but deviation in one direction or another is quite acceptable. If you add less water, the finished wine will be sweeter and more concentrated, more like a liqueur. If you add less sugar, the taste will be more like dry wine. But with less sugar, there will be less fermentation. To enhance the fermentation, add 1-2 handfuls of raisins.
Prepare homemade wine for the first time in your life, so that you can then understand which way to adjust the amount of ingredients to your liking. And the variety of choice of berries gives great scope for the imagination of taste.
Caloric content of the products possible in the composition of the dish
- Granulated sugar - 398 kcal/100g
- Sugar - 398 kcal/100g
- Water - 0 kcal/100g