

Composition / ingredients
Step-by-step cooking
Step 1:
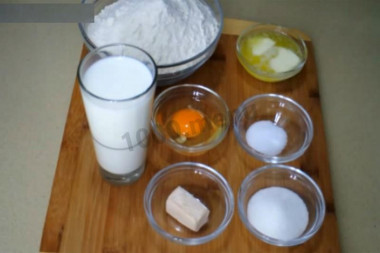
How to make yeast dough "drowned"? Prepare the products. In order for the dough to rise well, they must be at room temperature, so take them out of the refrigerator in advance. Melt the butter in any way, then cool. Take natural milk, of any fat content. Fresh pressed yeast can be replaced with dry ones, based on the ratio of 3:1. That is, for 3 grams of fresh yeast required by the recipe, take 1 gram of dry.
Step 2:

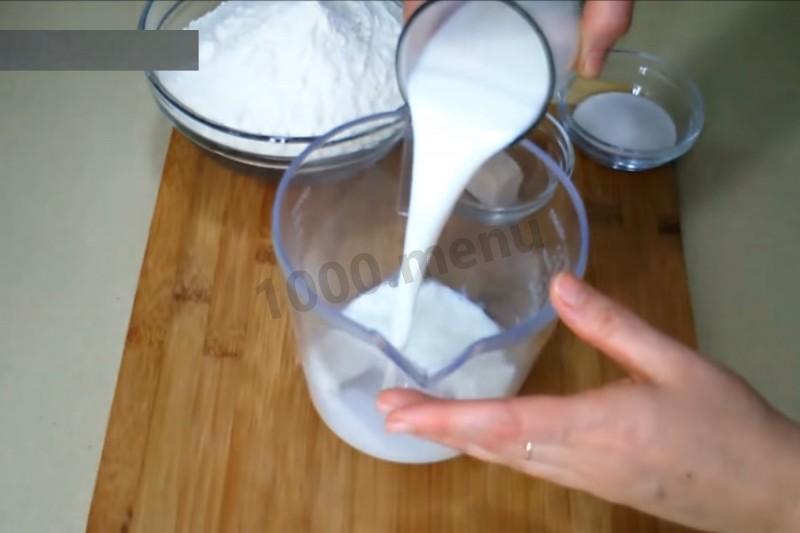
First of all, prepare the sourdough. How to make sourdough? Pour warm milk into a tall glass.
Step 3:

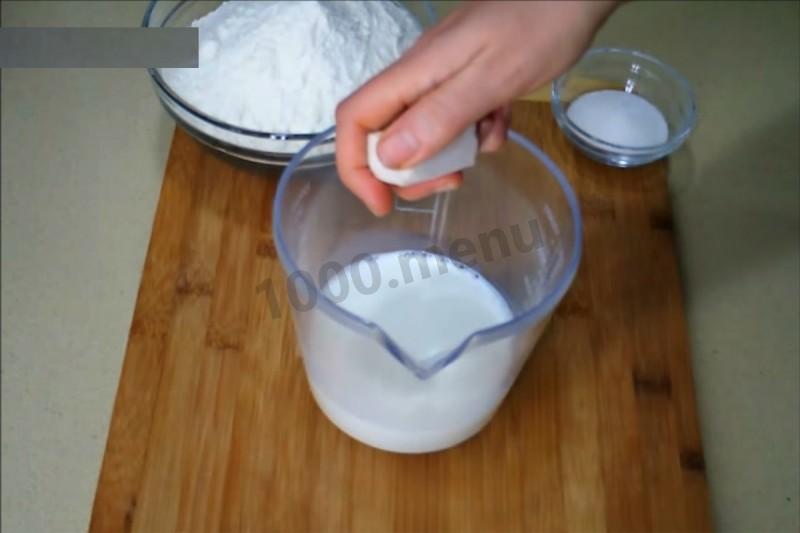
Crumble the yeast into a glass.
Step 4:
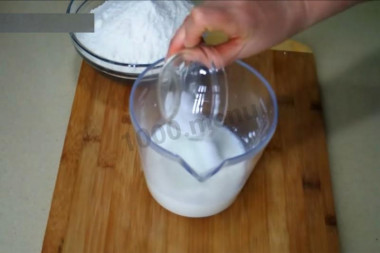
Add sugar.
Step 5:
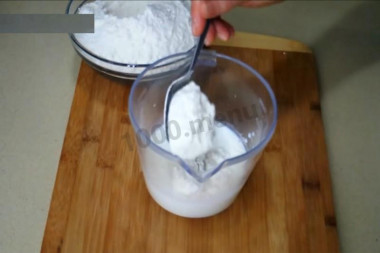
Add 3 tablespoons of sifted flour from the amount measured for the dough to the ingredients for the sponge.
Step 6:
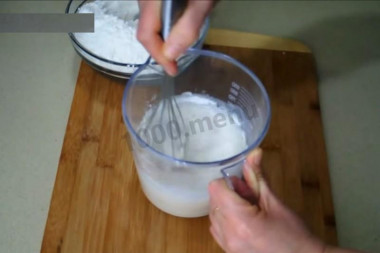
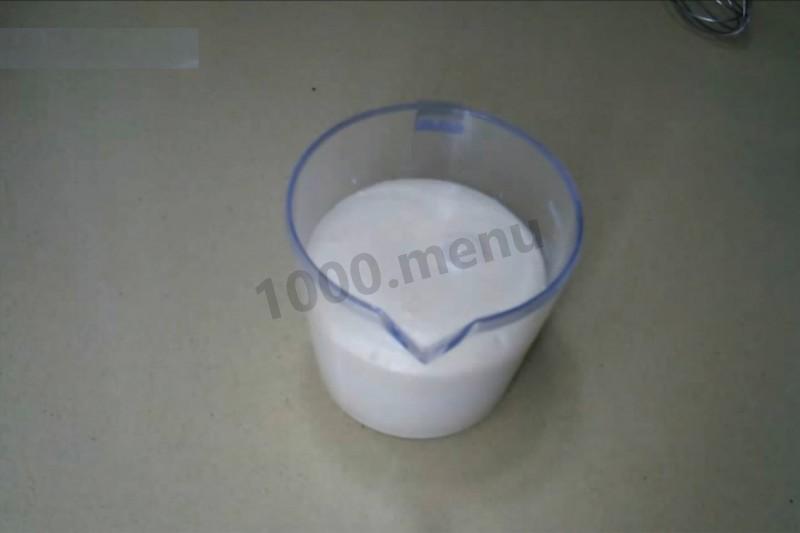
Mix everything well, cover and leave for 20 minutes.
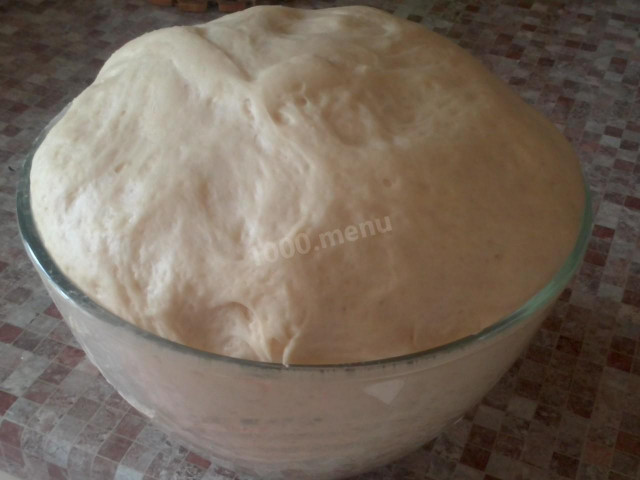
Step 7:

During this time, the sponge will have to rise "with a cap" from above. If this does not happen, then the yeast is not suitable and you need to take others.
Step 8:
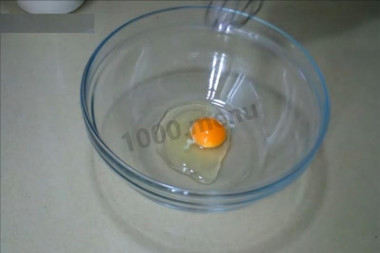
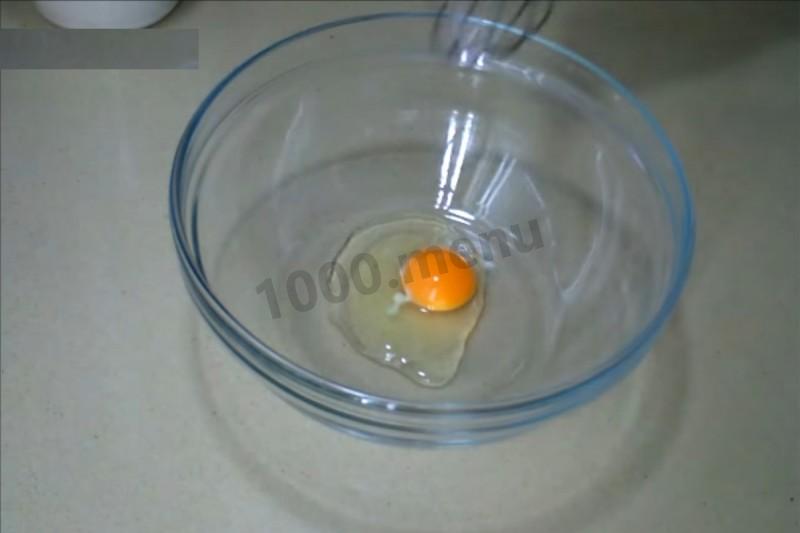
In a dough bowl, break an egg. Be sure to wash the eggs before use, as even the seemingly clean shell may contain harmful bacteria. It is best to use food detergents and a brush.
Step 9:
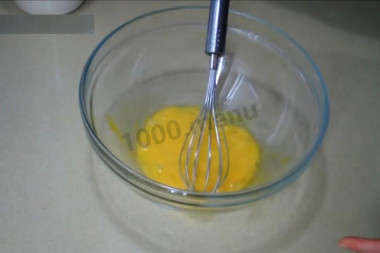
Shake it with a whisk.
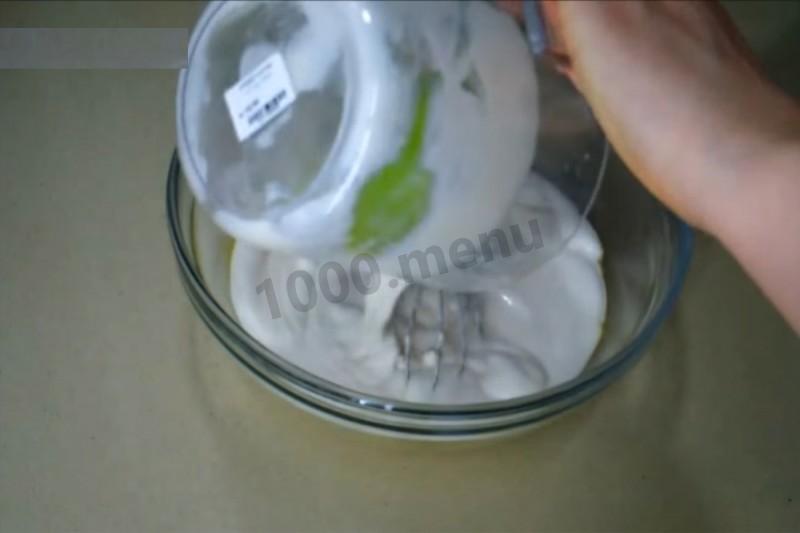
Step 10:

Add the sourdough.
Step 11:
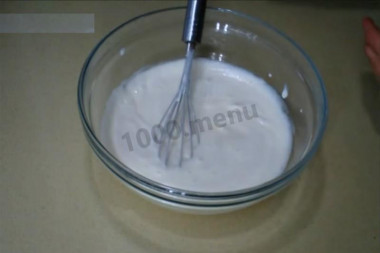
Mix the sourdough well with the egg.
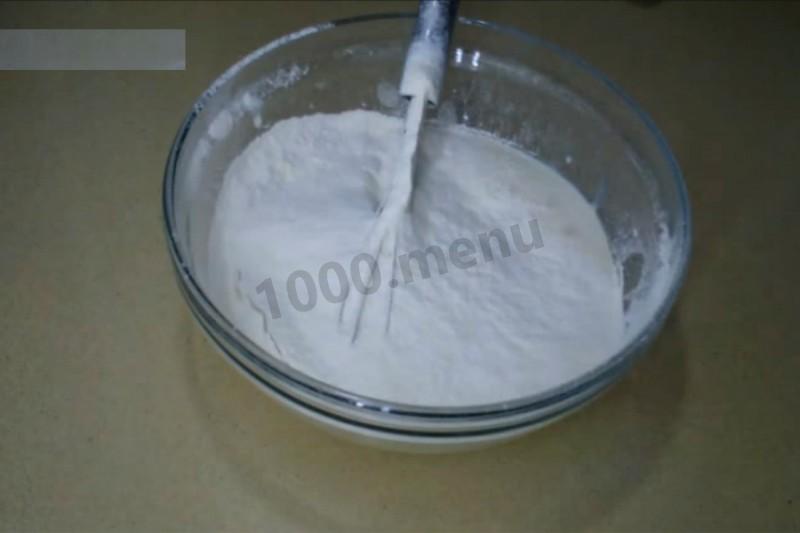
Step 12:
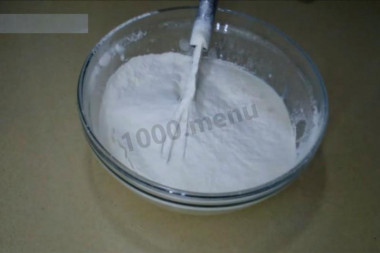
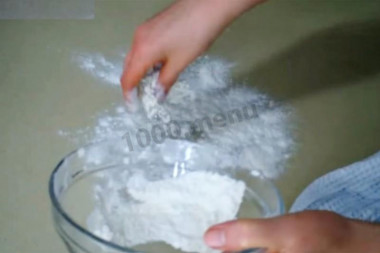
In portions, start sifting flour into the future dough. It is important to sift the flour to saturate it with oxygen. Then the baking will turn out to be airy and will rise well when baking.
Step 13:
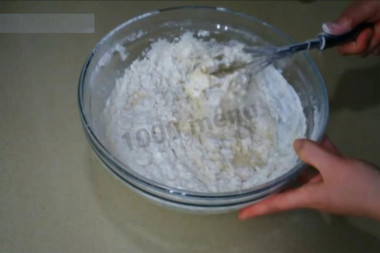
Start kneading first with a whisk or spoon.
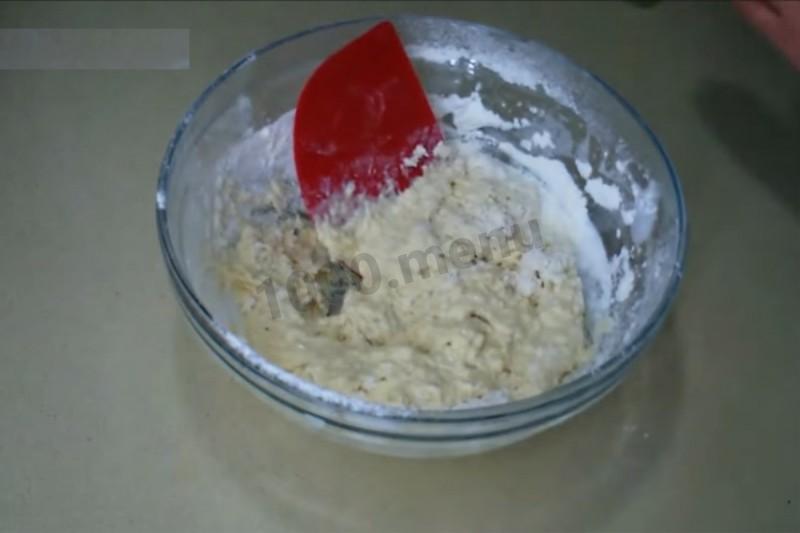
Step 14:

Thick dough is convenient to knead with a scraper.
Step 15:

When the dough begins to gather in a lump, put it on a table sprinkled with flour and knead, gradually adding butter. Leave at least 50 g of flour for the final batch.
Step 16:
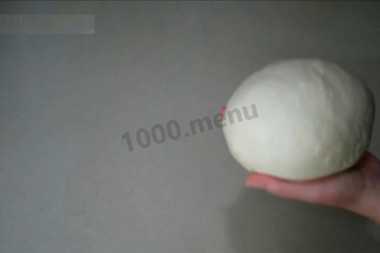
The dough will be ready after 10-15 minutes of kneading, it should become elastic and soft.
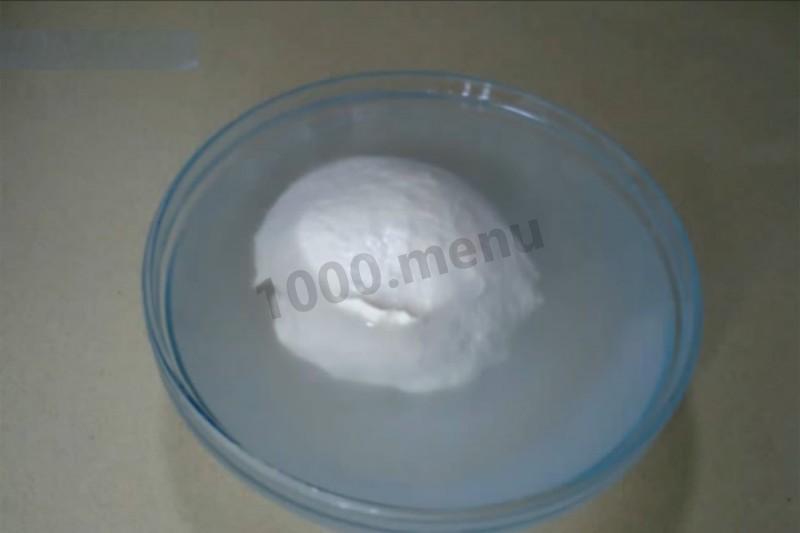
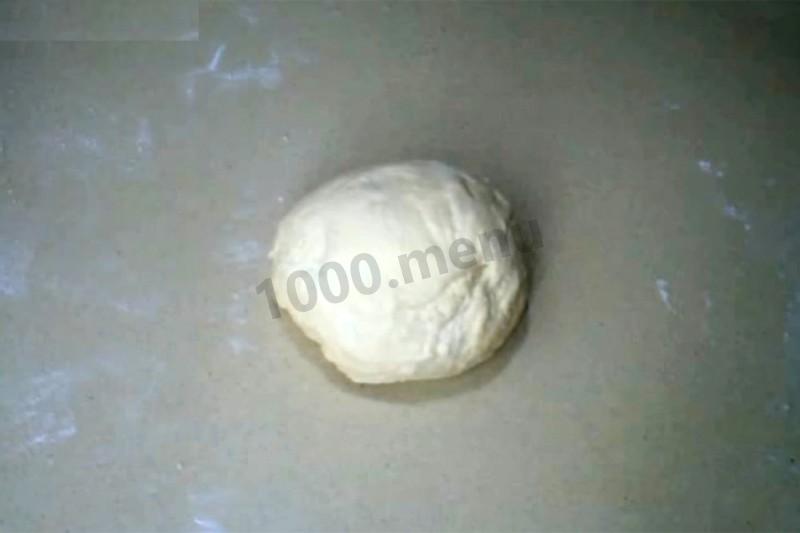
Step 17:

Put the dough in a bowl with cold water. It will sink to the bottom.
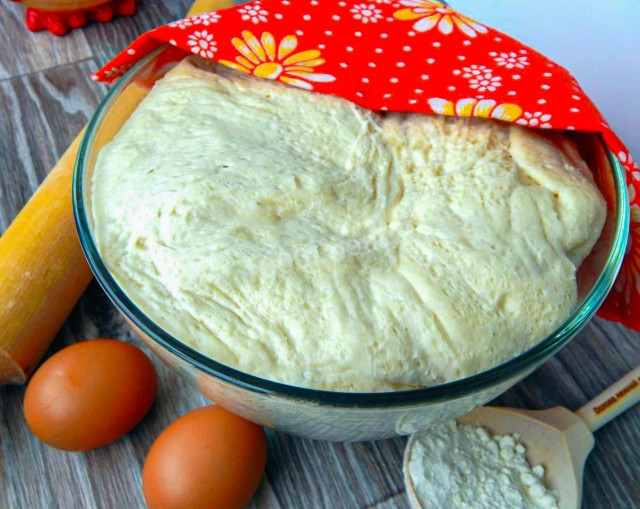
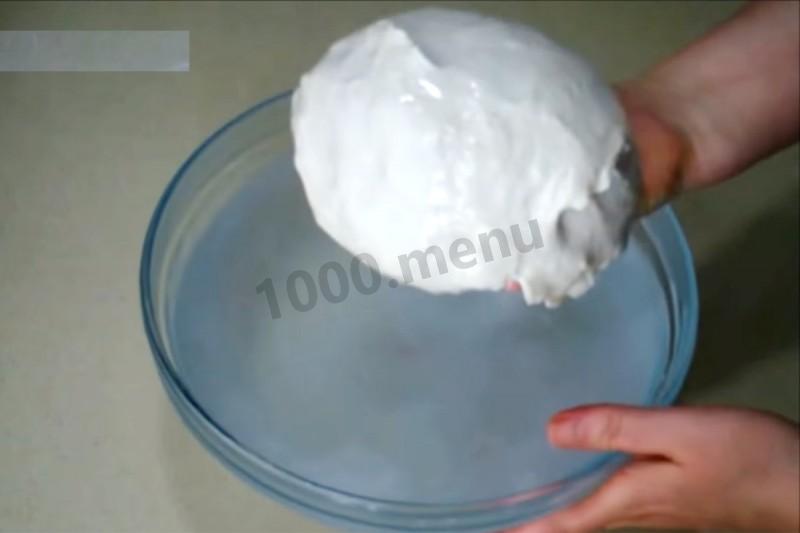
Step 18:

Wait about 20 minutes. When the dough has surfaced, it means that it is ready.
Step 19:

Take the dough out of the water and blot it with napkins or a towel.
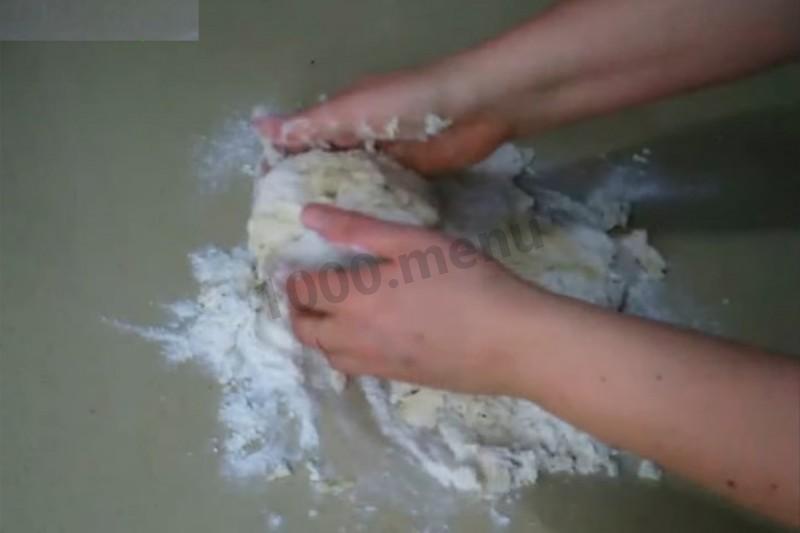
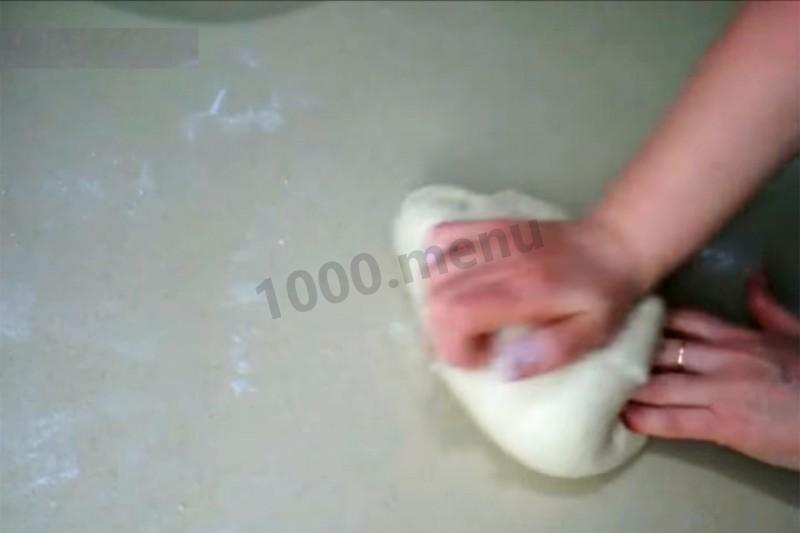
Step 20:
Dust the table with flour.
Step 21:

Knead the dough until it dries and takes all the flour.
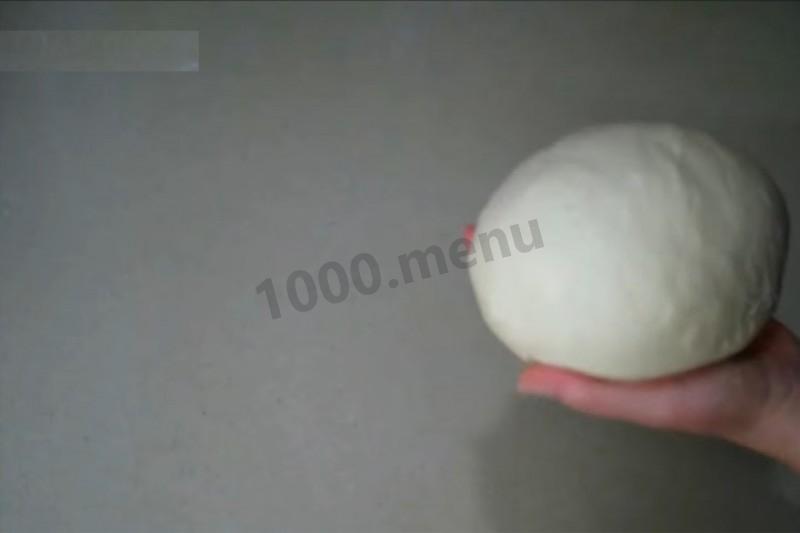
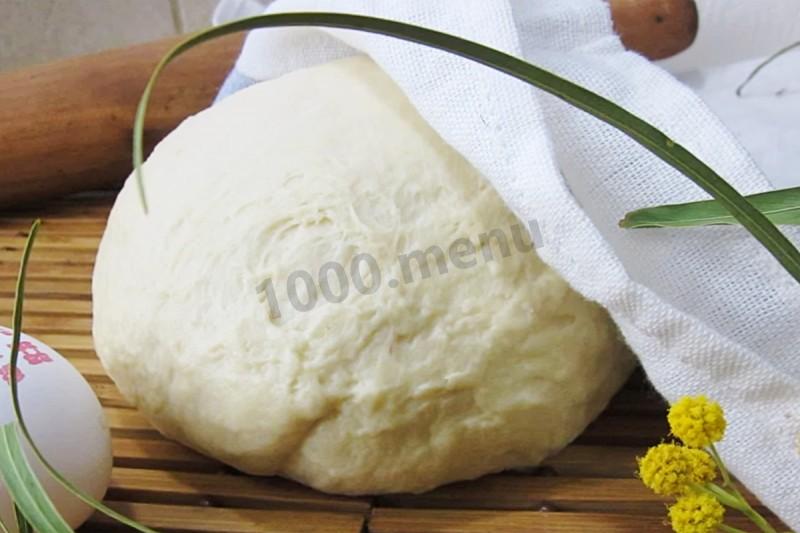
Step 22:

The dough is ready.
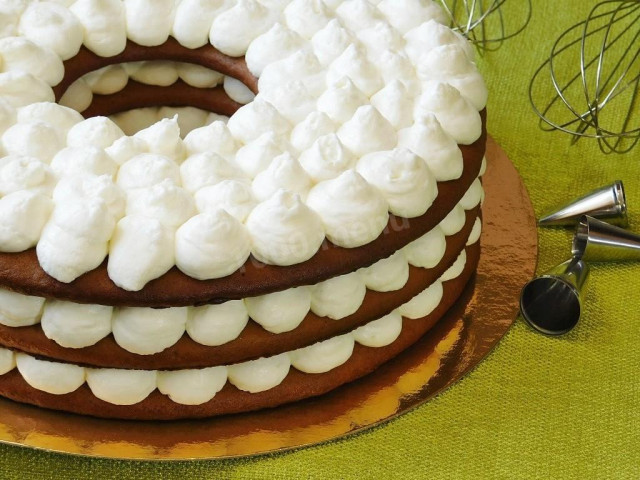
Step 23:
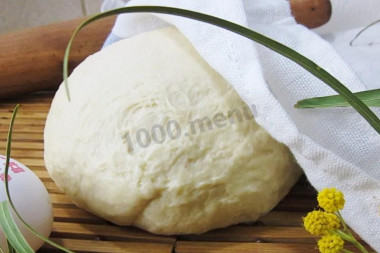
This dough makes excellent pies and buns. You can adjust the sweetness to your liking.


The liquid in which yeast is bred should be pleasant to the touch, no higher than 40 degrees. Why is this important? In a warm environment, yeast is well activated, in a hot one it will die, and in a cold one it simply will not work. To avoid unpleasant surprises, check the yeast before mixing with the rest of the ingredients. Pour a little warm milk into a bowl, stir in the yeast. Cover the bowl with a kitchen towel and put it in a warm place without drafts for 10-15 minutes. During this time, a foam yeast cap should appear on the surface of the sponge. If this did not happen, then the fermentation process has not started (the yeast is overdue or spoiled). In this case, it is worth taking other yeast, otherwise baking will not work.
Be prepared for the fact that flour may need more or less than indicated in the recipe. Focus not on the amount of flour, but on the desired consistency of the dough. To avoid mistakes, read about flour and its properties!
Butter can be melted in the microwave or in a water bath.
How to melt butter in the microwave?
Cut the butter into small pieces and place it in a special container. To prevent the oil from splashing when heated, cover the oil vessel with a paper towel. The oil should be melted either at the lowest power or in defrosting mode. At first, five seconds will be enough. Next, if the butter has not melted yet, set it again for 5 seconds and start the microwave. Repeat the process several times until the desired result.
How to melt butter in a water bath?
You will need two containers of different diameters. Pour water into a large one and put it on the stove. Place the smaller container on top so that it is submerged in water by about half. Put the sliced butter into it. Under the influence of boiling water, the oil will begin to melt. Stir the oil slightly to speed up the process. As soon as the pieces of oil are completely dissolved, remove the container from the stove.
Caloric content of the products possible in the composition of the dish
- Whole cow's milk - 68 kcal/100g
- Milk 3.5% fat content - 64 kcal/100g
- Milk 3.2% fat content - 60 kcal/100g
- Milk 1.5% fat content - 47 kcal/100g
- Concentrated milk 7.5% fat content - 140 kcal/100g
- Milk 2.5% fat content - 54 kcal/100g
- Pressed yeast - 109 kcal/100g
- Granulated sugar - 398 kcal/100g
- Sugar - 398 kcal/100g
- Butter 82% - 734 kcal/100g
- Amateur unsalted butter - 709 kcal/100g
- Unsalted peasant butter - 661 kcal/100g
- Peasant salted butter - 652 kcal/100g
- Melted butter - 869 kcal/100g
- Salt - 0 kcal/100g
- Wheat flour - 325 kcal/100g
- Chicken egg - 80 kcal/100g