
Composition / ingredients
Step-by-step cooking
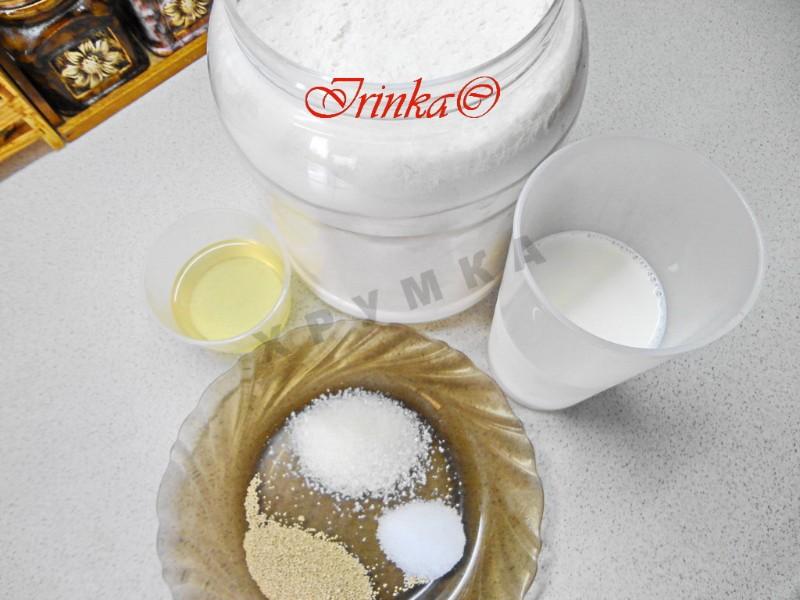
Step 1:
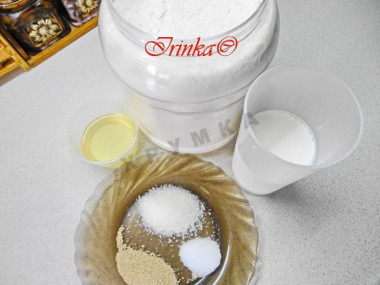
Necessary products.
Step 2:
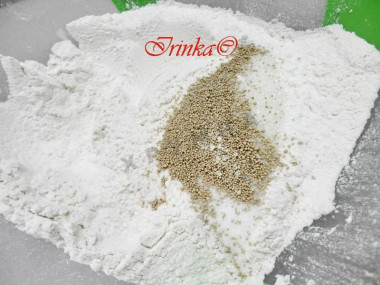
From the flour, pour 50 g; sift the rest of the flour with salt into a bowl. Pour out the yeast and sugar, mix everything well.
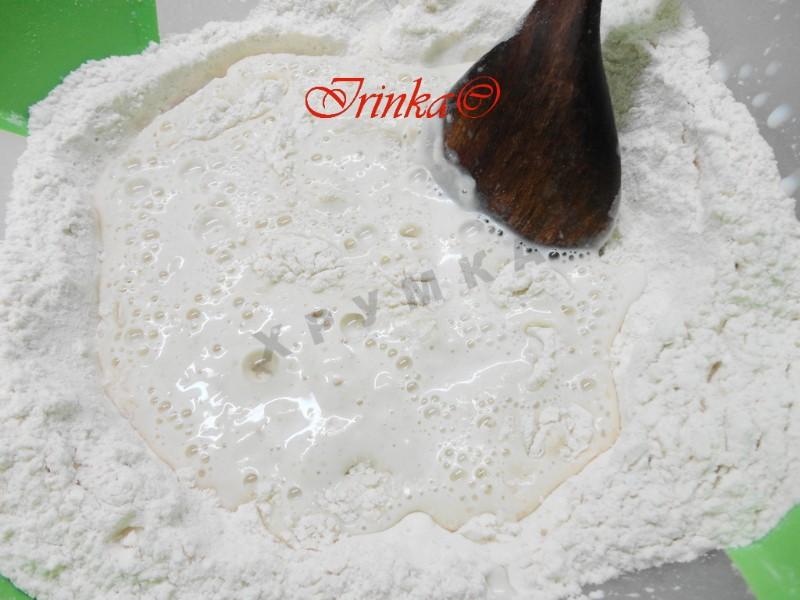
Step 3:
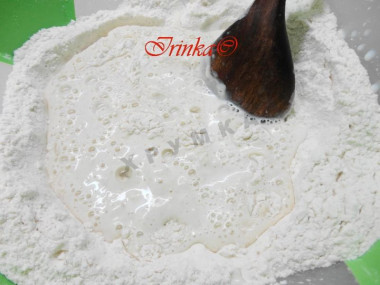
Mix milk with water and heat. We make a recess in the flour and pour milk into it.
Step 4:
Knead the dough with a wooden spoon or a spoon.
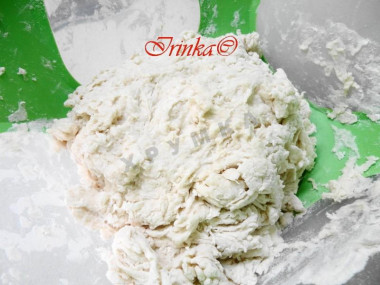
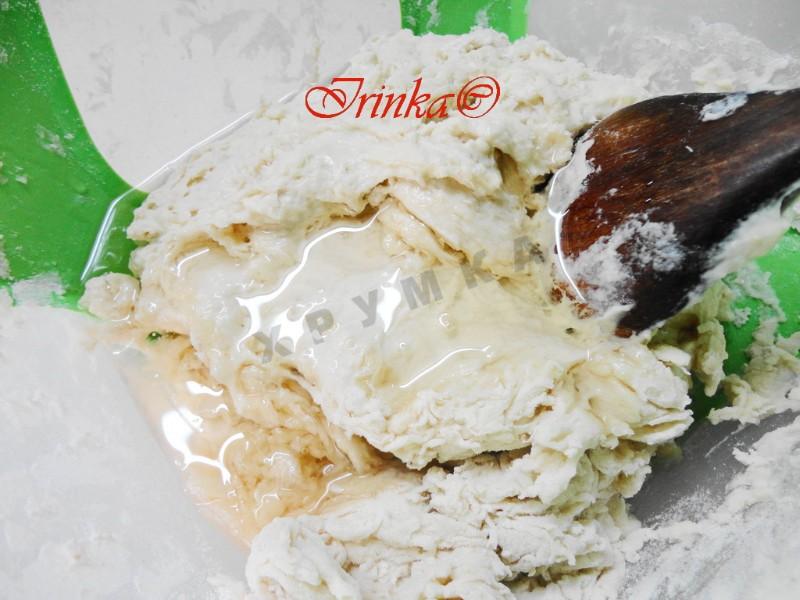
Step 5:

Then pour in the oil and continue kneading. First in a bowl, then we dump the dough on the table and continue to knead, adding the remaining flour.
Step 6:
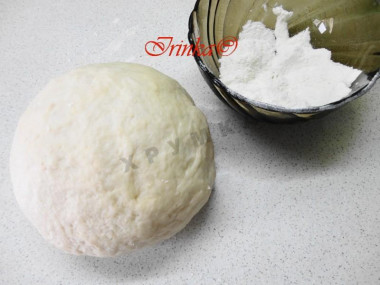
As soon as the dough begins to lag behind the hands, we stop adding flour. I usually have 20 grams of flour left. Roll the dough into a ball, lubricate with oil, put it in a large bowl or saucepan, cover with a towel and put it in a warm place for about two hours. Since this dough is made in a non-stick way, it takes longer to fit.
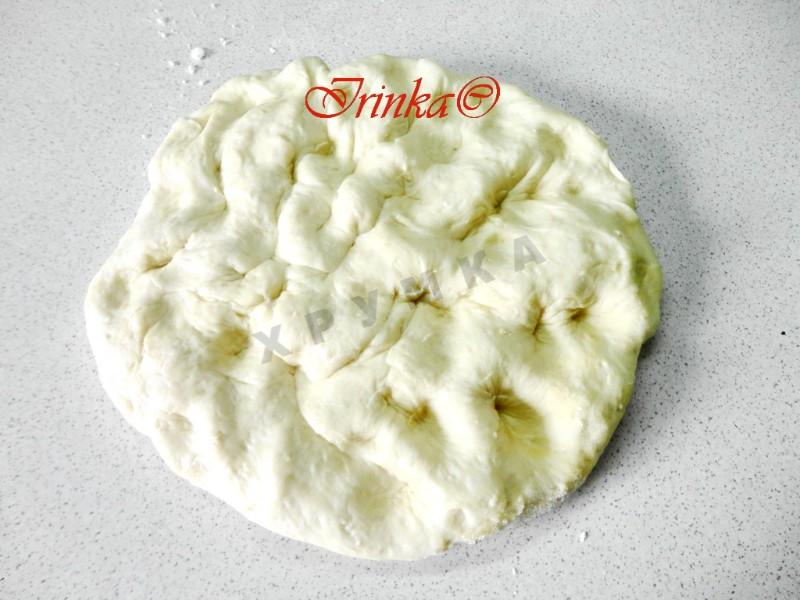
Step 7:

After two hours, we knead the dough, fold it again and let it come up again, within an hour.
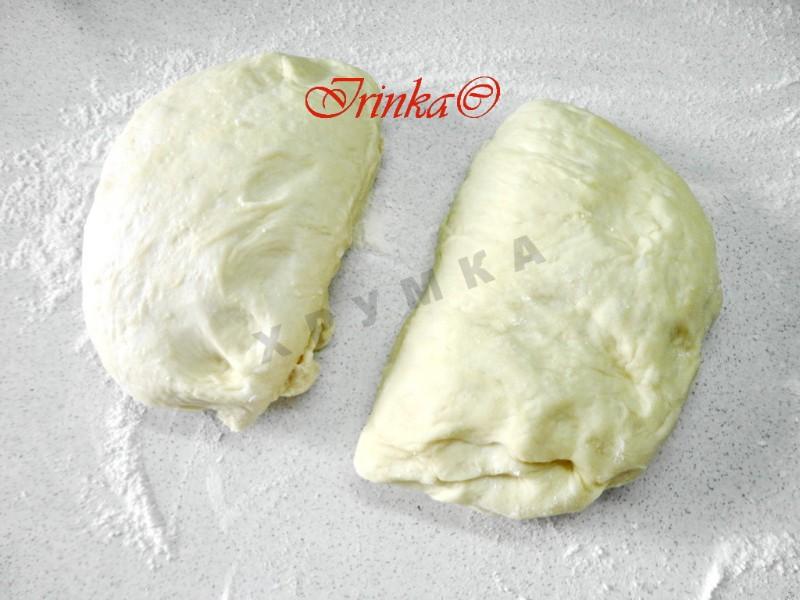
Step 8:
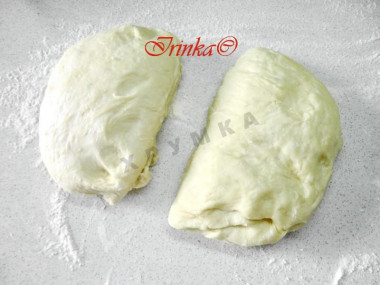
After that, divide it into two parts (you can bake one large loaf).
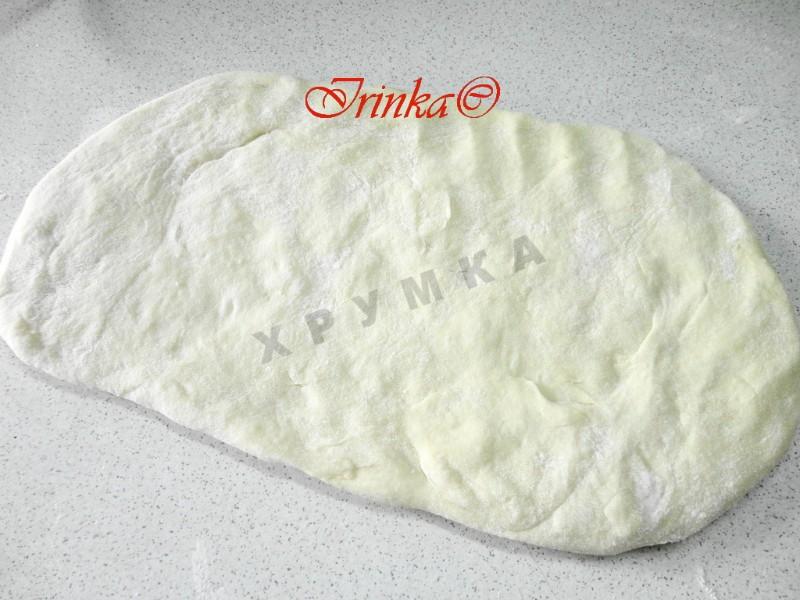
Step 9:

Knead each part into a flatbread and form a bar.
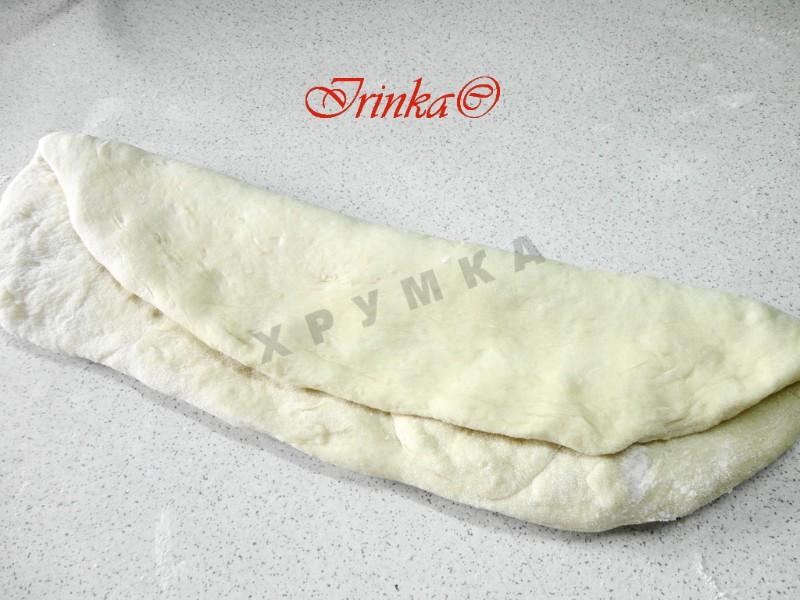
Step 10:

Wrap it up once
Step 11:
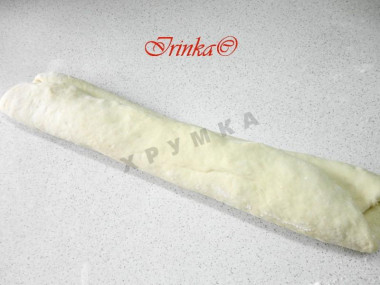
The second time
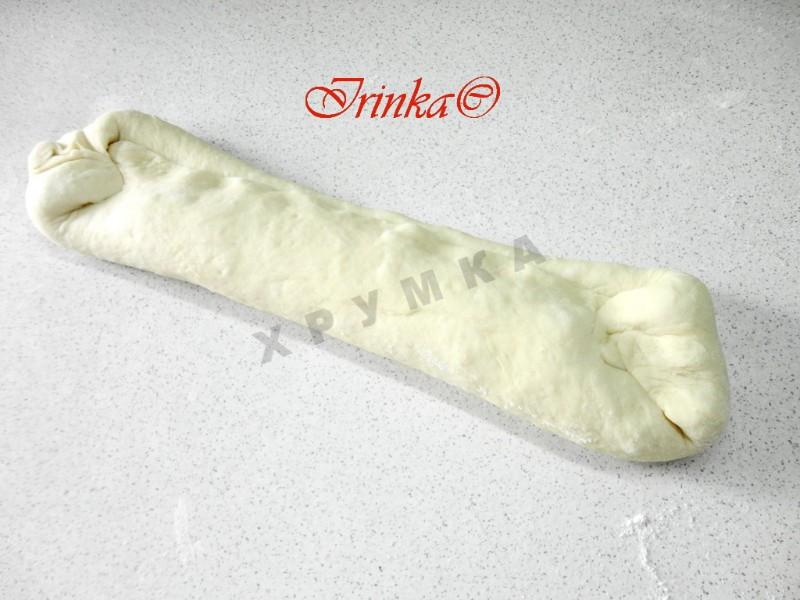
Step 12:

Bend the edges.
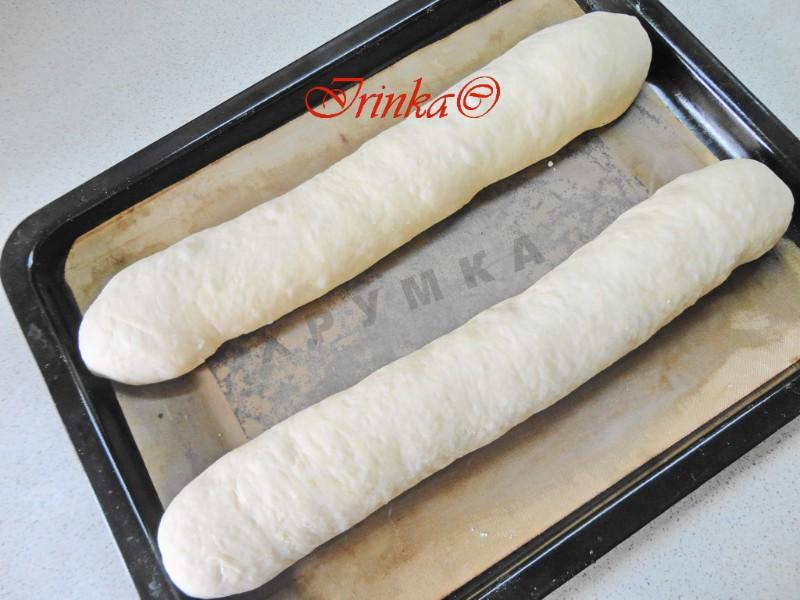
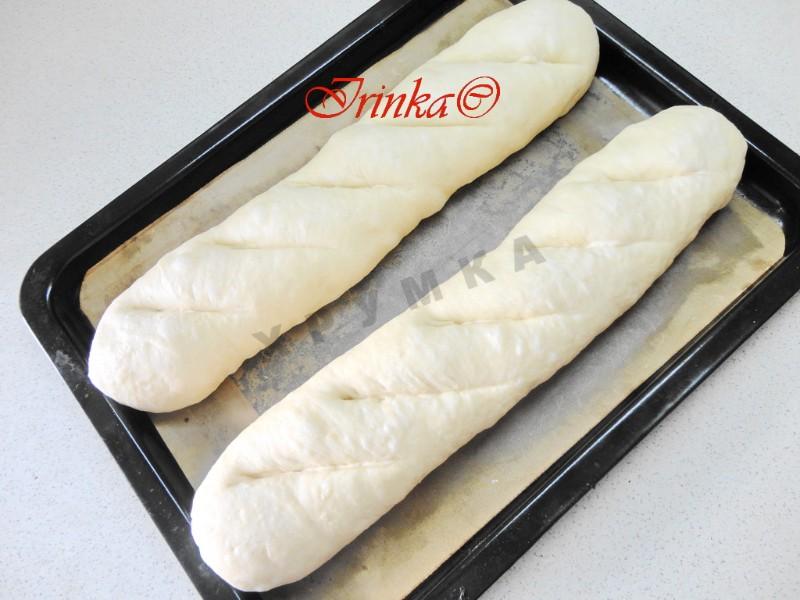
Step 13:
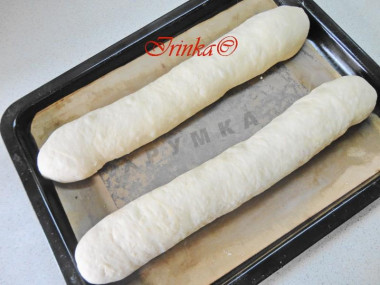
Turn the seam down and roll. We spread the loaves on a baking sheet covered with a baking sheet (I have Teflon)
Step 14:

Cover with a damp towel and put on proofing for 20 minutes. Then make incisions and lubricate with water or oil emulsion (water and vegetable oil 50-50).
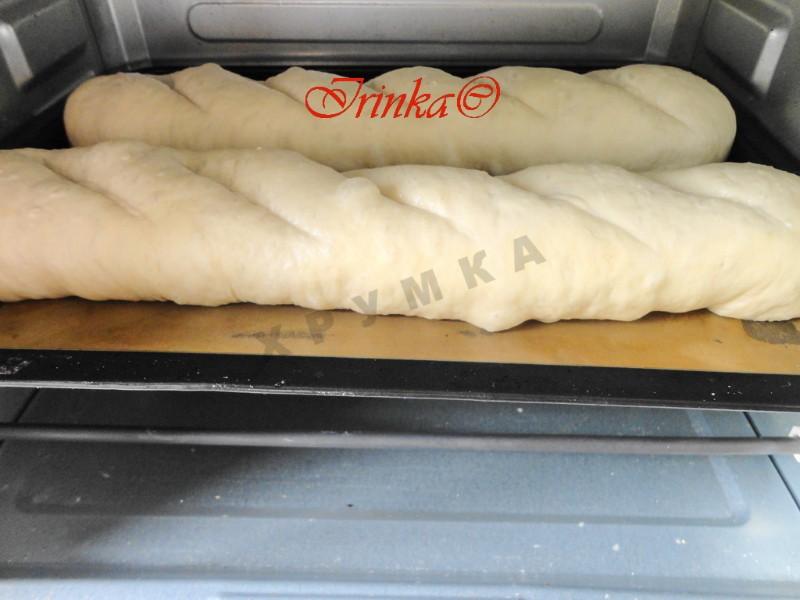
Step 15:
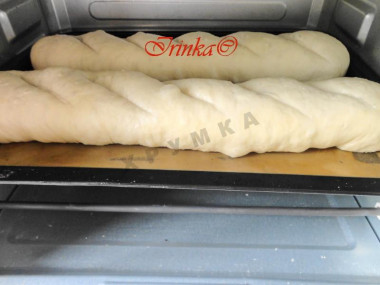
Place the baking sheet in a heated to 200 degrees and bake for about half an hour. Once during baking, it is necessary to sprinkle with cold water-then we are guaranteed to get a crispy crust. Be guided by the color and delicious smell from the oven.
Step 16:
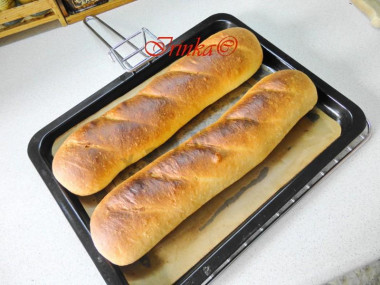
Take the baked loaves out of the oven, wrap them in a towel.
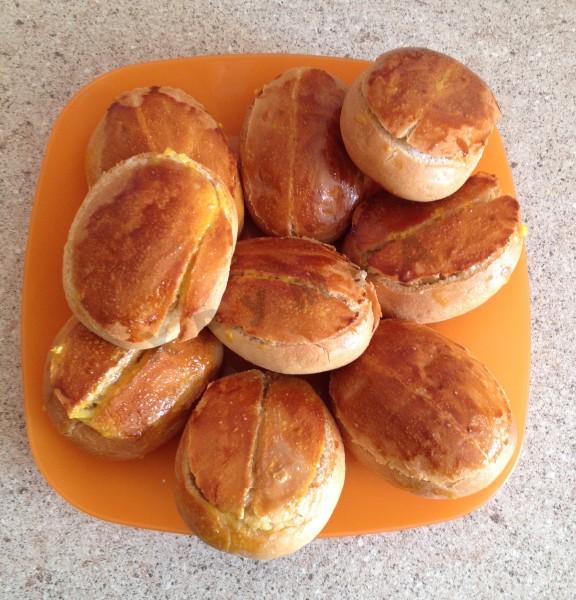
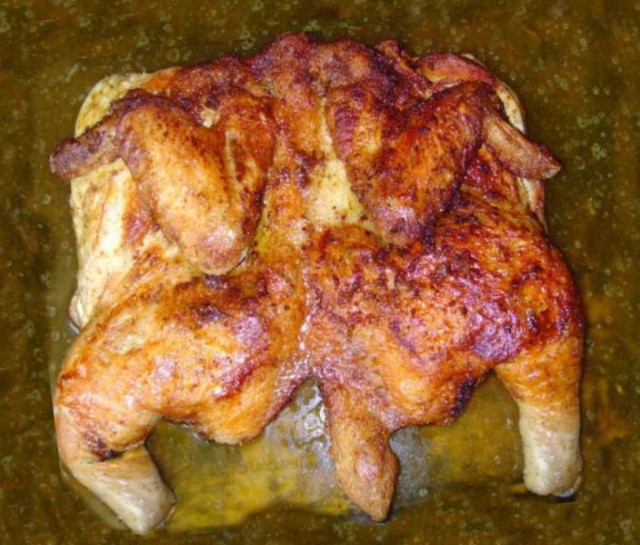
Step 17:

That's how rosy they turn out! It is delicious both warm and cold. Have a good baking!


My whole family is now asking me to bake homemade bread. And when the house smells of bread and pies, it is doubly pleasant to return to it.
I wish you all happiness and family well-being!
Calorie content of the products possible in the composition of the dish
- Whole cow's milk - 68 kcal/100g
- Milk 3.5% fat content - 64 kcal/100g
- Milk 3.2% fat content - 60 kcal/100g
- Milk 1.5% fat content - 47 kcal/100g
- Concentrated milk 7.5% fat content - 140 kcal/100g
- Milk 2.5% fat content - 54 kcal/100g
- Whole durum wheat flour fortified - 333 kcal/100g
- Whole durum wheat flour, universal - 364 kcal/100g
- Flour krupchatka - 348 kcal/100g
- Flour - 325 kcal/100g
- Granulated sugar - 398 kcal/100g
- Sugar - 398 kcal/100g
- Vegetable oil - 873 kcal/100g
- Salt - 0 kcal/100g
- Water - 0 kcal/100g
- Dry yeast - 410 kcal/100g