
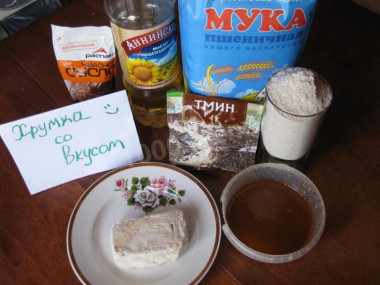
Composition / ingredients
Step-by-step cooking
Step 1:
Step 2:
Step 3:
Step 4:
Step 5:

Step 6:
Step 7:
Step 8:
Step 9:

Step 10:

Step 11:
Step 12:
Step 13:

Step 14:
Step 15:
Step 16:

Step 17:


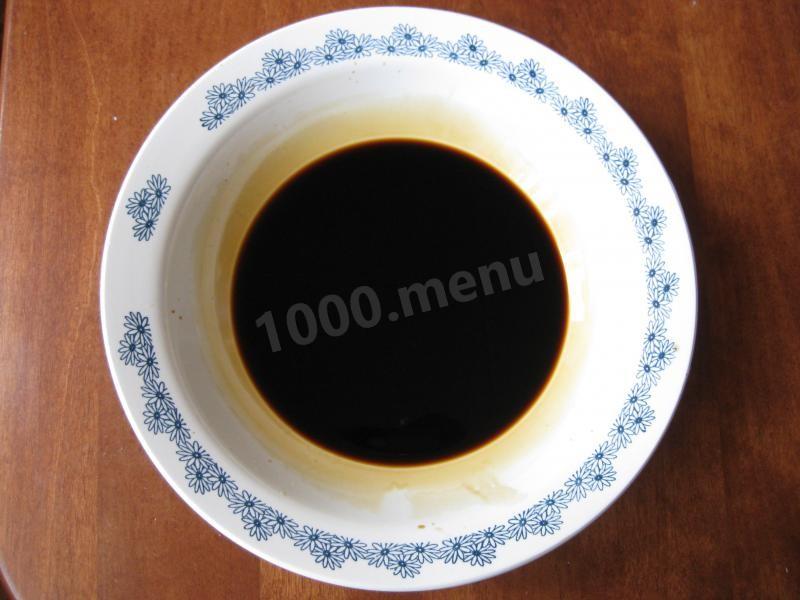
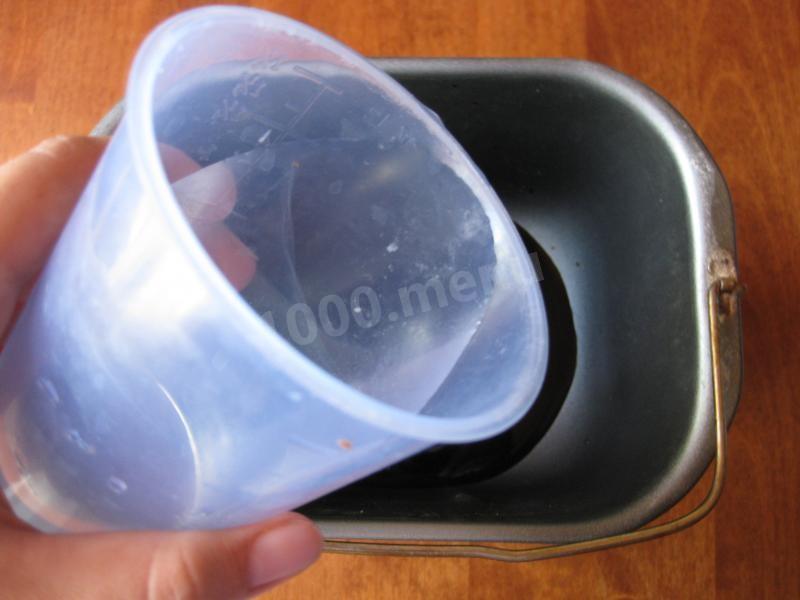


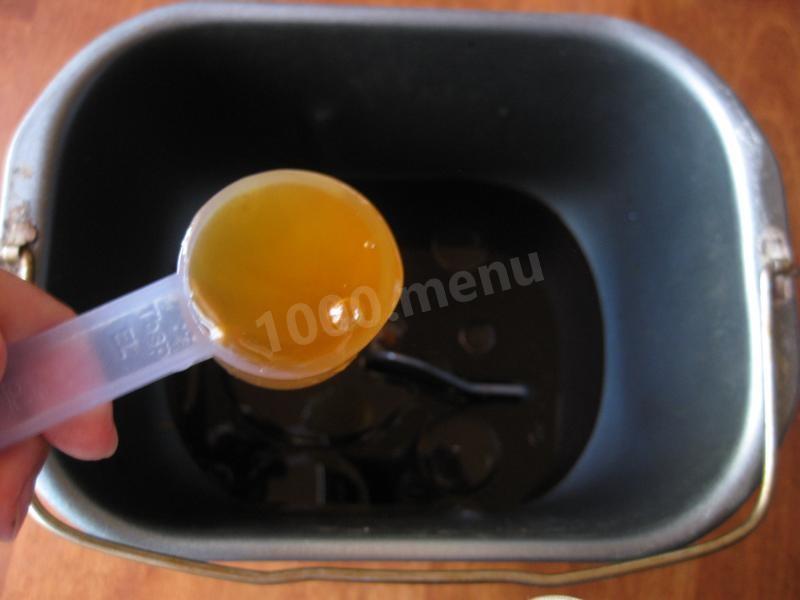
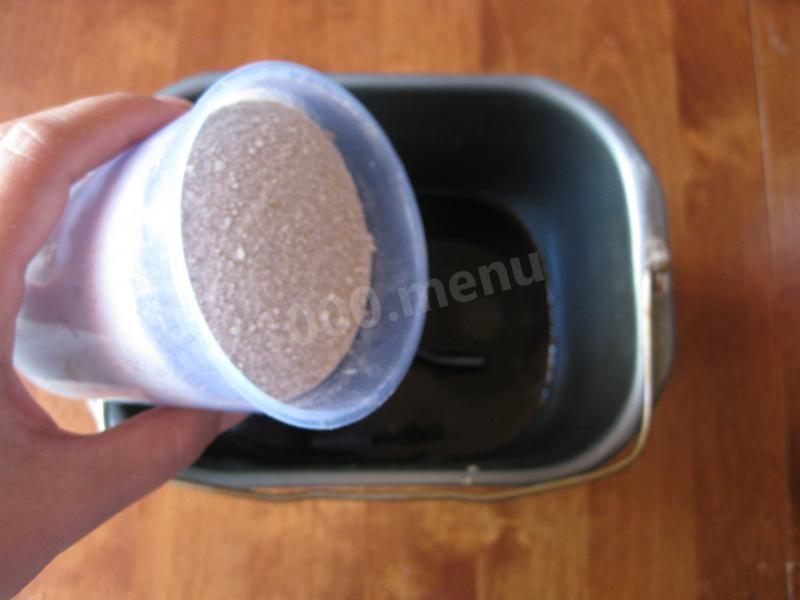

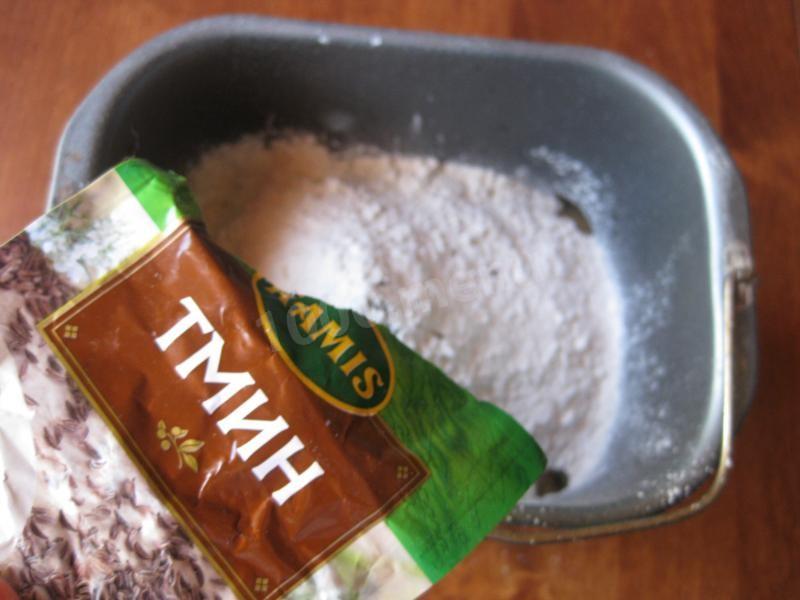

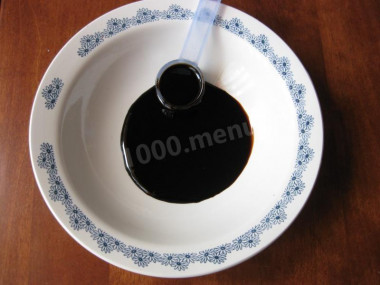
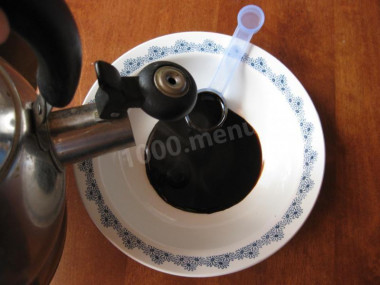
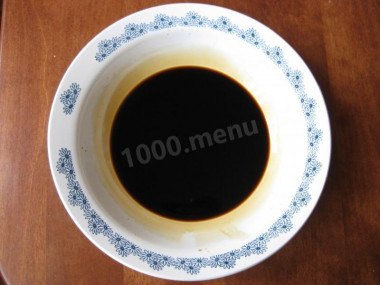
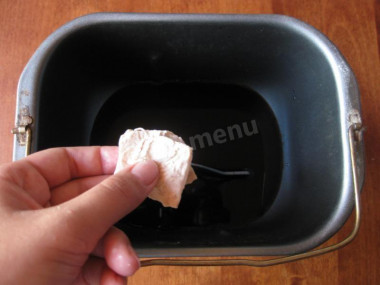
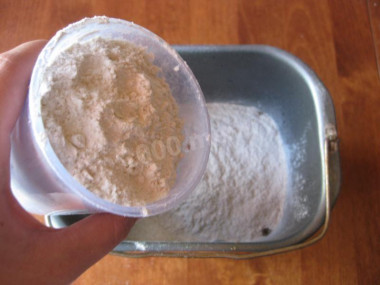
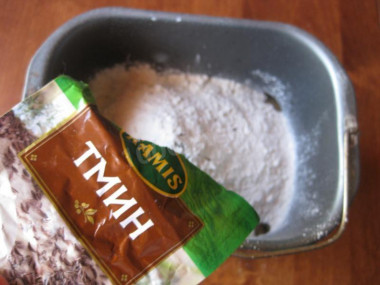
To begin with, pour the fermented rye malt with boiling water and let it cool down. Now we put all the dry ingredients in a bucket, put the cooled malt in it as well and pour in oil and water.
Important!
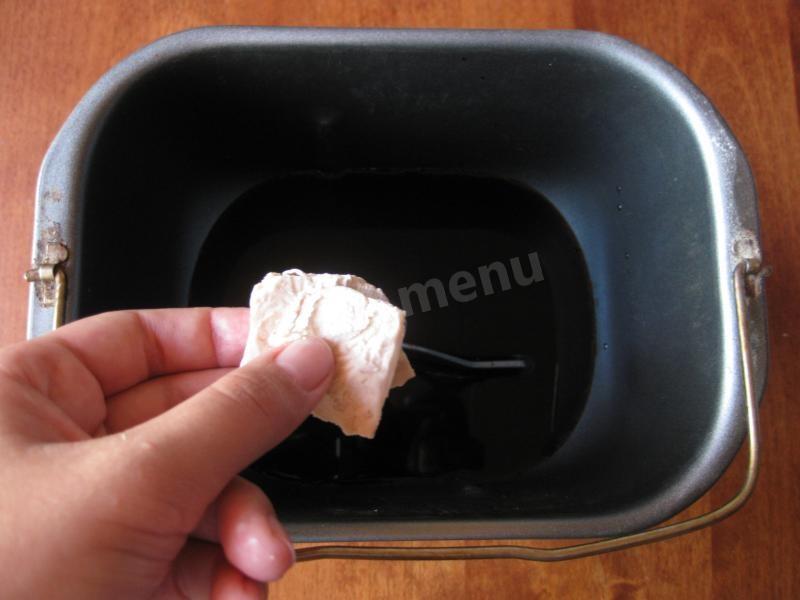
Using dry yeast, it should be borne in mind that they occur in two forms: active and instant (read the instructions carefully before use!).
Active
dry yeast looks like beads or small balls. Before applying them, they must be brought out of the "sleep mode". To do this, the active yeast is diluted in warm sweet water, milk or whey. The formed bubbles, foam or "cap" indicate that the yeast is ready for further use. Active dry yeast must be brought to complete dissolution in the liquid, otherwise, due to the remaining grains, the dough may not rise and the baking will be spoiled (yeast grains that have not dissolved in the liquid and got into the dough will not disperse on their own, which means they will not work).
Instant
dry yeast is easier to use. They do not need to be activated before use. Such yeast, along with other ingredients, is simply added to the dough. As a result, the baking time is reduced.
It should also be remembered that both types of dry yeast may differ in their activity from different manufacturers.
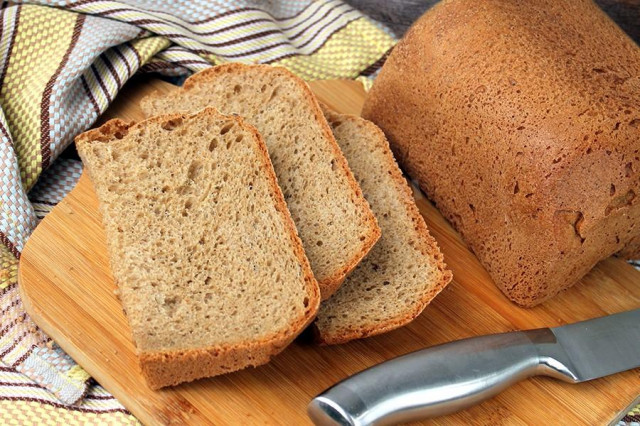
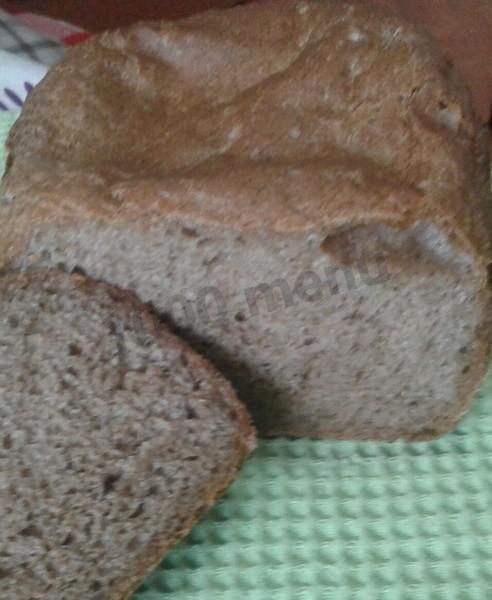
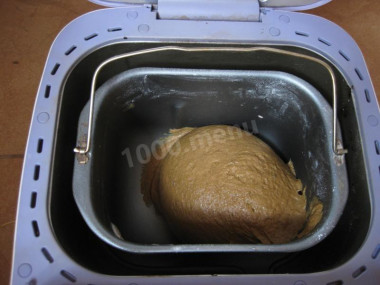
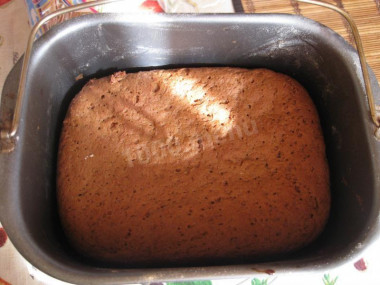
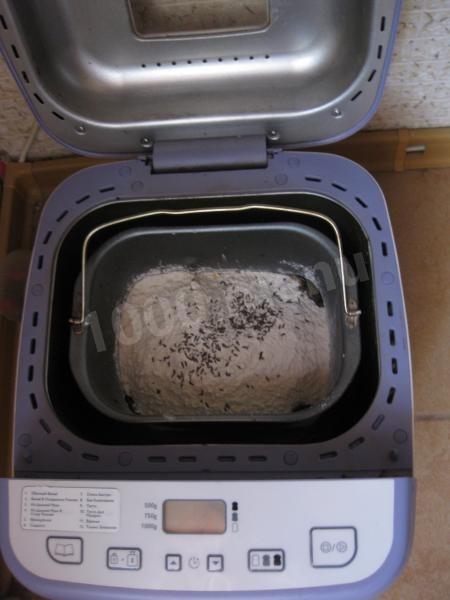
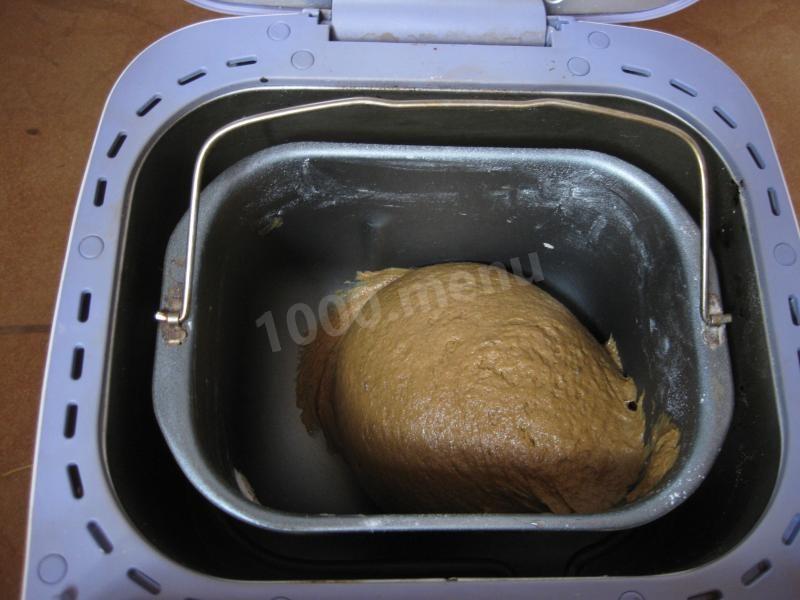
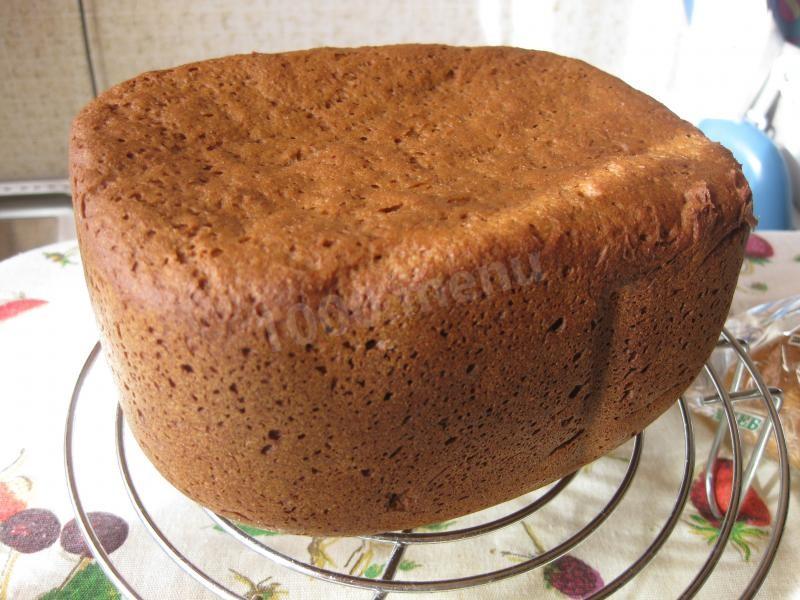
Now we put the gluten-free program on the bread maker, put our dough ingredients in it, carefully close the lid and turn on the oven. The dough should be kneaded well and rise noticeably, for which we leave it in the bread maker for about an hour. When this time has passed, turn off the "gluten-free" mode. After that, turn on the "baking" mode for about an hour and a half. After this time, our bread is ready!
The time and modes are approximate and may vary depending on the model and brand of your bread maker.
Caloric content of the products possible in the composition of the dish
- Honey - 400 kcal/100g
- Whole durum wheat flour fortified - 333 kcal/100g
- Whole durum wheat flour universal - 364 kcal/100g
- Flour krupchatka - 348 kcal/100g
- Flour - 325 kcal/100g
- Cumin - 333 kcal/100g
- Vegetable oil - 873 kcal/100g
- Water - 0 kcal/100g
- Wheat flour - 325 kcal/100g
- Table salt - 0 kcal/100g
- Malt - 361 kcal/100g
- Dry yeast - 410 kcal/100g