
Composition / ingredients
Step-by-step cooking
Step 1:
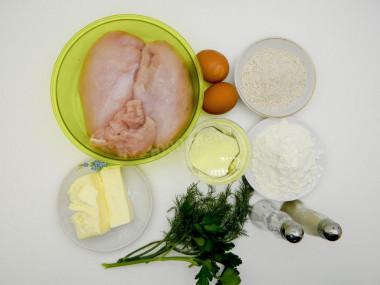
How to make Kiev cutlets from minced chicken? Prepare the products. Chicken breast fillet is best suited for minced meat. Take any greens — I took parsley and dill. Remove the butter from the refrigerator about an hour before cooking — it should become soft. Choose high-quality and natural oil, without vegetable fats.
Step 2:
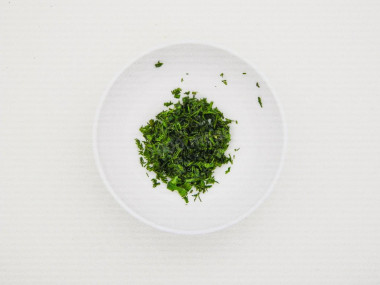
Remove the tough stems and flaccid leaves from the greens, rinse, dry and finely chop.
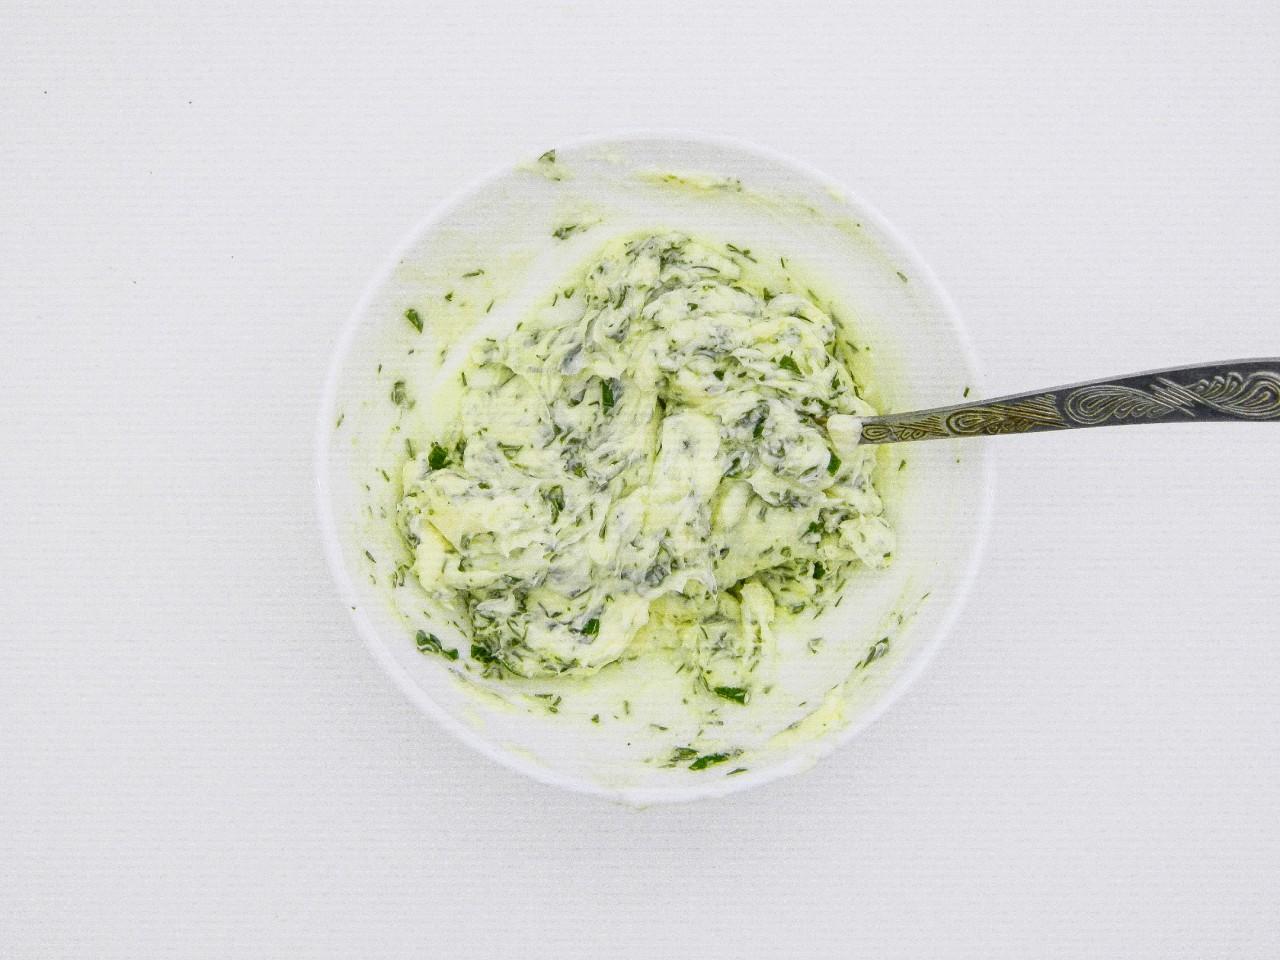
Step 3:
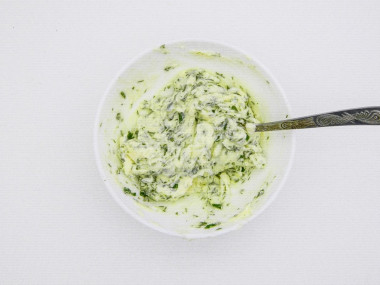
Mix the chopped greens with soft butter. A homogeneous mass should be obtained. You can grind it with a blender. I just stirred with a spoon.
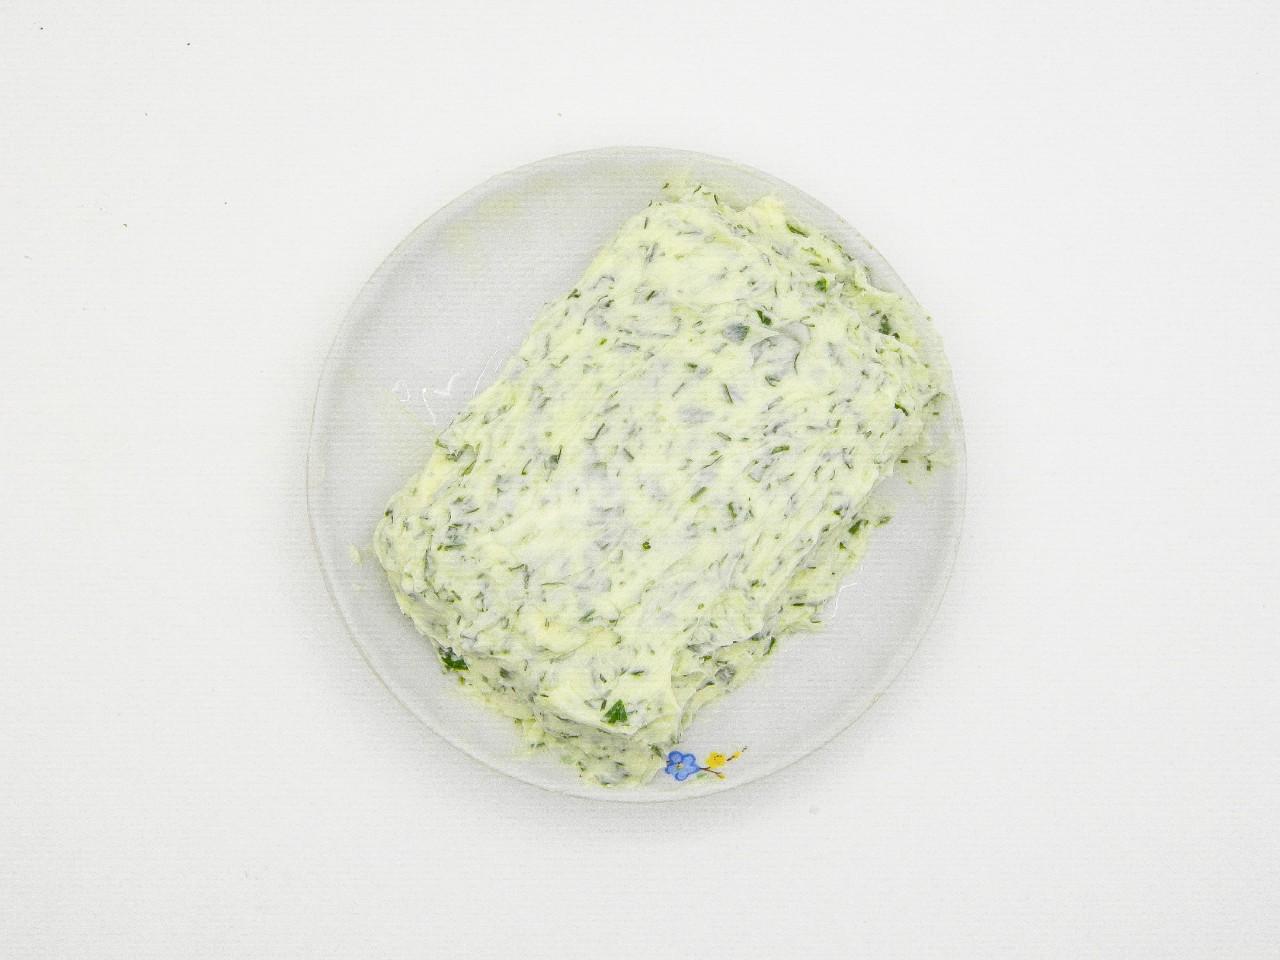
Step 4:
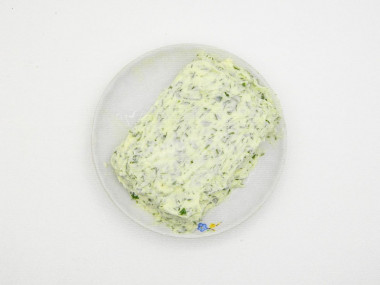
Form a briquette from the resulting mass, which will then be conveniently divided into 4 identical pieces (see step 7), and put it in the refrigerator or freezer. The resulting filling of green oil should become solid.
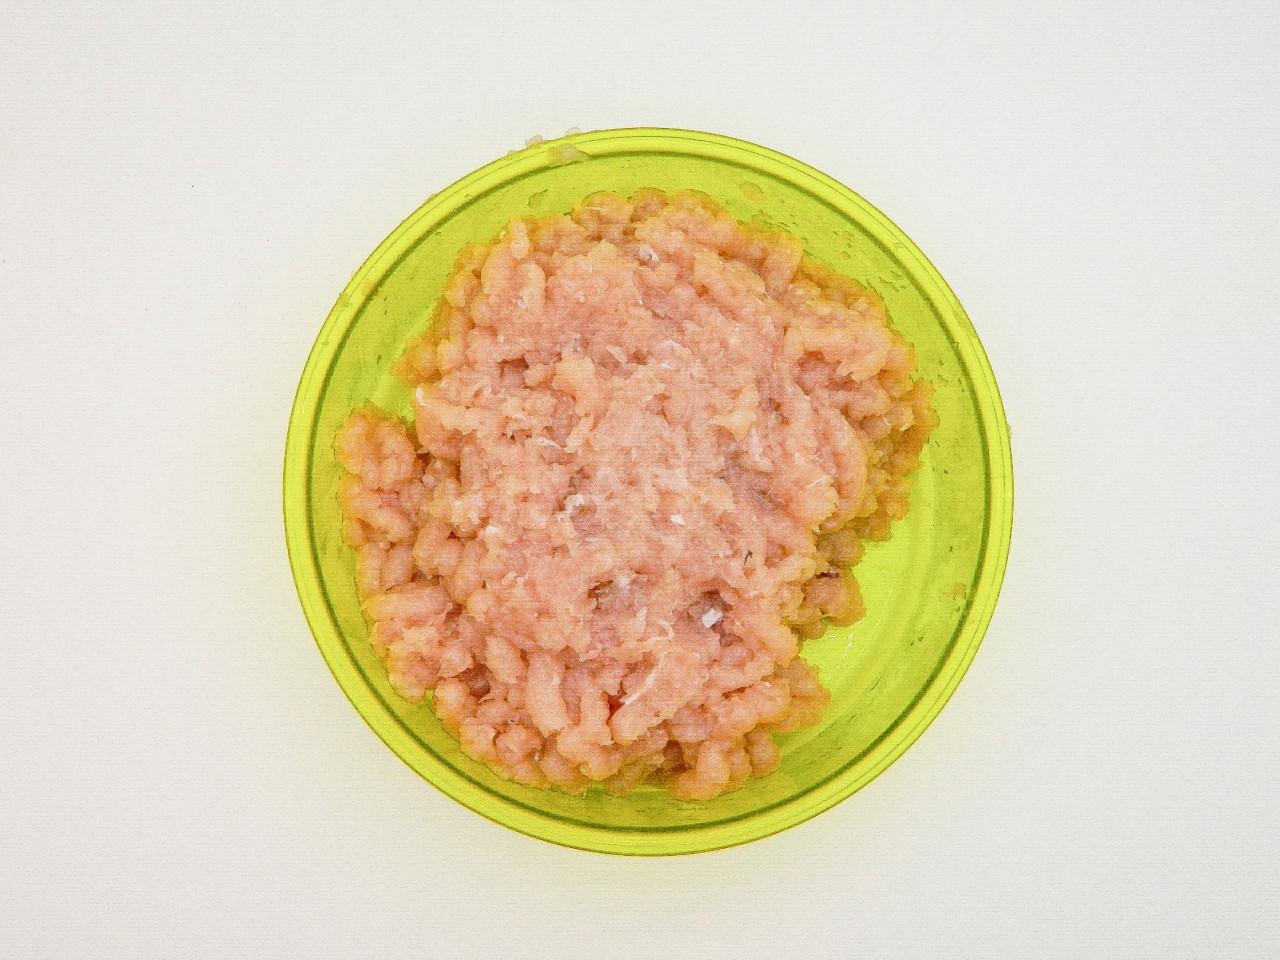
Step 5:

Prepare the minced meat. To do this, rinse the chicken fillet under running water and dry with paper towels to remove excess water. Then twist twice in a meat grinder with small or medium holes.
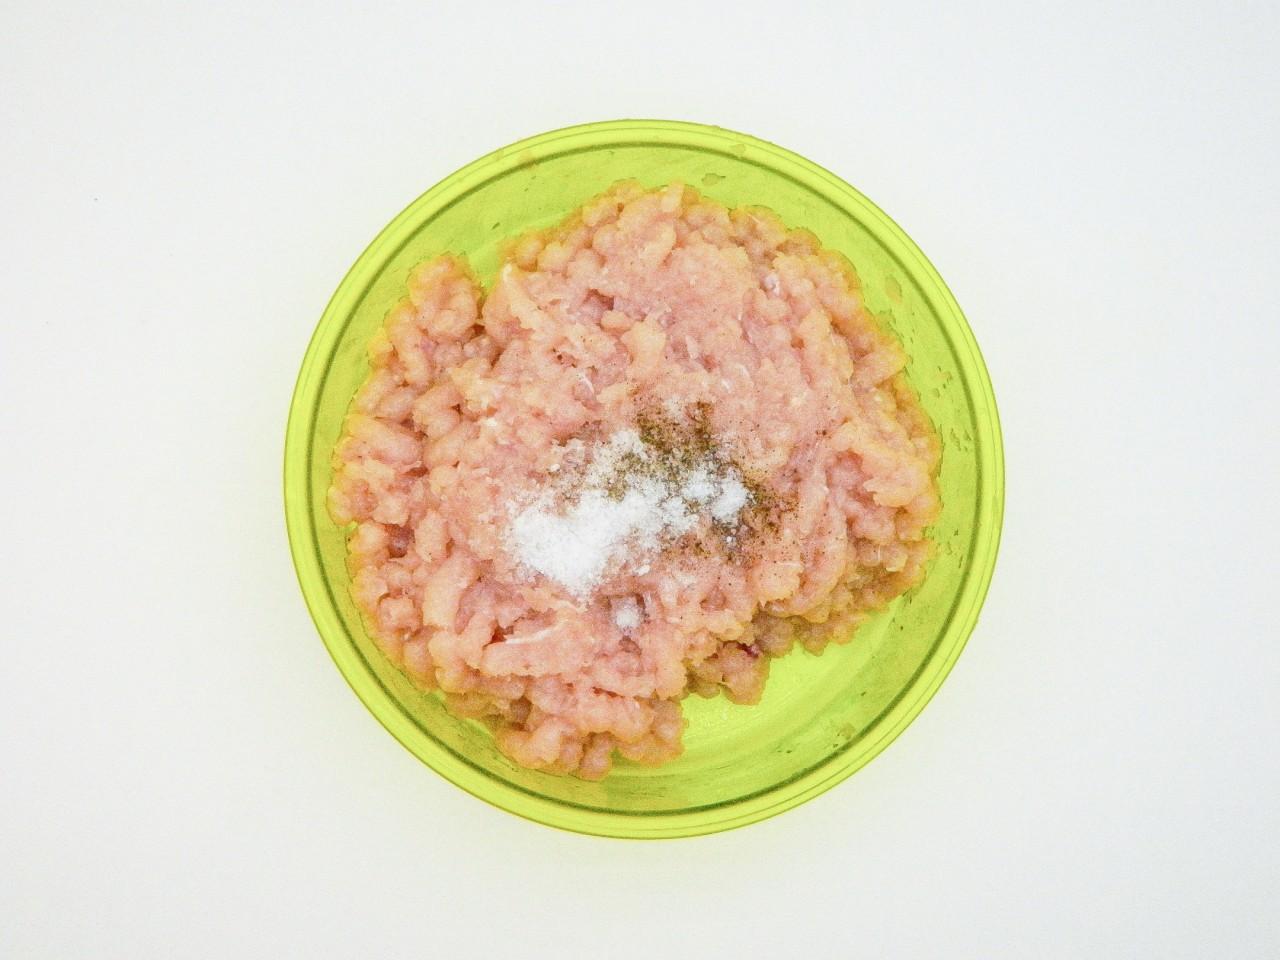
Step 6:

Add salt and pepper to the minced meat.
Step 7:
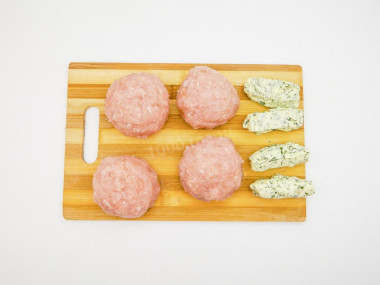
Carefully knead the minced meat until smooth, divide it into 4 identical parts and form a ball from each. Divide the cooled filling into 4 identical parts.
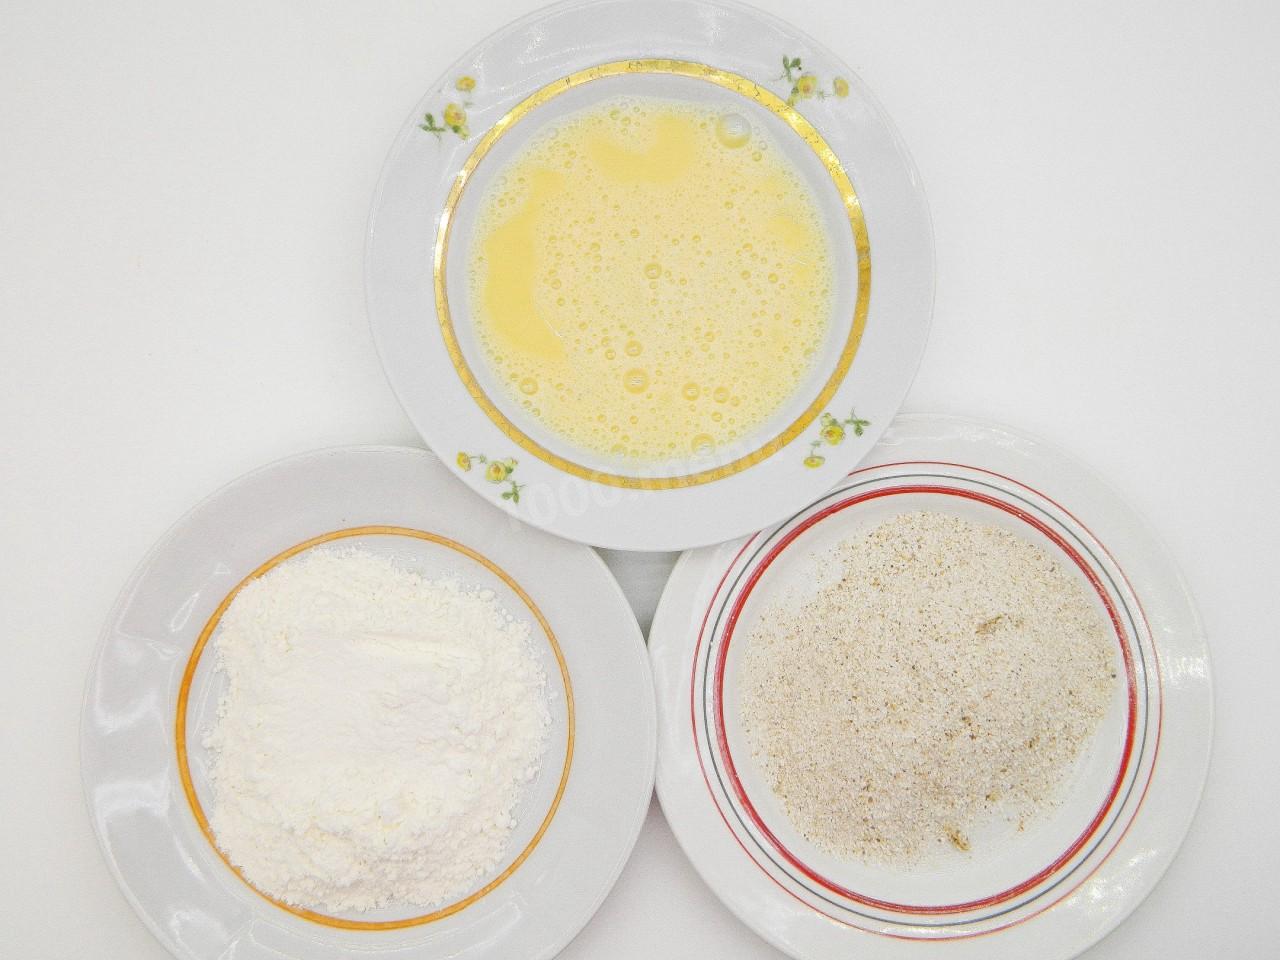
Step 8:

For breading, pour the flour and breadcrumbs into flat plates. For eggs, take a not very deep wide plate. Wash the eggs, wipe with a towel and whisk with a whisk or fork until smooth. It is not necessary to beat until a thick foam forms.
Step 9:
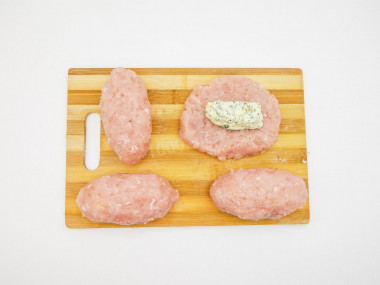
Form the cutlets. To do this, flatten the ball into a flat cake with a diameter of about 10 cm, put the filling in the middle and gently pinch the edges to make an oblong patty. Then gently squeeze the patty with your palm from all sides so that the minced meat tightly wraps the filling.
Step 10:
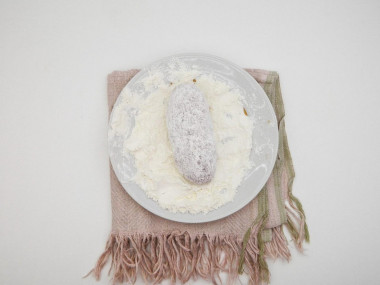
Roll the cutlet on all sides in flour.
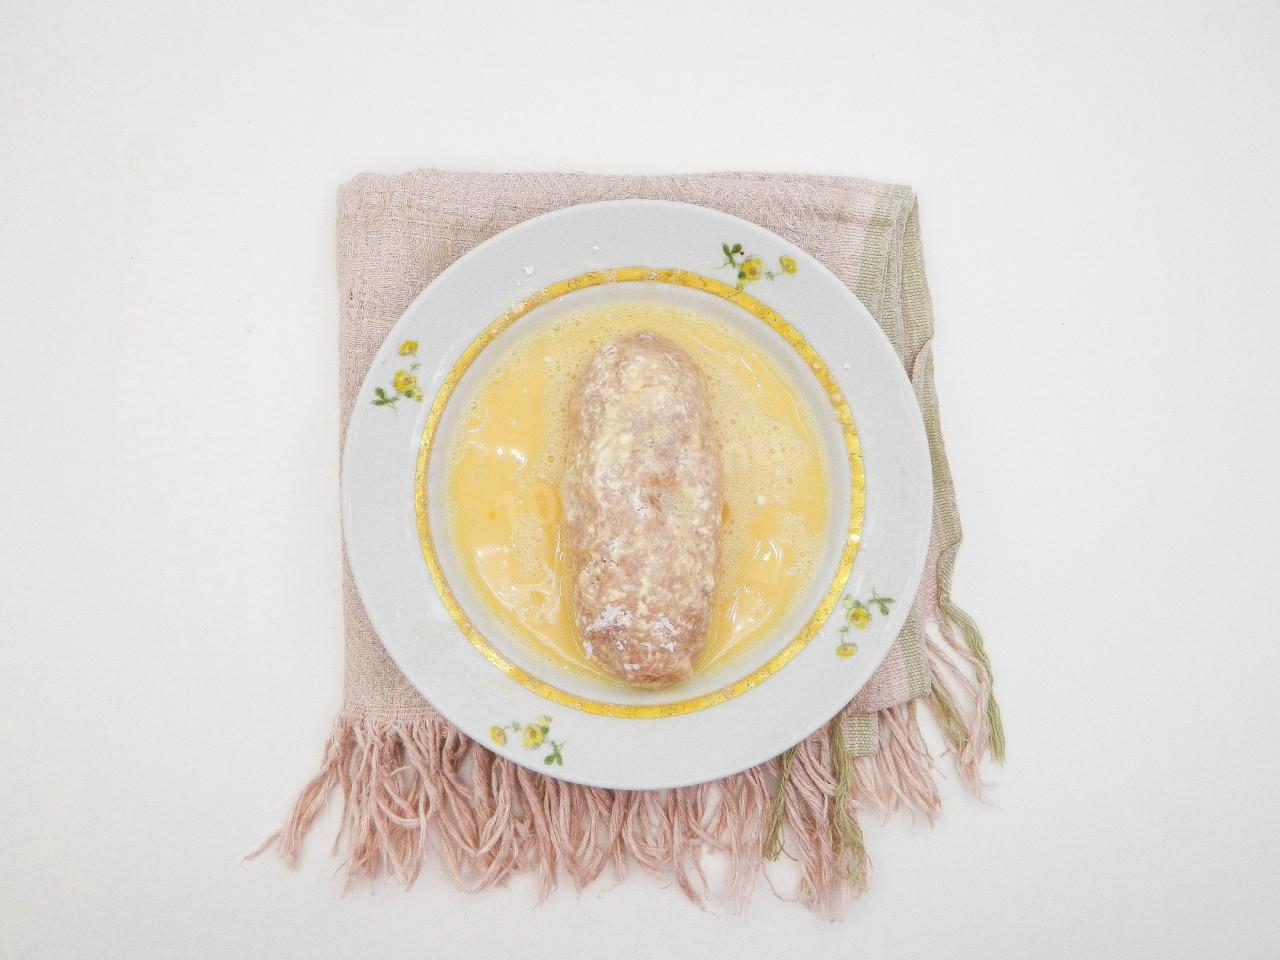
Step 11:
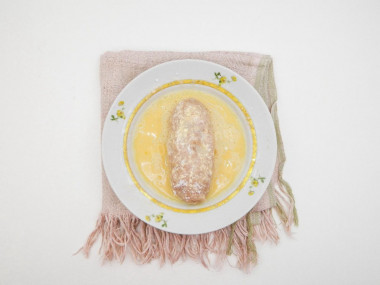
Transfer to a plate with beaten eggs and dip the cutlet on all sides.
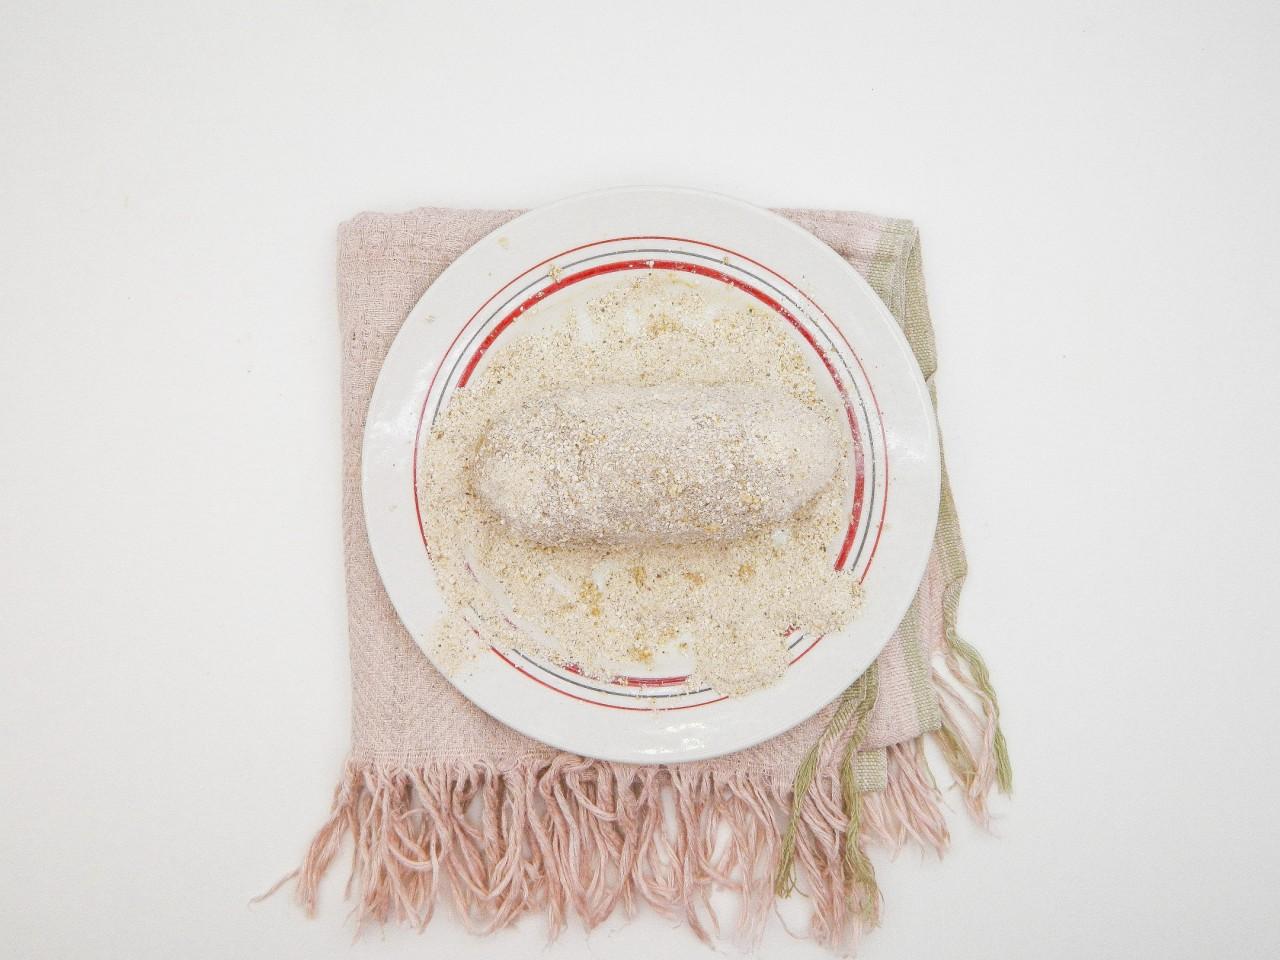
Step 12:

Then roll the cutlet in breadcrumbs. Durable multi-layer breading will not allow the oil to leak out. This is very important, because if the oil leaks out, the taste of the cutlets will be spoiled. For more confidence, repeat steps 11 and 12 — once again dip the cutlet first in the egg, and then in breadcrumbs.
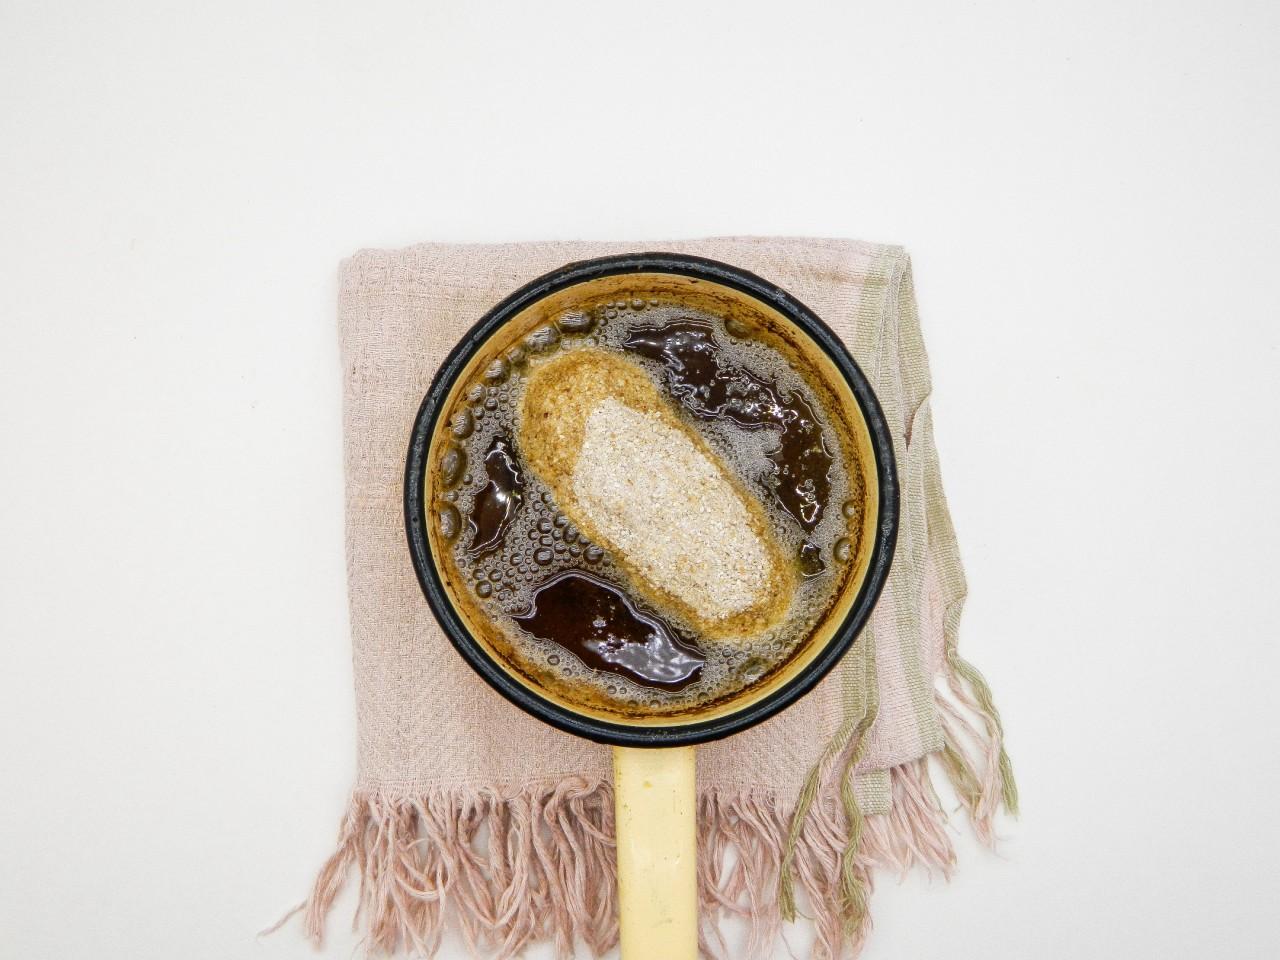
Step 13:

Whatever deep-frying dishes you take, pour enough oil so that the cutlets drown in it almost half. Heat the oil over medium heat, because it is dangerous to work with hot oil and you can get burned. In order for the oil not to splash, you can add a pinch of salt to it, it will absorb moisture, if there is any. Dip the cutlets in the butter. Stir them with a slotted spoon so that they are evenly baked and do not stick to the bottom.
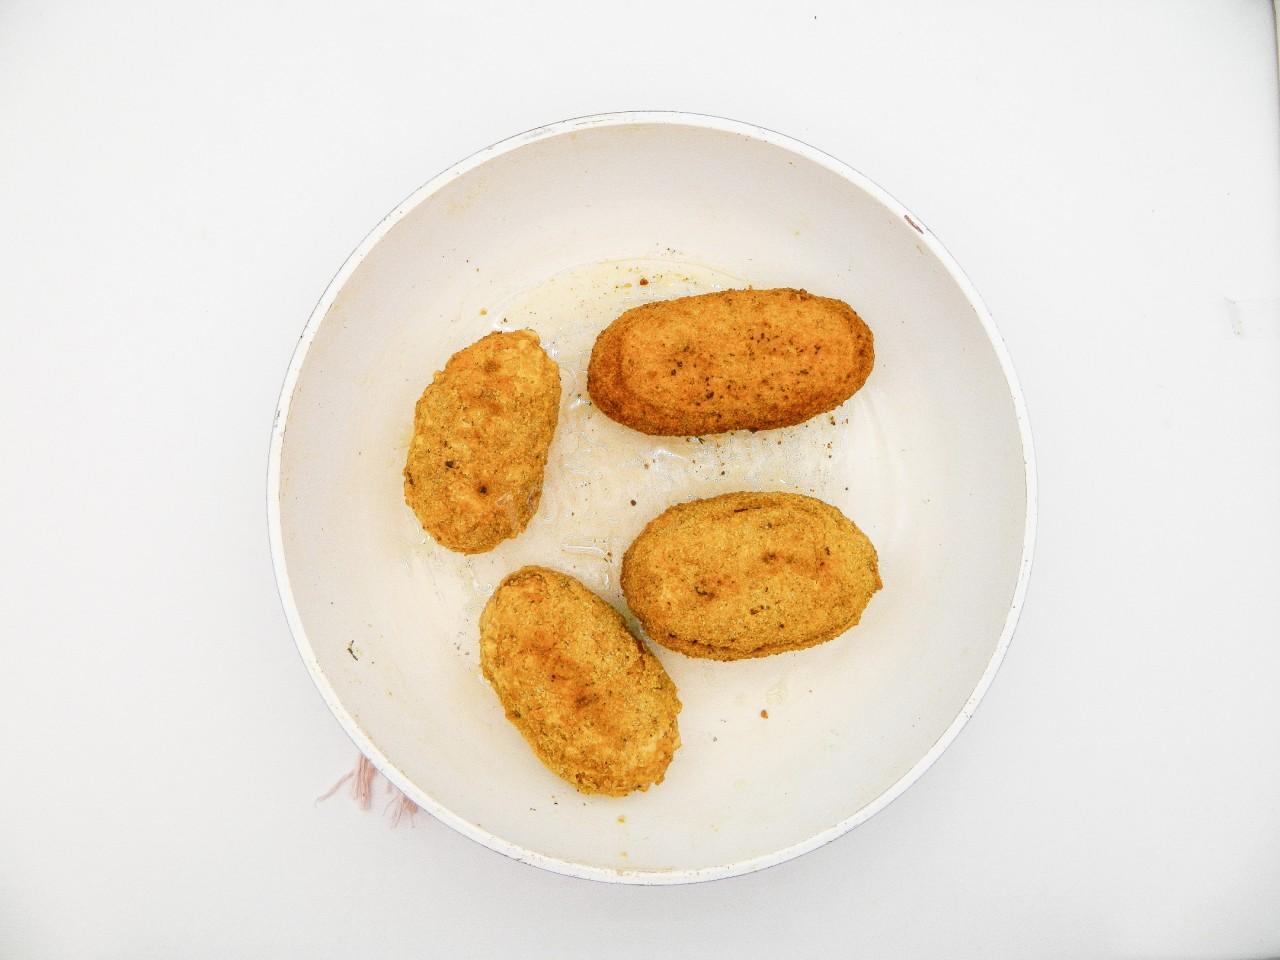
Step 14:

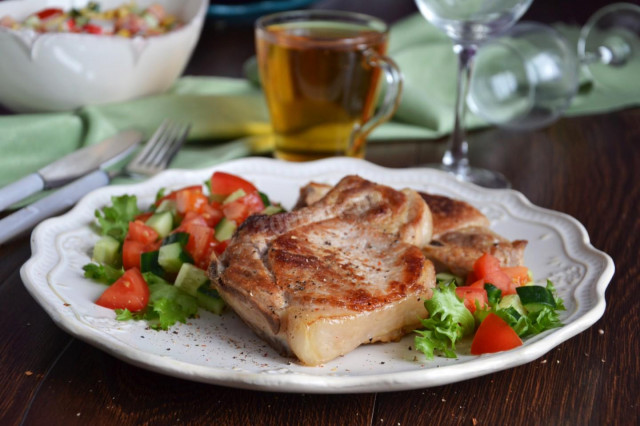
If you see that the cutlets darken too quickly, turn down the heat. Fry them until golden brown on all sides. It took me about 2 minutes on each side. Put the finished cutlets in a heat-resistant mold and put them in a preheated 180 degree oven for 15 minutes. There they will finally catch up. Serve the Kiev-style cutlets with any side dish, always hot. Bon appetit!


Important! An incorrectly selected frying pan can ruin even the best recipe. All the details on how to choose the perfect frying pan for different dishes read here .
Any oils are useful only until a certain temperature is reached - the point of smoking, at which the oil begins to burn and toxic substances, including carcinogens, are formed in it. How to determine the roasting temperature and choose the best oil for frying, and which is better not to use at all, read here .
To check whether the oil has warmed up well enough in the pan, you can do it in a simple way. Lower a wooden spatula into it. If bubbles have gathered around it, then you can start the frying process.
Caloric content of the products possible in the composition of the dish
- Ground black pepper - 255 kcal/100g
- Butter 82% - 734 kcal/100g
- Amateur unsalted butter - 709 kcal/100g
- Unsalted peasant butter - 661 kcal/100g
- Peasant salted butter - 652 kcal/100g
- Melted butter - 869 kcal/100g
- Salt - 0 kcal/100g
- Wheat flour - 325 kcal/100g
- Sunflower oil - 898 kcal/100g
- Refined sunflower oil - 899 kcal/100g
- Fresh frozen soup greens in a package - 41 kcal/100g
- Greenery - 41 kcal/100g
- Chicken egg - 80 kcal/100g
- Chicken breast (fillet) - 113 kcal/100g
- Breadcrumbs - 347 kcal/100g