

Composition / ingredients
Step-by-step preparation
Step 1:
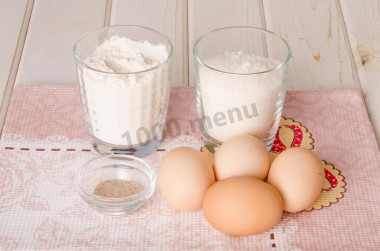
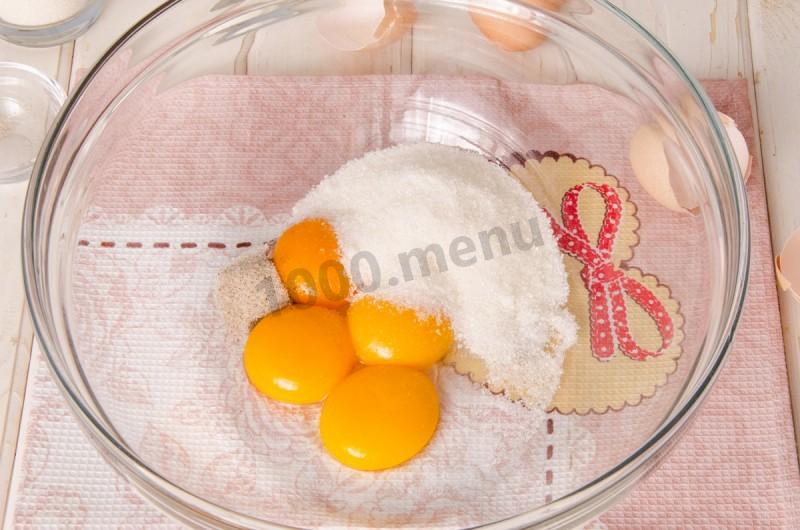
So, to prepare a classic sponge cake, take eggs (large size), sugar, flour and vanilla sugar.
Step 2:

Very carefully, trying not to get the yolk into the whites, we divide the eggs. We set aside the proteins, and add half of all the sugar to the yolks (about 75 g, if you add a little more or less, then it's okay) and all the vanilla sugar.
Step 3:
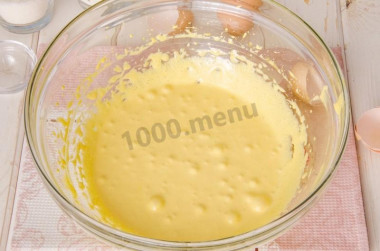
With a mixer at maximum speed, beat the yolks for 5-7 minutes until a very dense and light mass is obtained.
Step 4:

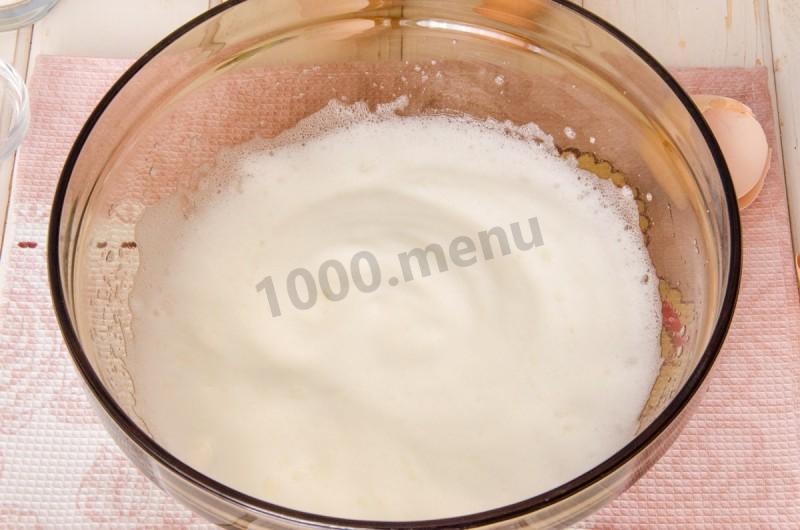
Thoroughly wash and dry the whisk of the mixer and start whipping the whites. First, beat them yourself to soft peaks. We start whipping the proteins at the minimum speed of the mixer and as the proteins begin to increase in volume, we increase the speed.
Step 5:
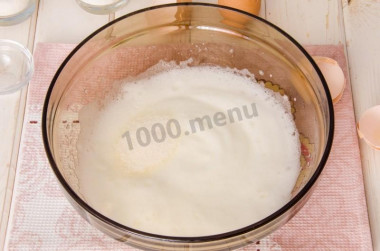
Without stopping whipping, pour the remaining granulated sugar into the proteins in small portions.
Step 6:
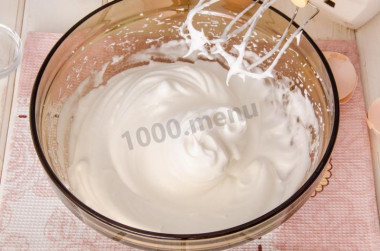
And beat them to firm peaks. The readiness of proteins is checked very simply - we tilt the bowl with proteins to the side and if the protein mass does not seek to escape, then everything is ready.
Step 7:
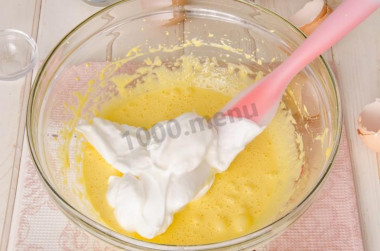
Now we set aside the mixer, we will no longer need it and take a whisk or a spatula. So, add 1/3 of the proteins to the yolks and mix gently until smooth.
Step 8:
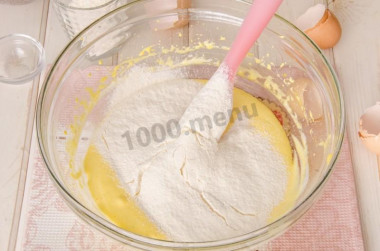
Next, add half of the flour (it must be sifted 1-2 times in advance) and mix again until smooth. Thus, alternating the remaining proteins and flour, knead the dough.
Step 9:
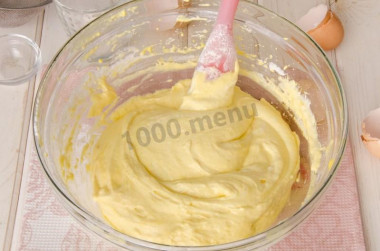
You need to mix the dough very carefully so that it does not lose its volume. By the way, if desired, instead of alternating proteins and flour, you can first introduce all the proteins, and then mix all the flour, this will also be correct, so choose the option that suits you best.
Step 10:
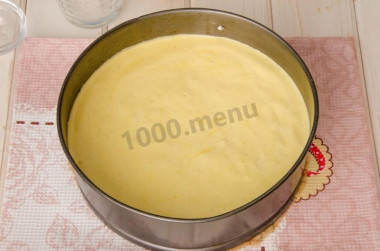
We put the kneaded dough into a baking dish with a diameter of 20-22 cm (I have a shape of 21 cm). The bottom of the mold must first be covered with baking paper, it is better not to lubricate the sides with anything, since during baking the biscuit will grow and "cling" to the sides of the mold.
Step 11:
Bake the sponge cake in a preheated 180 C oven for 40 minutes. During baking, we do not open the oven for the first 25 minutes, since the biscuit may fall off from the temperature drop. And the baking time can also vary significantly, since everyone has different ovens, so we definitely check the readiness with a wooden skewer.
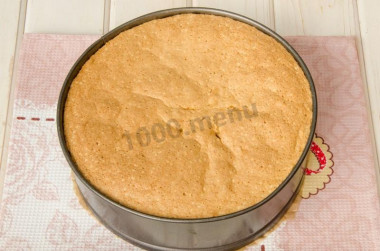
Step 12:
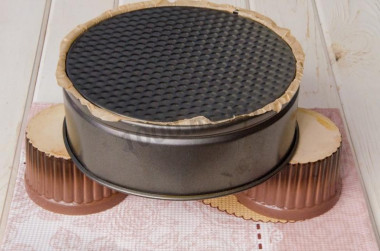
Take the biscuit out of the oven and leave to cool. To do this, you can immediately rearrange it in the form on the grill and leave it so until it cools down completely, but since such a biscuit turns out to be very light and tender and during cooling it can sink slightly under its own weight, then I cool it upside down.
Step 13:
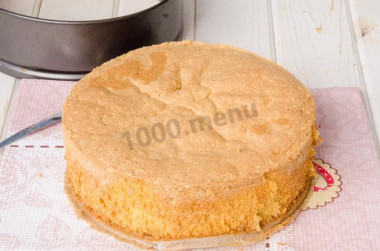
Completely cooled sponge cake is released from the mold. To do this, take a long and narrow knife and pass it along the sides.
Step 14:

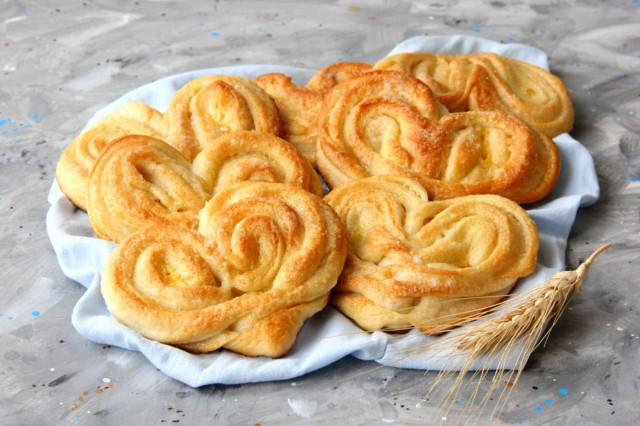
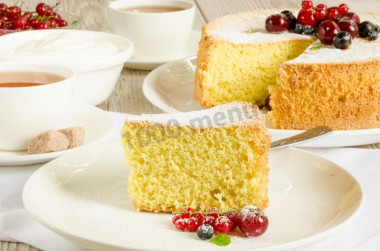
This is the kind of handsome it turns out, it is exactly 6 cm high and it can easily be cut into 3 cakes. But before you cut the biscuit into cakes, it is better to let it lie for 8-12 hours, during this time the biscuit will slightly thicken and crumble less during cutting, but, if desired, this stage can be skipped if there is no time.
Step 15:

This sponge cake is perfect for making cakes or pastries, but other than that it is delicious on its own.
Step 16:
Bon appetit!


Be prepared for the fact that flour may need more or less than indicated in the recipe. Focus not on the amount of flour, but on the desired consistency of the dough. To avoid mistakes, read about flour and its properties!
Keep in mind that everyone's ovens are different. The temperature and cooking time may differ from those specified in the recipe. To make any baked dish successful, use useful information about the features of ovens !
So that the oven has time to heat up to the desired temperature, turn it on in advance (10-20 minutes before the start of cooking).
All the secrets of making a tall, beautiful, lush sponge cake read the article about the biscuit dough .
Caloric content of the products possible in the composition of the dish
- Whole durum wheat flour fortified - 333 kcal/100g
- Whole durum wheat flour universal - 364 kcal/100g
- Flour krupchatka - 348 kcal/100g
- Flour - 325 kcal/100g
- Granulated sugar - 398 kcal/100g
- Sugar - 398 kcal/100g
- Vanilla sugar - 379 kcal/100g
- Chicken egg - 80 kcal/100g