


Composition / ingredients
Step-by-step cooking
Step 1:
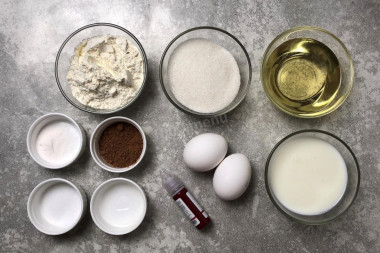
How to make a classic Red Velvet cake at home? Prepare the products. First for making cakes. Initially, buttermilk is used in the recipe, but in the absence of it, it is successfully replaced with kefir. Take it out of the refrigerator in advance so that it warms up. Take large eggs. Be sure to wash them and dry them.
Step 2:
Sift flour and cocoa into a large bowl. Add sugar, soda and salt. Cocoa is added to enhance the color of the cakes. If you like a more chocolate flavor, add more of it, but then the color of the cakes will be darker. You can add more vanilla. Keep in mind that you may take more or less flour than me. Be guided by the consistency of the dough.
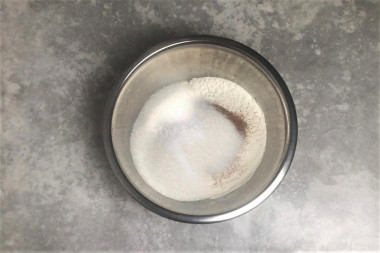
Step 3:
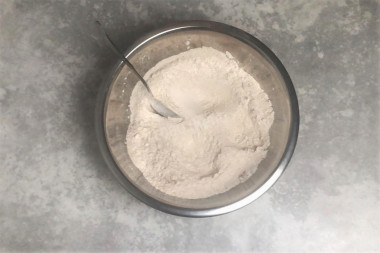
Mix the dry ingredients.
Step 4:
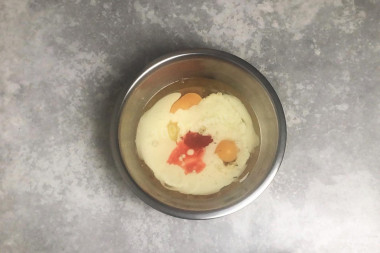
In another bowl, break the eggs. Pour in kefir and vegetable oil. Leave a little kefir. Pour gel dye into it and mix. The amount of dye can also adjust the color of the cakes. The more of it, the richer the color. Keep in mind that after baking, the color will fade. Pour the colored kefir into a bowl. Add vinegar and vanilla extract if using it.
Step 5:
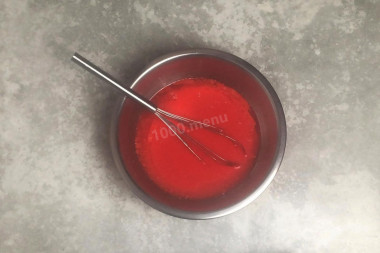
Mix the liquid ingredients with a whisk.
Step 6:
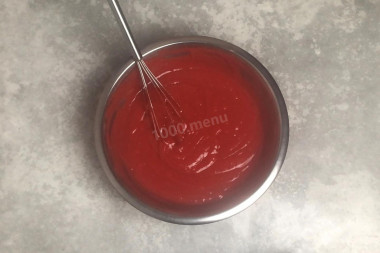
Pour the liquid ingredients into the dry ones. Mix them with a whisk or mixer. A homogeneous mass should be obtained.
Step 7:
Prepare the baking pans. The cake can be baked in separate cakes, then 3 forms will be needed. I baked in a ring, its diameter is 20 cm. The bottom is made of a double layer of foil. Pour the dough into molds — three or one, like mine. Pre-lubricate the molds with a small amount of vegetable oil.
Step 8:

Bake the cake in the oven at 180 ° C, top-bottom mode. If one, then 50-60 minutes, if three, then one after the other and 30 minutes each. Determine readiness with a wooden stick — it should come out of the cake dry. Determine the exact time and temperature of baking according to your oven.
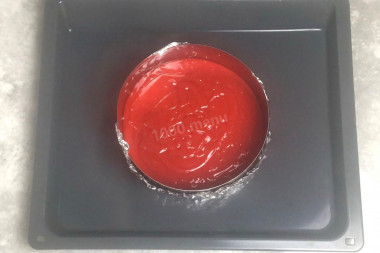
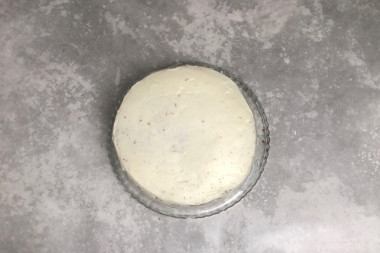
Step 9:

Cool the finished cake. Cut it into three pieces. My cap on the biscuit rose a lot, I cut it off and used it for decoration.
Step 10:
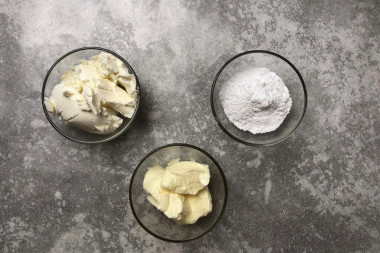
Prepare the products for the cream. Take Philadelphia-type cheese, cream or cottage cheese, without additives. The cheese should be warm. Remove the oil from the refrigerator in advance, it should become soft. I took the minimum amount of powder. You can increase it to your liking. You can add vanilla or vanilla extract to the cream, I did not add it.
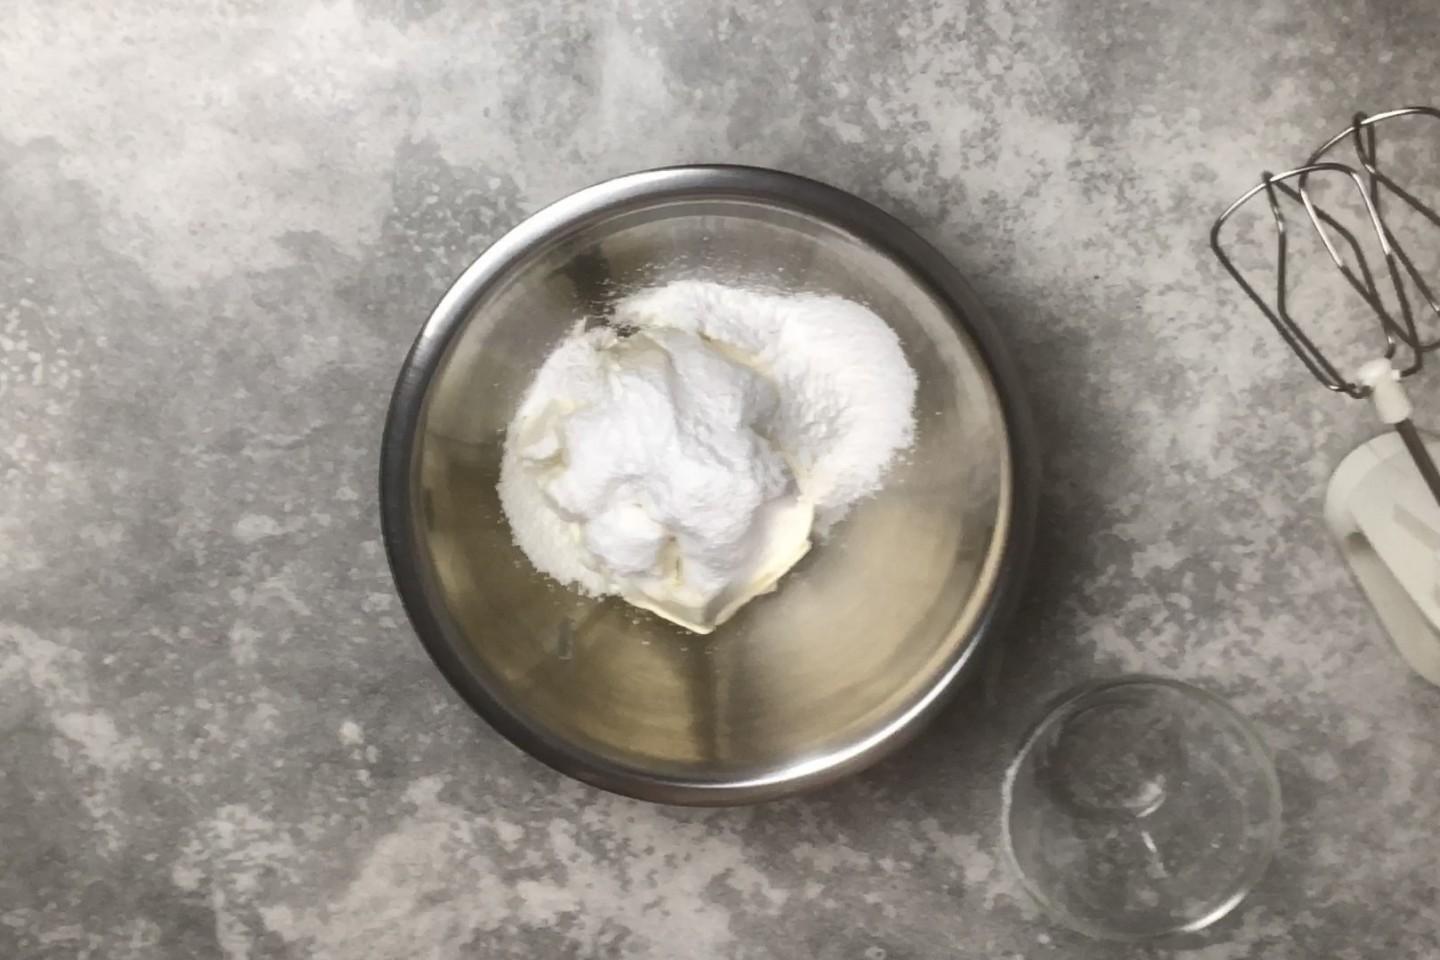
Step 11:

Put the cheese and butter in a bowl. Sift powdered sugar to them. This will get rid of her lumps.
Step 12:
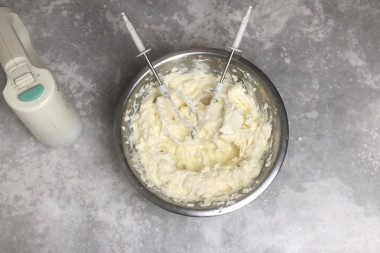
Beat the cream on a high speed mixer until a fluffy light mass.
Step 13:
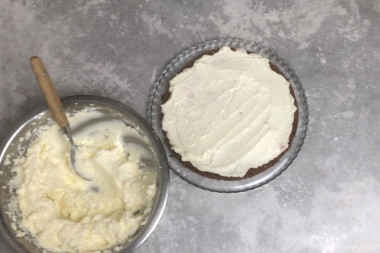
Smear the cakes with cream.
Step 14:
Also coat the top and sides of the cake. Put the cake in the refrigerator for a couple of hours to stabilize the cream.
Step 15:
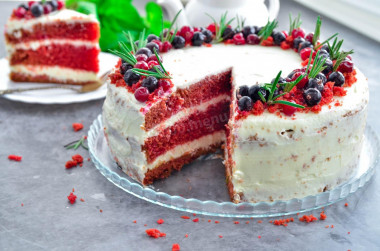
Decorate the cake to your liking. I used berries and crumbs from cakes. Strawberries and pomegranates look beautiful. You can just sprinkle the top with crumbs.


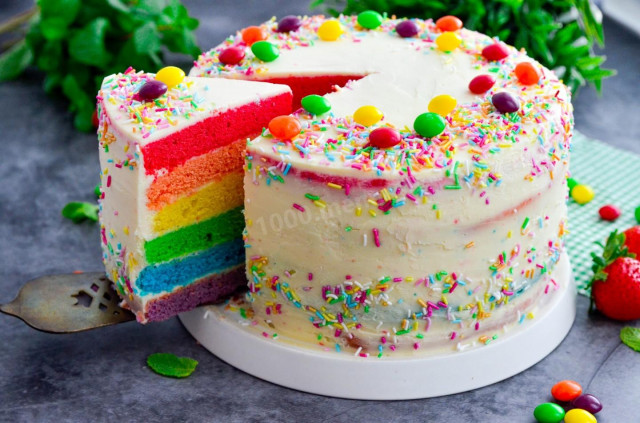
Very delicious cake! The cakes are soft, porous, they do not even need to be soaked. The cream is thick, holds its shape well. I would increase its amount to coat the cake with a thicker layer.
Be sure to wash the eggs before use, as even the seemingly clean shell may contain harmful bacteria. It is best to use food detergents and a brush.
Be prepared for the fact that flour may need more or less than indicated in the recipe. Focus not on the amount of flour, but on the desired consistency of the dough. To avoid mistakes, read about flour and its properties!
Keep in mind that everyone's ovens are different. The temperature and cooking time may differ from those specified in the recipe. To make any baked dish successful, use useful information about the features of ovens !
Caloric content of the products possible in the composition of the dish
- Chicken egg - 157 kcal/100g
- Egg white - 45 kcal/100g
- Egg powder - 542 kcal/100g
- Egg yolk - 352 kcal/100g
- Ostrich egg - 118 kcal/100g
- Whole durum wheat flour fortified - 333 kcal/100g
- Whole durum wheat flour, universal - 364 kcal/100g
- Flour krupchatka - 348 kcal/100g
- Flour - 325 kcal/100g
- Granulated sugar - 398 kcal/100g
- Sugar - 398 kcal/100g
- Kefir fat - 62 kcal/100g
- Kefir of 1% fat content - 38 kcal/100g
- Low-fat kefir - 30 kcal/100g
- Kefir "doctor beefy" 1,8% fat content - 45 kcal/100g
- Kefir 2.5% fat content - 53 kcal/100g
- Butter 82% - 734 kcal/100g
- Amateur unsalted butter - 709 kcal/100g
- Unsalted peasant butter - 661 kcal/100g
- Peasant salted butter - 652 kcal/100g
- Melted butter - 869 kcal/100g
- Vegetable oil - 873 kcal/100g
- Cocoa powder - 374 kcal/100g
- Salt - 0 kcal/100g
- Vanillin - 288 kcal/100g
- Cream cheese with 50% fat content - 349 kcal/100g
- Powdered sugar - 374 kcal/100g
- Baking soda - 0 kcal/100g
- Table vinegar - 11 kcal/100g
- Food coloring - 0 kcal/100g