


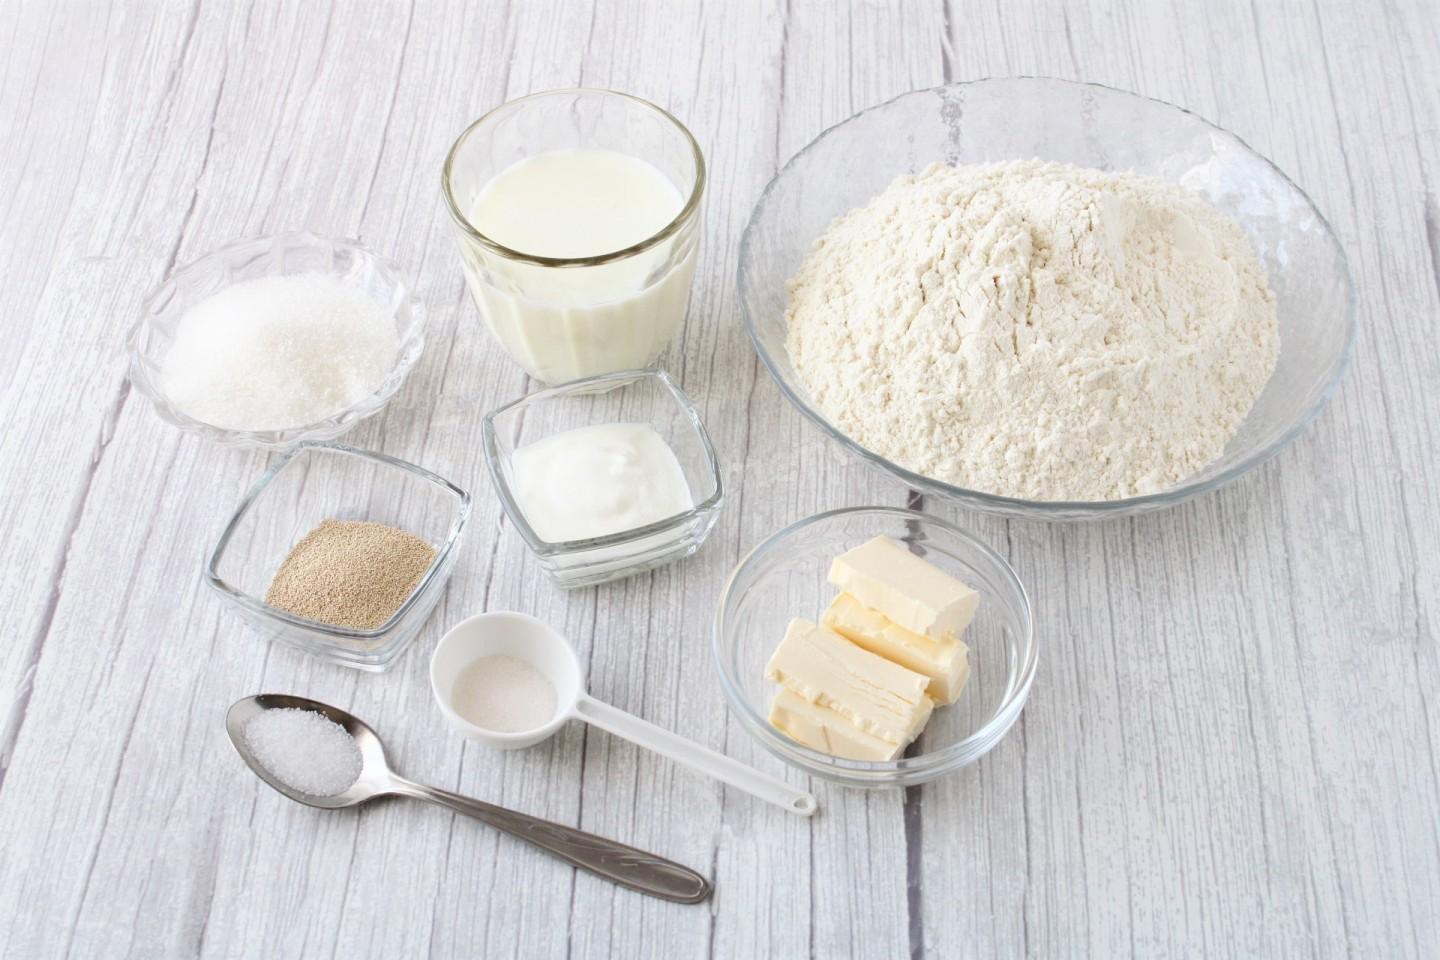
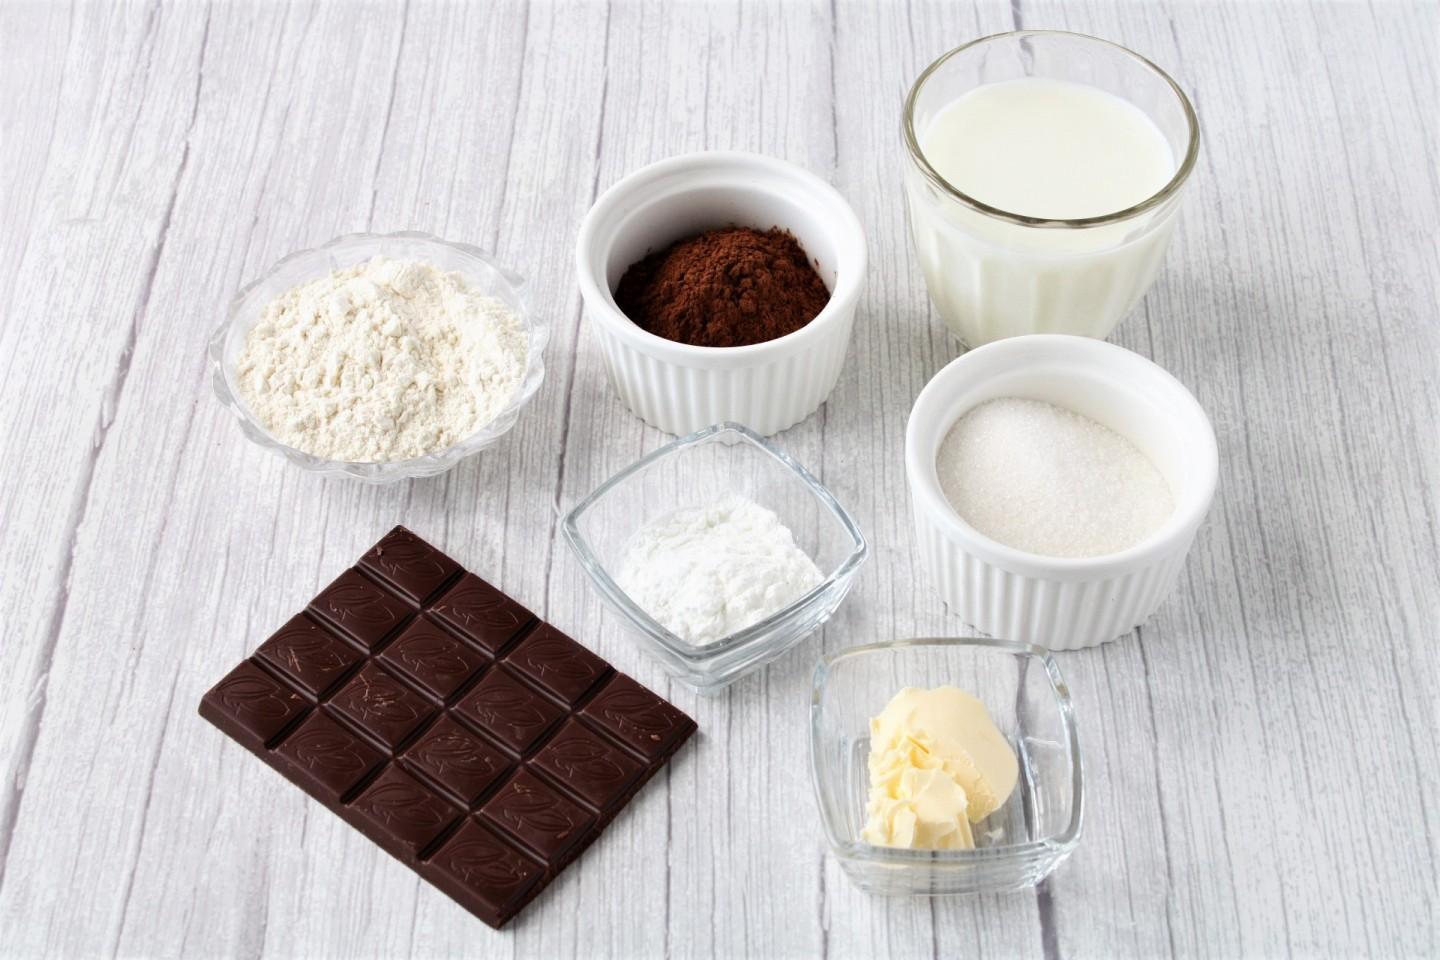
Composition / ingredients
Step-by-step cooking
Step 1:

How to bake buns with chocolate from yeast dough? Measure out the necessary ingredients for making the dough. Take wheat flour of the highest grade. Heat the milk slightly.
Step 2:
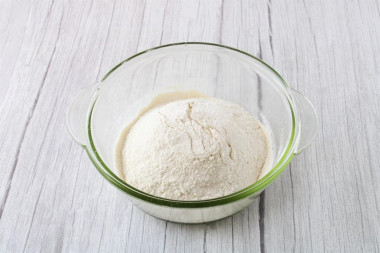
In a wide bowl with high sides, sift the flour. This must be done so that the flour is enriched with oxygen. Then the dough will rise easily and the baking will turn out lush and airy.
Step 3:
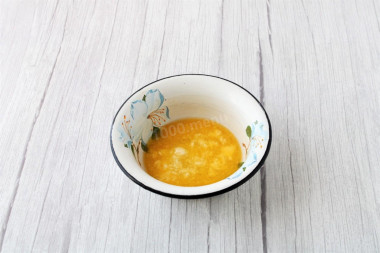
Dissolve the butter over low heat, cool slightly.
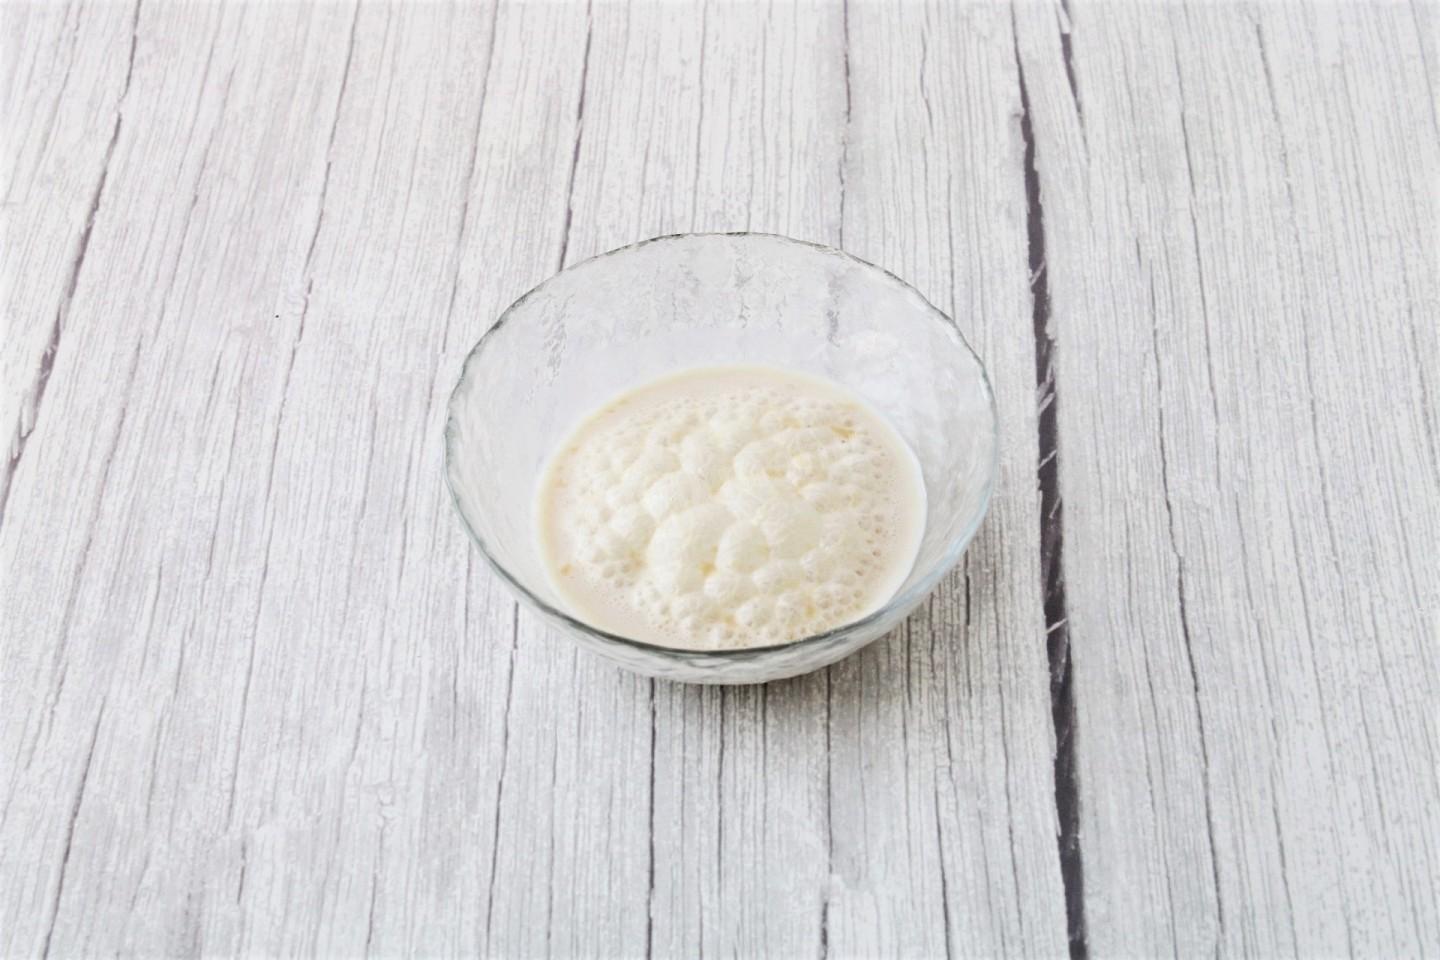
Step 4:
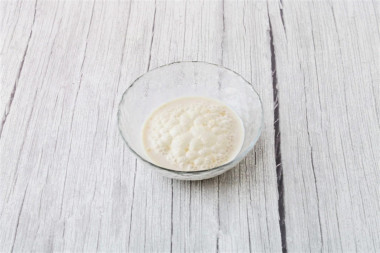
In a small bowl, combine the yeast, 1 tsp of sugar from the total amount and 50 ml of lukewarm milk. Mix everything and leave for 10 minutes to activate the yeast. A foam cap will appear on the surface.
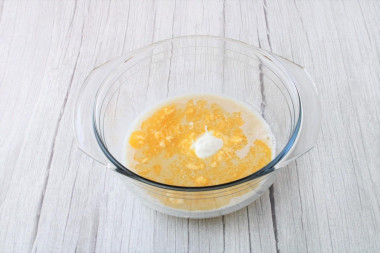
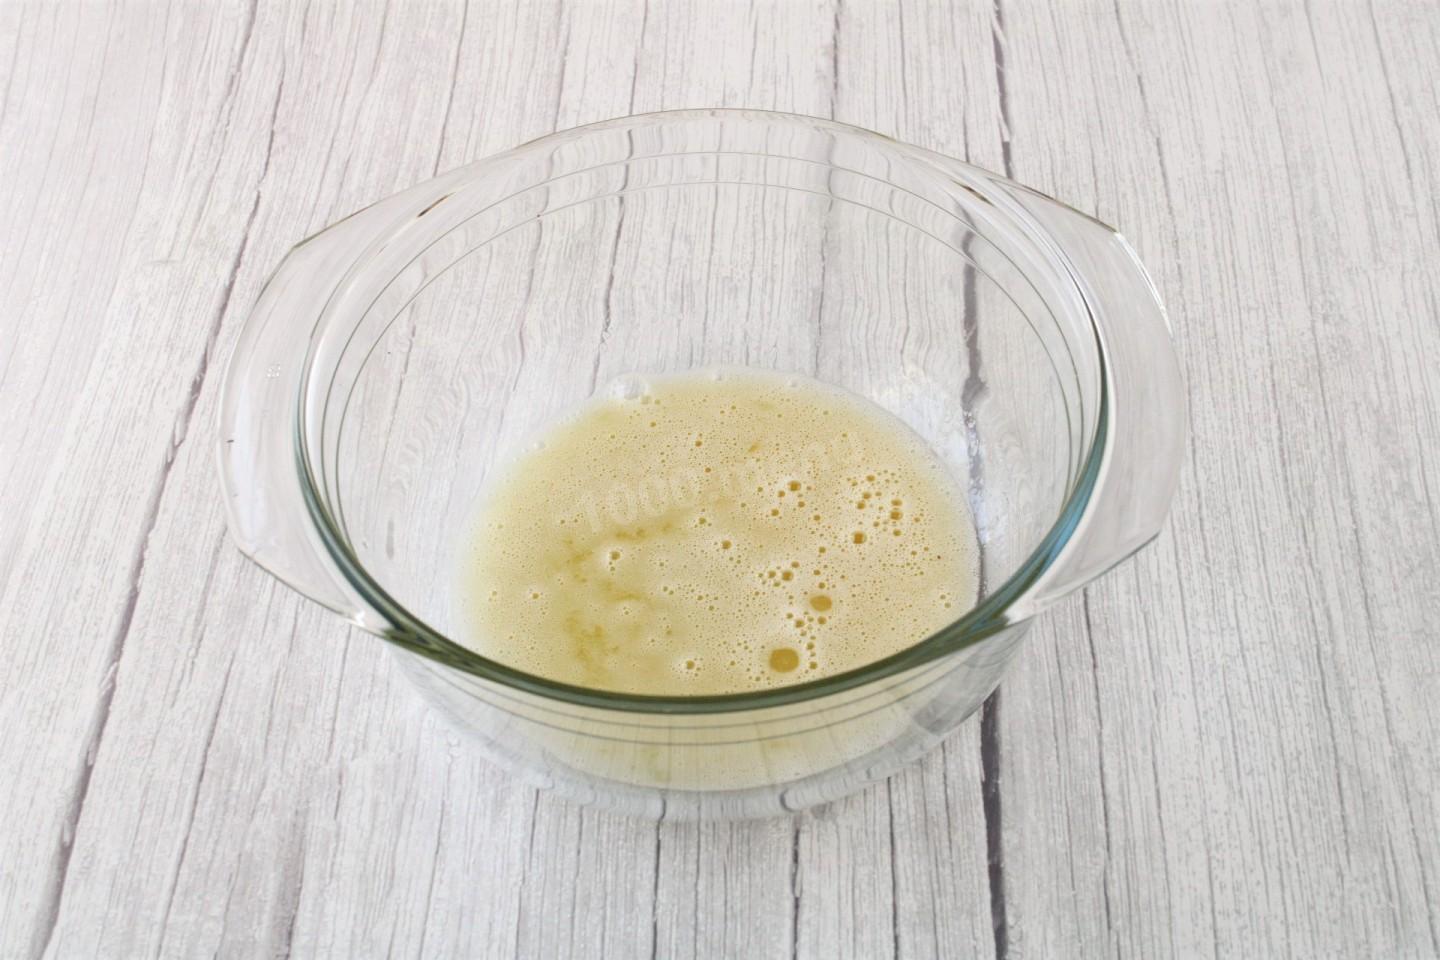
Step 5:
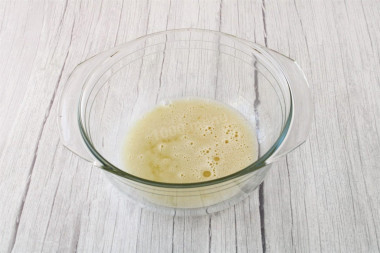
To prepare the dough, choose a spacious, voluminous bowl, taking into account that the dough will rise. Whisk the egg with sugar, salt and vanilla sugar.
Step 6:
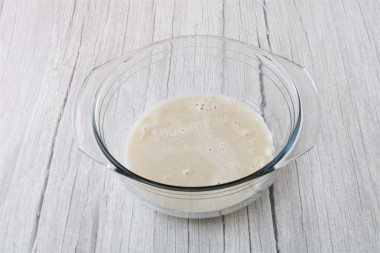
Add activated yeast to the resulting mixture, mix.
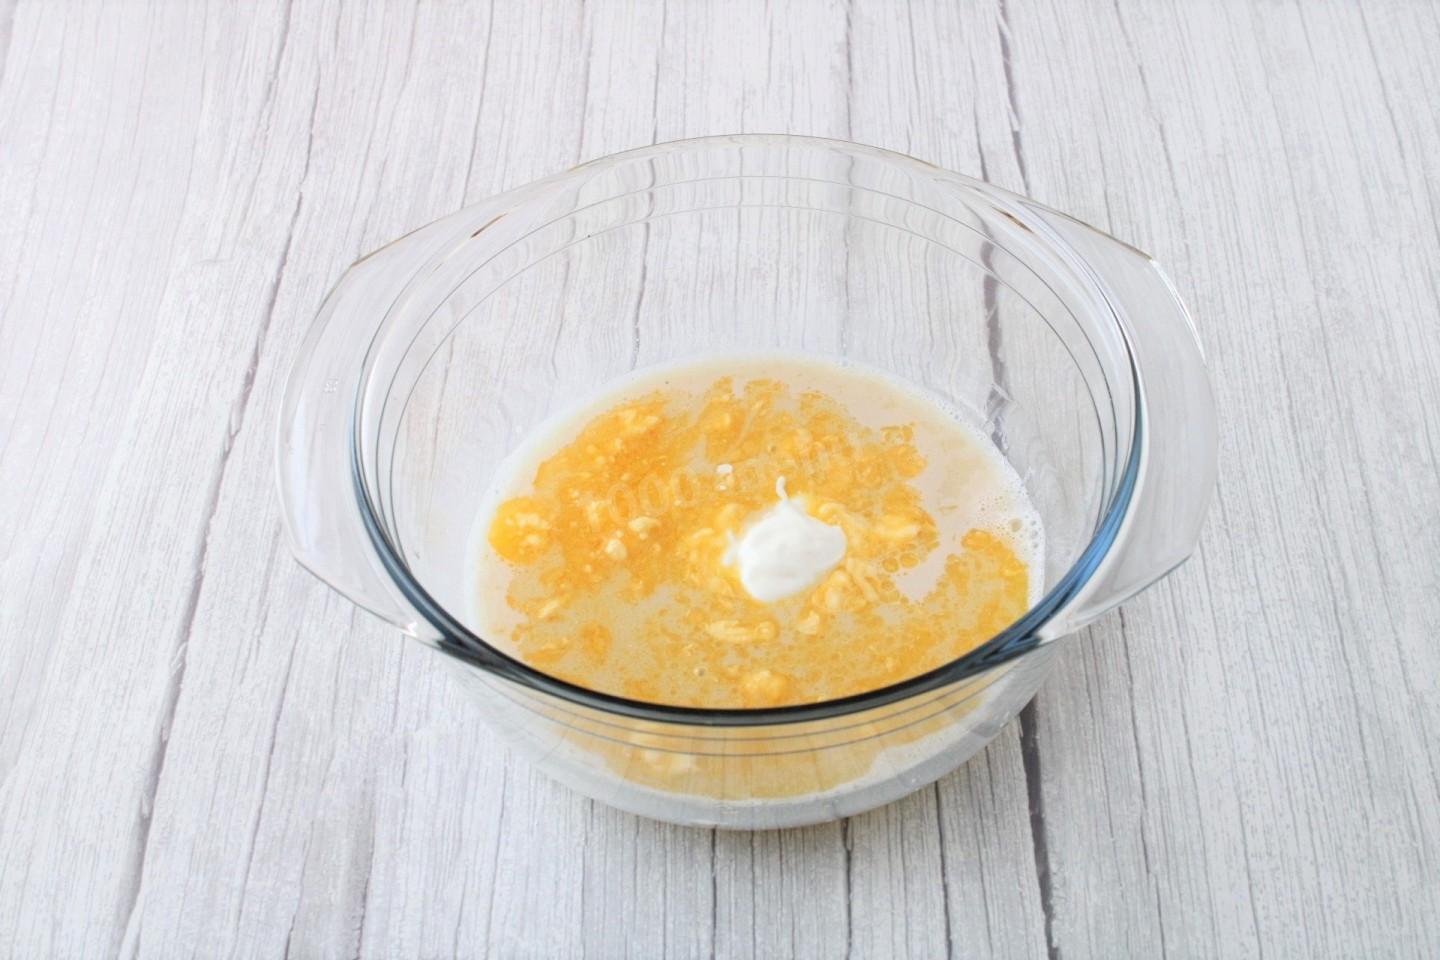
Step 7:
Add the melted non-hot butter and sour cream. Mix well.
Step 8:
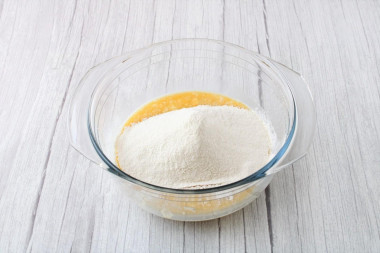
Add about 3/4 of the sifted flour. Flour has different properties, so it may need more or less than the specified amount. Do not pour out all the flour at once, so as not to make the dough dense and tight. Mix everything first with a spoon.
Step 9:
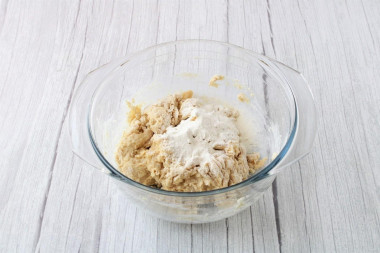
Add the rest of the flour in small portions, while stirring the dough with your hands and controlling its consistency.
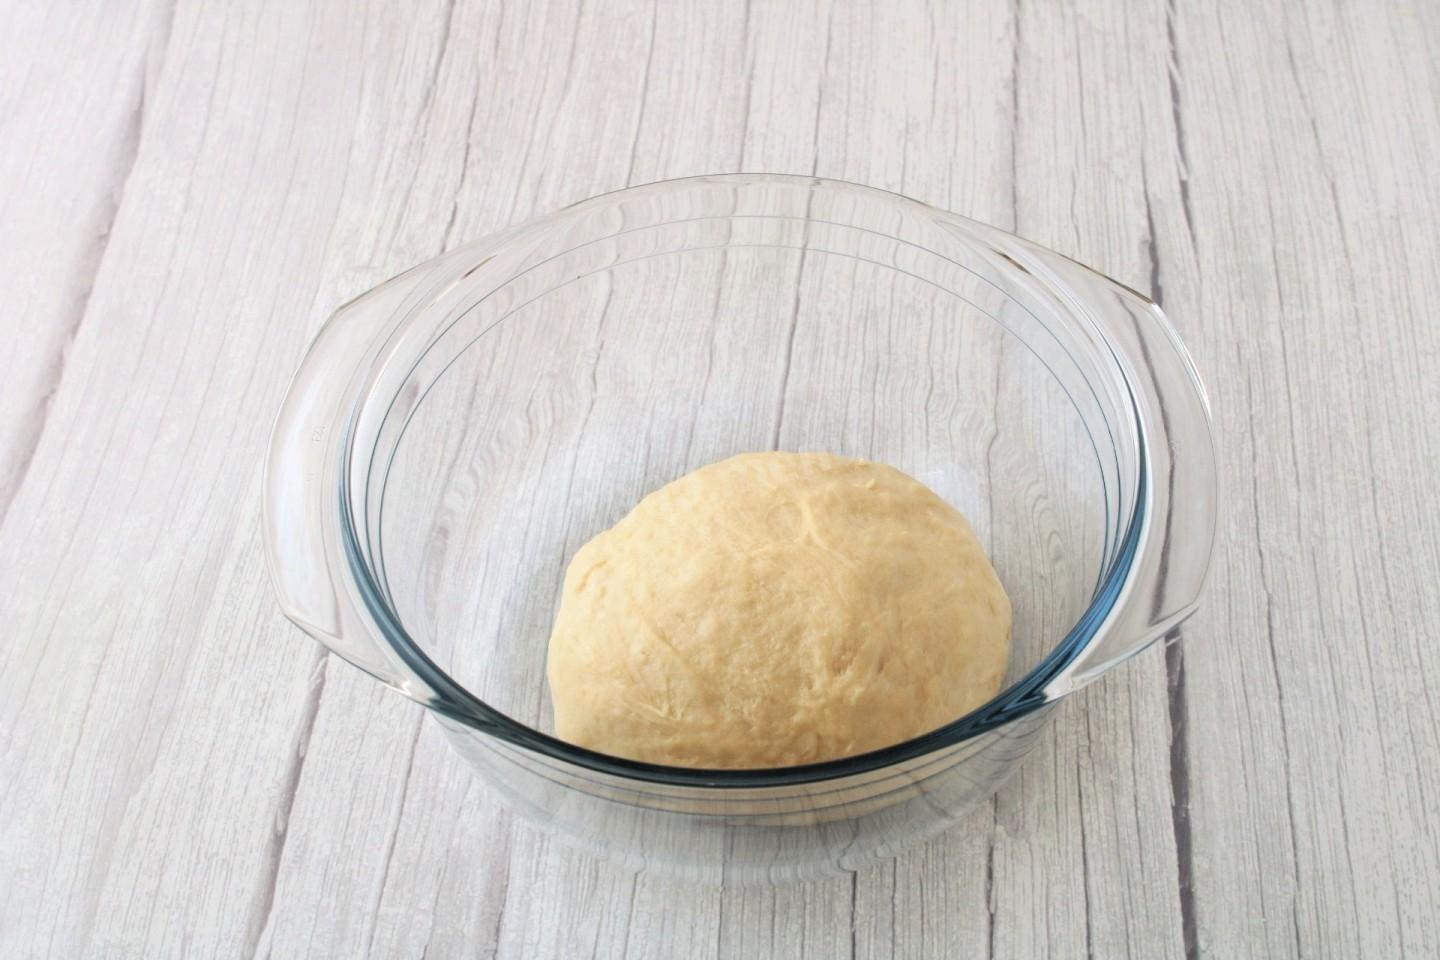
Step 10:

Knead a soft, homogeneous dough that does not stick to your hands. Cover it with a towel or cling film and leave it in a warm place to rise for 1h 20-30 minutes.
Step 11:
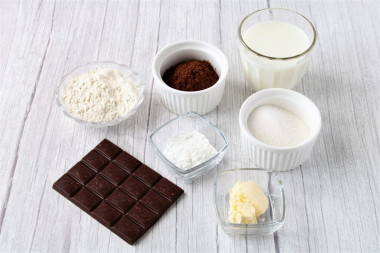
While the dough is coming, prepare the chocolate filling for the buns. Any dark chocolate without additives will do. Corn starch can be replaced with potato starch.
Step 12:
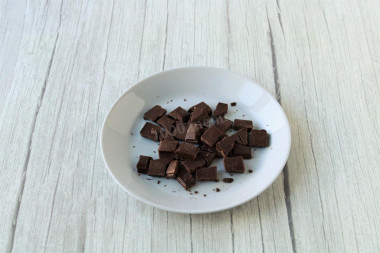
Break the chocolate into small pieces, so it will dissolve faster.
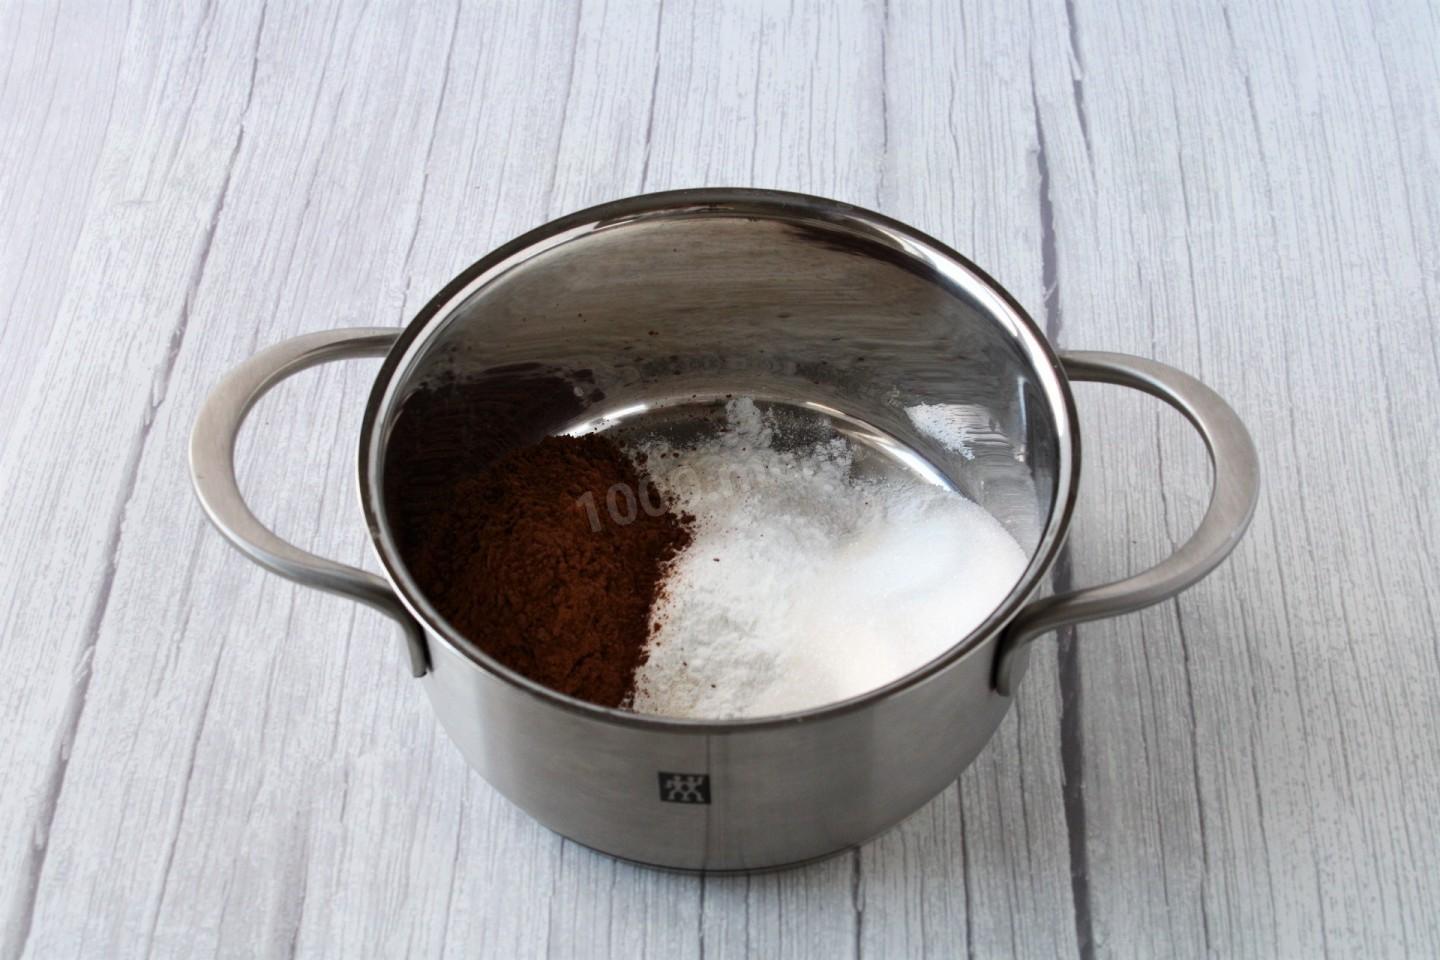
Step 13:
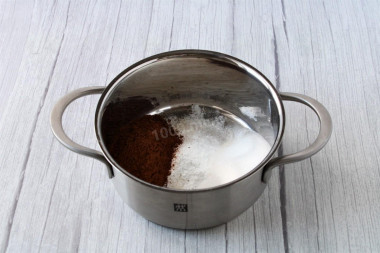
In a small saucepan, mix the dry ingredients: sugar, cocoa, flour and starch.
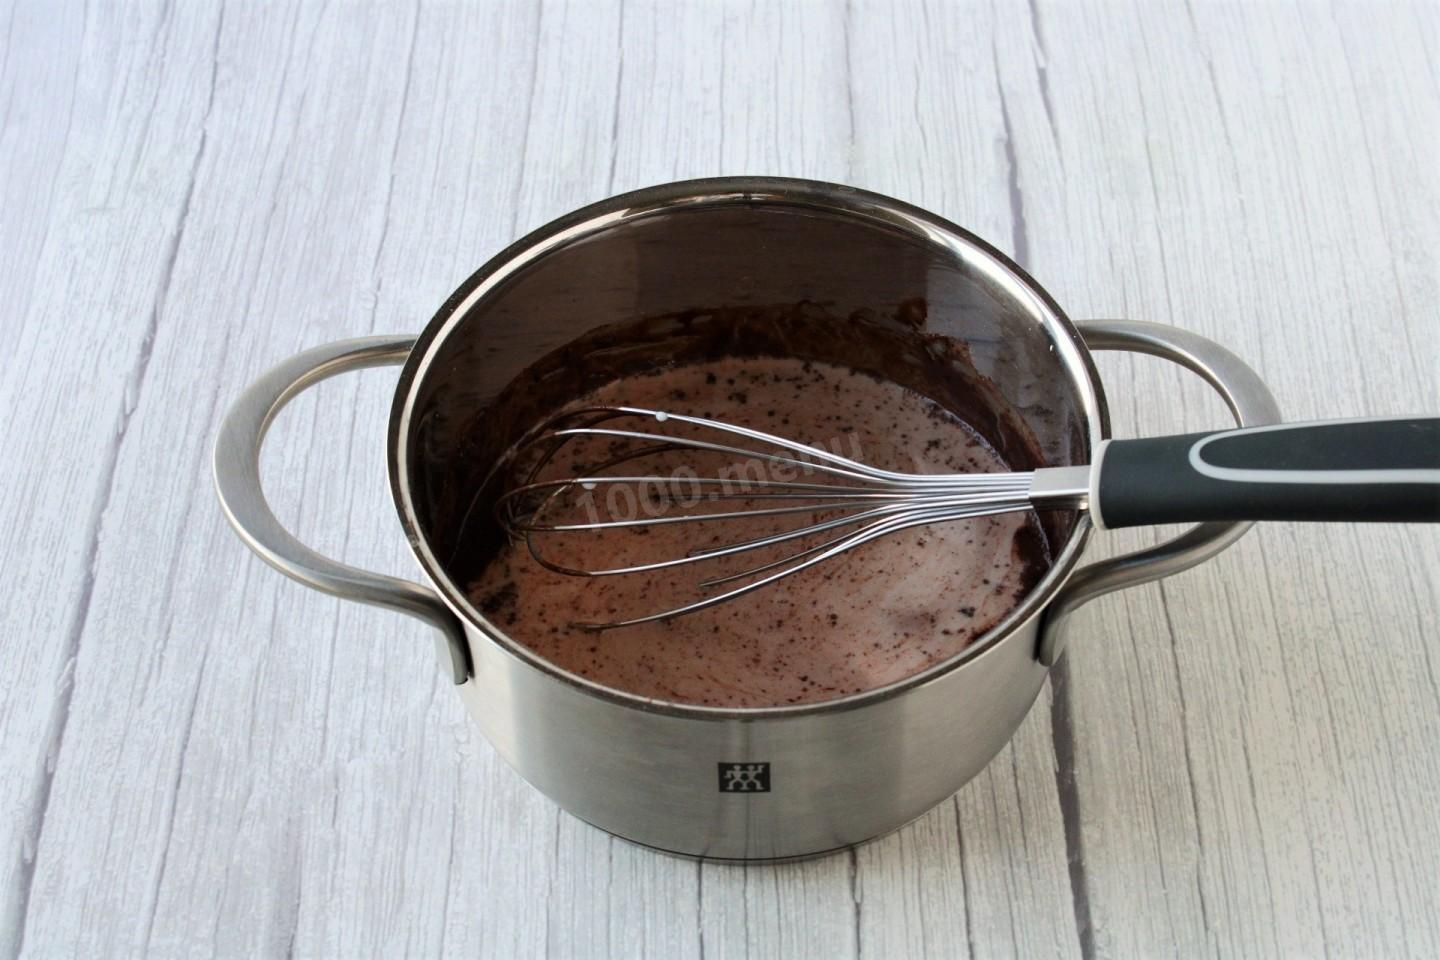
Step 14:

Pour in the milk in small portions, stirring everything at the same time with a whisk. The liquid mass should be homogeneous, without lumps.
Step 15:
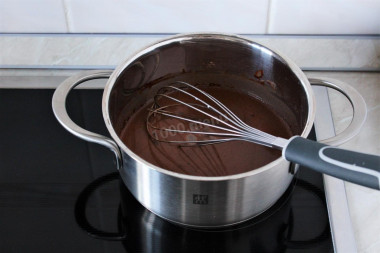
Put the pan with the chocolate mass on the stove. Heat the mass over moderate heat. It is very important at this time to constantly mix everything with a whisk so that lumps do not form.
Step 16:
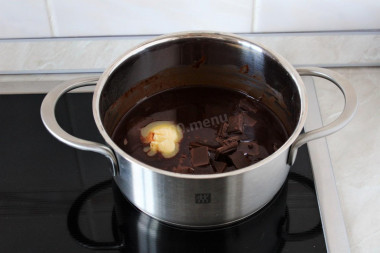
When the mass thickens a little, add butter and chocolate. Mix well until they are completely dissolved.
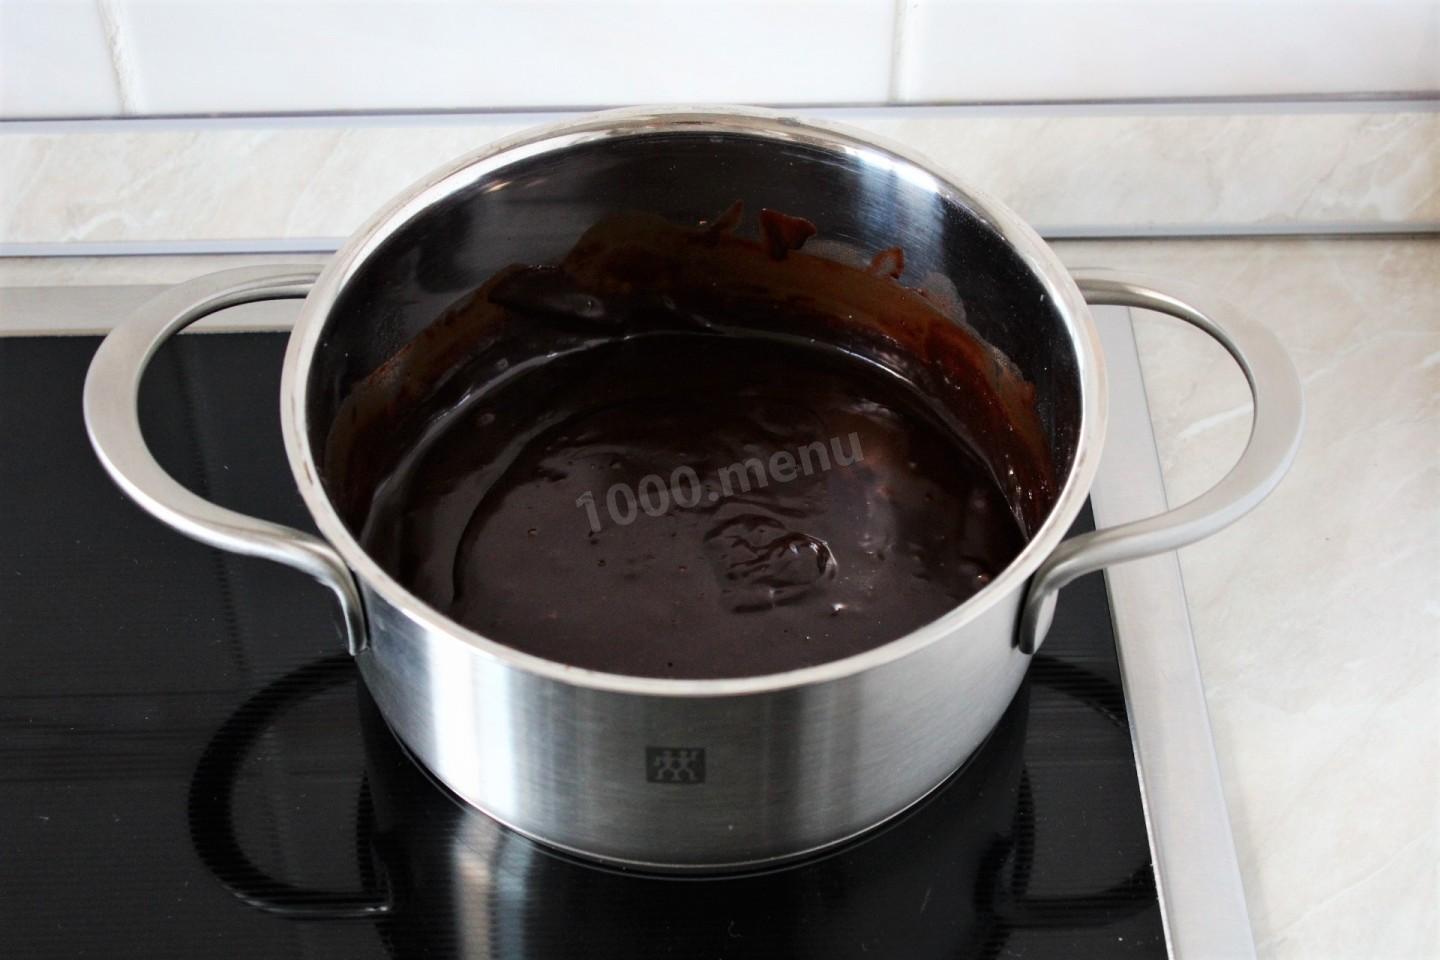
Step 17:

On a low heat, stirring all the time, boil the mass until it thickens.
Step 18:

Cool the finished chocolate filling well.
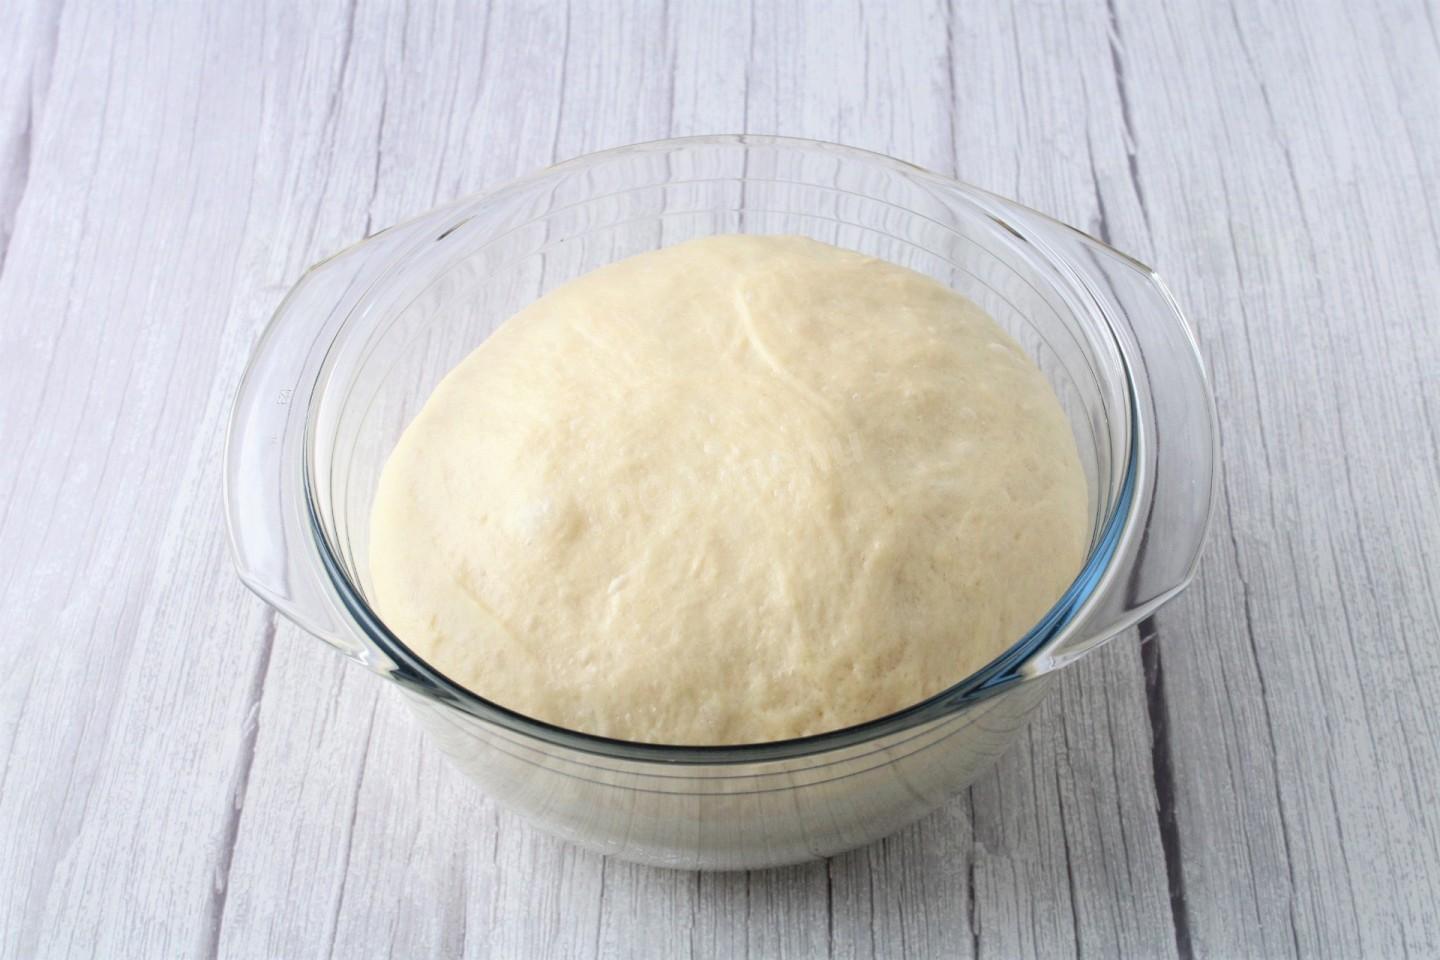
Step 19:

When the volume of the dough increases 2-2.5 times, you can start cutting it.
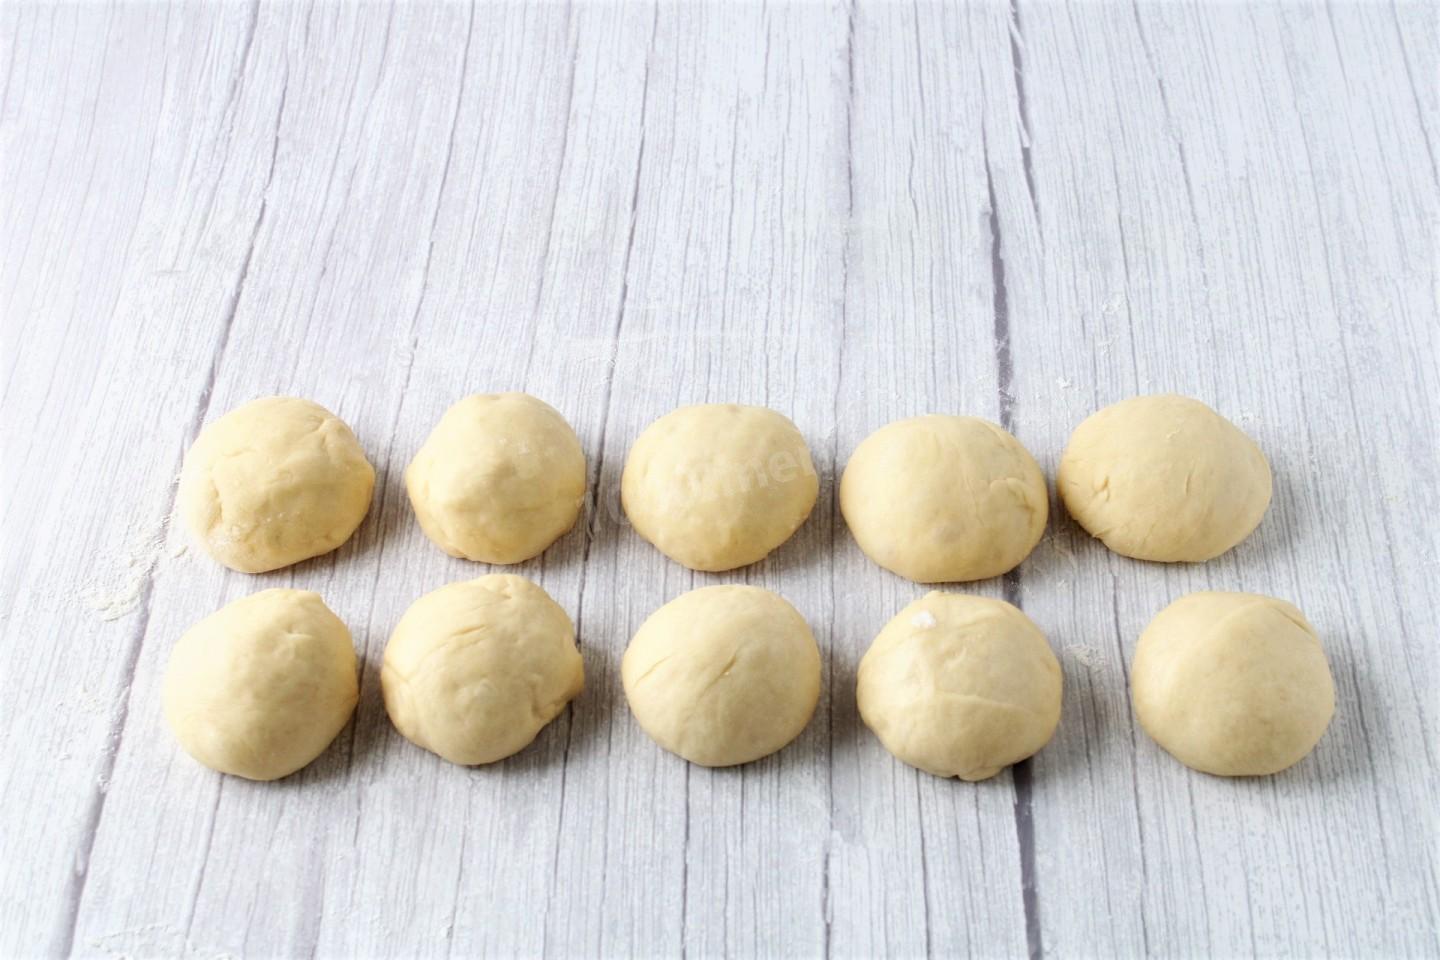
Step 20:
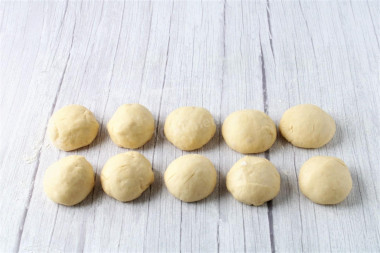
Divide the dough into equal parts, the number of which will depend on the desired size of the buns. Roll up the buns and cover them with a towel so that they do not dry out.
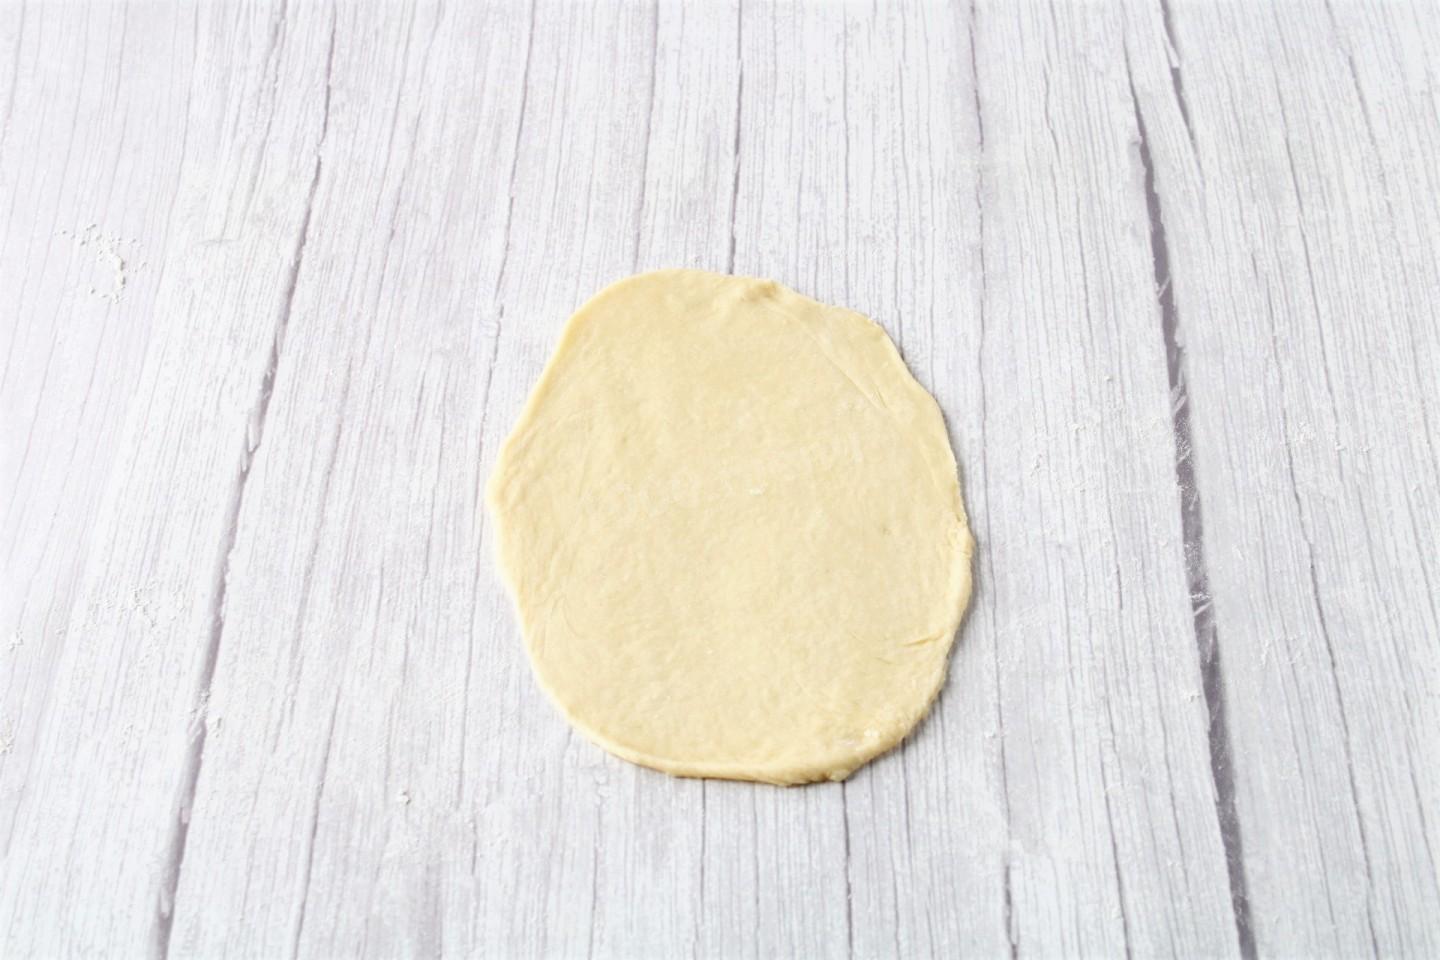
Step 21:
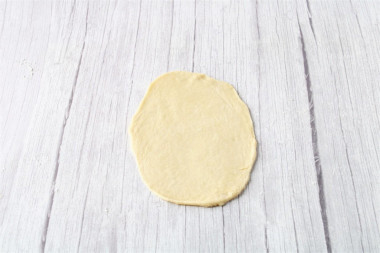
Sprinkle the table with a little flour. Roll out each piece of dough into an oval tortilla.
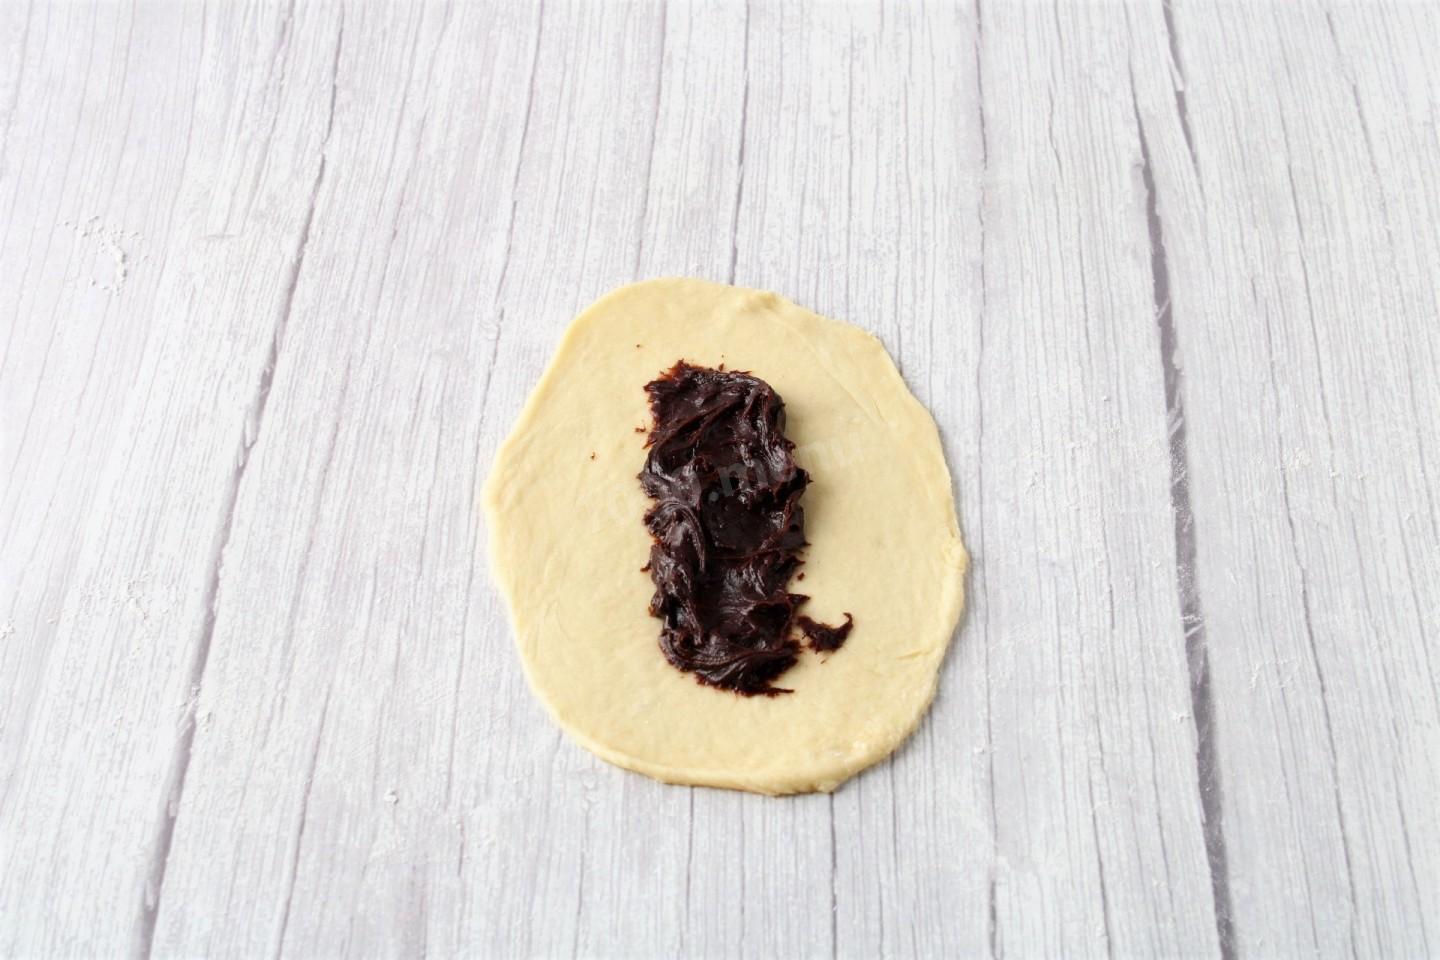
Step 22:
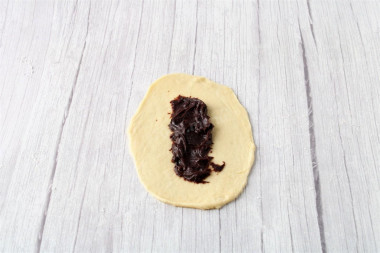
Put the chocolate filling in the middle of the tortilla.
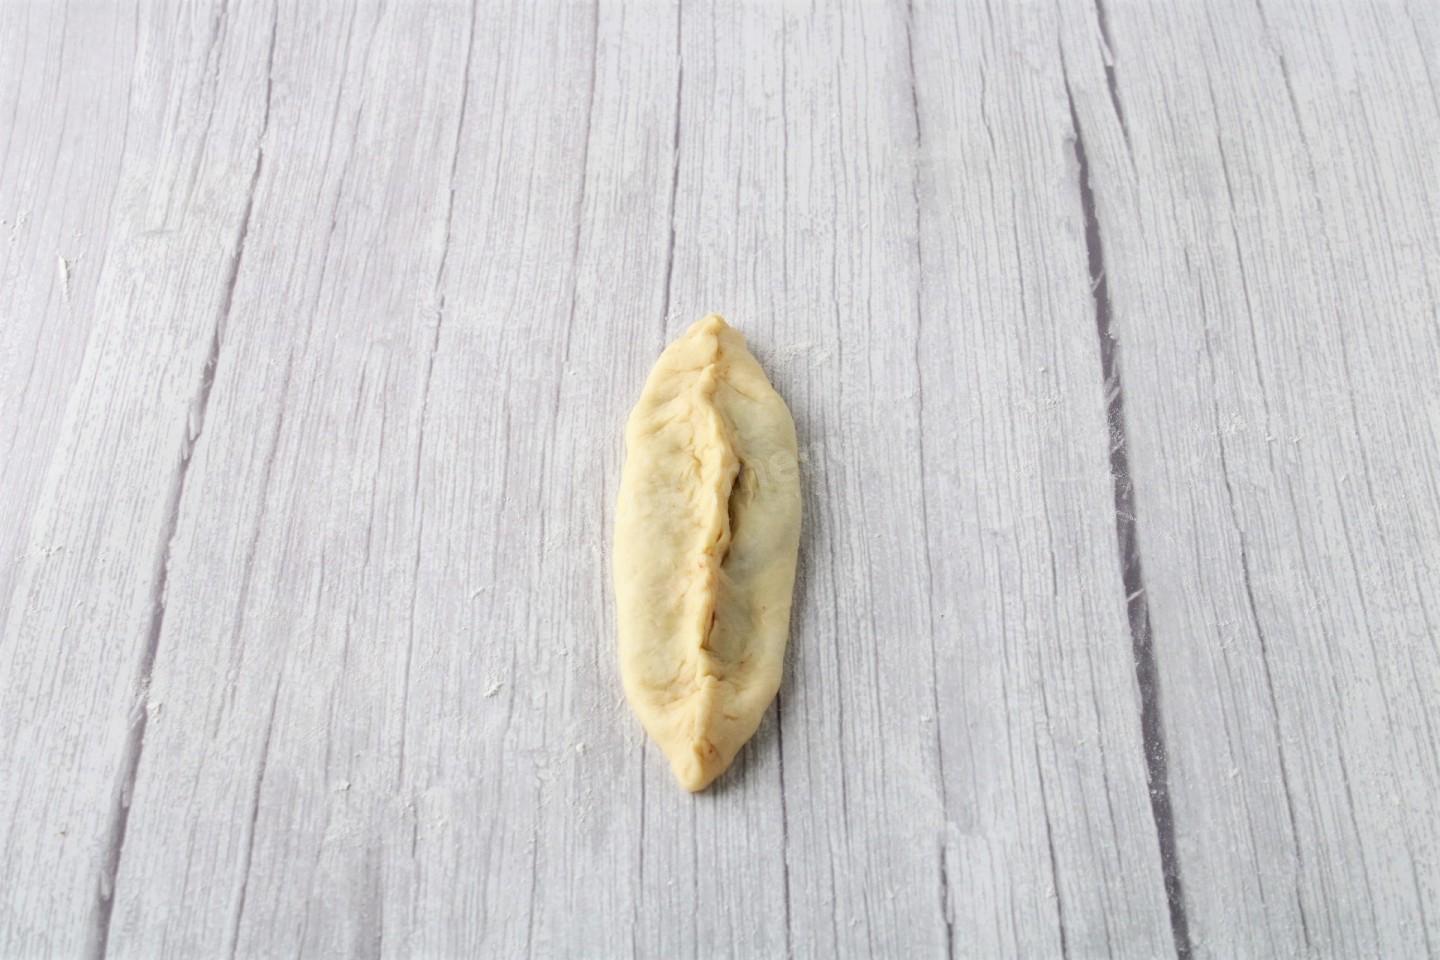
Step 23:
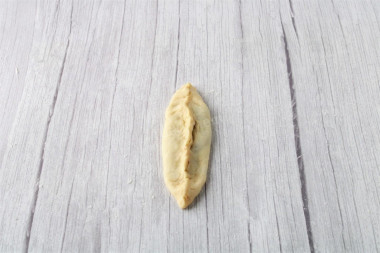
Connect the edges of the dough and pinch well in the form of a pie.
Step 24:
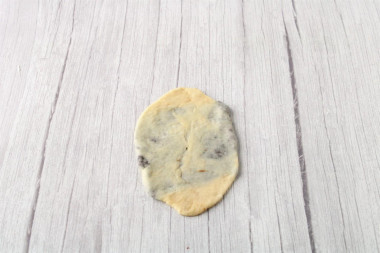
Press the seam and gently, without strong pressure, roll out the dough again into a flat cake.
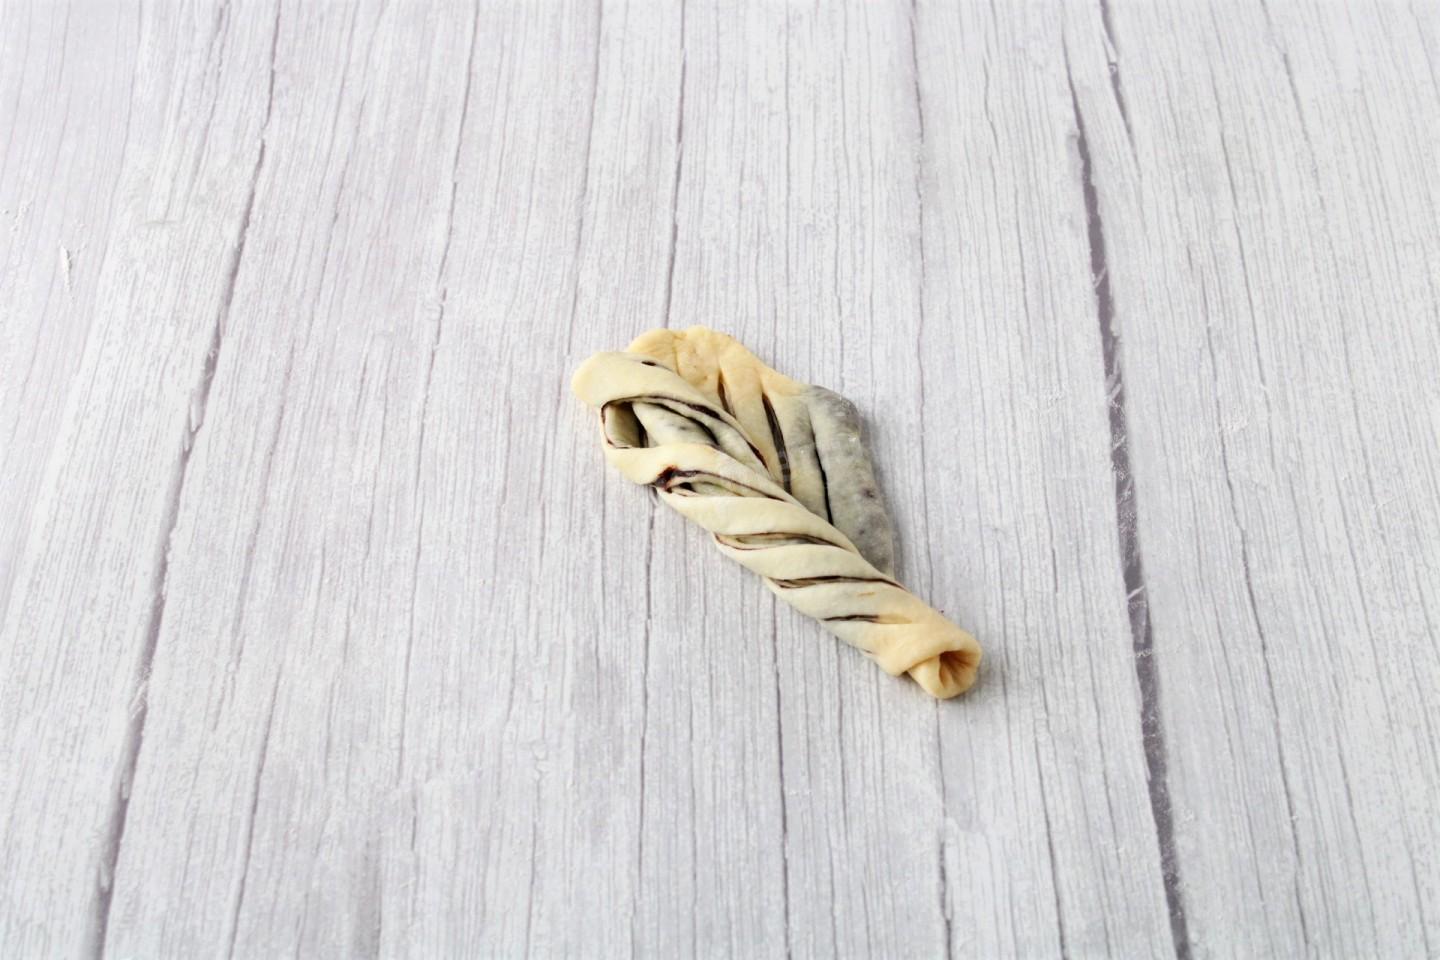
Step 25:
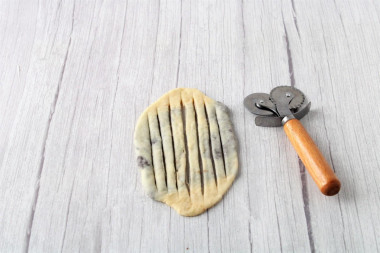
Make cuts along the cake, reaching to the edges.
Step 26:
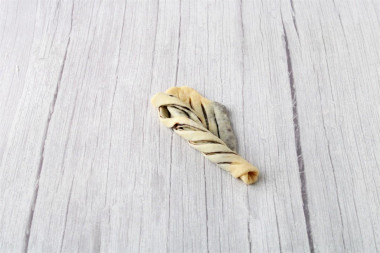
Roll the dough with the filling into a roll, twisting it diagonally.
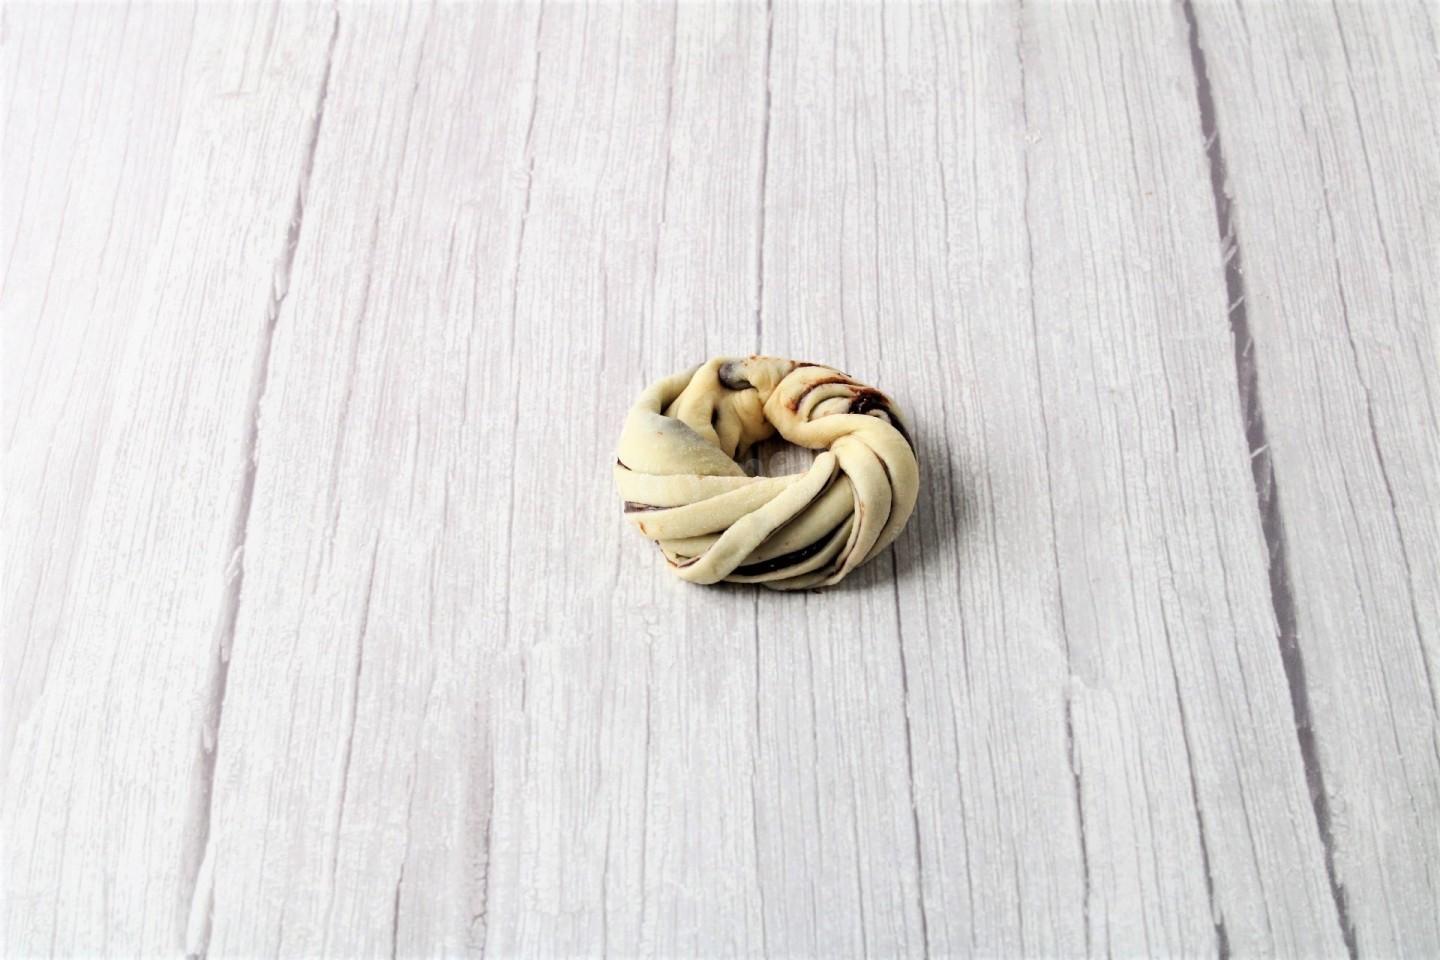
Step 27:
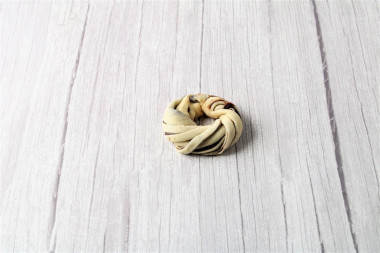
Roll the roll into a ring and connect the ends well so that the bun does not turn around when baking. Similarly, form buns from the rest of the dough.
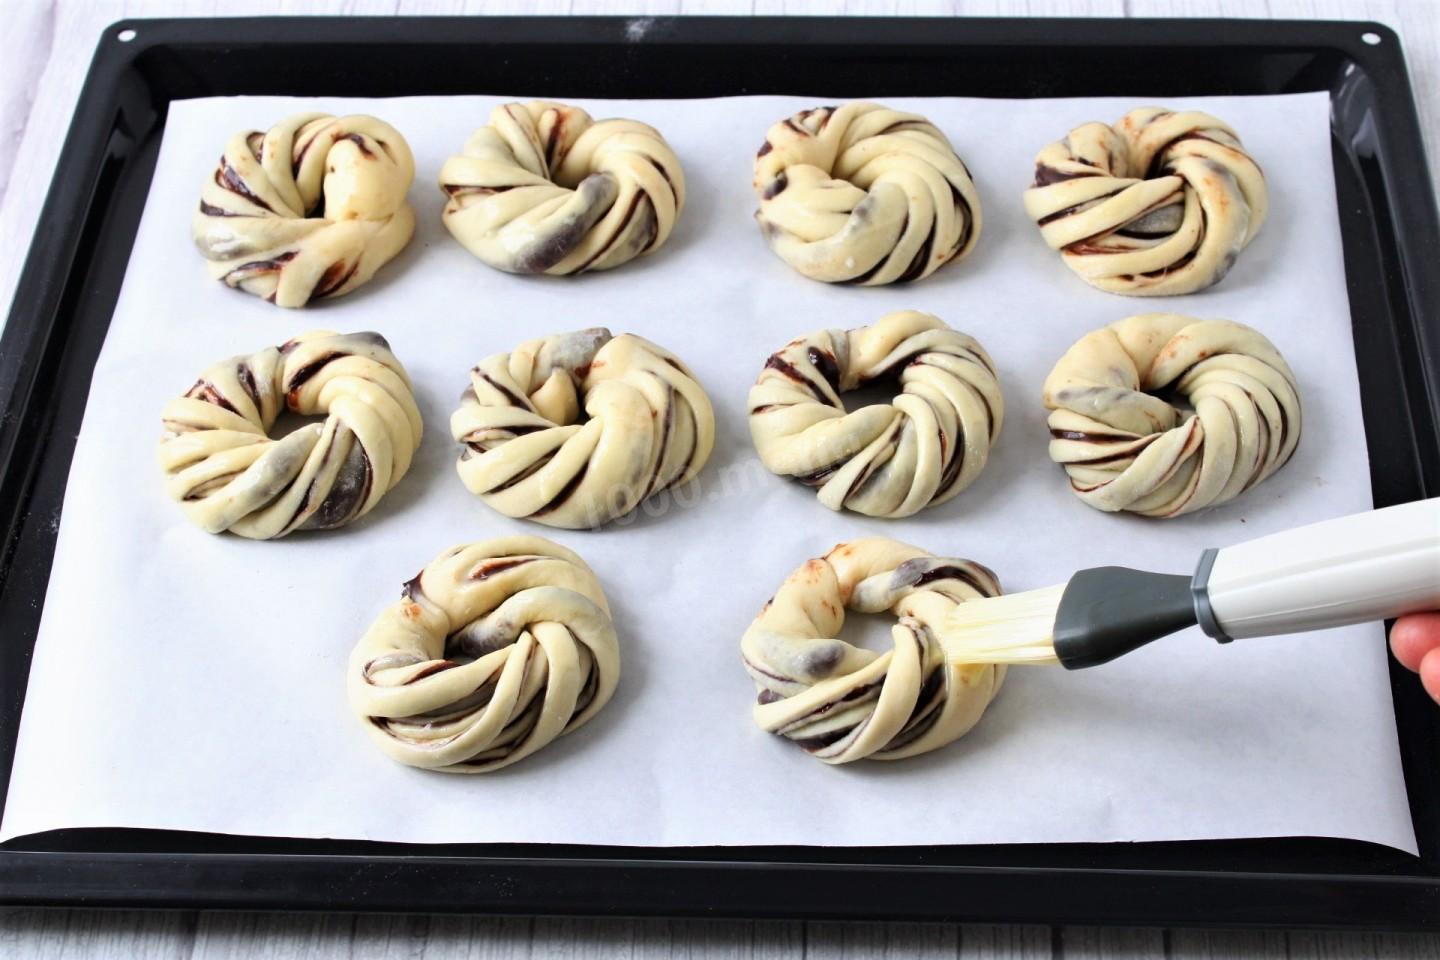
Step 28:
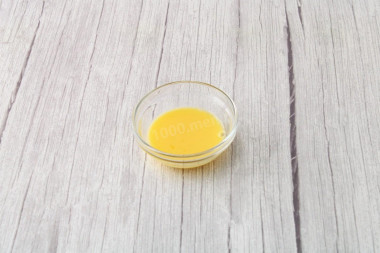
Mix the yolk with the milk until smooth.
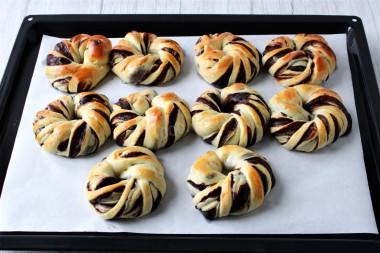
Step 29:

Place the resulting blanks on a baking sheet lined with parchment. Let the buns come up for 15 minutes. Using a cooking brush, brush the buns with yolk on top.
Step 30:
Bake the buns with chocolate in a preheated 180C oven for 25-30 minutes until browned. The baking time may vary, as it depends on the specifics of the oven.
Step 31:
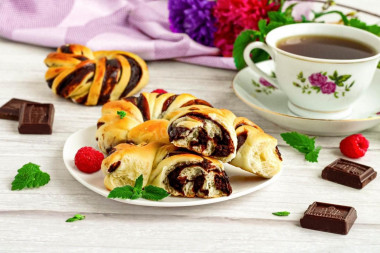
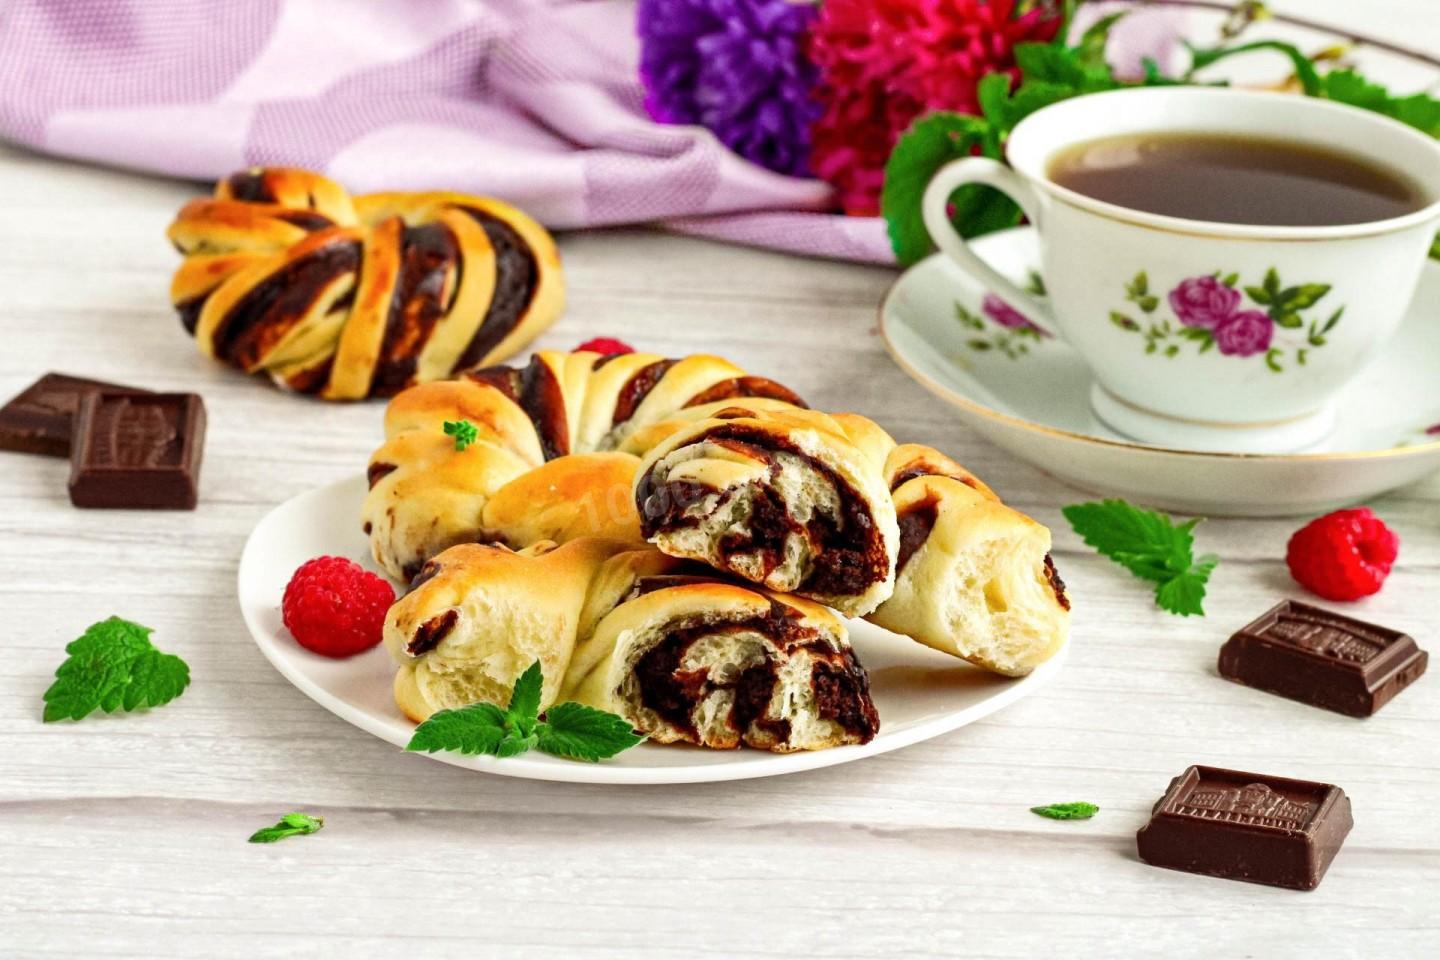
Cool the finished pastries and serve them to the table. Bon appetit!


So that the oven has time to heat up to the desired temperature, turn it on in advance (10-20 minutes before the start of cooking).
Keep in mind that everyone has different ovens. The temperature and cooking time may differ from those specified in the recipe. To make any baked dish successful, use useful information about the features of ovens !
Important! Using dry yeast, it should be borne in mind that they occur in two forms: active and instant (read the instructions carefully before use!).
Active dry yeast looks like beads or small balls. Before applying them, they must be brought out of the "sleep mode". To do this, the active yeast is diluted in warm sweet water, milk or whey. The formed bubbles, foam or "cap" indicate that the yeast is ready for further use. Active dry yeast must be brought to complete dissolution in the liquid, otherwise, due to the remaining grains, the dough may not rise and the baking will be spoiled (yeast grains that have not dissolved in the liquid and got into the dough will not disperse on their own, which means they will not work).
Instant dry yeast is easier to use. They do not need to be activated before use. Such yeast, along with other ingredients, is simply added to the dough. As a result, the baking time is reduced.
It should also be remembered that both types of dry yeast may differ in their activity from different manufacturers.
Caloric content of the products possible in the composition of the dish
- Whole cow's milk - 68 kcal/100g
- Milk 3.5% fat content - 64 kcal/100g
- Milk 3.2% fat content - 60 kcal/100g
- Milk 1.5% fat content - 47 kcal/100g
- Concentrated milk 7.5% fat content - 140 kcal/100g
- Milk 2.5% fat content - 54 kcal/100g
- Sour cream with 30% fat content - 340 kcal/100g
- Sour cream of 25 % fat content - 284 kcal/100g
- Sour cream with 20% fat content - 210 kcal/100g
- Sour cream of 10% fat content - 115 kcal/100g
- Sour cream - 210 kcal/100g
- Chicken egg - 157 kcal/100g
- Egg white - 45 kcal/100g
- Egg powder - 542 kcal/100g
- Egg yolk - 352 kcal/100g
- Ostrich egg - 118 kcal/100g
- Granulated sugar - 398 kcal/100g
- Sugar - 398 kcal/100g
- Butter 82% - 734 kcal/100g
- Amateur unsalted butter - 709 kcal/100g
- Unsalted peasant butter - 661 kcal/100g
- Peasant salted butter - 652 kcal/100g
- Melted butter - 869 kcal/100g
- Cocoa powder - 374 kcal/100g
- Salt - 0 kcal/100g
- Wheat flour - 325 kcal/100g
- Egg yolks - 352 kcal/100g
- Chocolate 70 % - 539 kcal/100g
- Dark Chocolate - 539 kcal/100g
- Vanilla sugar - 379 kcal/100g
- Corn starch - 329 kcal/100g
- Dry yeast - 410 kcal/100g