


Composition / ingredients
Step-by-step cooking
Step 1:
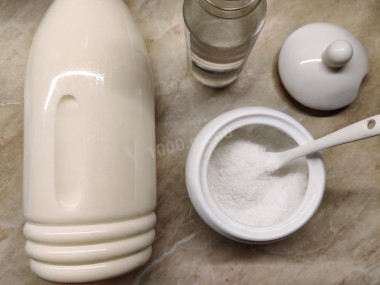
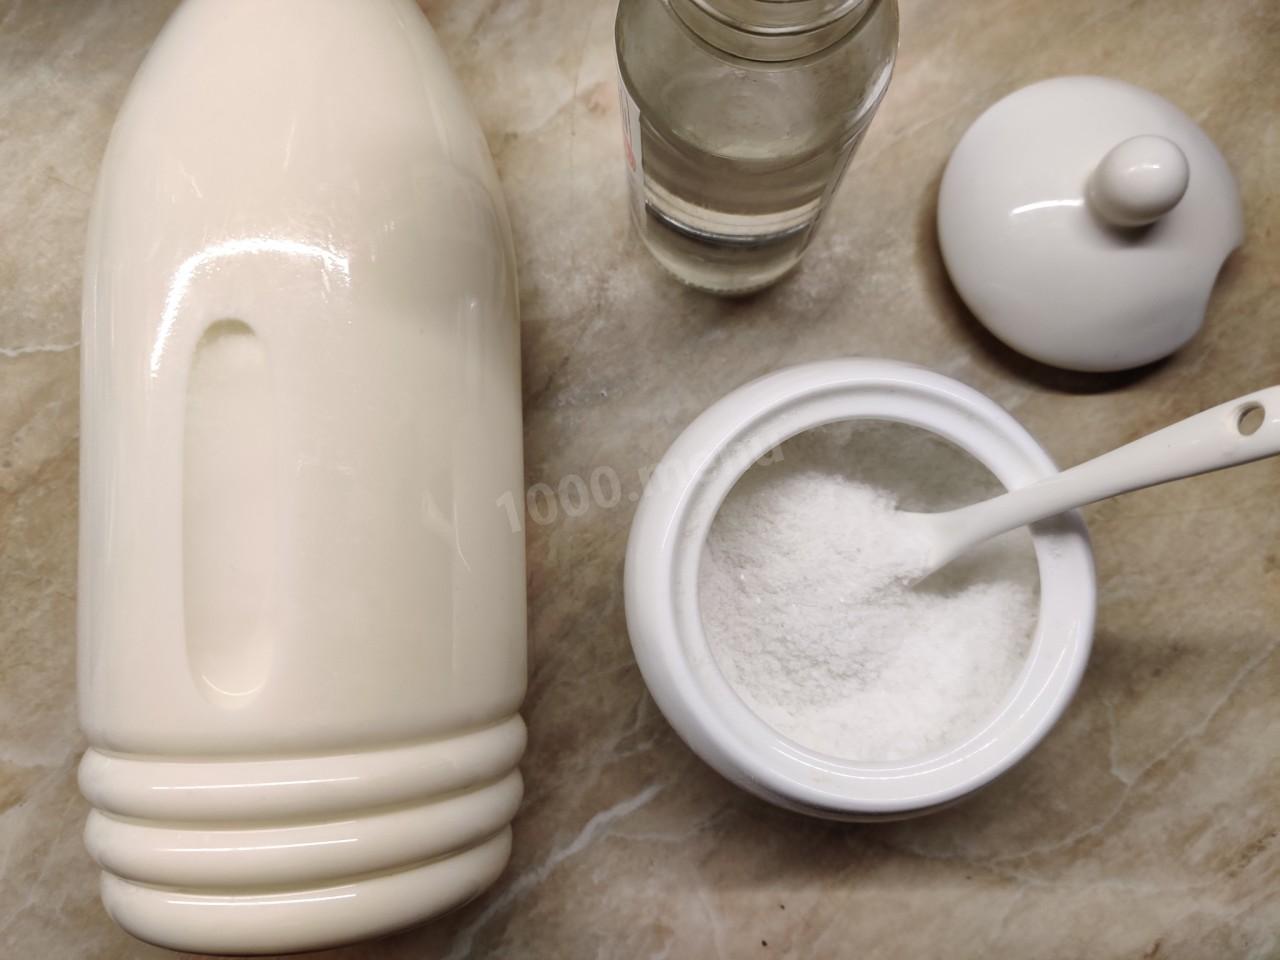
To prepare the cheese, you will need: cow's milk, salt and vinegar. The fatter the milk, the more cheese you will get in the end. I have milk with a fat content of 4.5%. It is better to take farm pasteurized milk.
Step 2:

Pour the milk into a saucepan and put it on medium heat. Bring the milk to a boil. You do not need to cover the pan with a lid. But periodically make sure that the milk does not run away - it is mandatory.
Step 3:

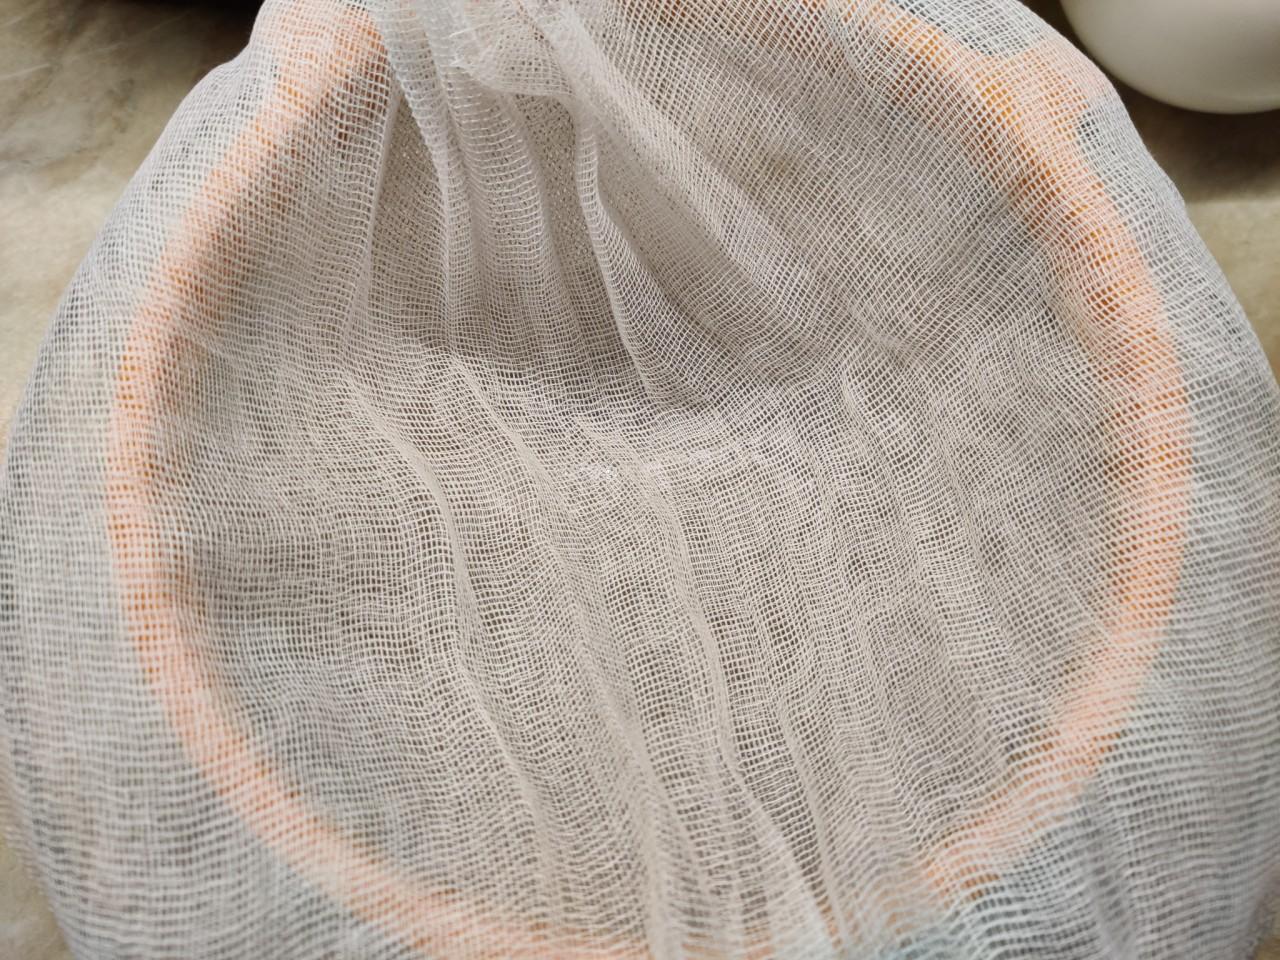
Cover the colander with two layers of good, thick gauze. If the gauze has a lower quality weave, and it is looser, then use three or even four layers.
Step 4:
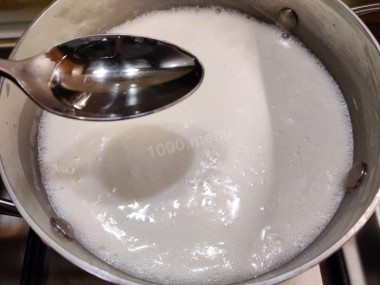
As soon as the milk boils, pour vinegar into the pan. If you have acetic essence, then you need to dilute it in advance (according to the instructions on the bottle) to a nine percent condition, so as not to miss the moment when the milk boils.
Step 5:
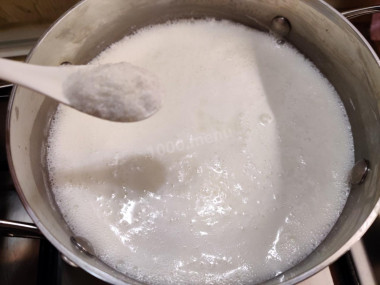
Add salt to the pan. Its amount depends on the type of salt and individual taste preferences. If you add a teaspoon of coarse salt (not extra), then the cheese will be slightly salty. That is, you can safely increase the amount of salt.
Step 6:
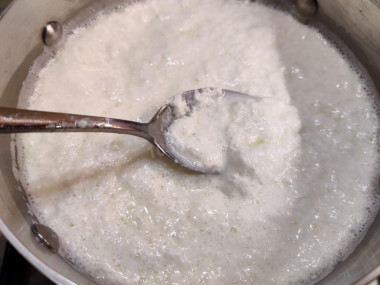
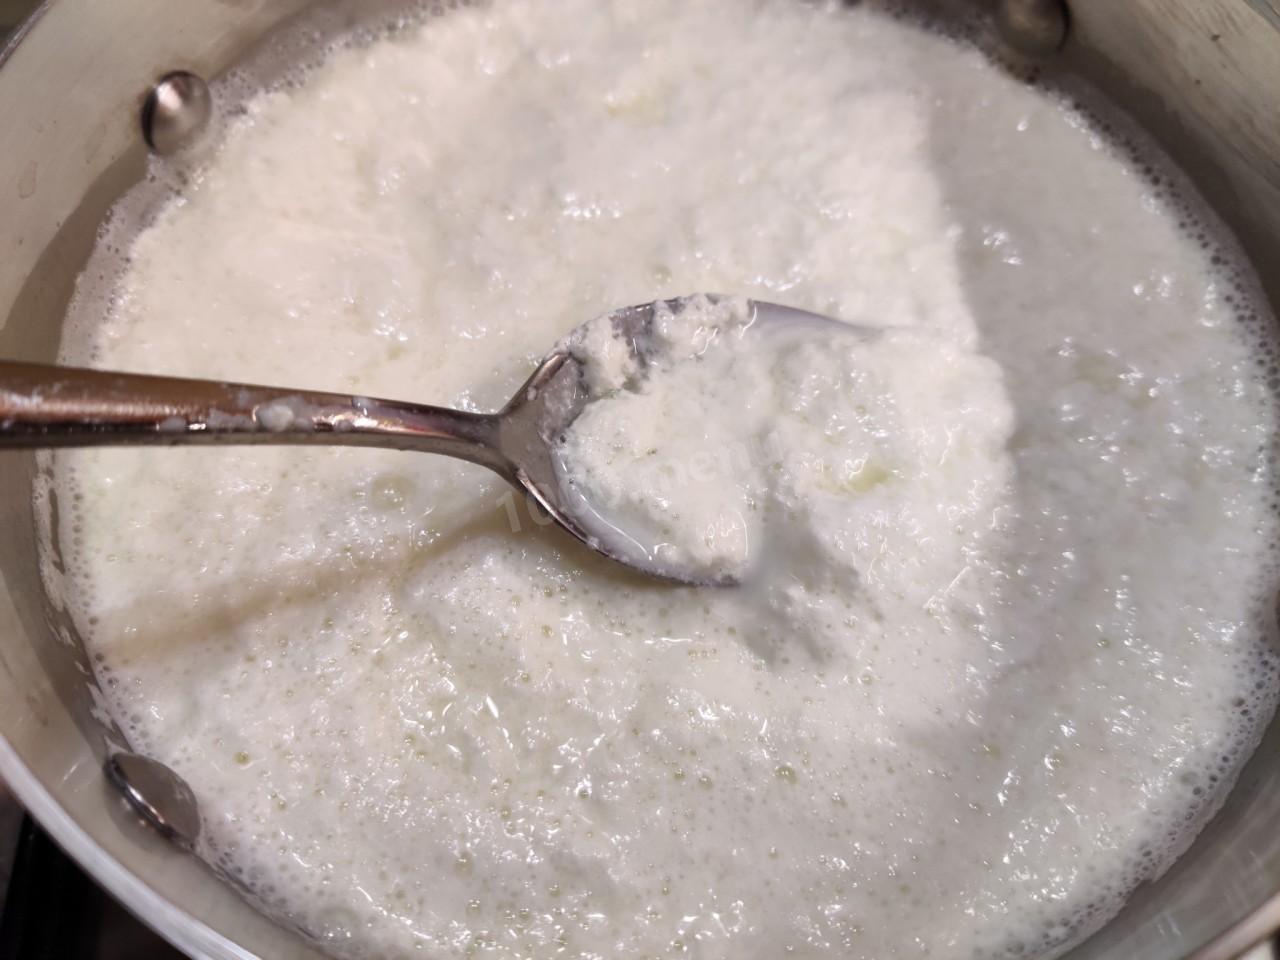
Milk should be stirred periodically while the process of formation of curd flakes is going on.
Step 7:
In the process of further heating, the whey will be separated from the curd mass. This process is called fermentation.
Step 8:
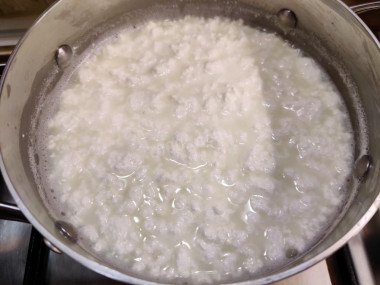
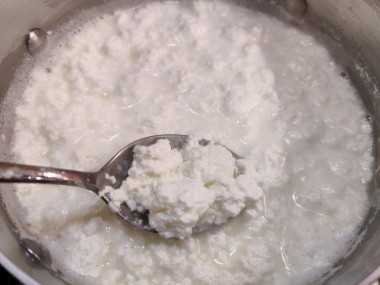
Boil the milk for a few more minutes until the whey is clearly distinguishable. It has a yellowish tint.
Step 9:
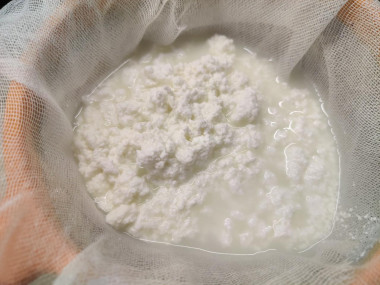
Pour the resulting mass into a pre-prepared colander and let the serum drain. Leave the future cheese in this form for fifteen minutes. The serum can be saved if desired.
Step 10:
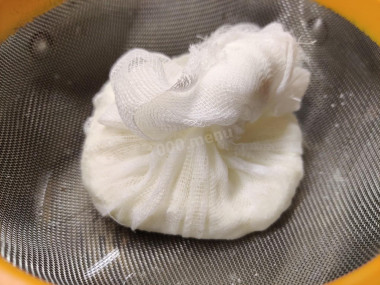
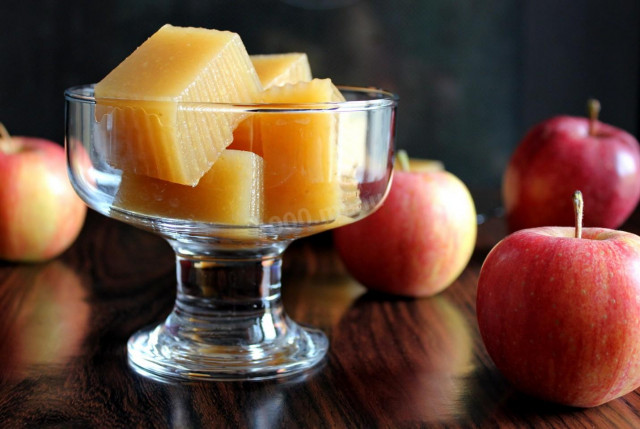
Gently wrap the edges of the gauze and form a lump of cheese.
Step 11:

Cheese should be left in the refrigerator for two hours under the yoke. I have a heavy pumpkin as a yoke. After this time, the cheese is ready to serve.


From a liter of milk I got about two hundred grams of cheese.
On the basis of the whey remaining after the preparation of cheese, you can knead sourdough yeast dough, for example, for pies in a frying pan with unsweetened fillings.
If you want to achieve a saltier taste of cheese, I recommend soaking it in the remaining whey, in which you first need to dissolve two or three tablespoons of salt.
Cheese can be stored for up to three days in the refrigerator in a hermetically sealed container.
Bon appetit!
Calorie content of the products possible in the composition of the dish
- Whole cow's milk - 68 kcal/100g
- Milk 3.5% fat content - 64 kcal/100g
- Milk 3.2% fat content - 60 kcal/100g
- Milk 1.5% fat content - 47 kcal/100g
- Concentrated milk 7.5% fat content - 140 kcal/100g
- Milk 2.5% fat content - 54 kcal/100g
- Wine vinegar (3%) - 9 kcal/100g
- Vinegar 9% - 11 kcal/100g
- Balsamic vinegar - 88 kcal/100g
- Apple vinegar - 14 kcal/100g
- Vinegar - 11 kcal/100g
- Salt - 0 kcal/100g