


Composition / ingredients
Step-by-step cooking
Step 1:
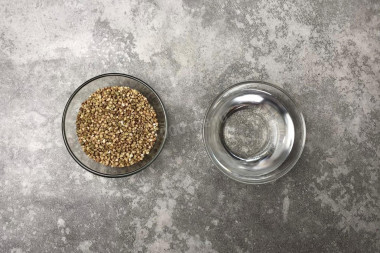
How to germinate green buckwheat at home? Prepare the products. Pay special attention to the choice of buckwheat itself. I repeat that only green, ordinary, brown is suitable for germination, it will not germinate. Water is necessary for pre-soaking of cereals, but still, it is better to take it of good quality, filtered or bottled.
Step 2:
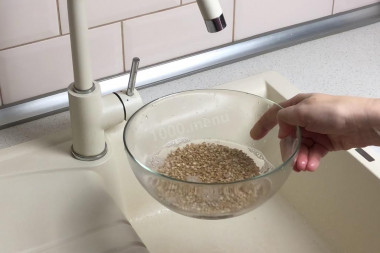
Go through the buckwheat, removing the spoiled grains and garbage. And then rinse it thoroughly under cool running water. Even if the cereal looks initially clean, do not skip this step. Pour clean buckwheat with cold water so that it covers it with a finger on top. Leave the buckwheat for an hour. Thus, the grains are activated - they will be saturated with water and will be ready to grow.
Step 3:
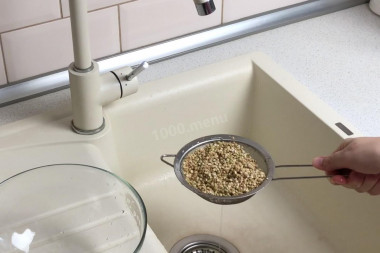
If your buckwheat will soak longer, it's okay. The main thing is not to keep it in the water for more than 10 hours. Then fermentation processes will begin in it, and we do not need this. Next, rinse the swollen buckwheat to get rid of the mucus that forms during soaking. It is better to rinse in a sieve or colander. Just make sure that the holes are not too large, so that the grains do not pop out. Rinse under running water, fingering the cereal with your fingers.
Step 4:
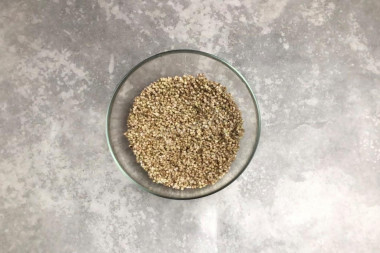
Take the sprouting dishes. It is better if it is glass or ceramics. Try to avoid plastic and metal. Put the washed buckwheat in a bowl and spread it with your fingers along the bottom and walls, trying to make a thin layer. In general, it is better to germinate a small amount of buckwheat at a time - for one or two servings. The fresher the sprouts, the healthier.
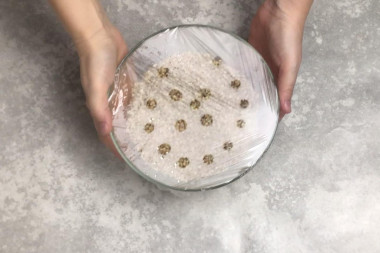
Step 5:
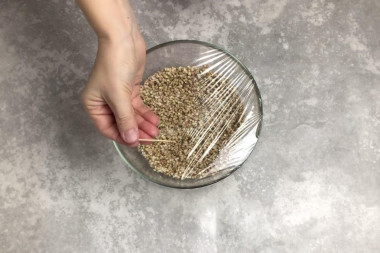
Tighten the dishes with cling film. Use a toothpick to make a lot of punctures so that air flows to the croup. Remove the buckwheat in a warm dark place for a day. I put it in the kitchen cupboard.
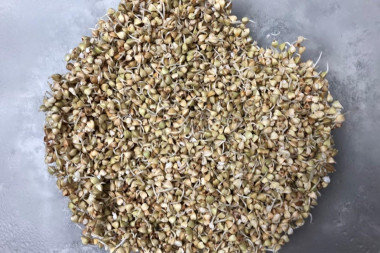
Step 6:
After 24 hours, and sometimes a little earlier, small white sprouts will appear on the buckwheat - this means that you did everything right. If this does not happen, then try to sprinkle the cereal with water and leave it for a while longer.
Step 7:
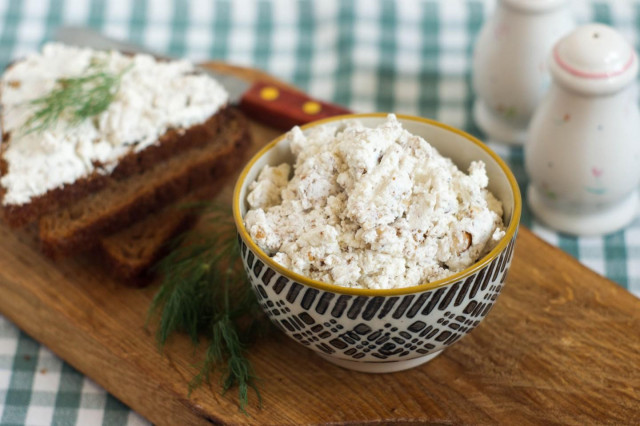
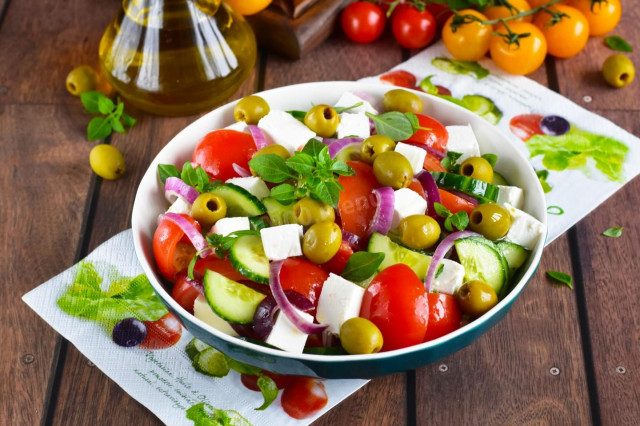
Sprouted grains can be eaten immediately. They can be stored in a closed container in the refrigerator. But do not keep them there for more than one day. The most useful sprouts are fresh. Therefore, immediately calculate the portion. I used the sprouts for the salad.


I really liked this method of germination. Due to the film, a mini-greenhouse is obtained, which allows buckwheat to germinate in such a fast time.
Caloric content of the products possible in the composition of the dish
- Buckwheat (whole grain) - 335 kcal/100g
- Dark buckwheat flour - 333 kcal/100g
- Light buckwheat flour - 347 kcal/100g
- Boiled buckwheat - 163 kcal/100g
- Buckwheat - 313 kcal/100g
- Water - 0 kcal/100g