Composition / ingredients
Step-by-step cooking
Step 1:
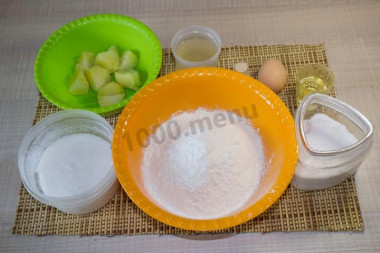
How to make potato bread in a bread maker and without it? Prepare the necessary ingredients. Potatoes can be specially boiled in advance for this bread (you will need 2 medium tubers) or take a ready-made one, which, for example, was left over from dinner. But do not forget to save the potato broth when cooking - it also plays an important role here.
Step 2:
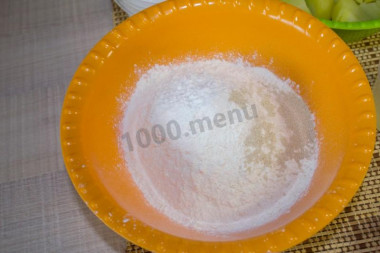
If you have a large bread maker and designed for 4-5 cups of flour, feel free to increase the proportions - after all, it's a pleasure to do this on the website - the program will recalculate everything for us! Be sure to sift the flour and mix it with dry yeast
Step 3:
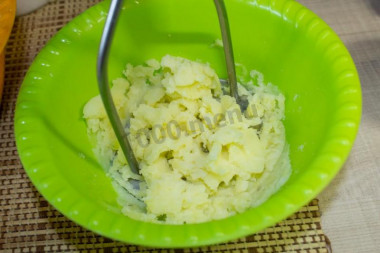
Turn the potatoes into mashed potatoes in any convenient way, I'm used to doing it with a pusher. At first I wanted to take ready-made mashed potatoes for this recipe, but then I changed my mind, deciding that everyone's mashed potatoes are different in density - I like watery, and someone is thick... And for the dough, the ratio of dry and liquid ingredients is very important, it cannot be determined by eye
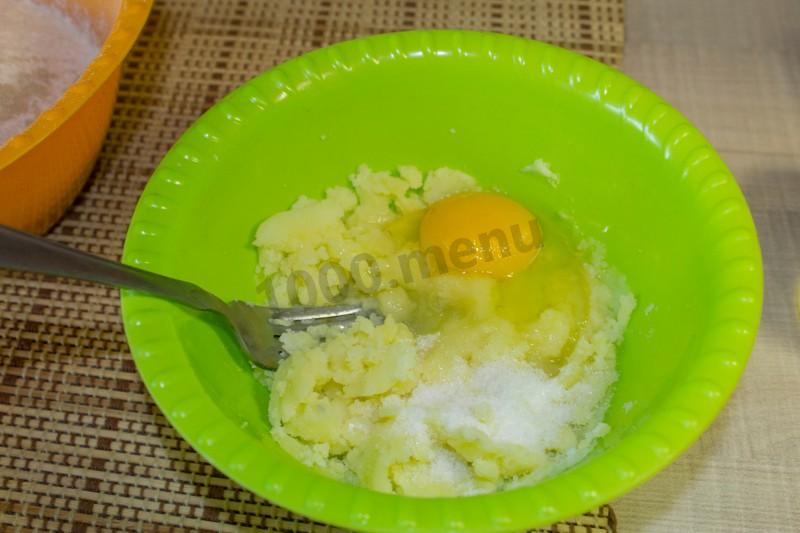
Step 4:
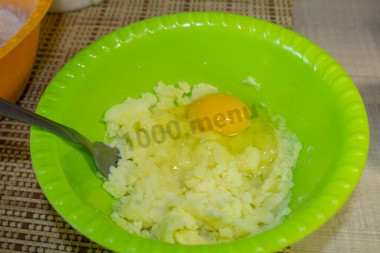
Beat the egg to the puree
Step 5:
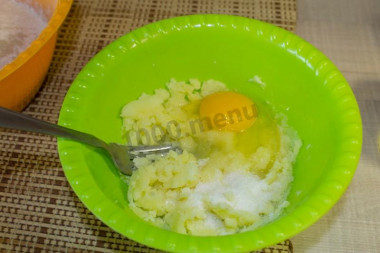
Add sugar and salt. If you have potatoes that have been cooked for food, reduce the amount of salt by about half, because you probably already have salty.
Step 6:
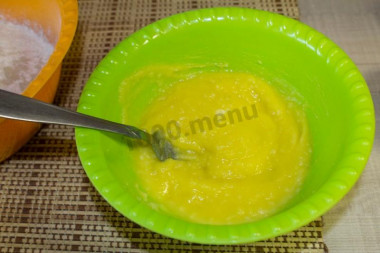
Mix everything well until smooth.
Step 7:

Add vegetable oil and potato broth, mix well again.
Step 8:
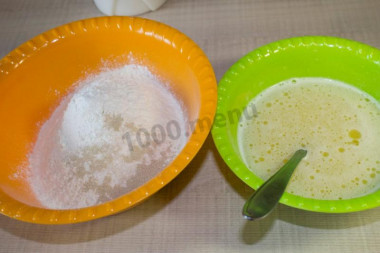
Now mix the dry and liquid ingredients.
Step 9:

Happy owners of bread makers can simply load everything into the bucket in the right sequence, which is indicated in the instructions for the bread maker - I have it first loose, then liquid ingredients
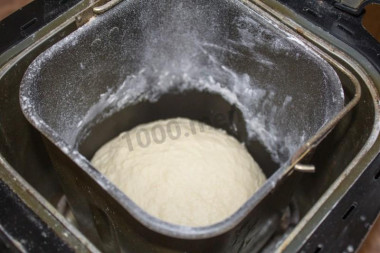
Step 10:
Turn on the program "Bread" and the bread maker will do everything for you: it will knead and knead in 30 minutes, and let the dough rise, and finally, at the right moment, it will bake our wonderful bread. This program takes me 3 hours.
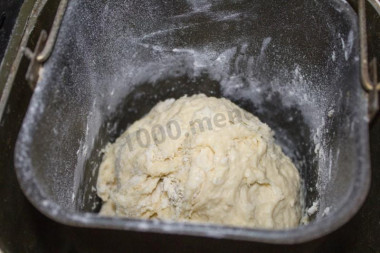
Step 11:
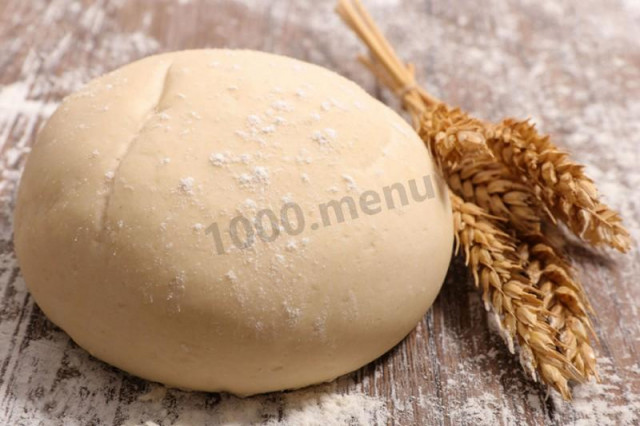
Here is such a beautiful smooth smooth bun obtained after kneading. We leave the bread maker to work, especially since it is not recommended to look in often when the program is running).
Step 12:
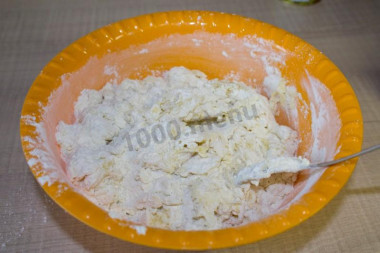
Well, for those who are not yet familiar with this miracle technique, I will tell you how to do everything with our golden pens, that's why they are gold, right? Use a spoon and then knead the dough with your hands.
Step 13:
Knead the dough well for 10-15 minutes. I must say that the dough with mashed potatoes turns out to be quite sticky, so try to get used to it! You can add a little flour, but I do not advise you to get carried away, otherwise the dough risks getting "clogged".
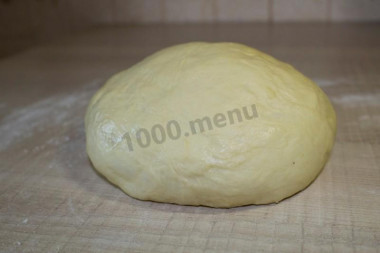
Step 14:
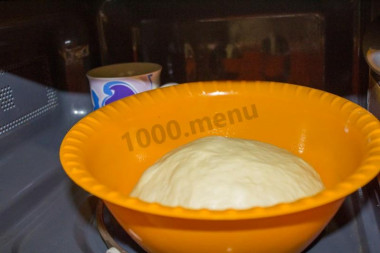
Brush the bowl with vegetable oil so that when the dough rises it does not stick to the bowl. Put in a warm place for 1 hour and 20 minutes. As a warm place today I chose a microwave oven (this method is suitable for a small amount of dough, as we have). To do this, put the dough in the microwave together with a glass of boiling water. In this case, you do not need to cover the dough, because the microwave is closed, and the water will gradually evaporate
Step 15:
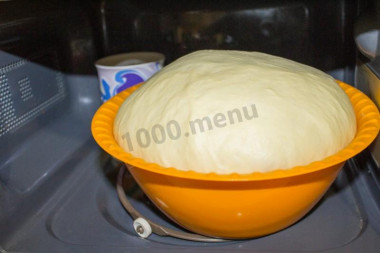
After the specified time, the dough increased 2-3 times (I didn't even expect it)!
Step 16:
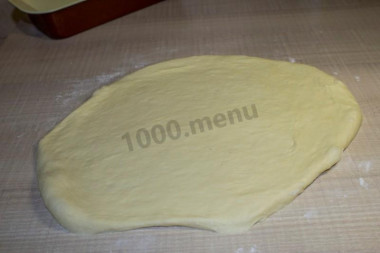
Knead the dough again and stretch or roll out into a flat cake.
Step 17:
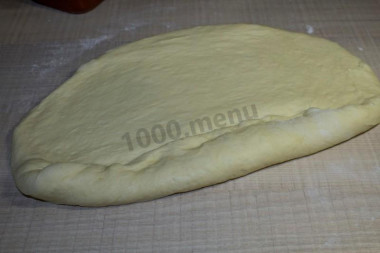
Fold the edges and seal.
Step 18:
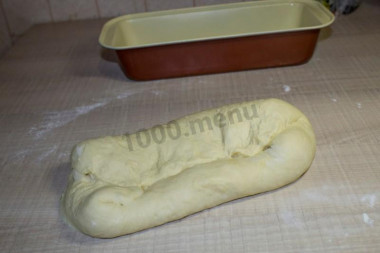
We get such a peculiar envelope.
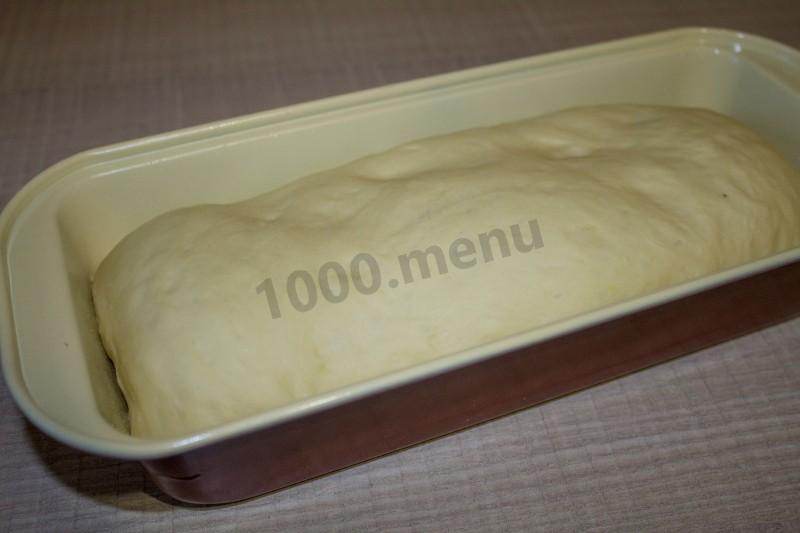
Step 19:
Put the dough in a mold greased with a small amount of vegetable oil (my shape is 30x13x5.5 cm).
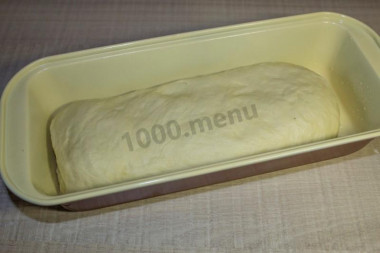
Step 20:

Leave the dough to rise in a warm place for another 1 hour (now it's better to cover with a towel). The dough has increased by 2 times again.
Step 21:
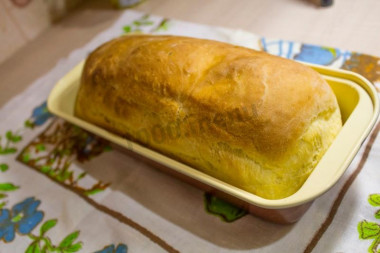
Then place the bread in a preheated 180 degree oven and bake for about 30 minutes, take into account the features of your oven, until golden brown.
Step 22:
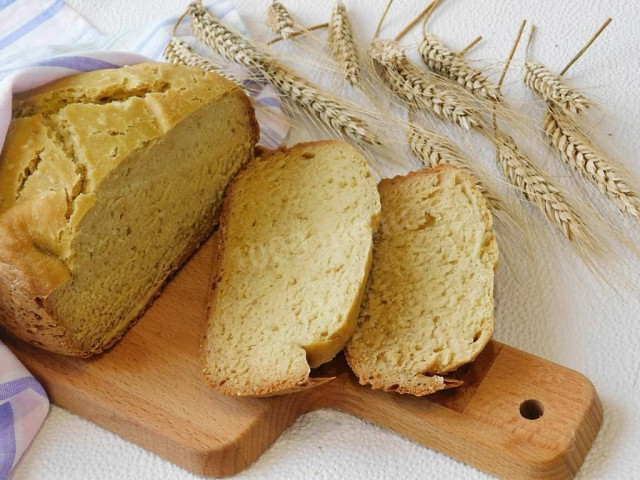
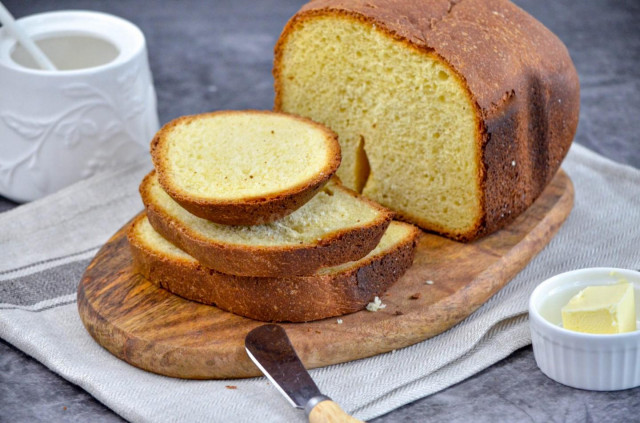
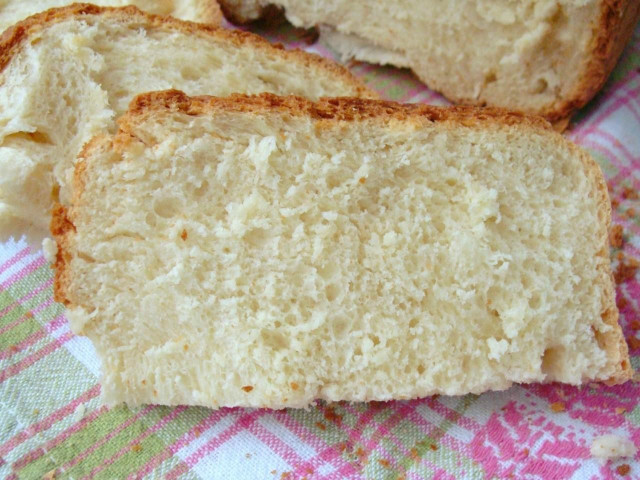
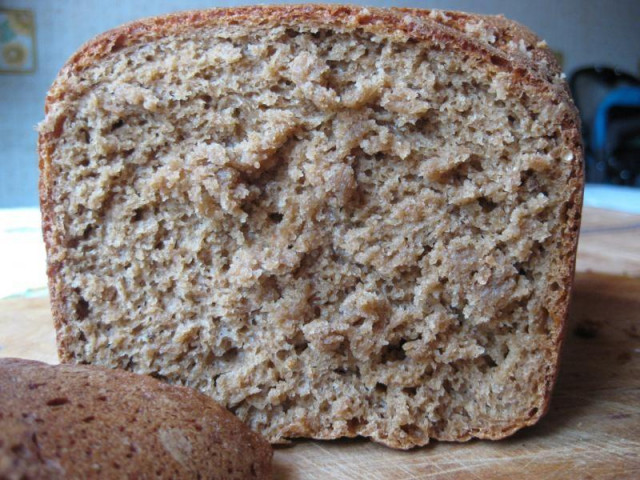
That's such a ruddy fluffy bread we got! And the aroma of fresh pastries is just maddening!
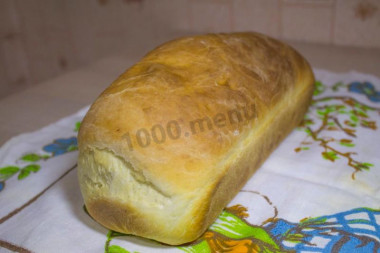
Step 23:

The bread turned out to be very light, airy, does not stale for several days, resembles toast bread in texture, but much tastier, because it is homemade! Bon appetit!


I told you both ways - you can choose!
Be prepared for the fact that you may need more or less flour than indicated in the recipe. Focus not on the amount of flour, but on the desired consistency of the dough. To avoid mistakes, read about flour and its properties!
Important! Using dry yeast, it should be borne in mind that they occur in two forms: active and instant (read the instructions carefully before use!).
Active dry yeast looks like beads or small balls. Before applying them, they must be brought out of the "sleep mode". To do this, the active yeast is diluted in warm sweet water, milk or whey. The formed bubbles, foam or "cap" indicate that the yeast is ready for further use. Active dry yeast must be brought to complete dissolution in the liquid, otherwise, due to the remaining grains, the dough may not rise and the baking will be spoiled (yeast grains that have not dissolved in the liquid and got into the dough will no longer disperse on their own, which means they will not work).
Instant dry yeast is easier to use. They do not need to be activated before use. Such yeast, along with other ingredients, is simply added to the dough. As a result, the baking time is reduced.
It should also be remembered that both types of dry yeast may differ in their activity from different manufacturers.
Caloric content of the products possible in the composition of the dish
- Ripe potatoes - 80 kcal/100g
- Baked potatoes - 70 kcal/100g
- Mashed potatoes - 380 kcal/100g
- Boiled potatoes - 82 kcal/100g
- Potatoes in uniform - 74 kcal/100g
- Fried potatoes - 192 kcal/100g
- Chicken egg - 157 kcal/100g
- Egg white - 45 kcal/100g
- Egg powder - 542 kcal/100g
- Egg yolk - 352 kcal/100g
- Ostrich egg - 118 kcal/100g
- Whole durum wheat flour fortified - 333 kcal/100g
- Whole durum wheat flour, universal - 364 kcal/100g
- Flour krupchatka - 348 kcal/100g
- Flour - 325 kcal/100g
- Granulated sugar - 398 kcal/100g
- Sugar - 398 kcal/100g
- Vegetable oil - 873 kcal/100g
- Salt - 0 kcal/100g
- Decoction - 18 kcal/100g
- Dry yeast - 410 kcal/100g