


Composition / ingredients
Step-by-step cooking
Step 1:
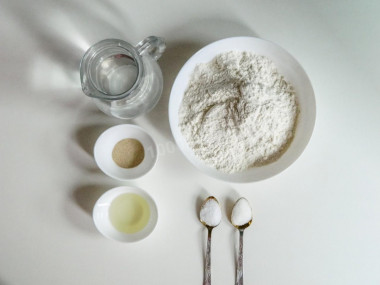
How to make dough for pies without milk? Prepare all the necessary ingredients. Take the flour of the highest grade. Any odorless vegetable oil will do.
Step 2:
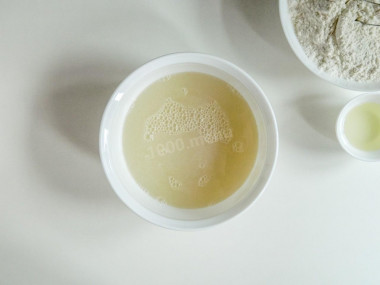
Heat the water to a temperature of 37-40 degrees. In the absence of a cooking thermometer, the required temperature can be determined as follows: drop a drop of water on the inside of the wrist. If the feeling is neutral - not cold and not hot, then the temperature is correct. Add sugar, salt and yeast to the water. Stir until dissolved.
Step 3:
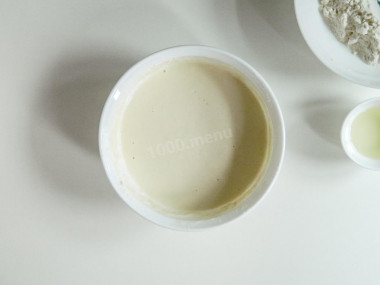
If the temperature is too low, the yeast will work slower and it will take longer to cook. At elevated temperatures, the yeast will die, the dough will not rise and the taste of the finished pies will be spoiled. Add 4 tablespoons of flour, mix and leave for 20-30 minutes in a warm place.
Step 4:
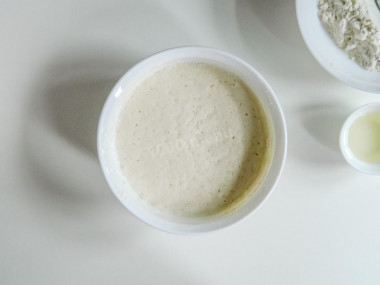
If a fluffy cap appears on the surface, then the yeast has activated and you can continue cooking.
Step 5:
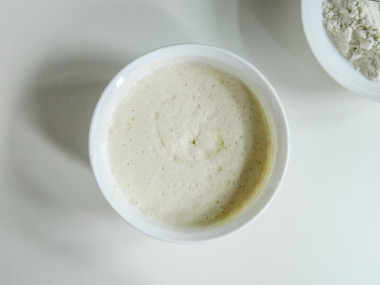
Add 2 tablespoons of vegetable oil to the dough. Leave one more spoon to lubricate the bowl (step 8). Mix everything well so that the oil spreads evenly through the liquid.
Step 6:
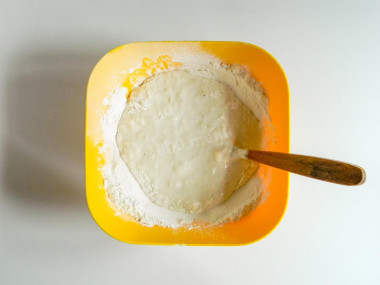
Sift most of the remaining flour into a bowl. Add the liquid component to the flour. Knead the dough.
Step 7:
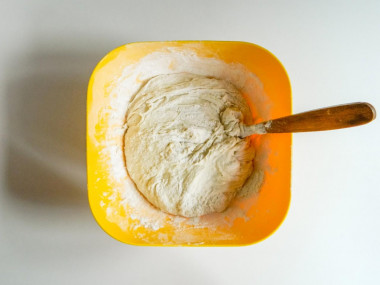
When the flour in the bowl is finished, add it in small portions. When it becomes difficult to knead with a spoon, start doing it with your hands. Knead the dough thoroughly.
Step 8:
Add flour until you get the desired consistency. Do not "score" the dough with flour - it should turn out soft and tender. If flour remains, it will be useful to you when you make pies. Lubricate the bottom and walls of the bowl with vegetable oil so that the dough does not stick to the dishes. Also knead the finished dough with your hands with butter. Cover the bowl with a napkin or towel so that it does not dry and rises well. Leave in a warm place for about 1.5-2 hours.
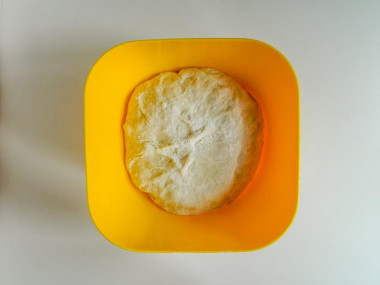
Step 9:
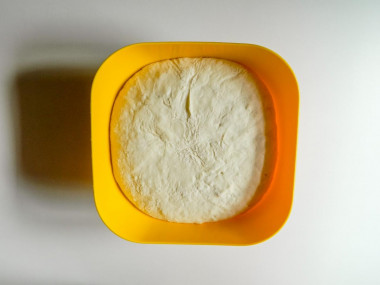
When the dough has increased several times in volume, it is ready and you can start working with it.


Make pies by greasing your hands with oil or sprinkling with flour.
From the amount of products given in the recipe, a dough for about 20 pies is obtained. The exact number depends on their size.
Products from such dough can be eaten both warm and cooled. And even after a day they remain delicious.
It is important to sift the flour to saturate it with oxygen. Then the baking will turn out to be airy and will rise well when baking.
Make it a rule that the amount of flour is never determined in advance when preparing flour and bread products! This indicator will always fluctuate, since flour can be of different humidity, differ in the degree of grinding and the level of gluten, and other indicators, which inevitably affects its ability to bind to the liquid mixture in the dough. Since it is impossible to make a laboratory test at home to determine all the parameters and indicators of flour, we recommend acting on the principle of "flour in water", that is, take liquids exactly according to the recipe, and add flour to the liquid component not all at once, but in parts, achieving the desired consistency (while flour may take a little more or on the contrary, less than in the recipe). Thanks to this technique, the proportions of the ingredients are more accurately preserved and the quality of the dough is not lost. To avoid mistakes, read about flour and its properties!
Important! Using dry yeast, it should be borne in mind that they occur in two forms: active and instant (read the instructions carefully before use!).
Active dry yeast looks like beads or small balls. Before applying them, they must be brought out of "sleep mode". To do this, the active yeast is diluted in warm sweet water, milk or whey. The resulting bubbles, foam or "cap" indicate that the yeast is ready for further use. Active dry yeast must be brought to complete dissolution in the liquid, otherwise, due to the remaining grains, the dough may not rise and the baking will be spoiled (yeast grains that have not dissolved in the liquid and got into the dough will not disperse on their own, which means they will not work).
Instant dry yeast is easier to use. They do not need to be activated before use. Such yeast, along with other ingredients, is simply added to the dough. As a result, the baking time is reduced.
It should also be remembered that both types of dry yeast may differ in their activity from different manufacturers.
Caloric content of the products possible in the composition of the dish
- Whole durum wheat flour fortified - 333 kcal/100g
- Whole durum wheat flour, universal - 364 kcal/100g
- Flour krupchatka - 348 kcal/100g
- Flour - 325 kcal/100g
- Granulated sugar - 398 kcal/100g
- Sugar - 398 kcal/100g
- Vegetable oil - 873 kcal/100g
- Salt - 0 kcal/100g
- Water - 0 kcal/100g
- Dry yeast - 410 kcal/100g